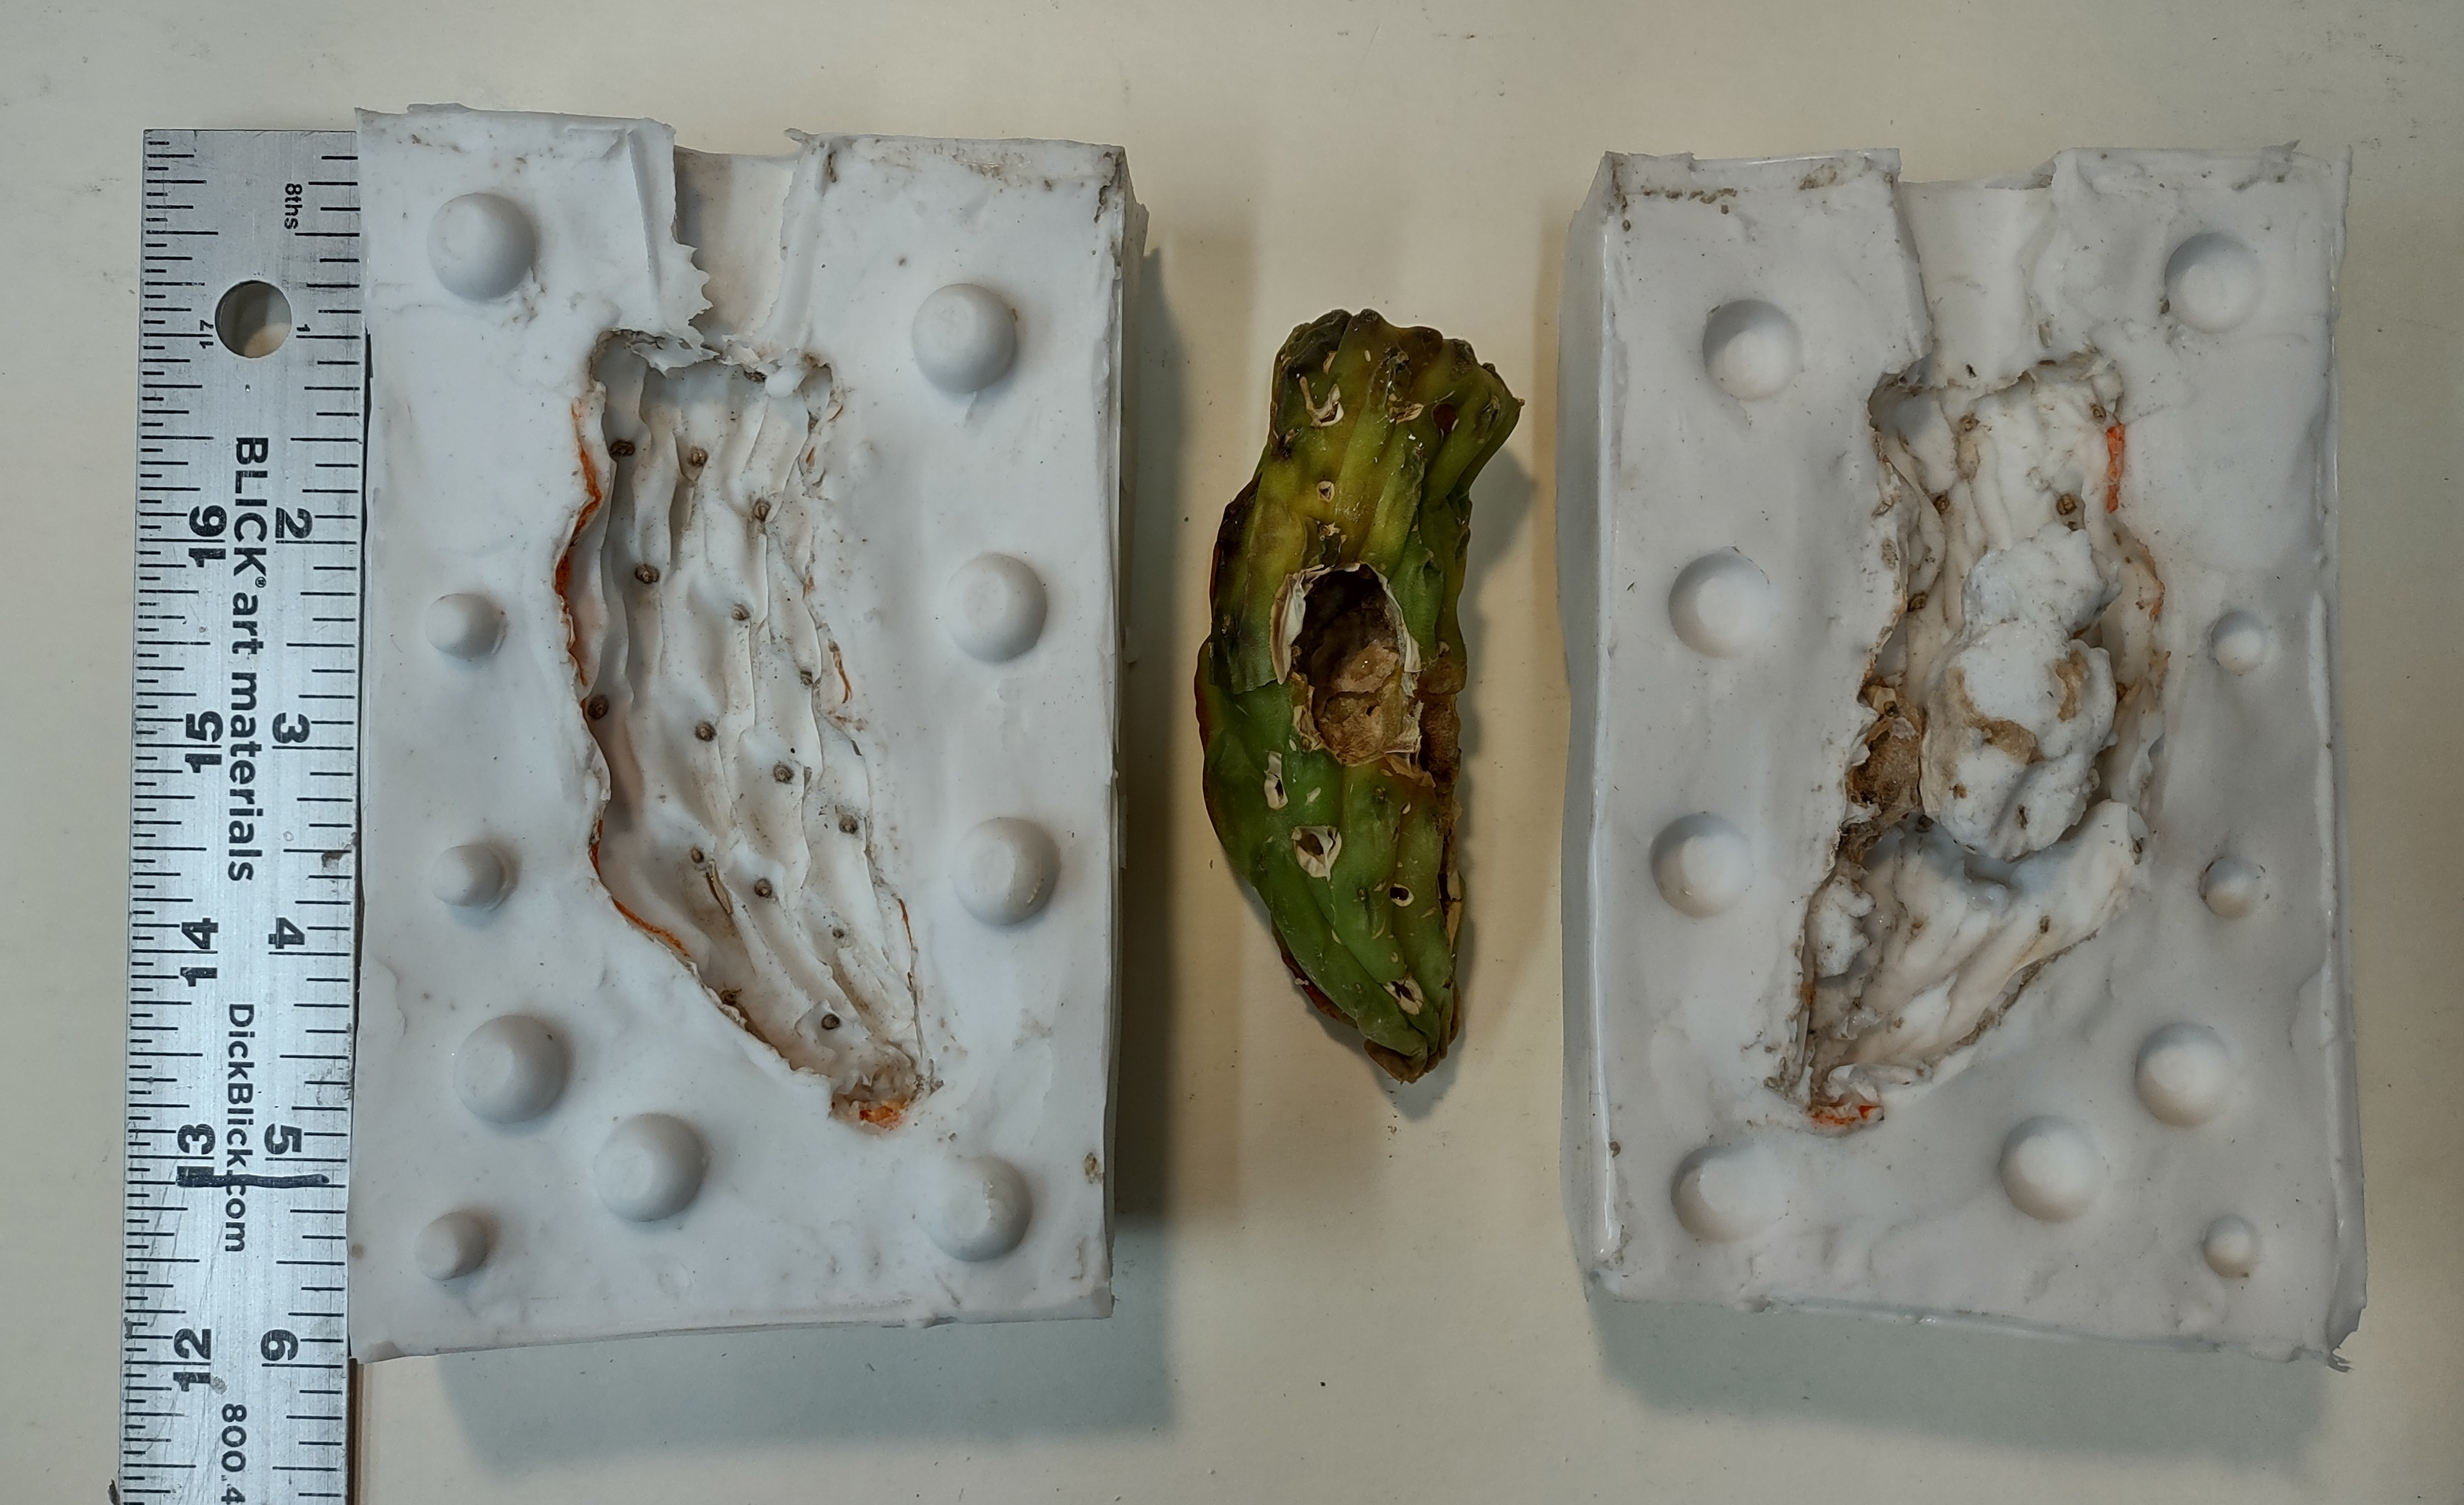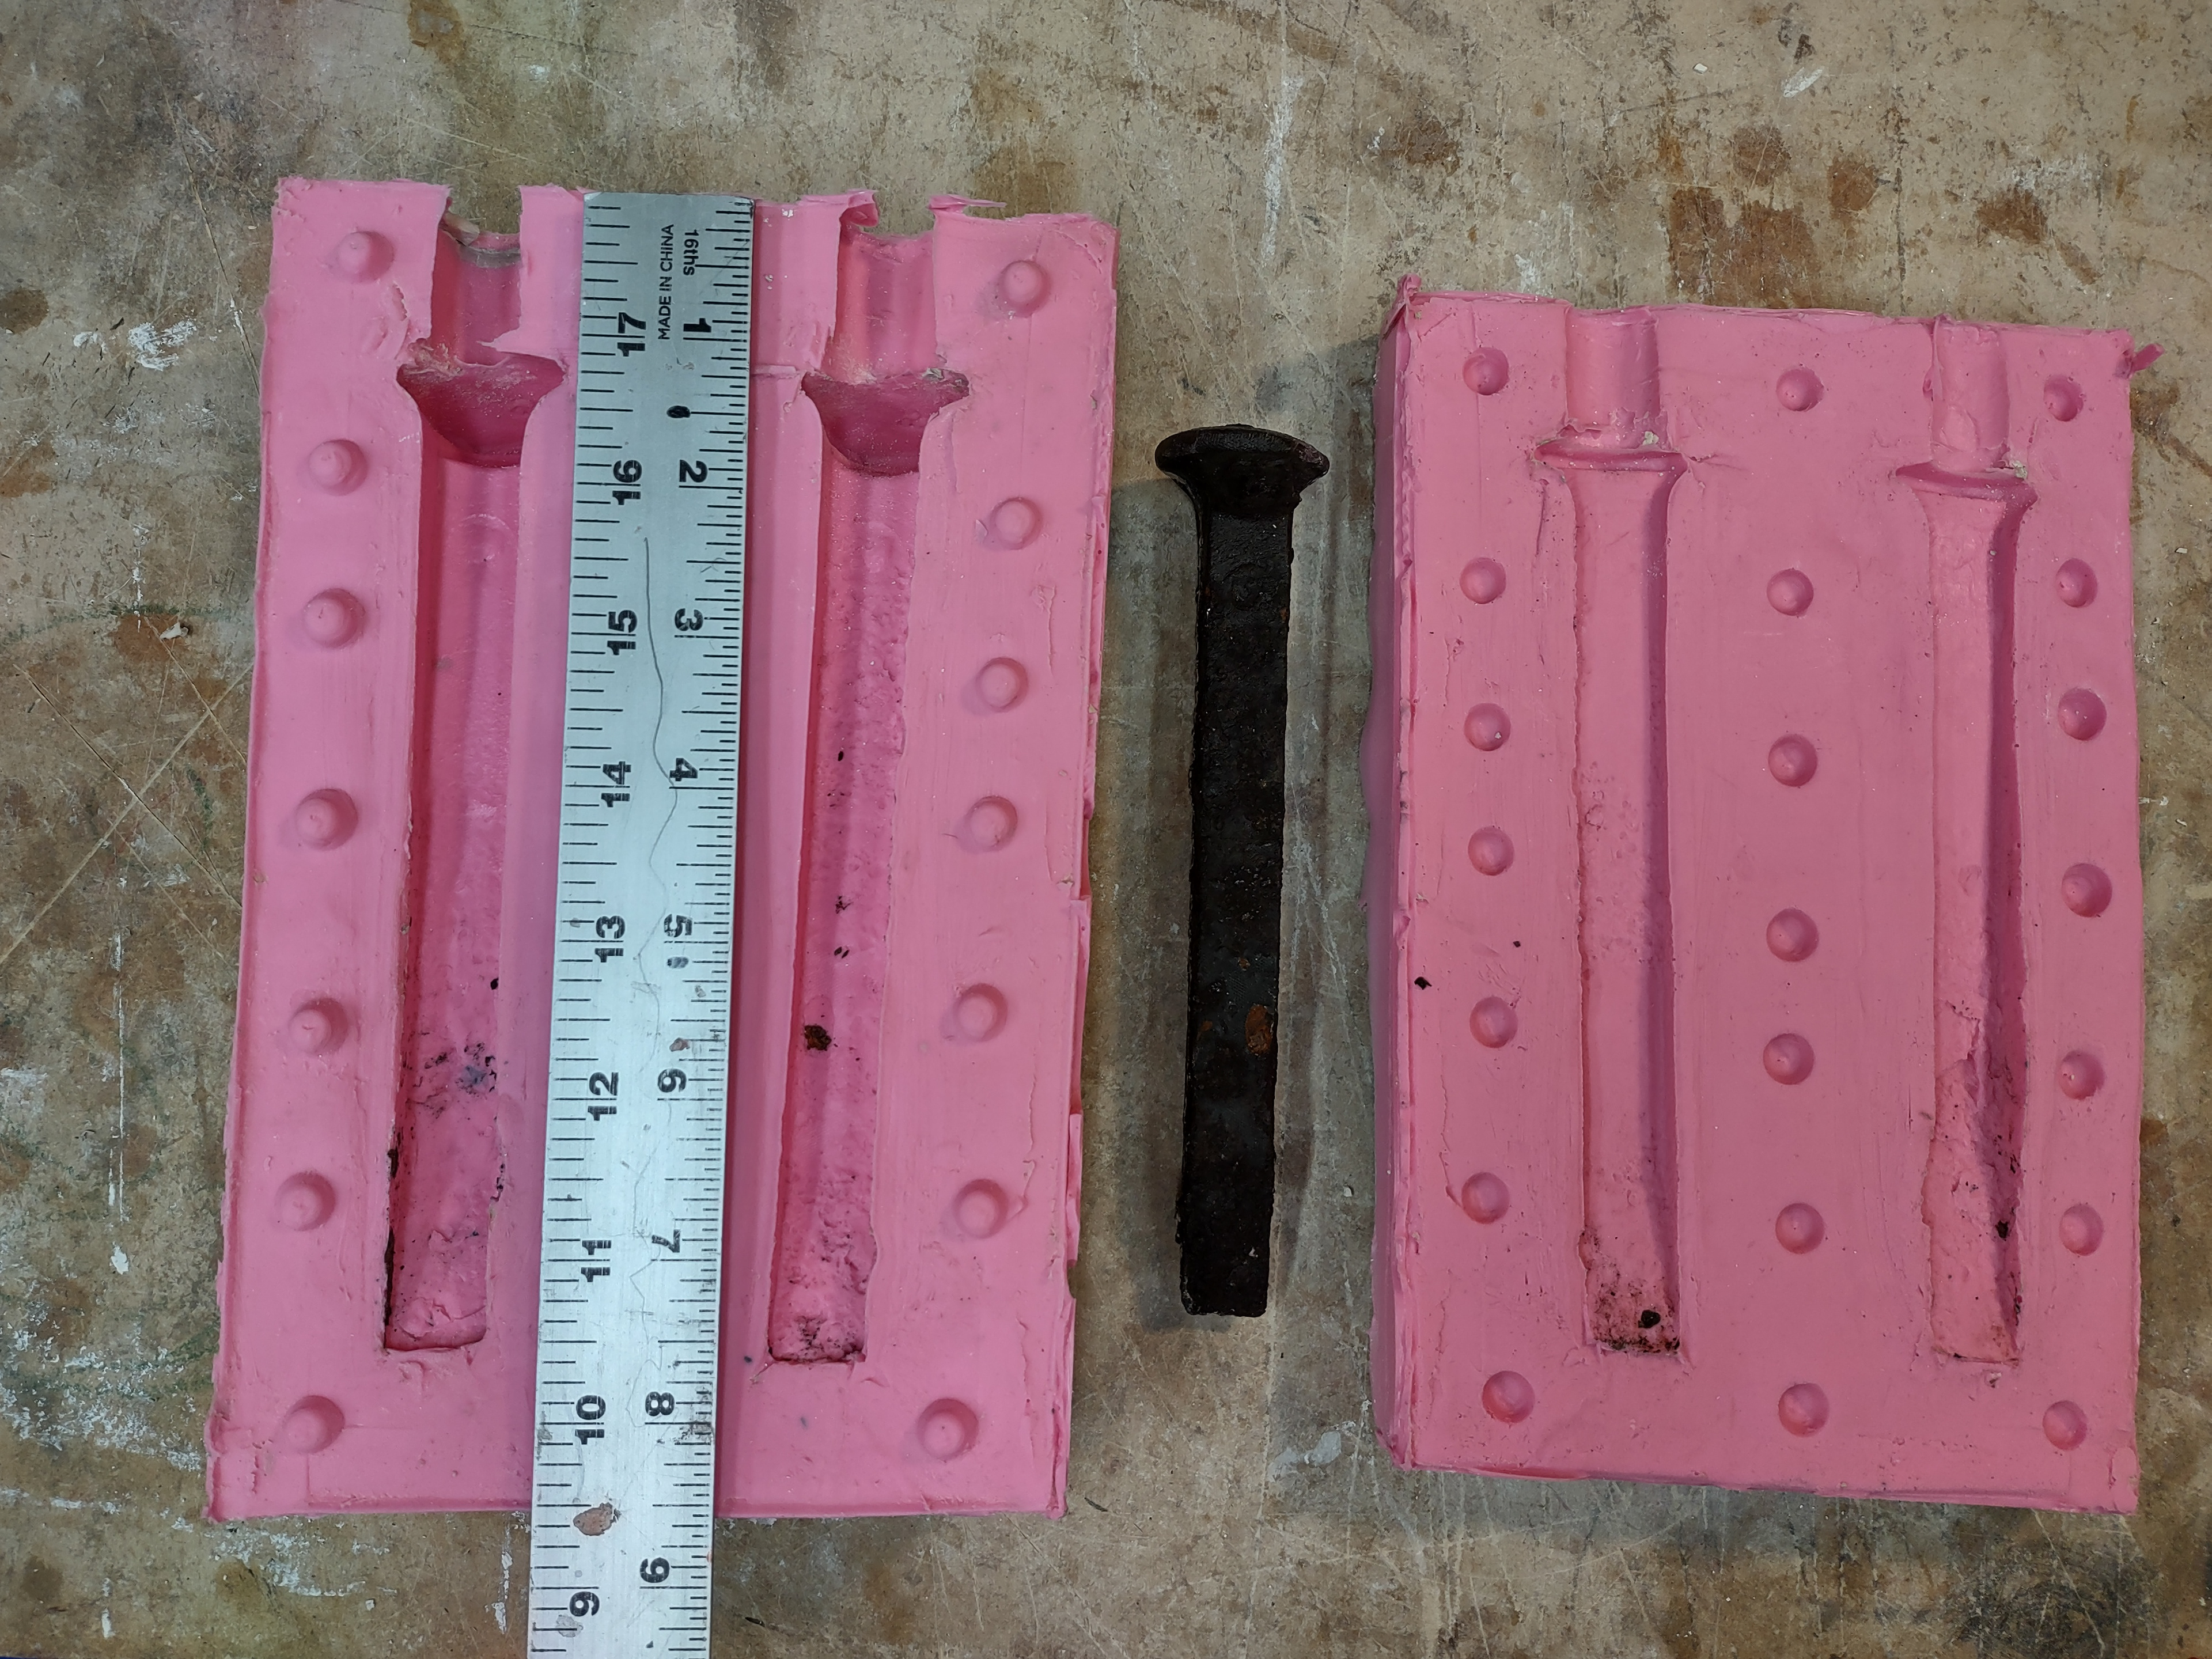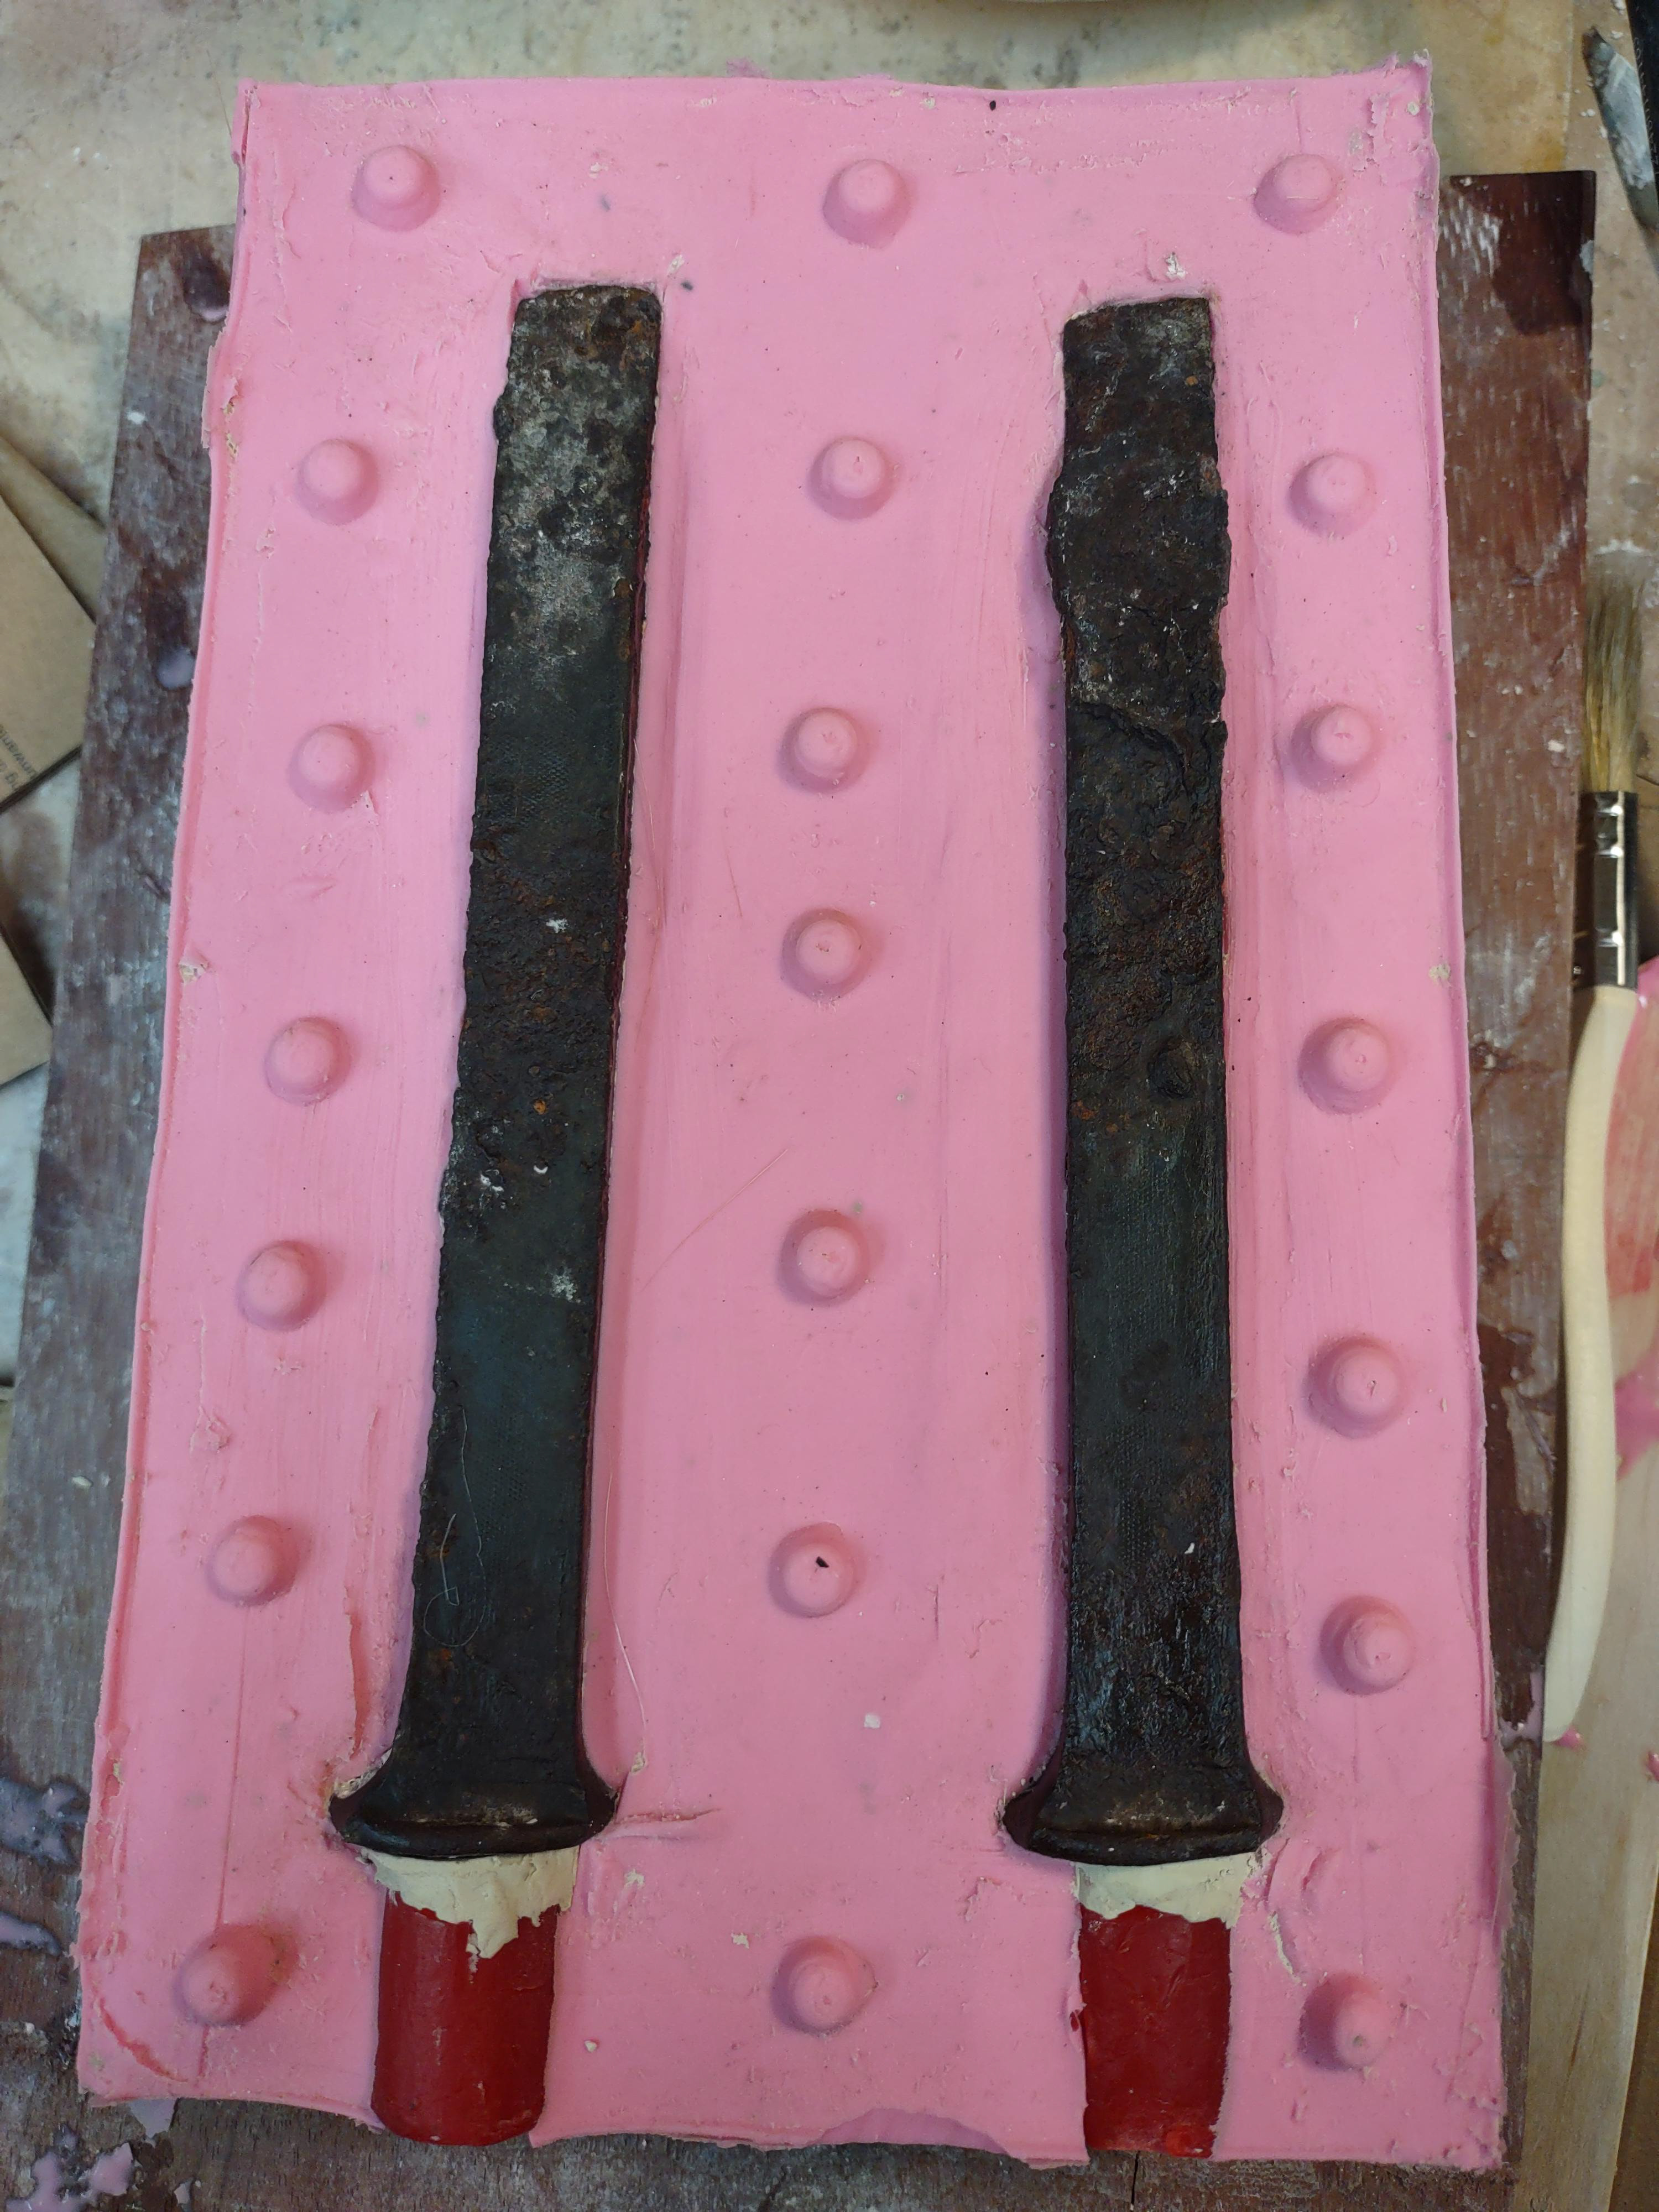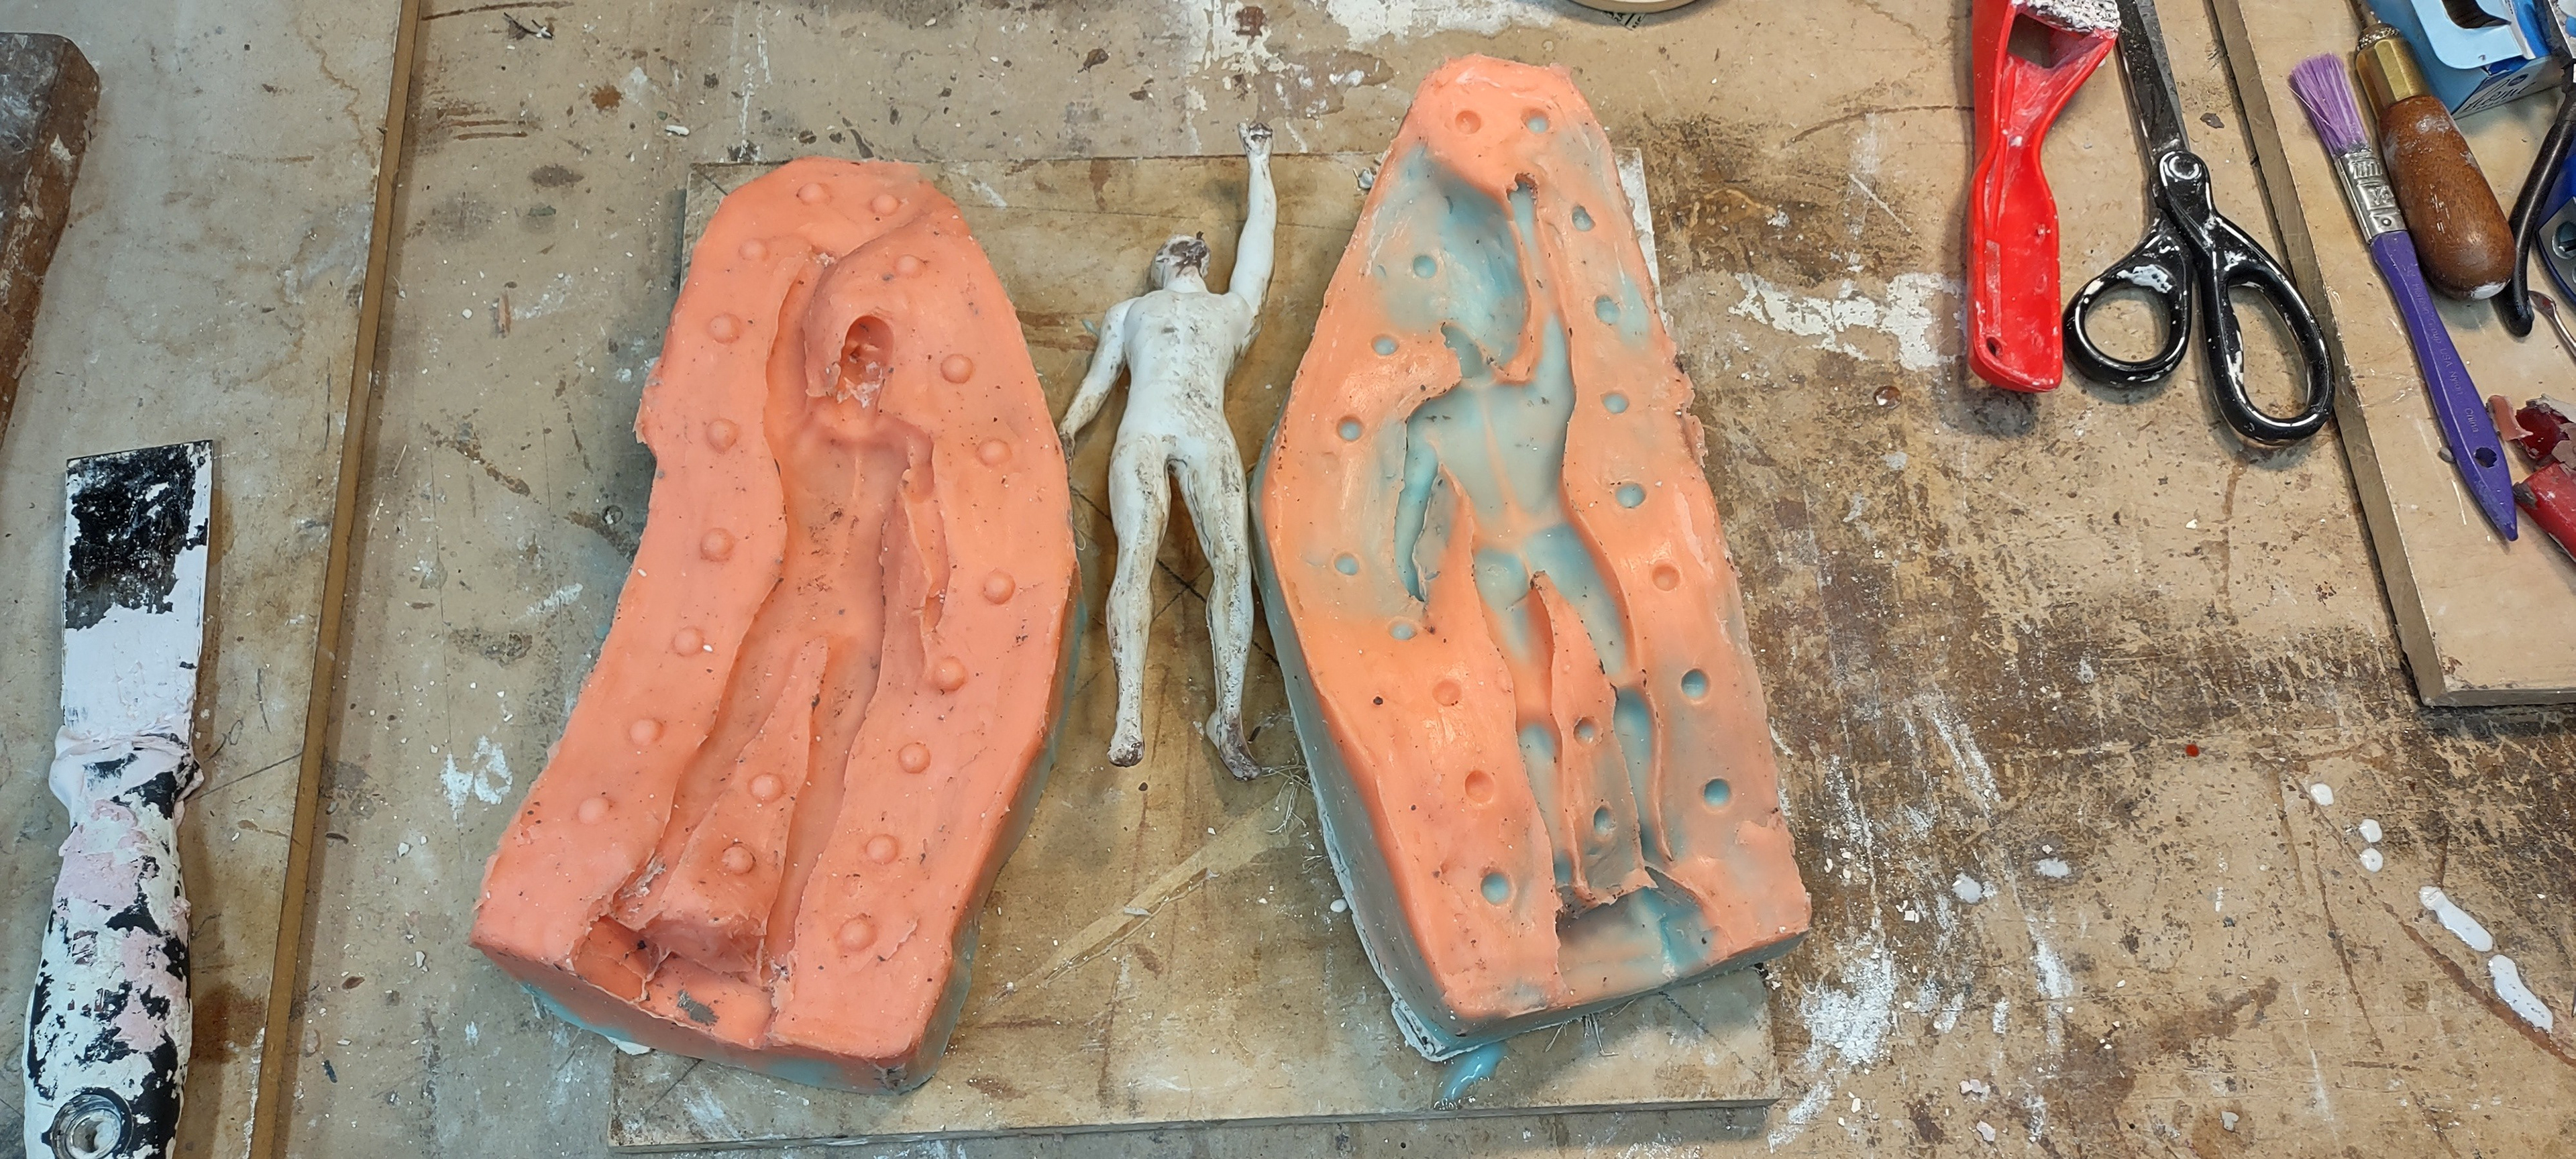
Climber : Two part of mold.
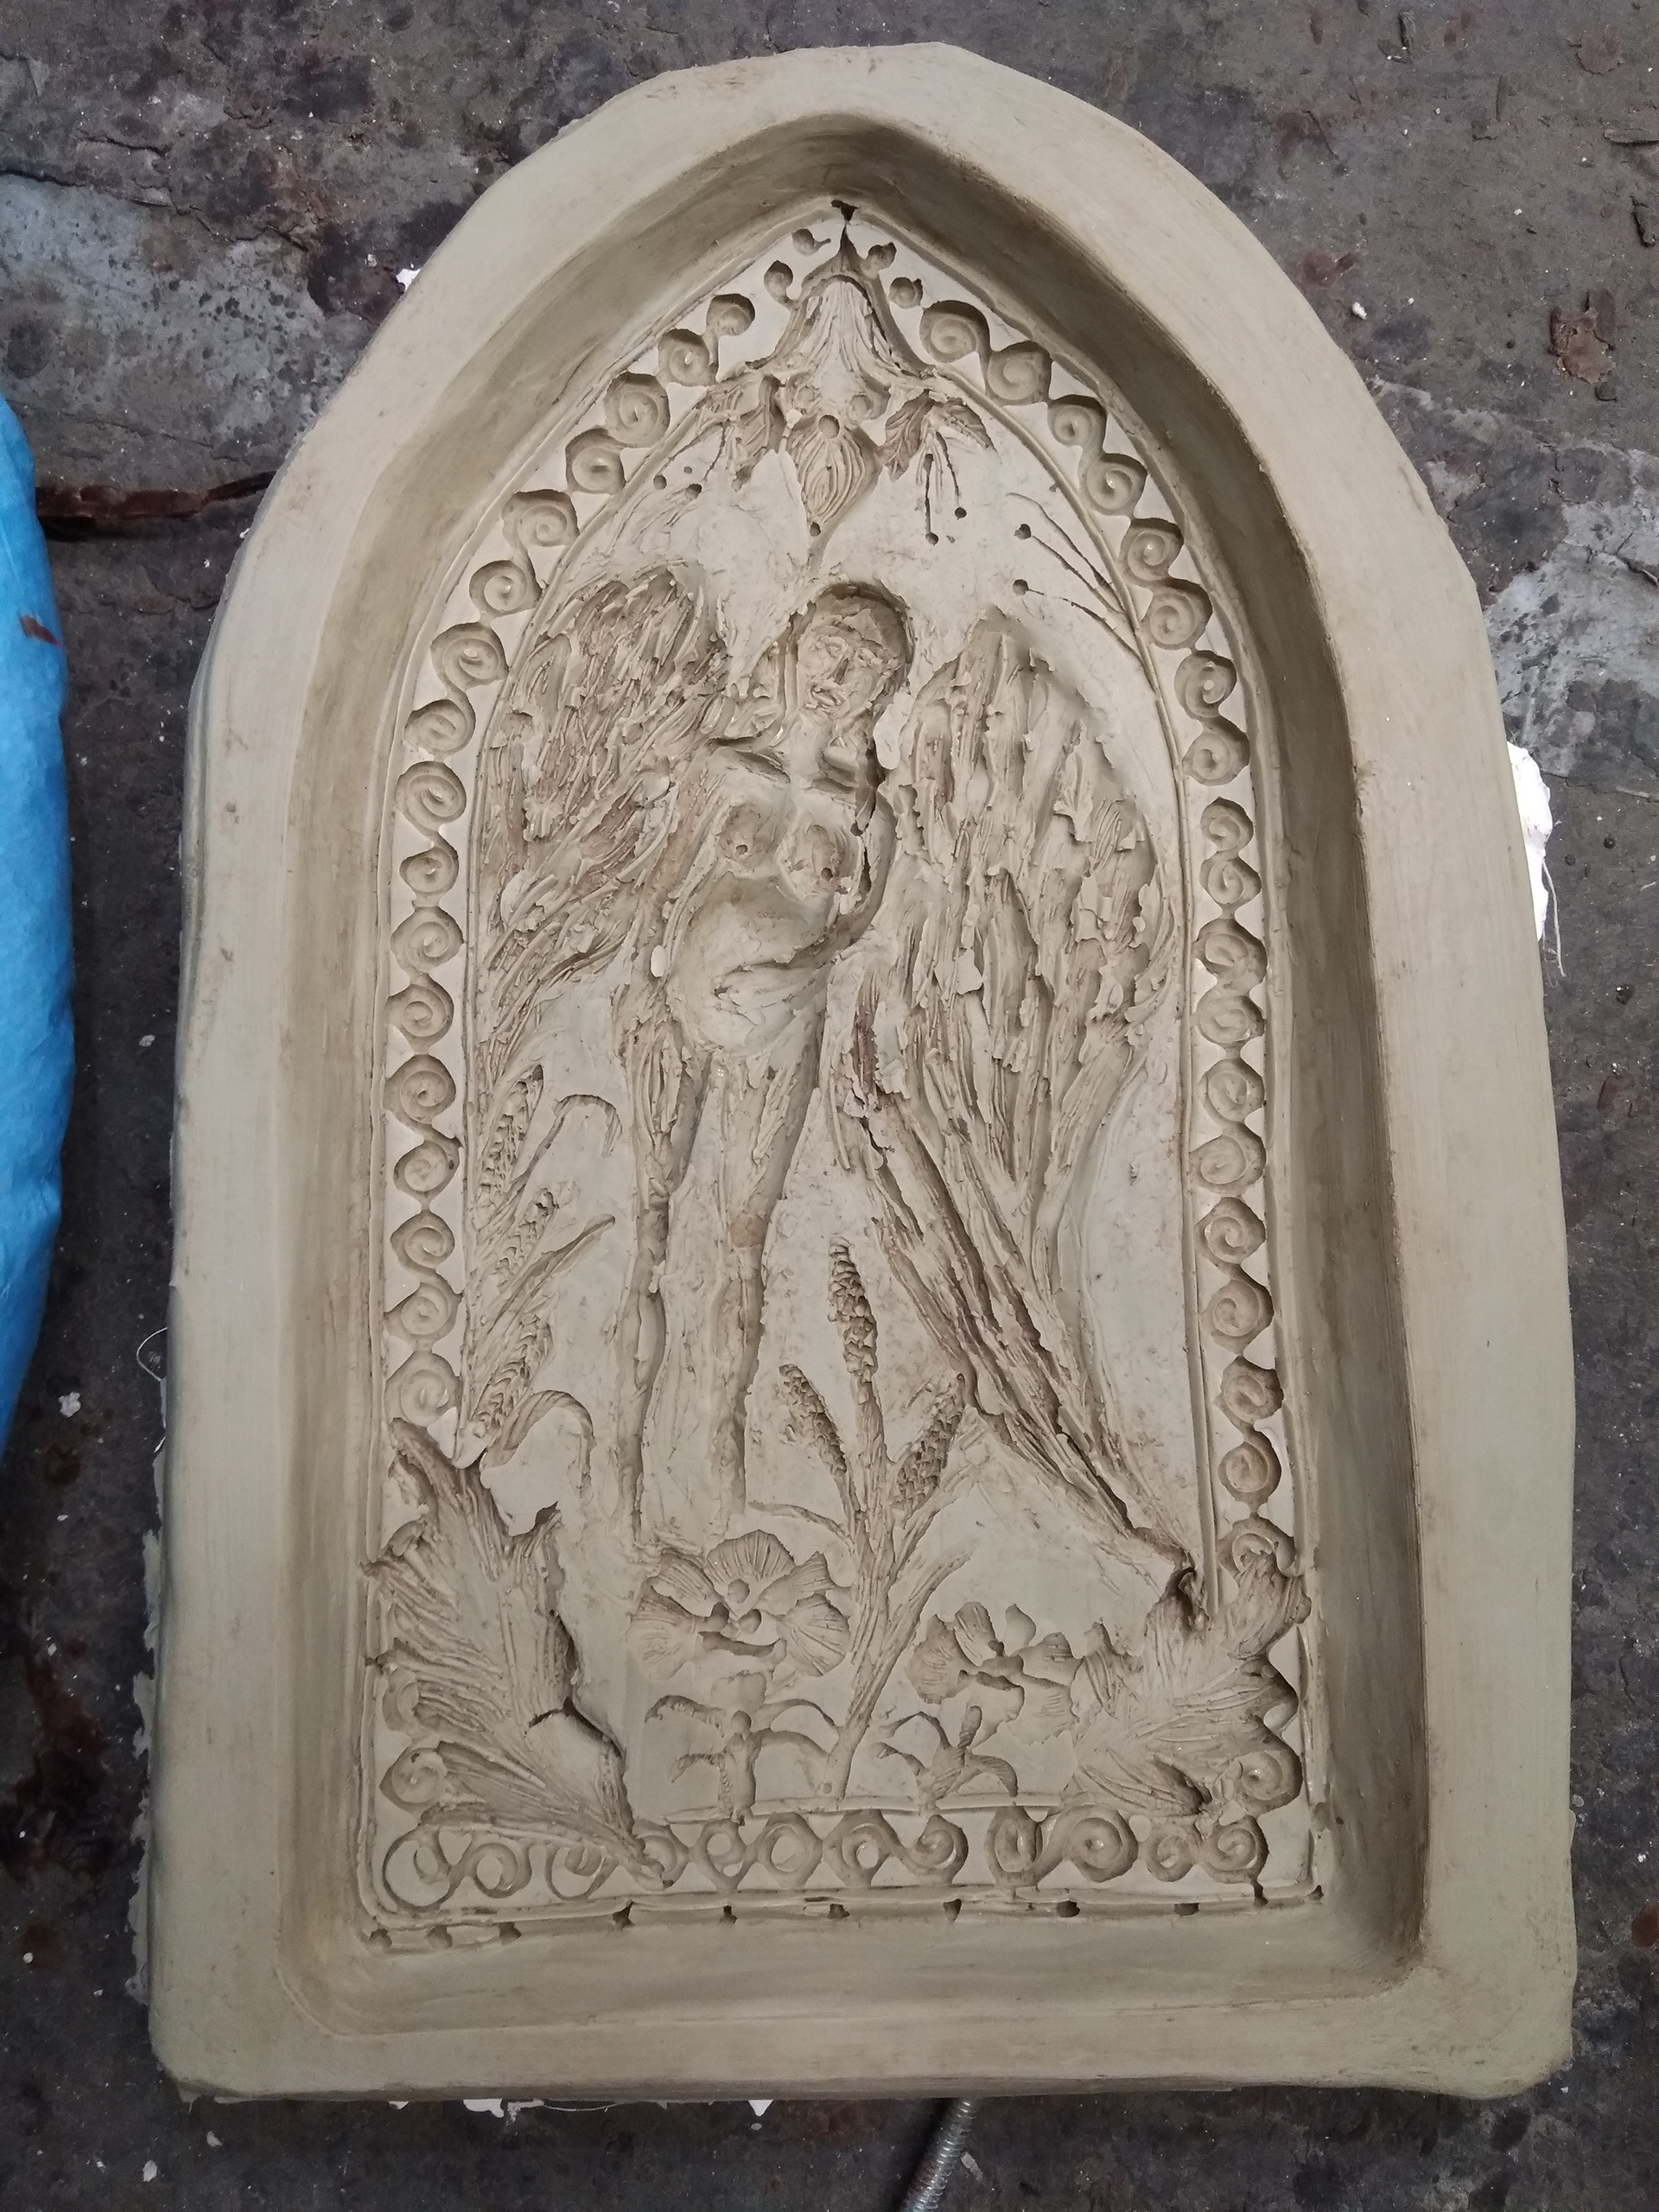
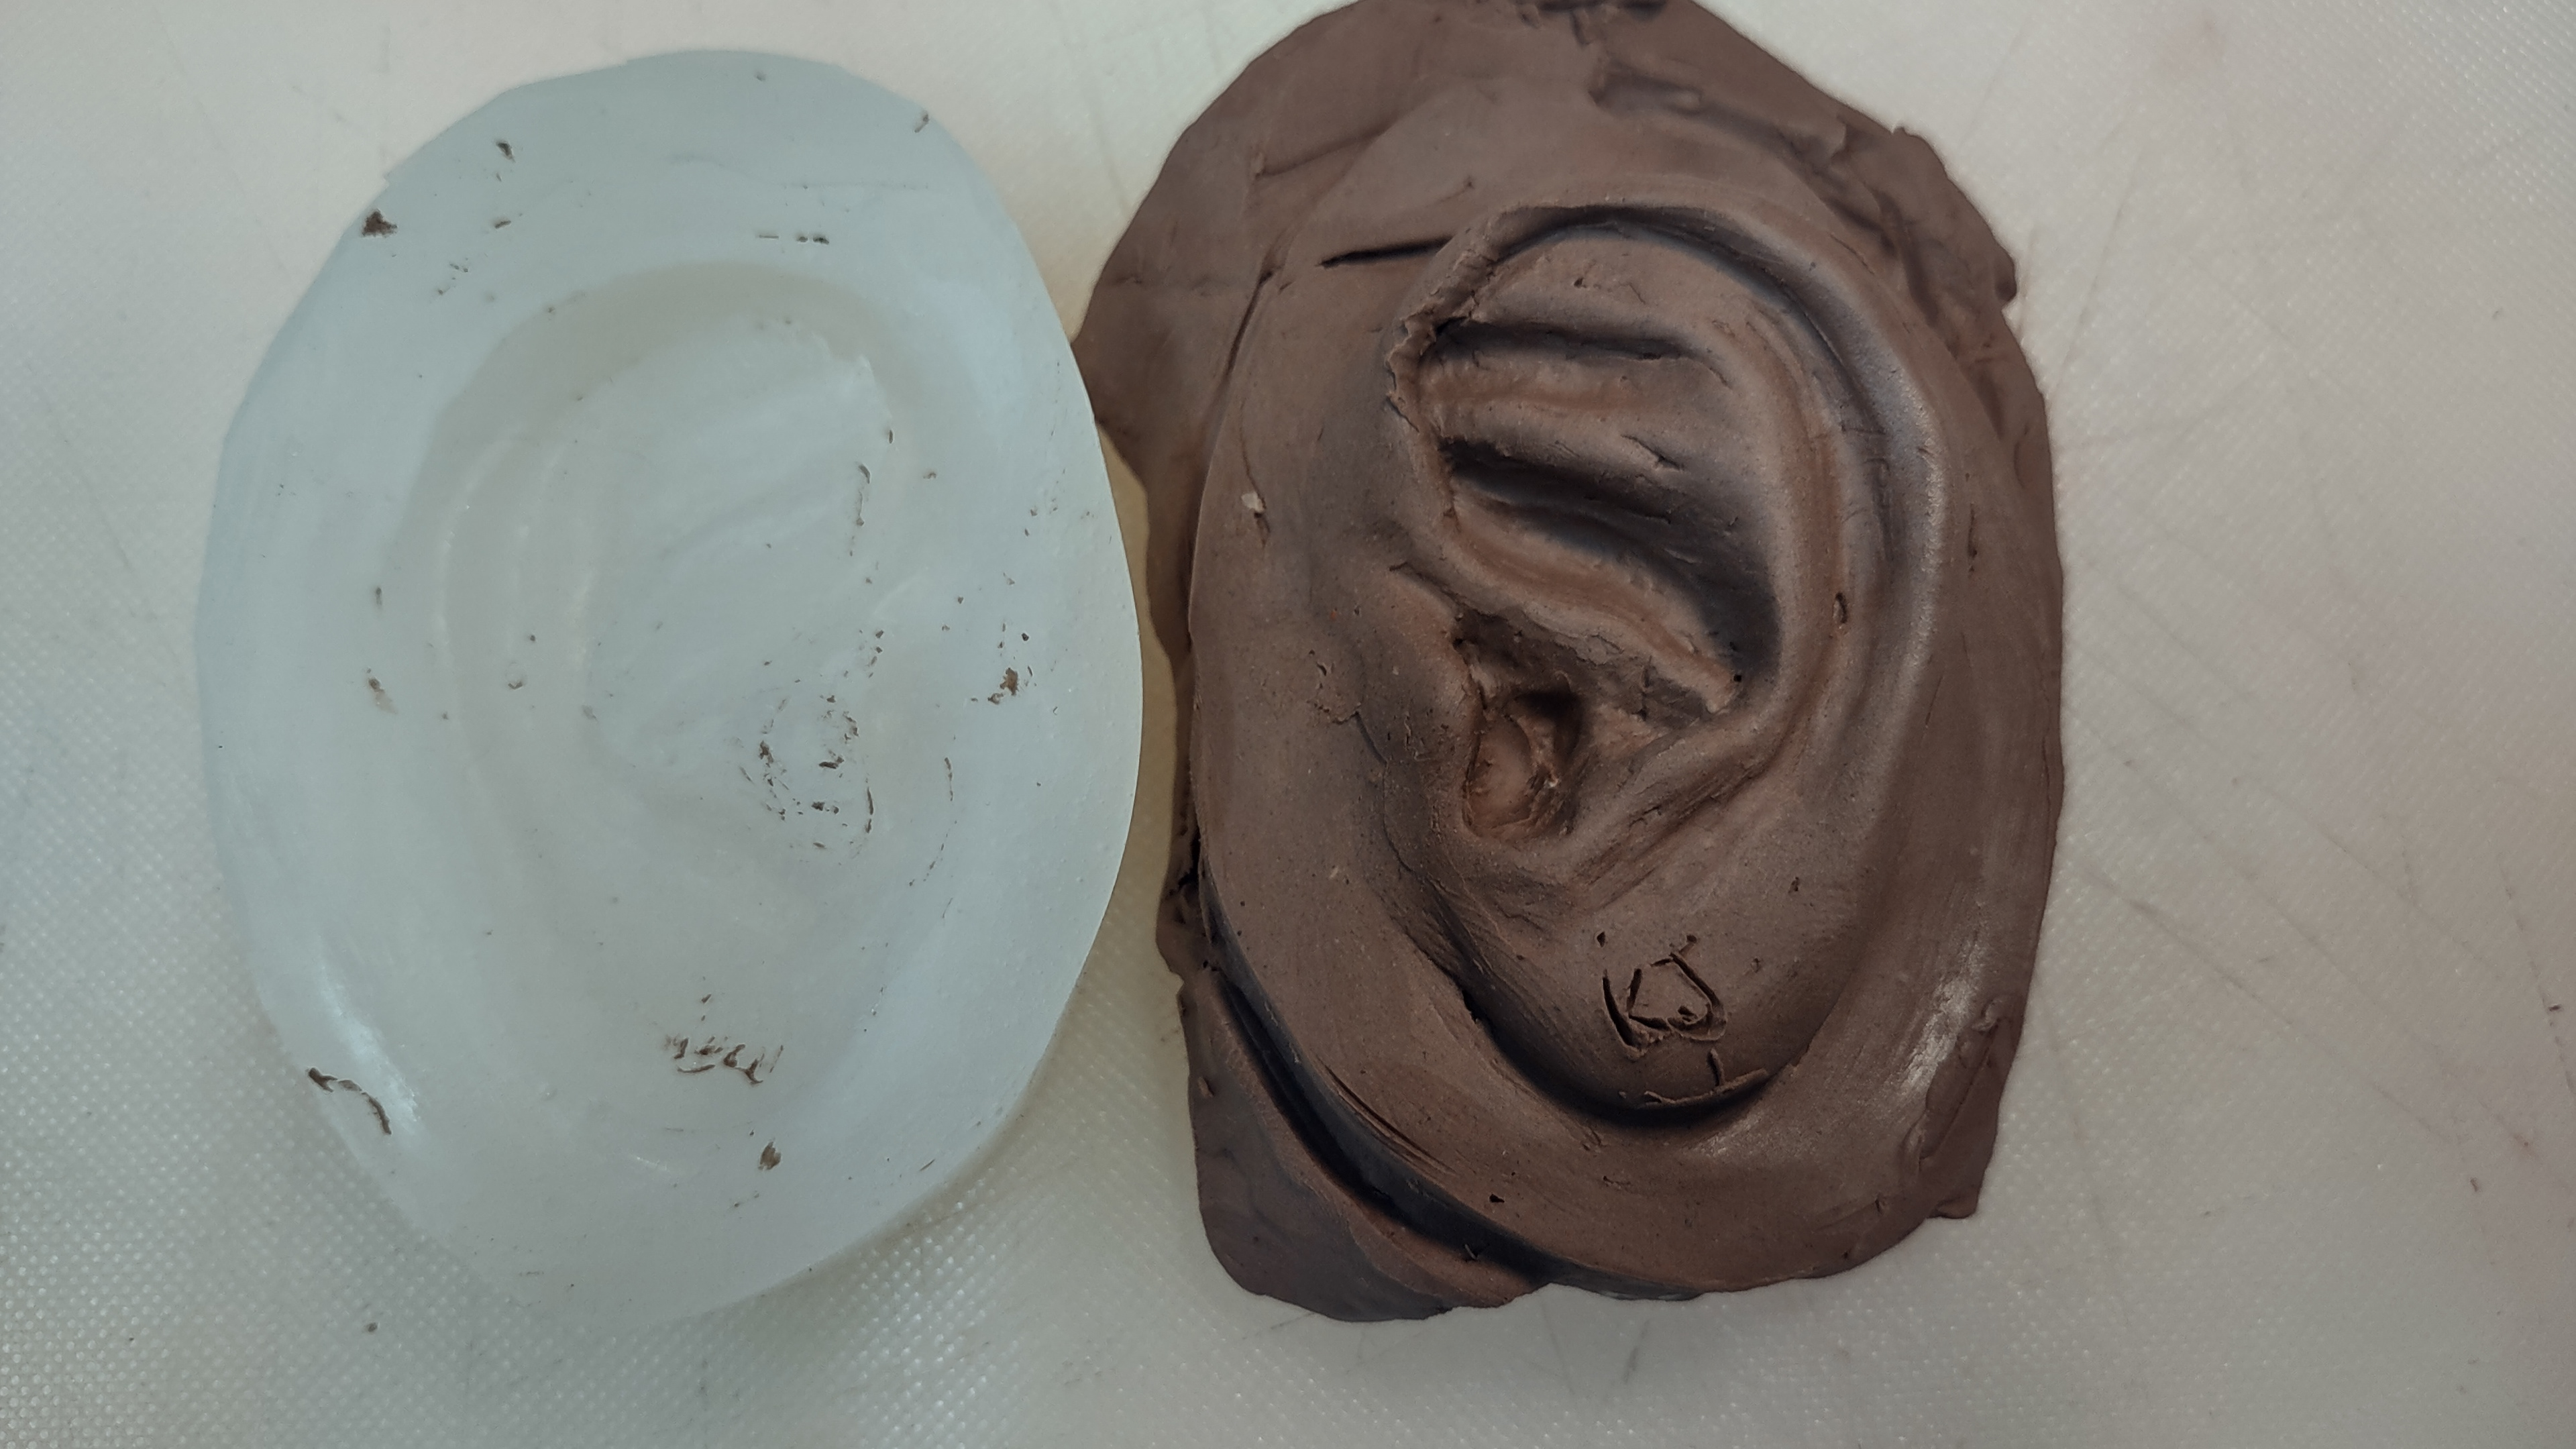
Relief : One part of mold.
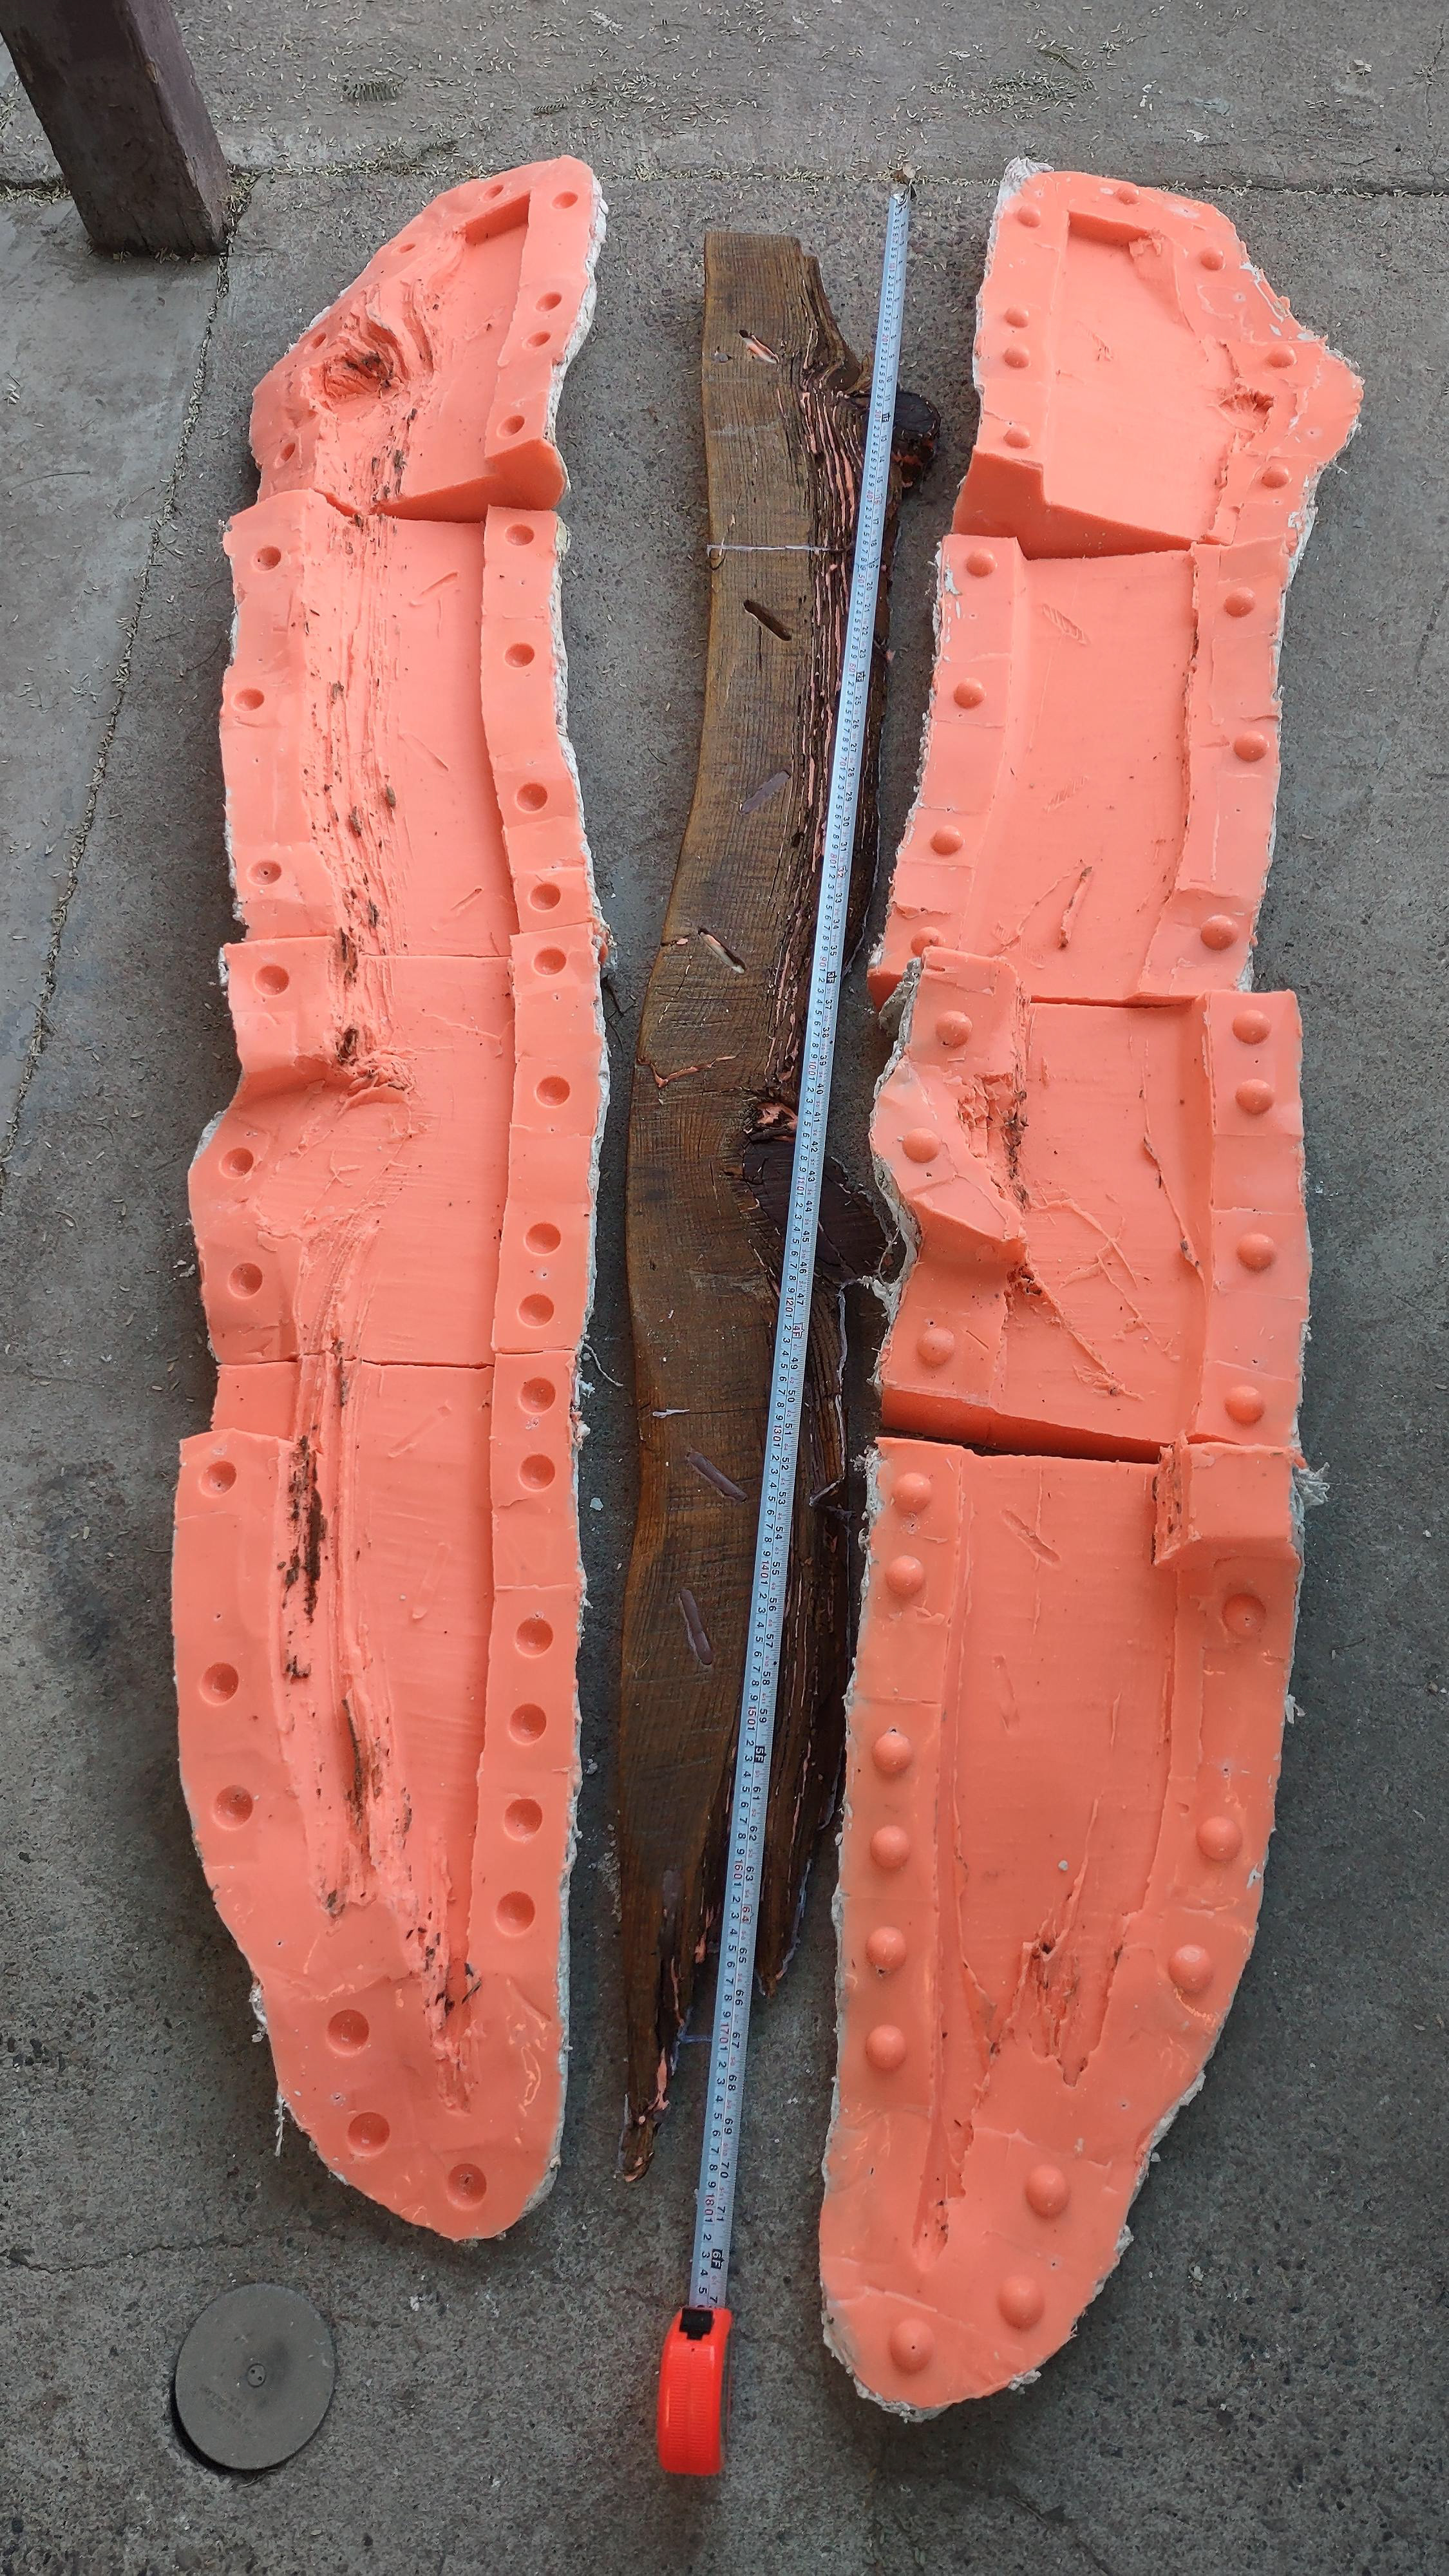
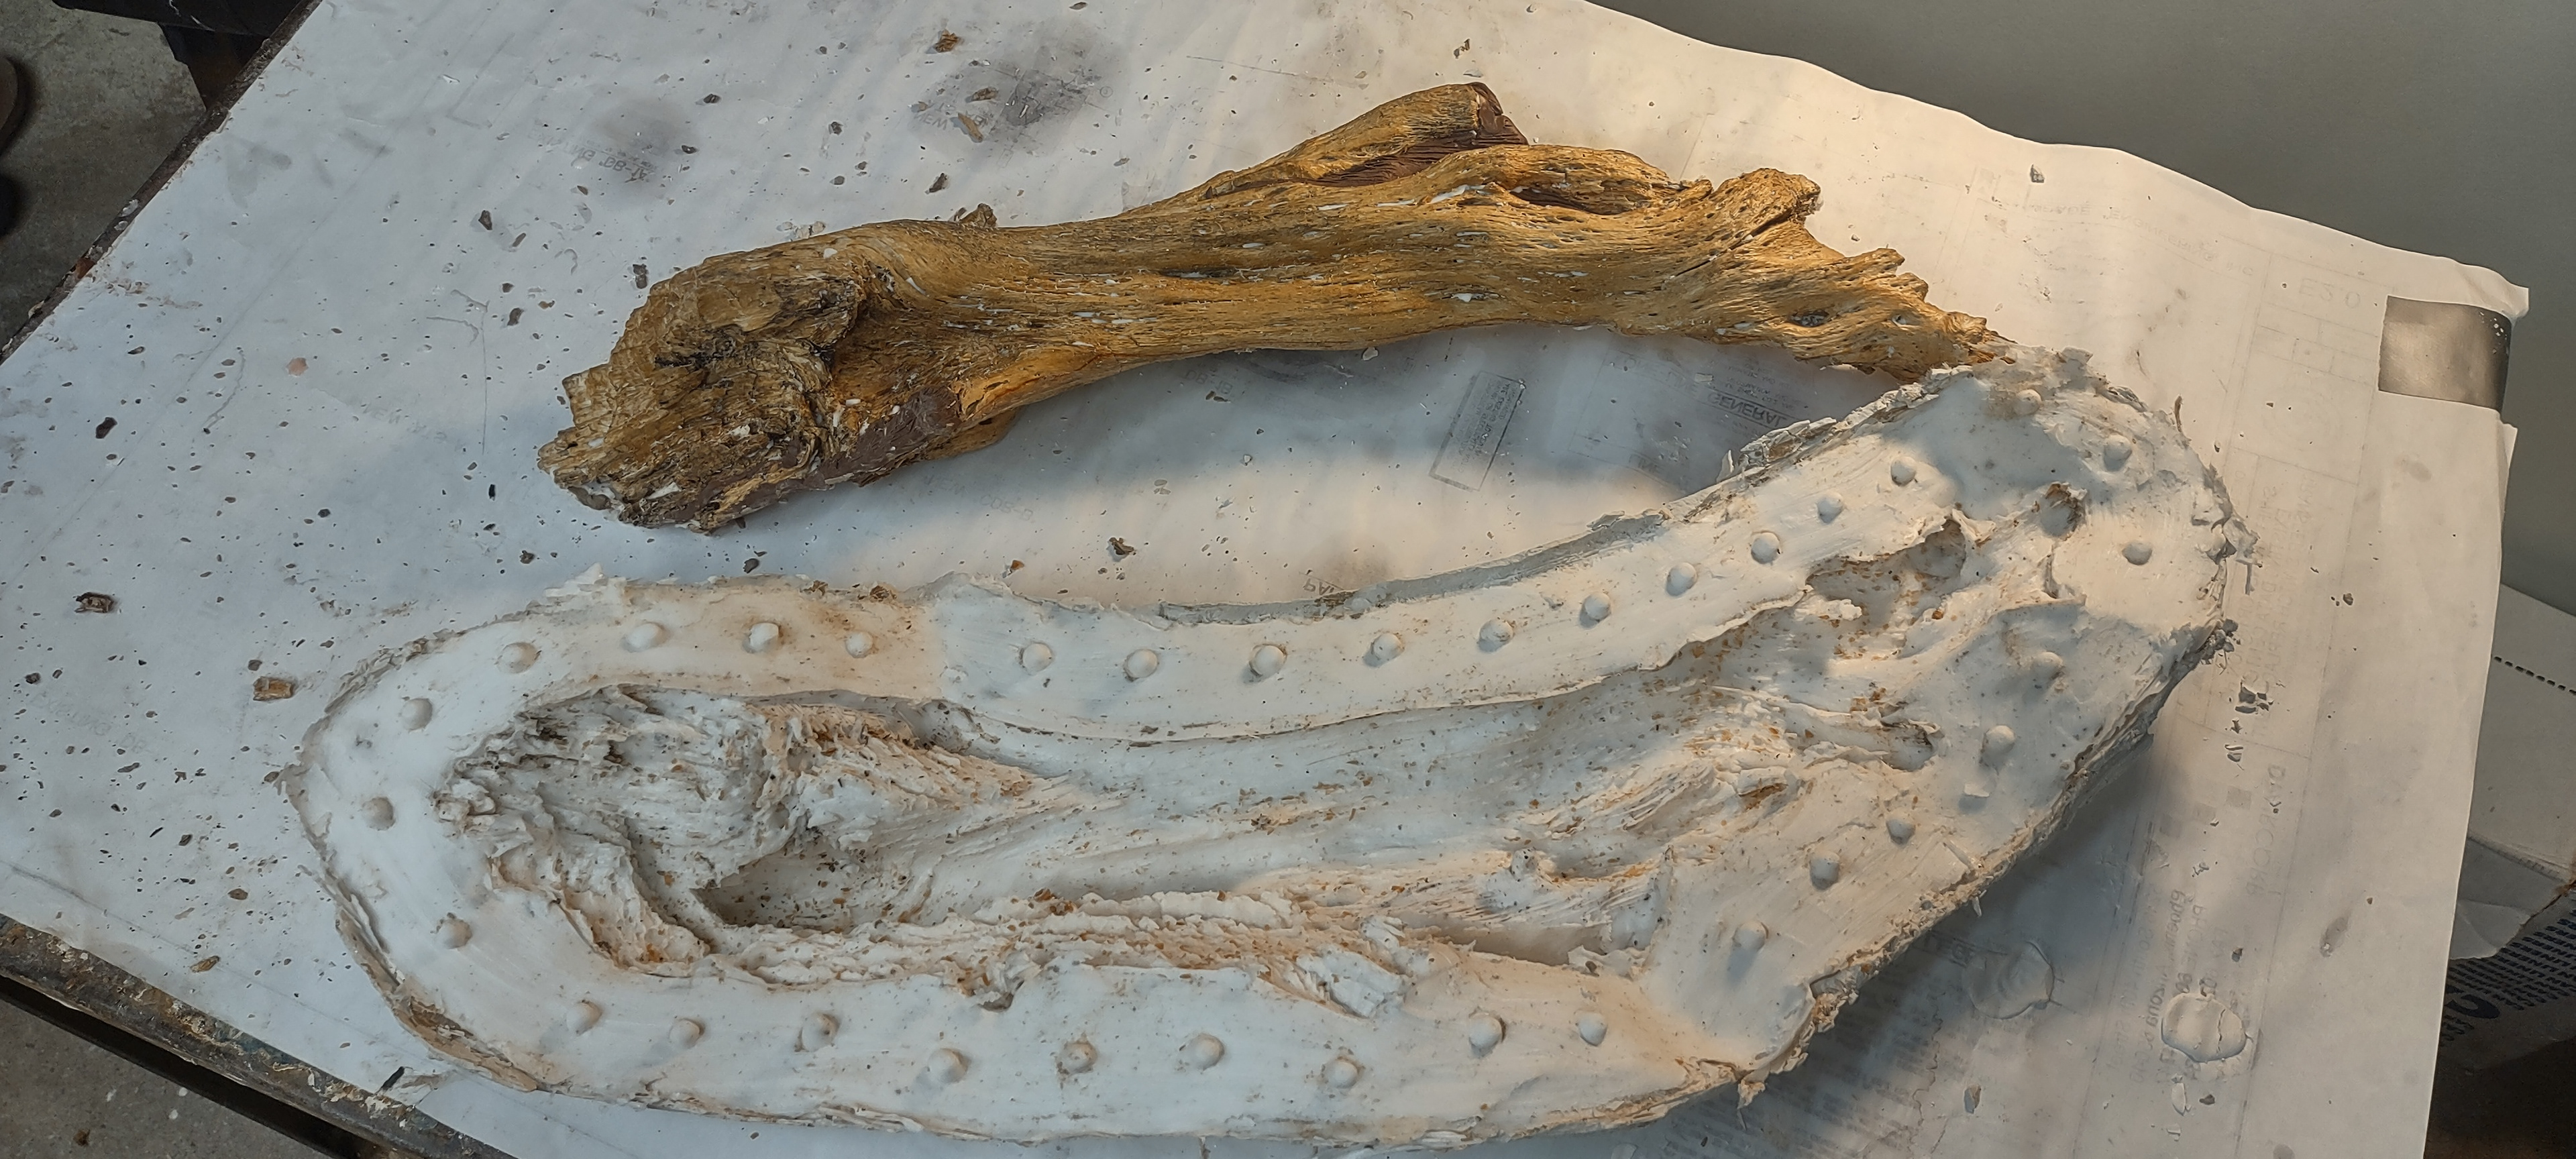
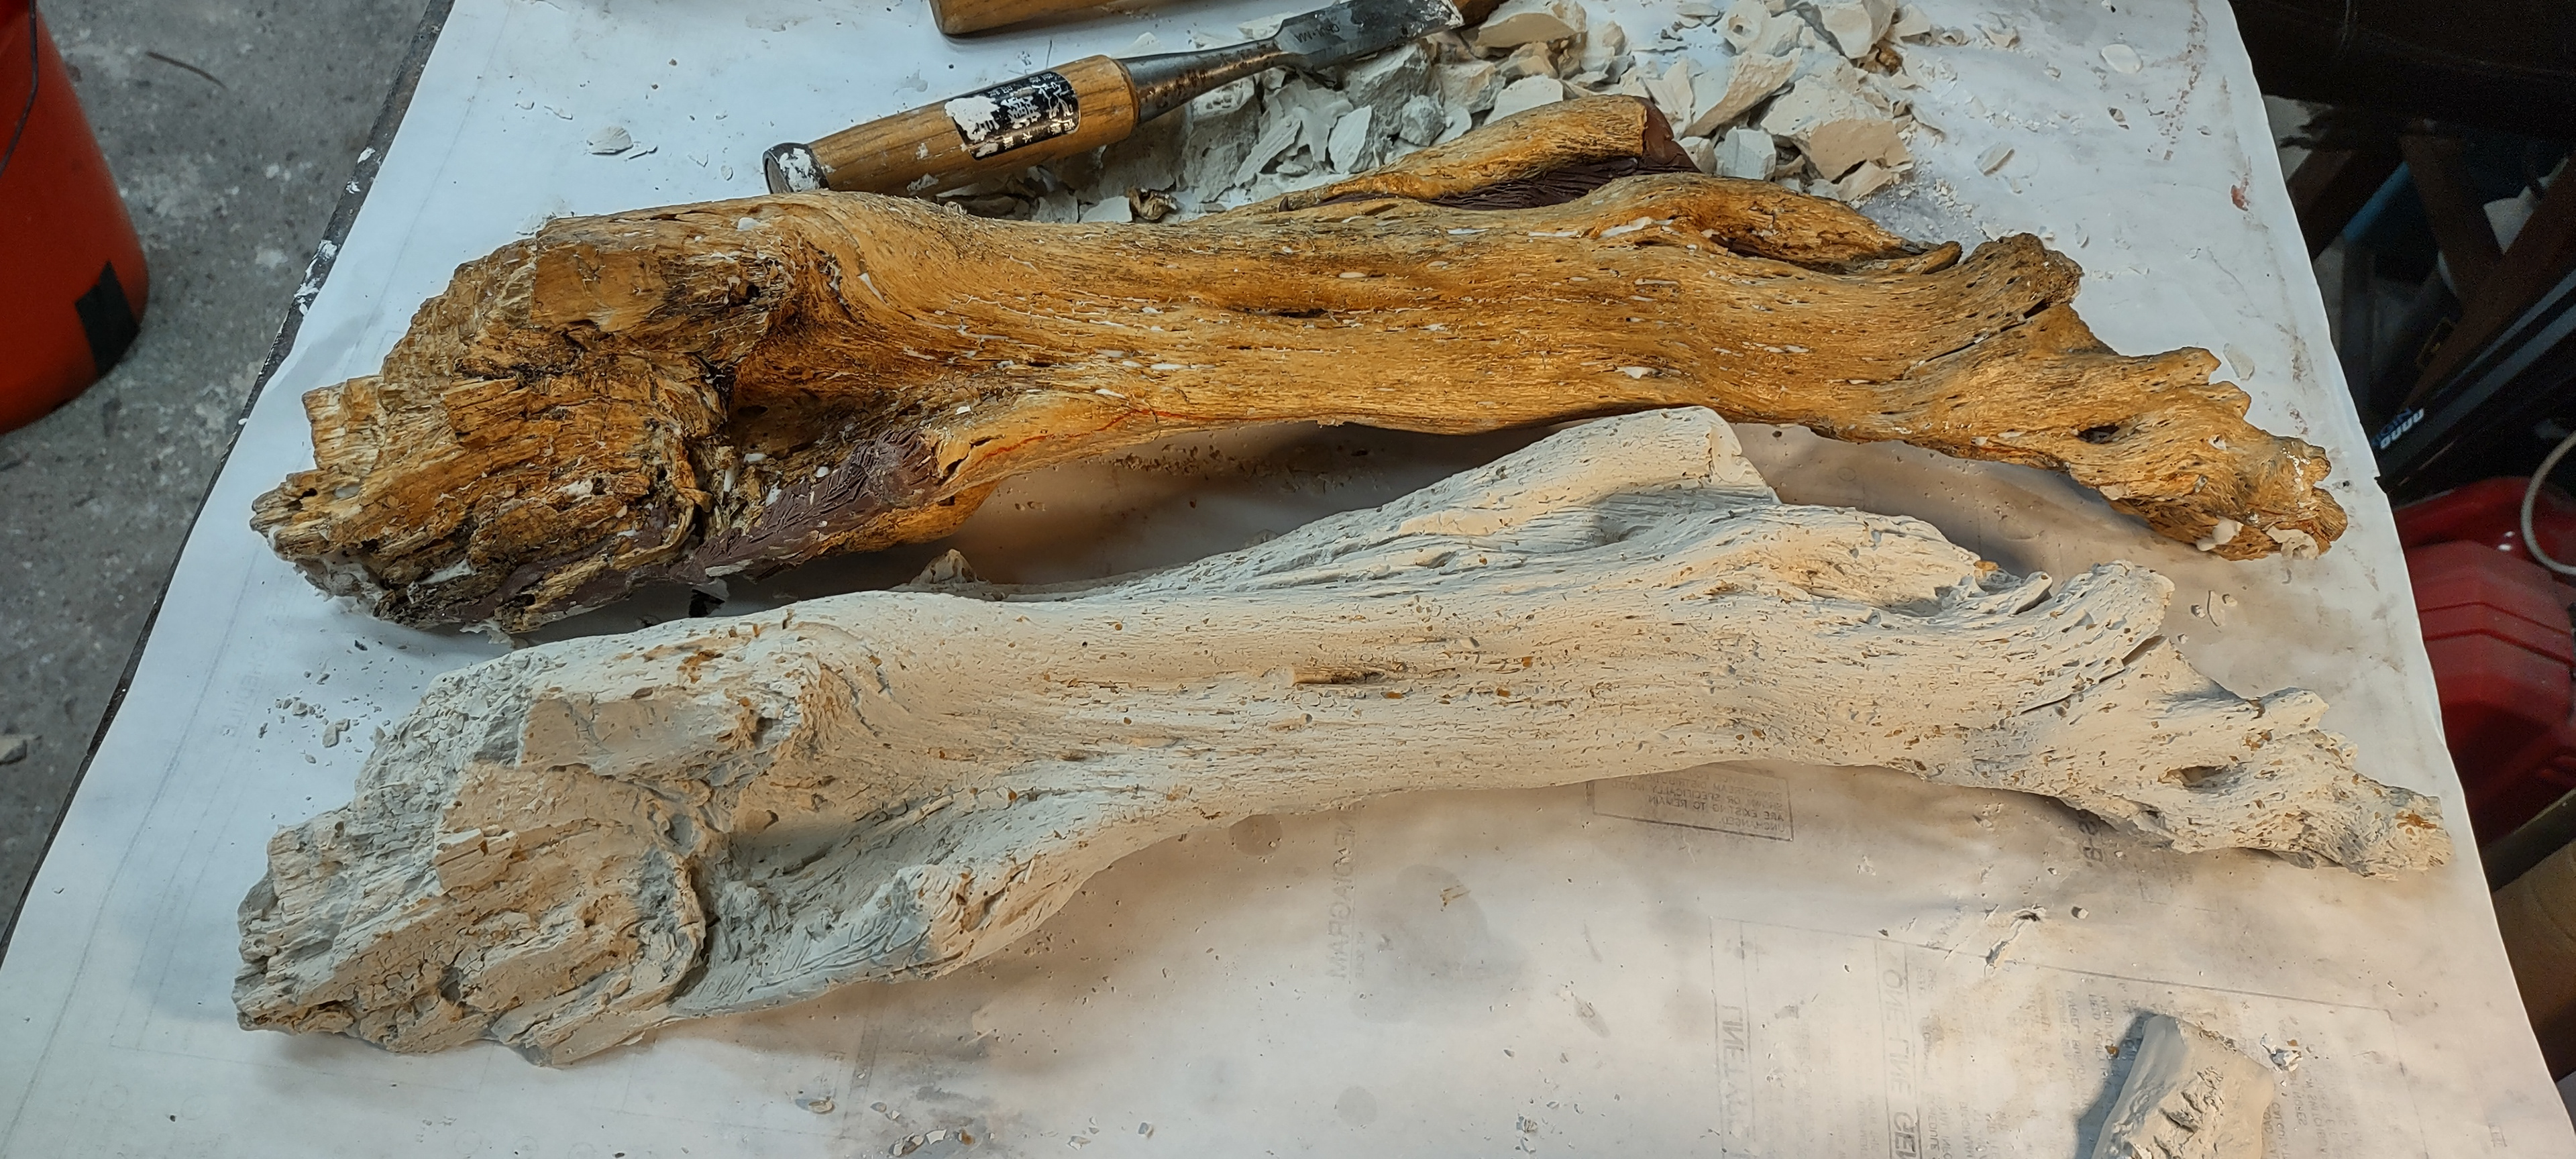
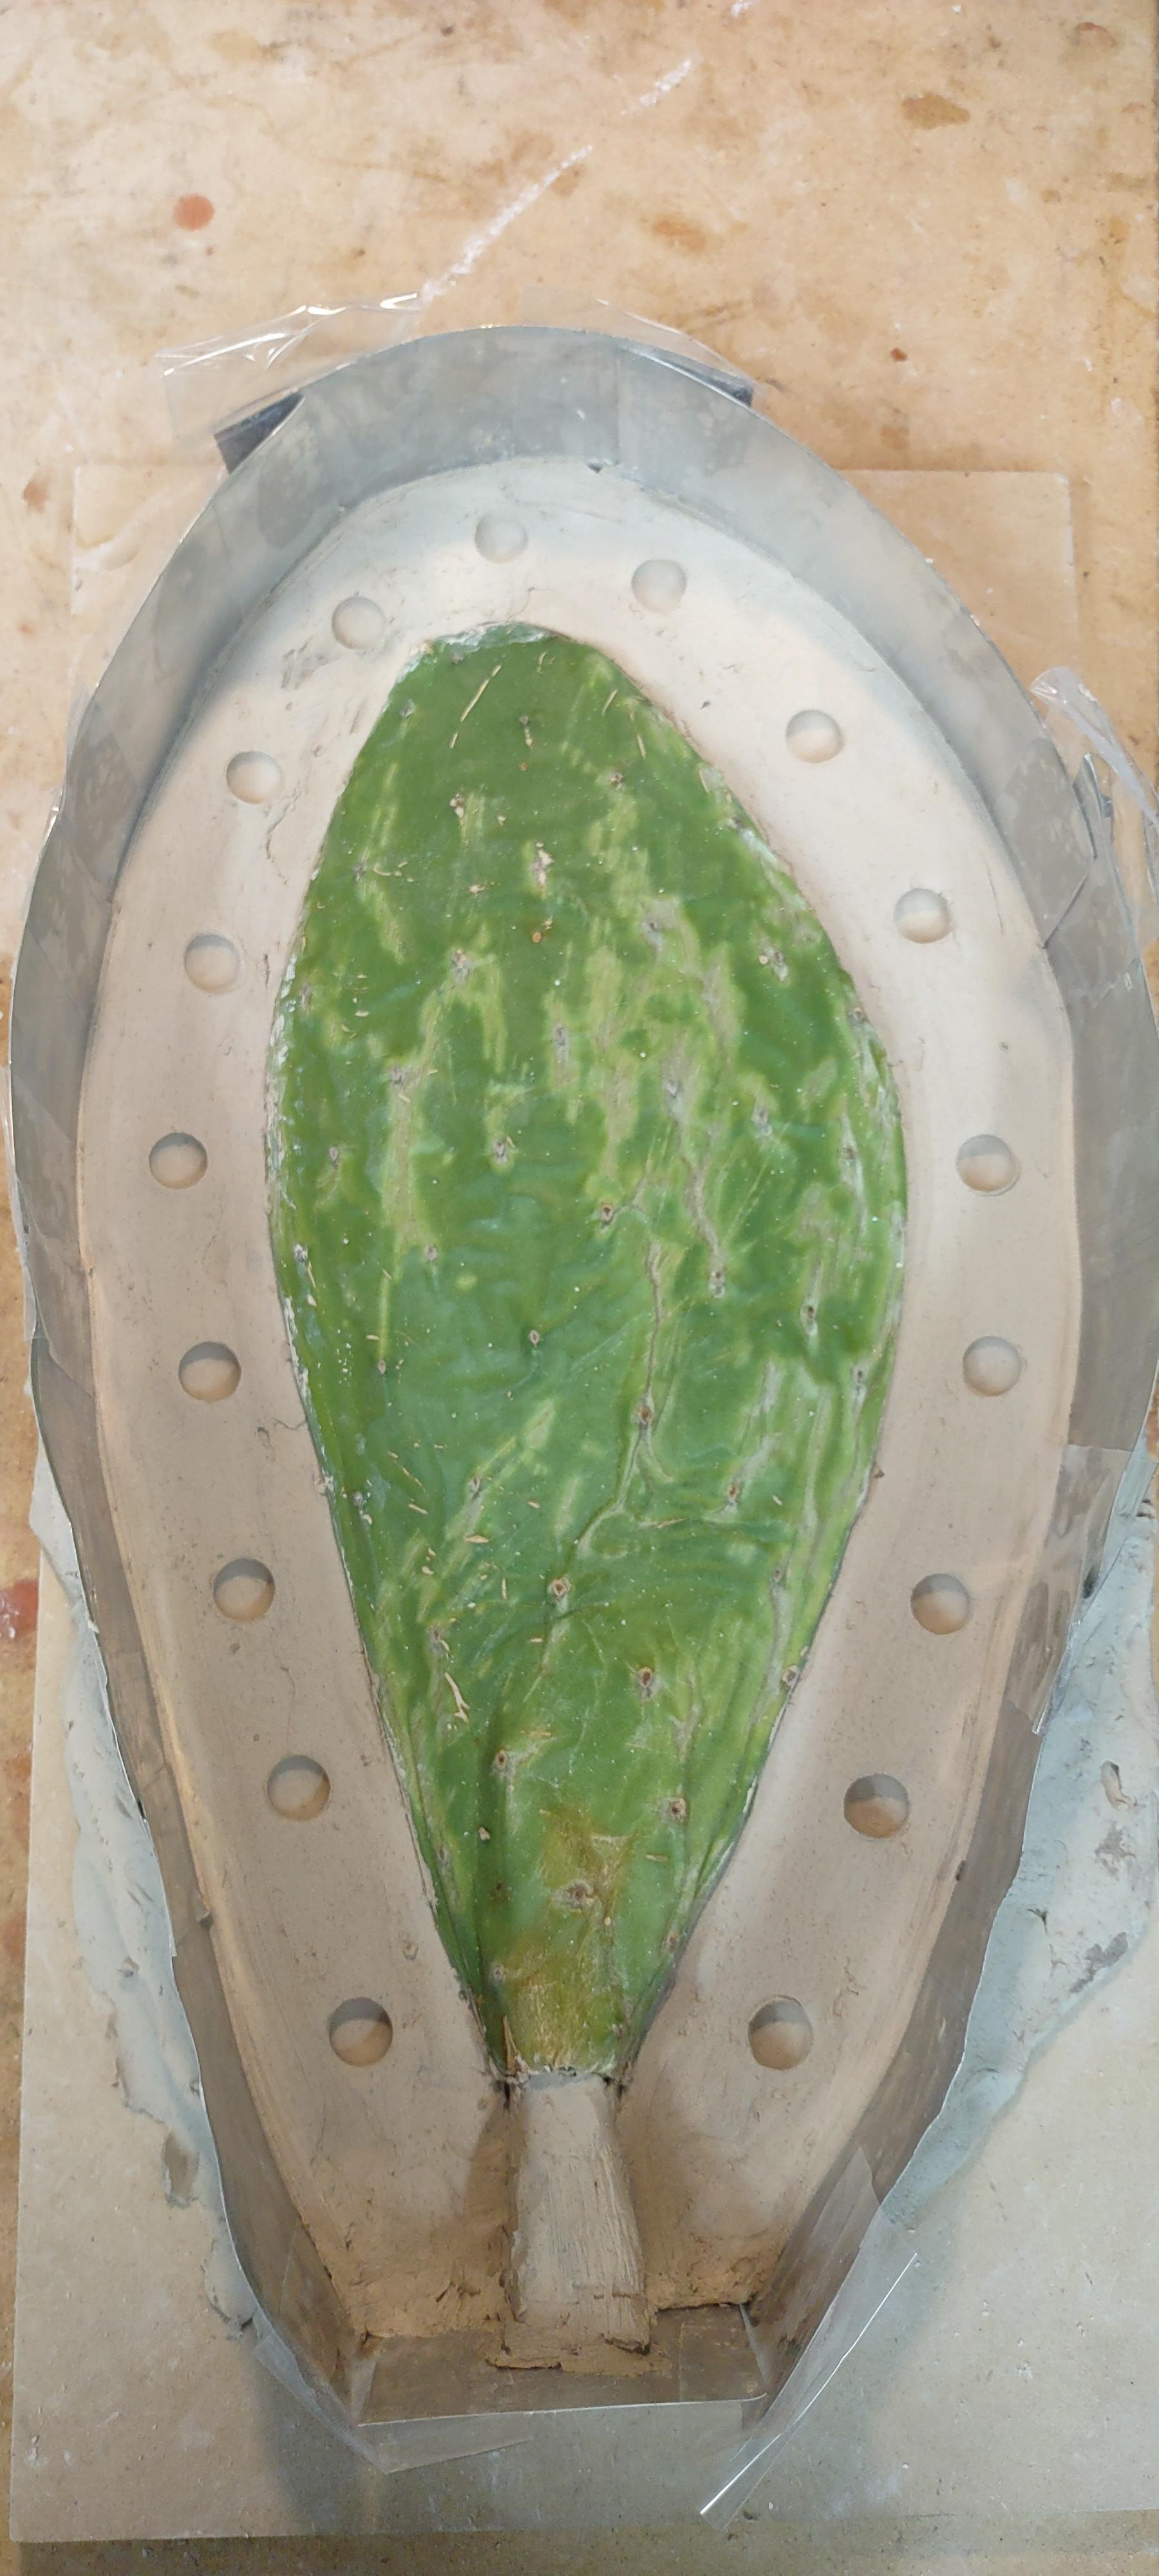
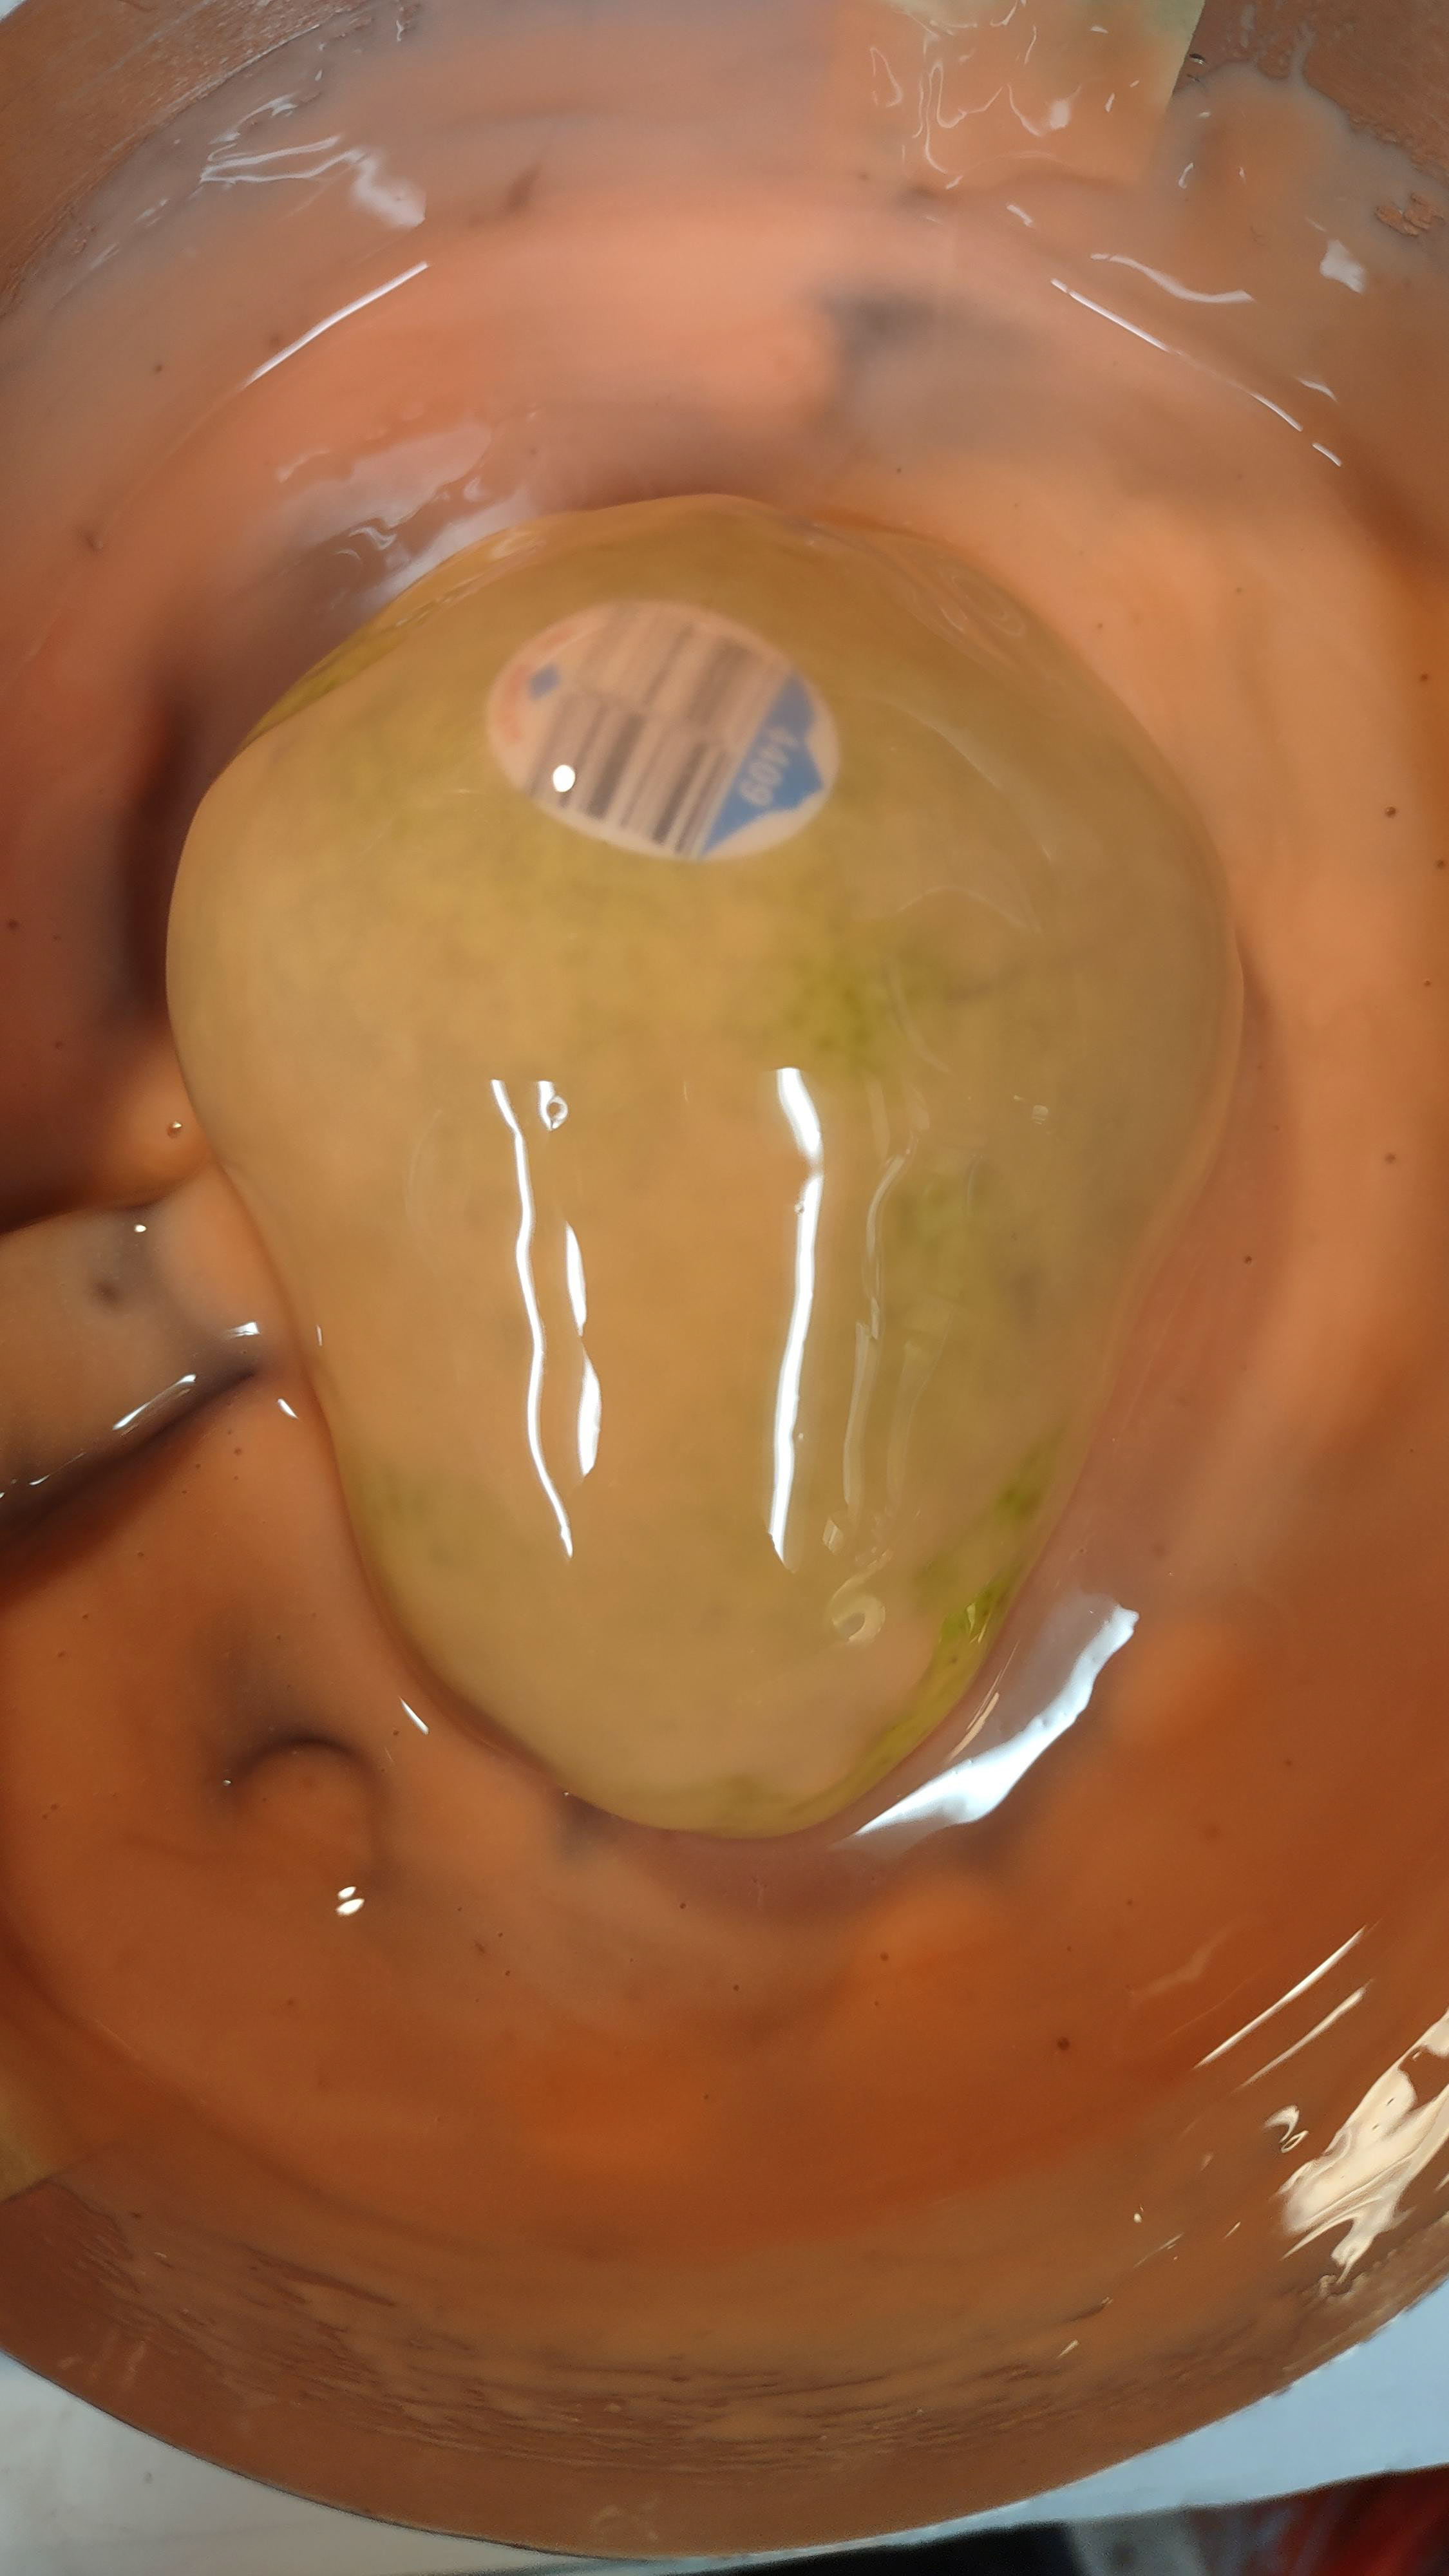
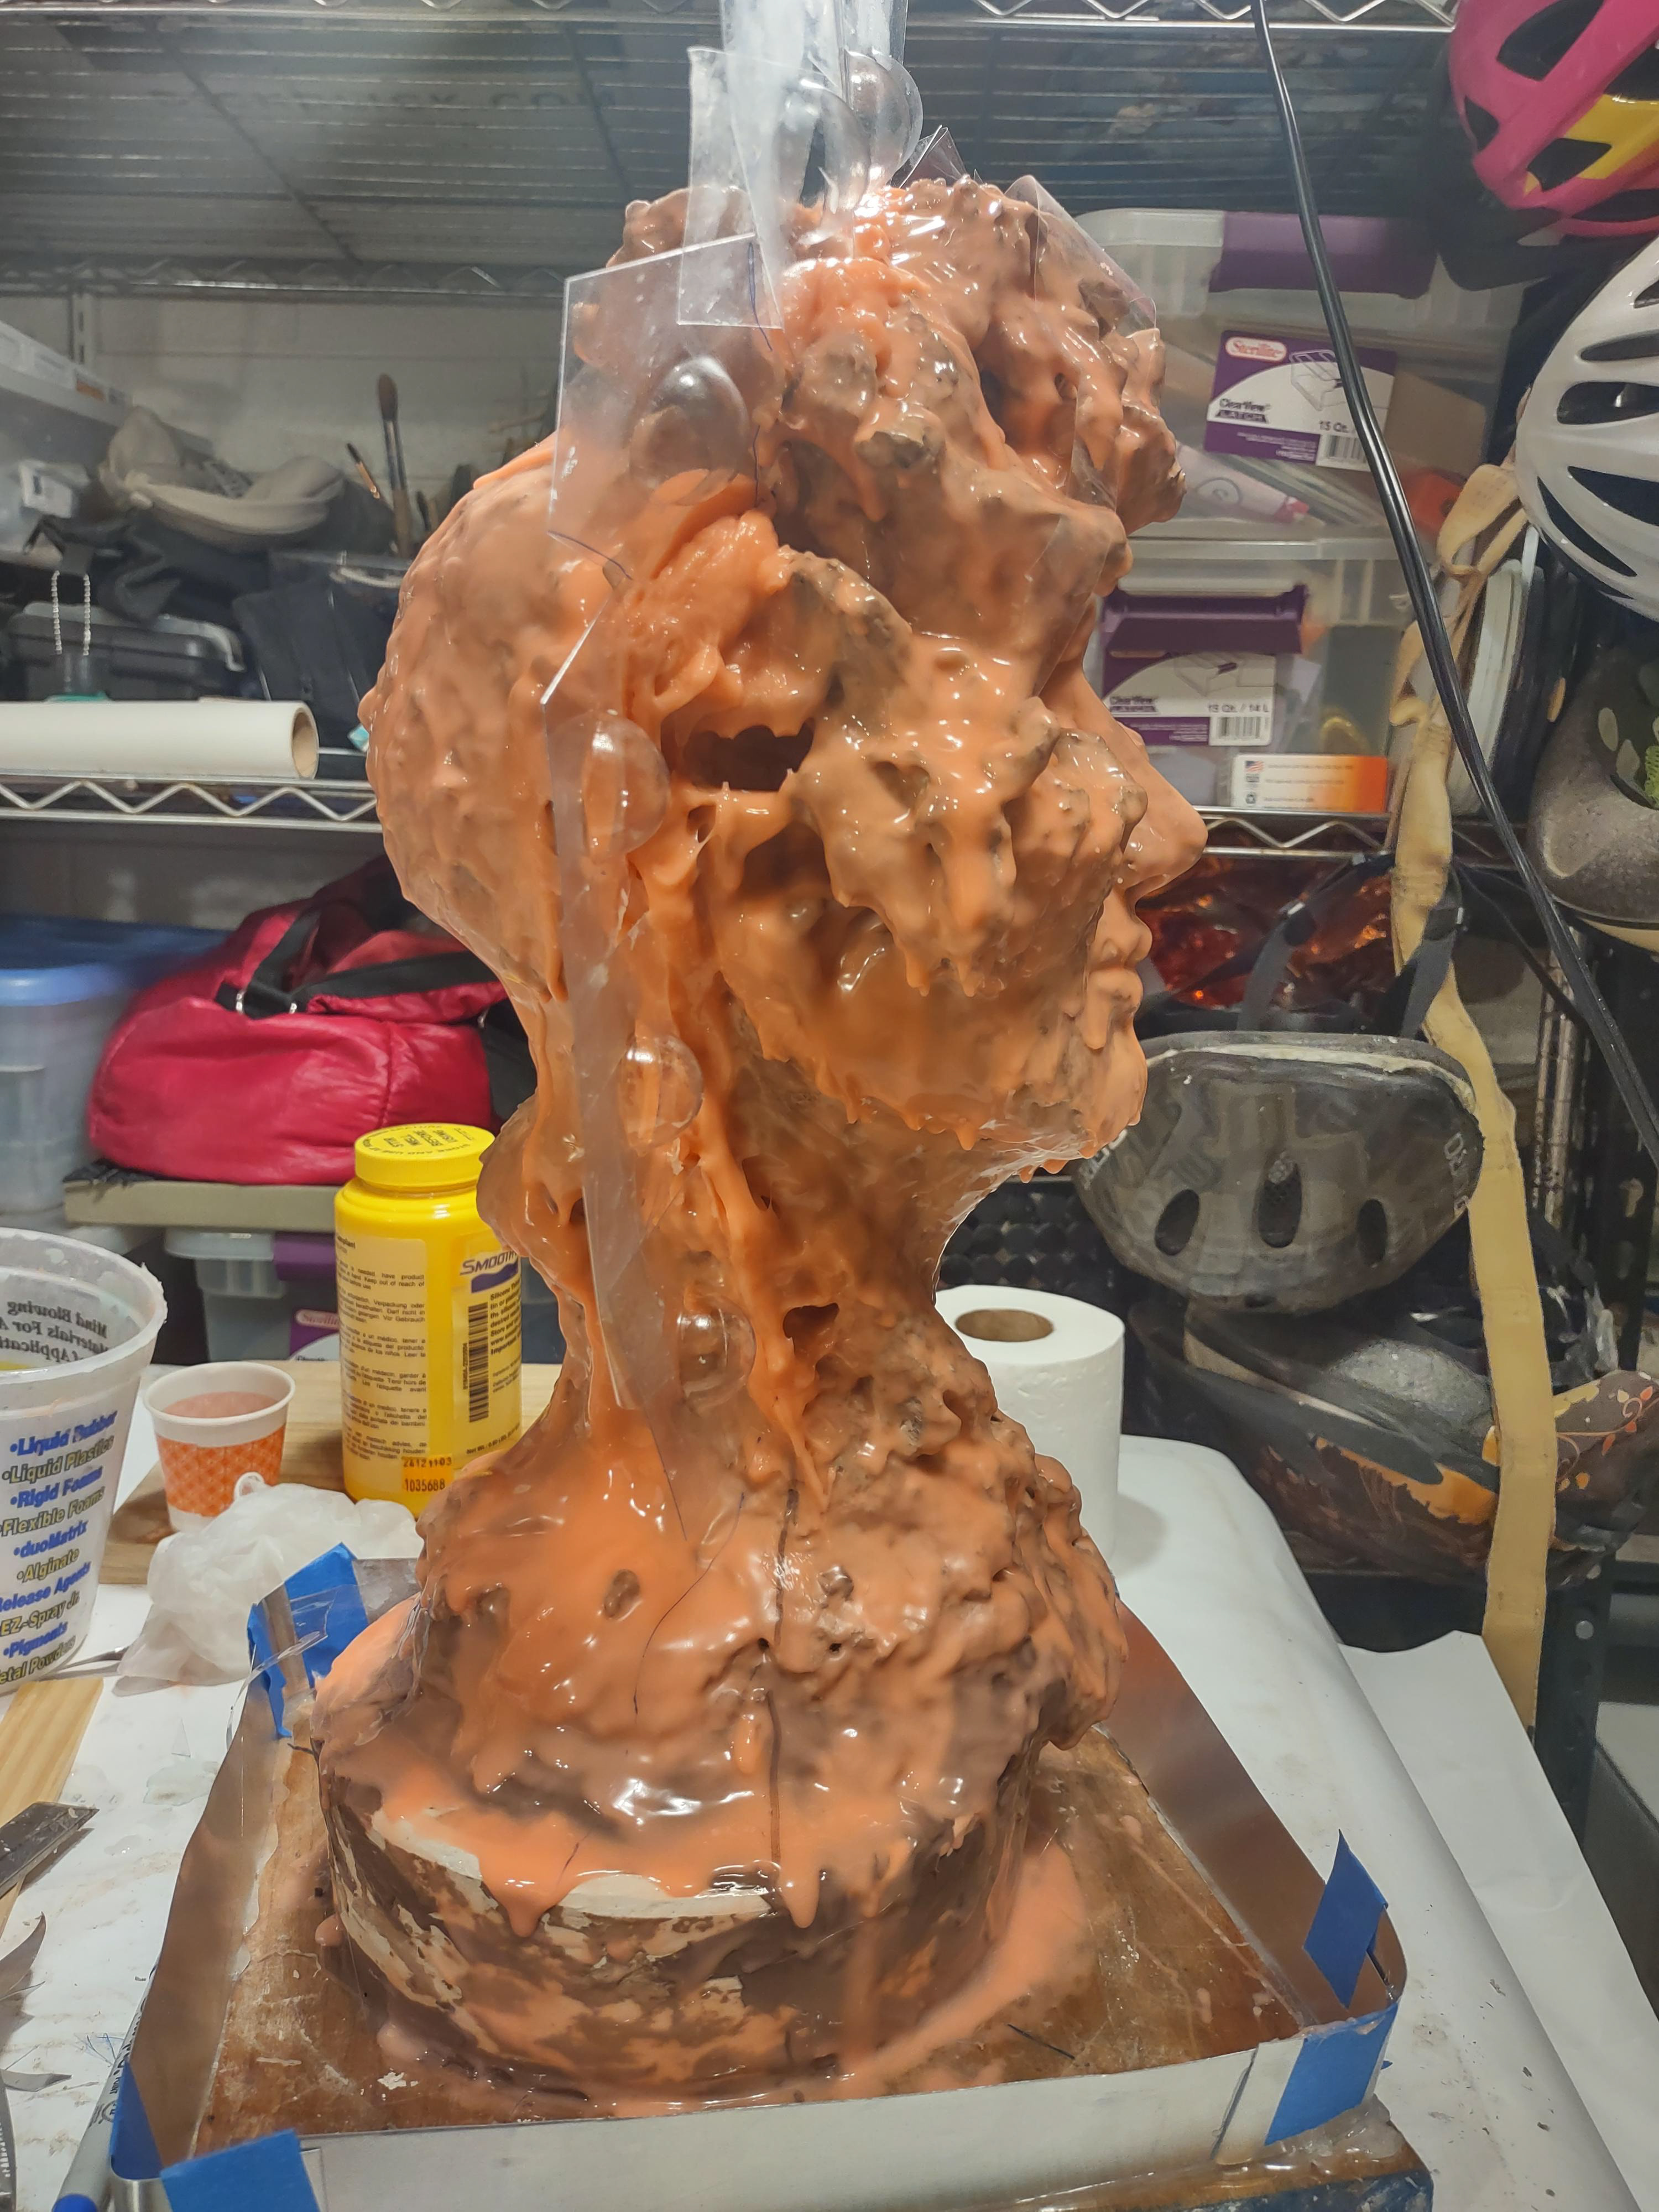
One part of mold : The mold from the tree. Casting in wax.

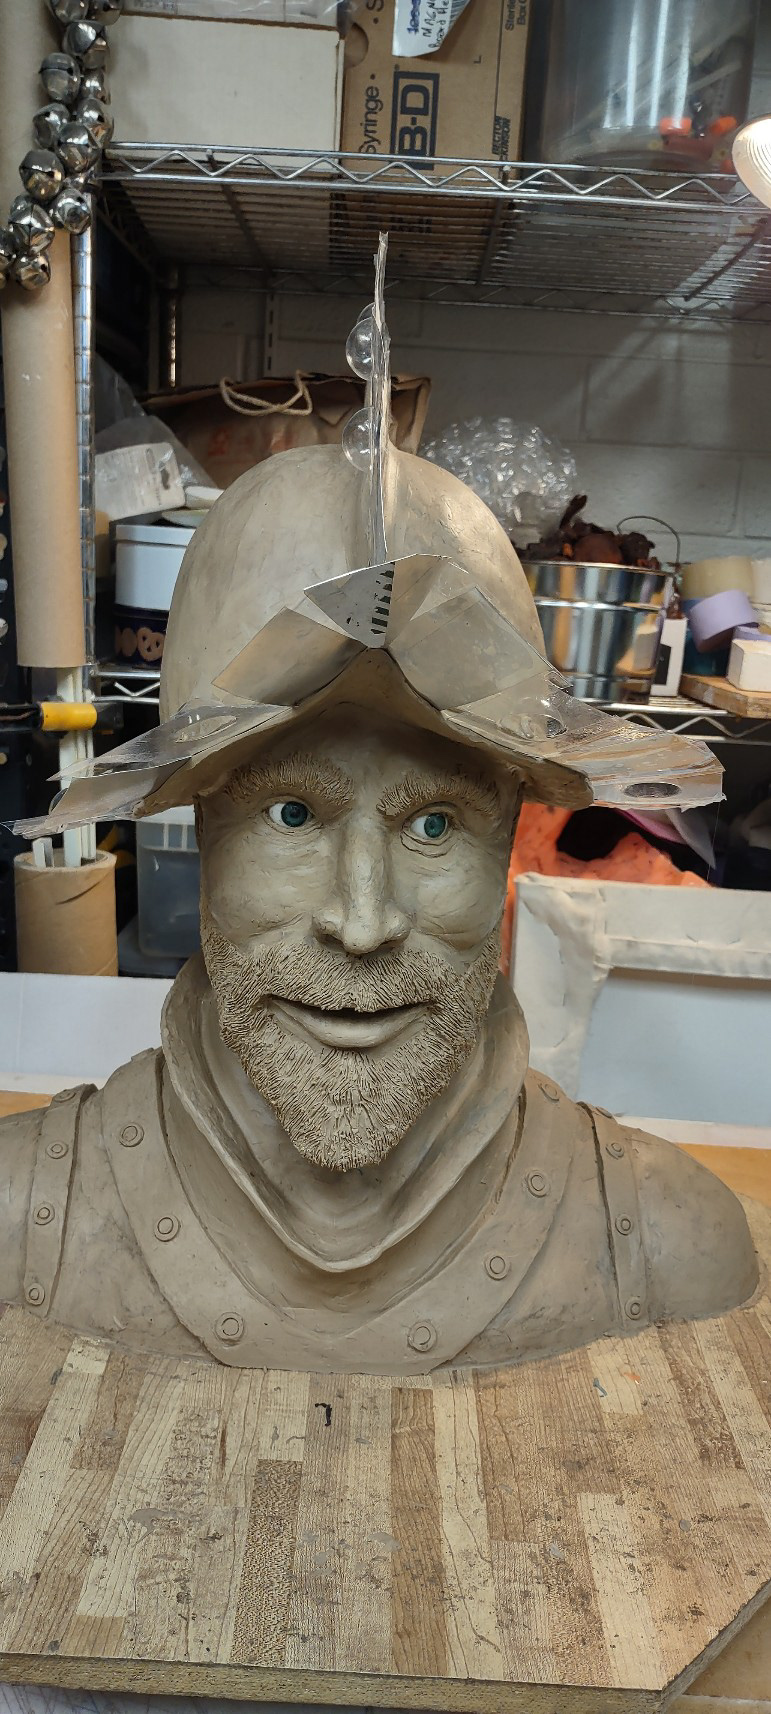
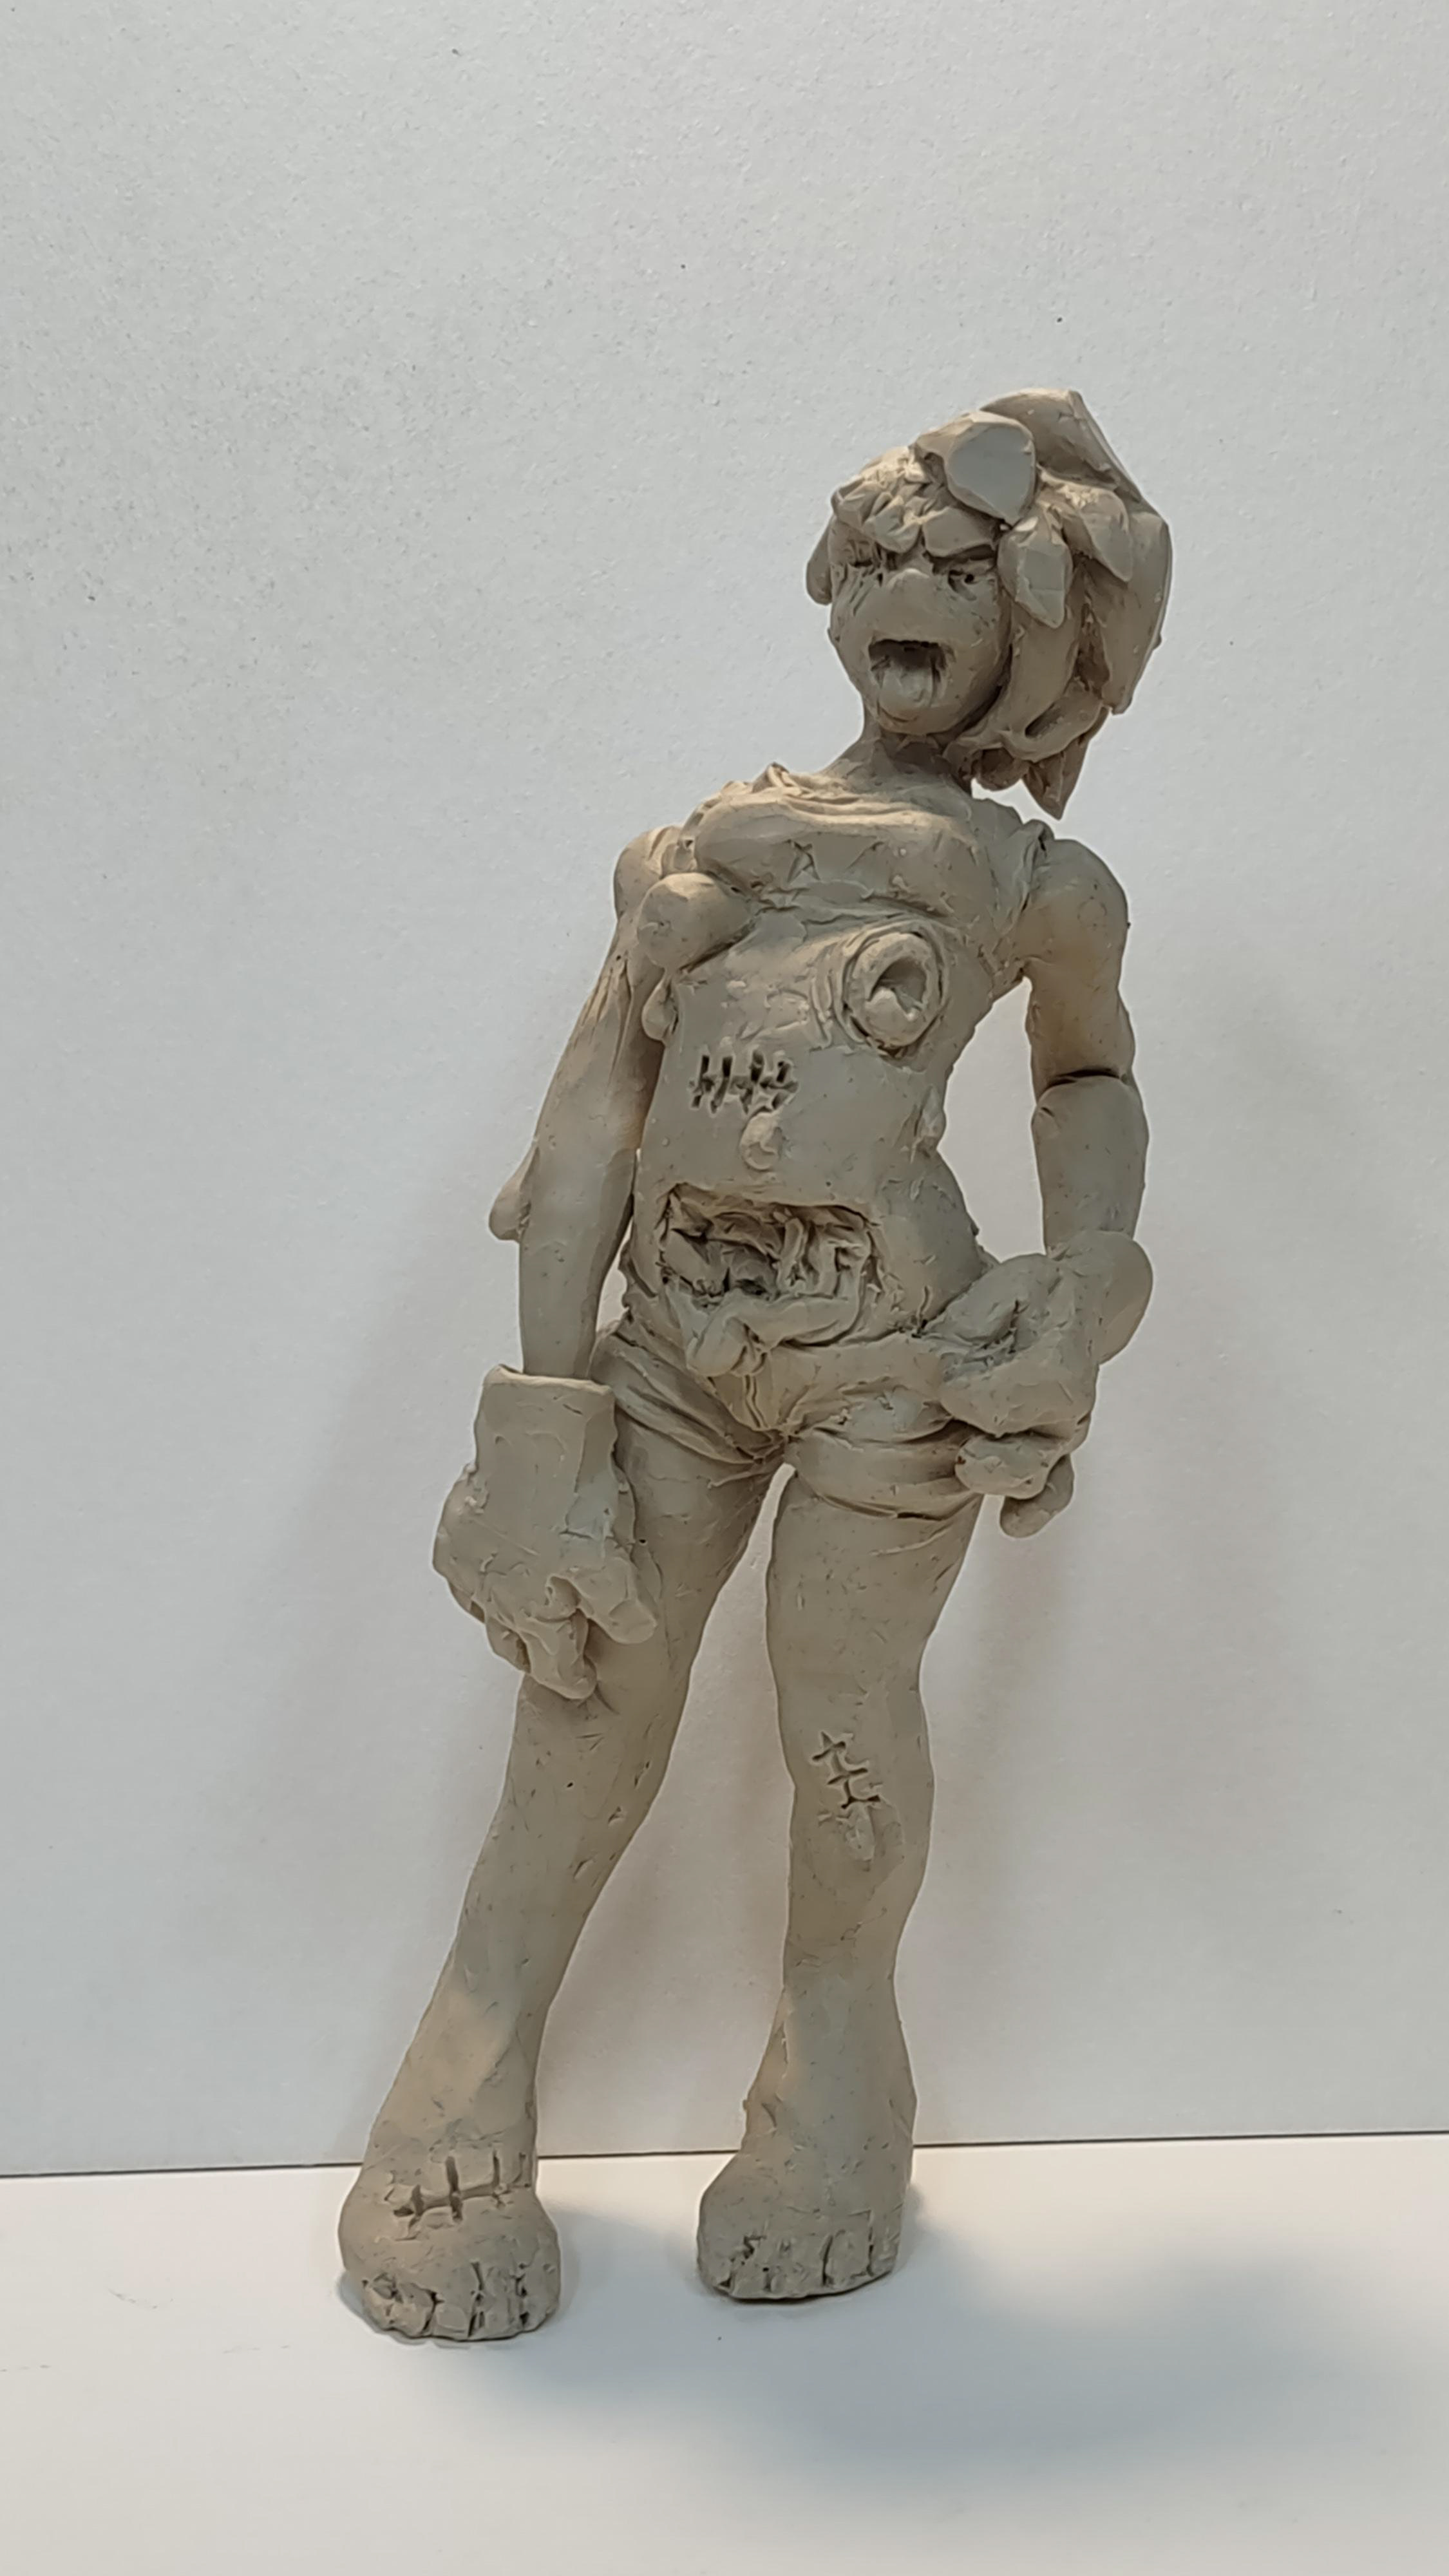
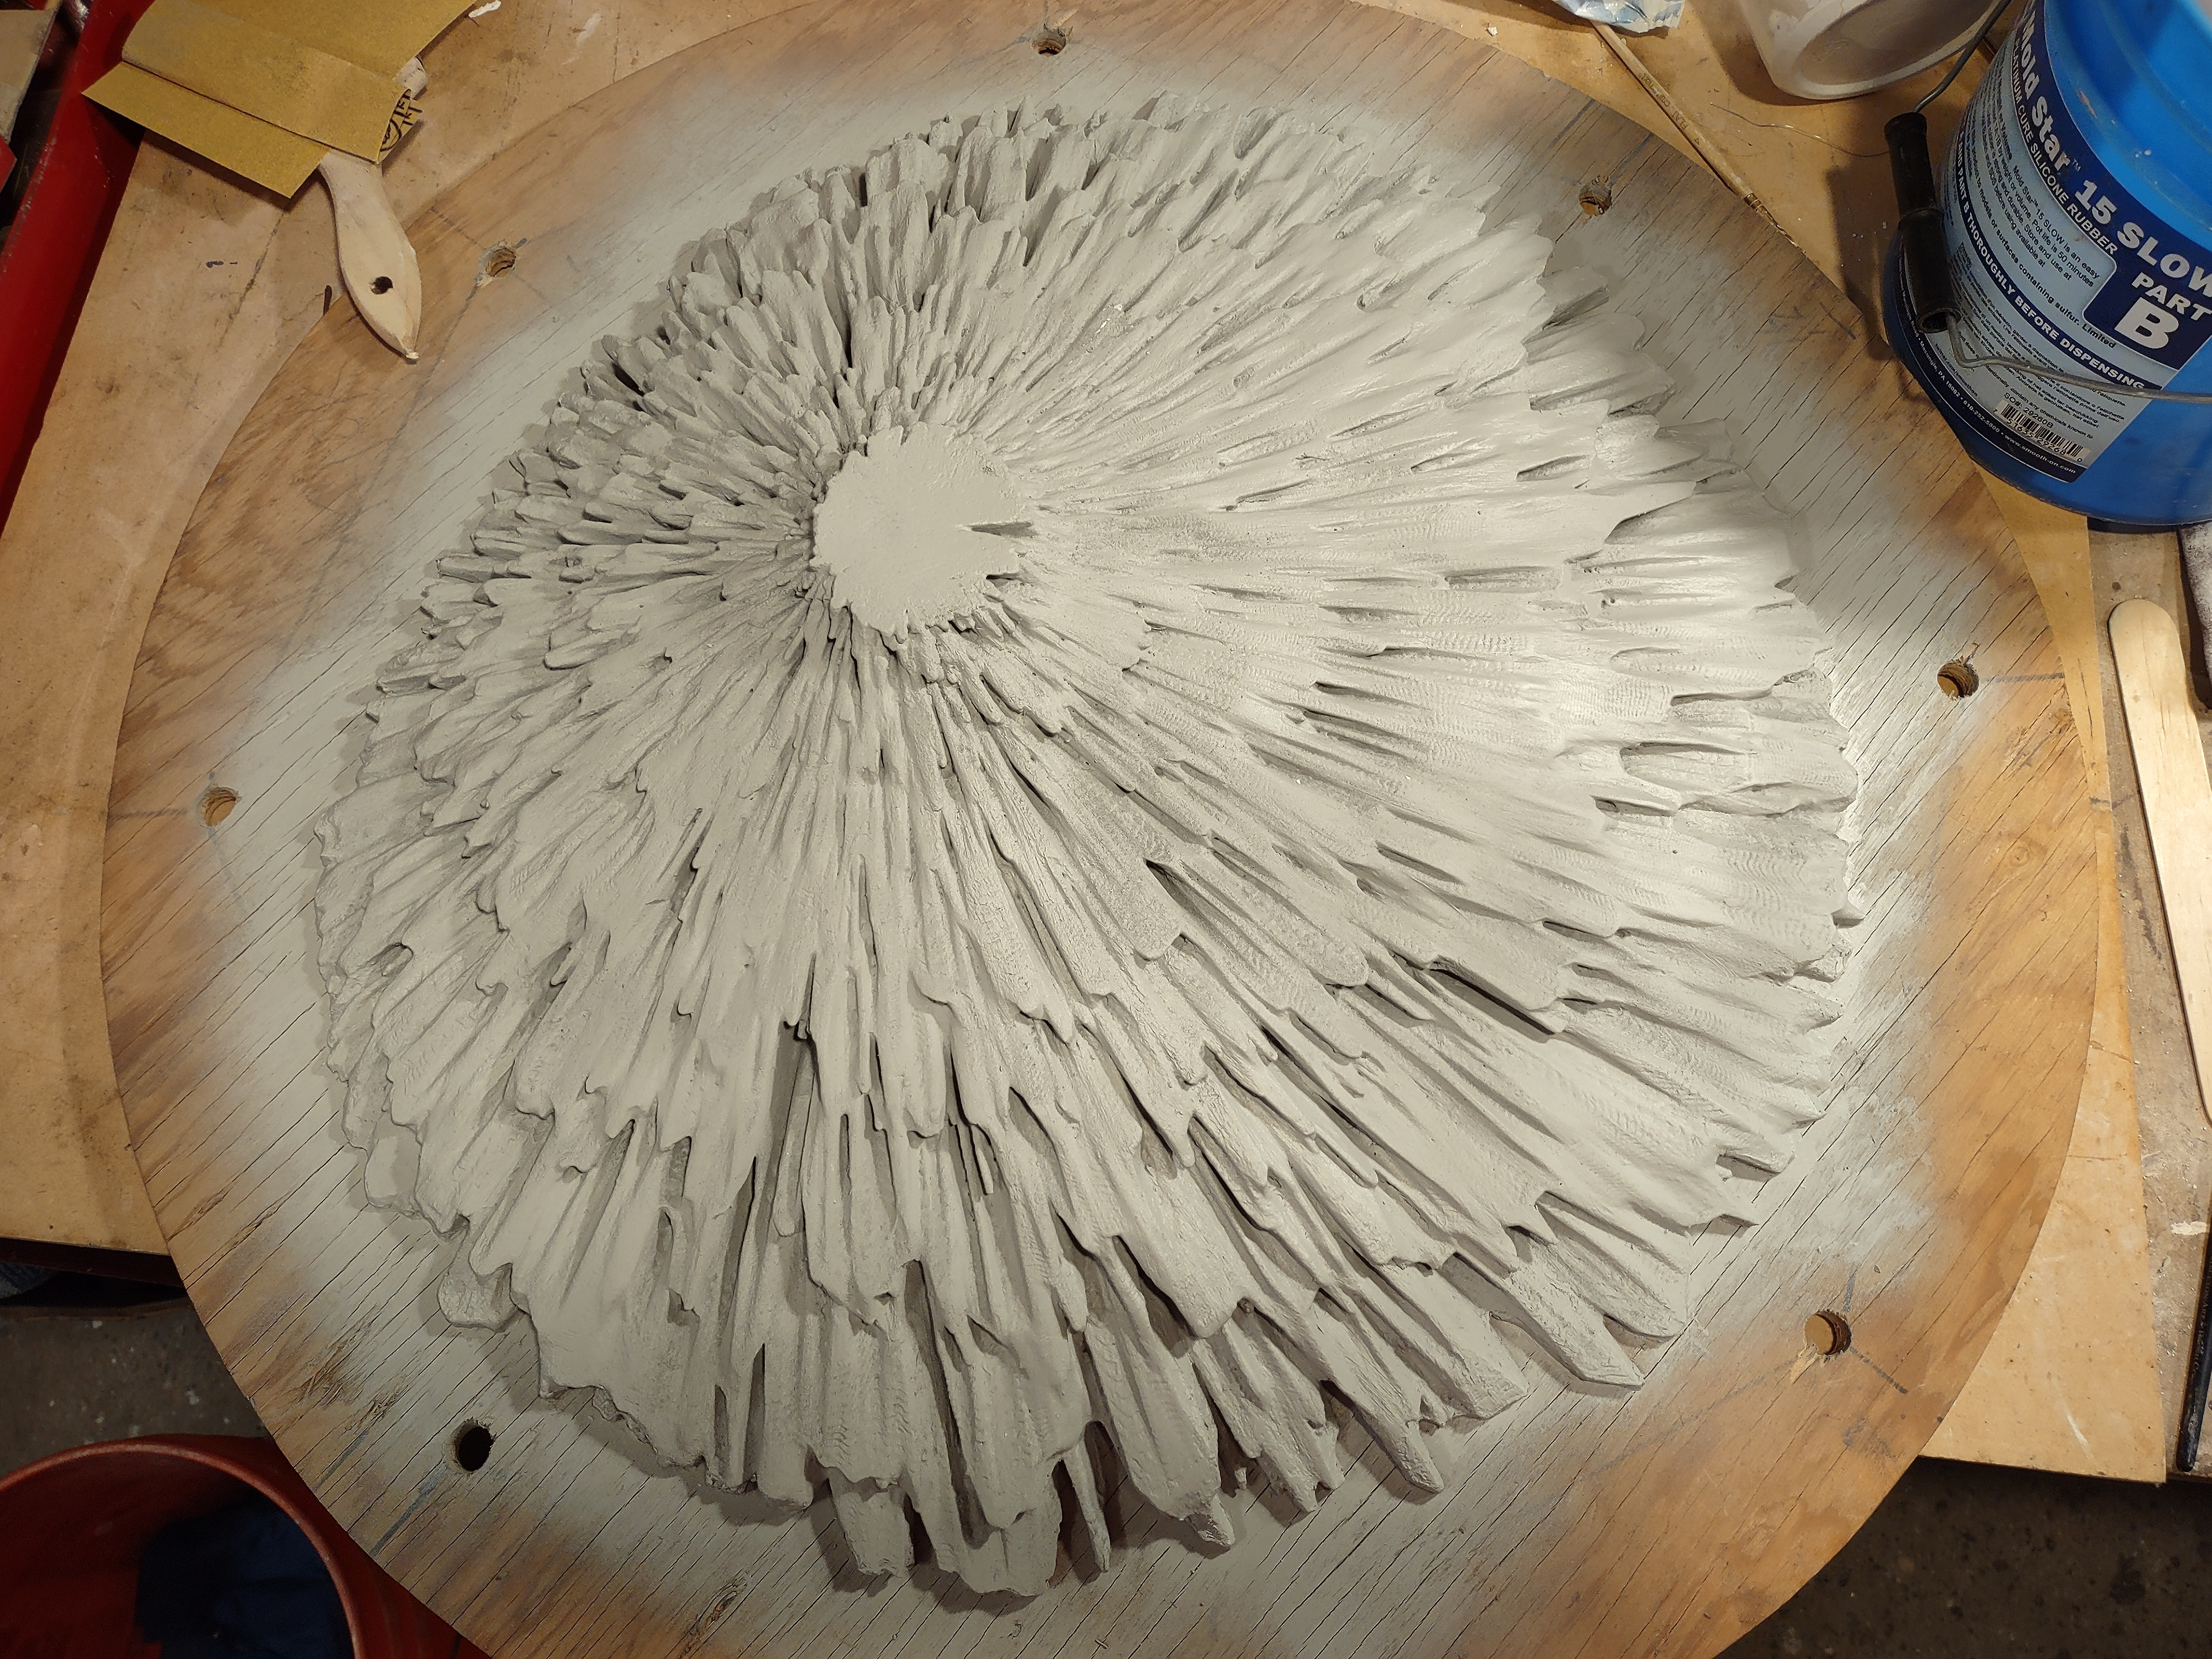
3D design object.
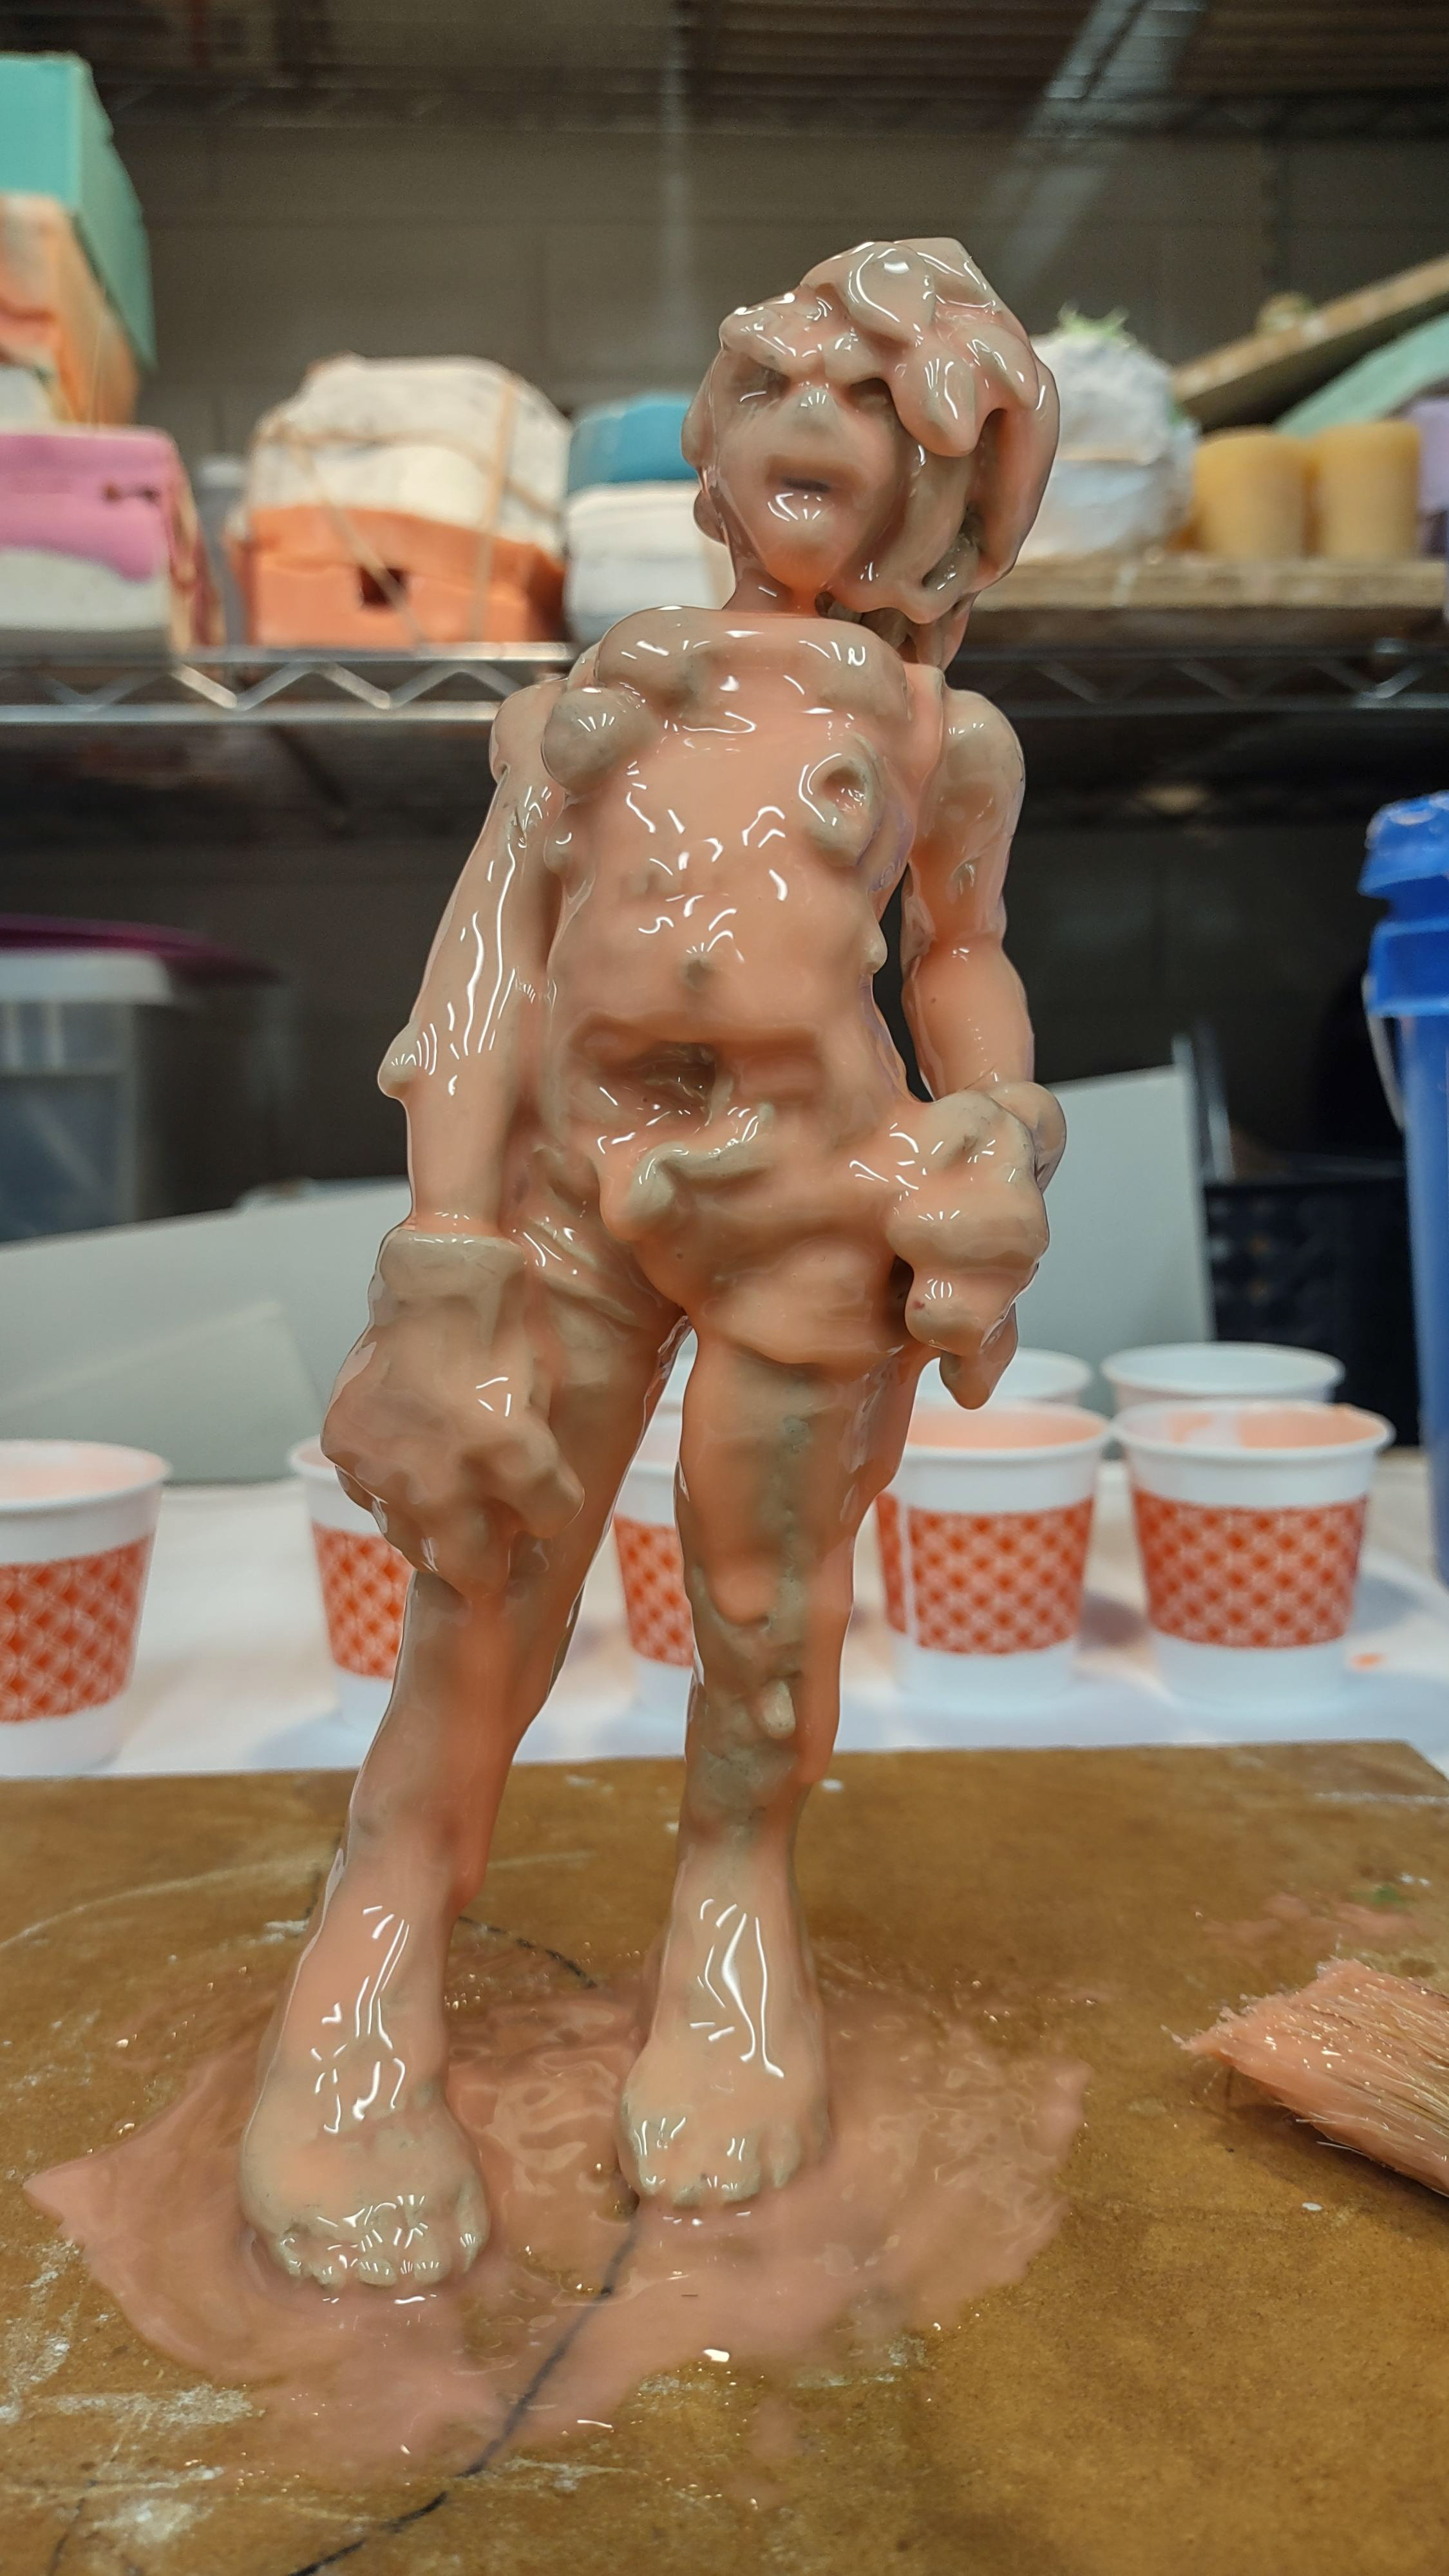
Finishing the surface with the paint.
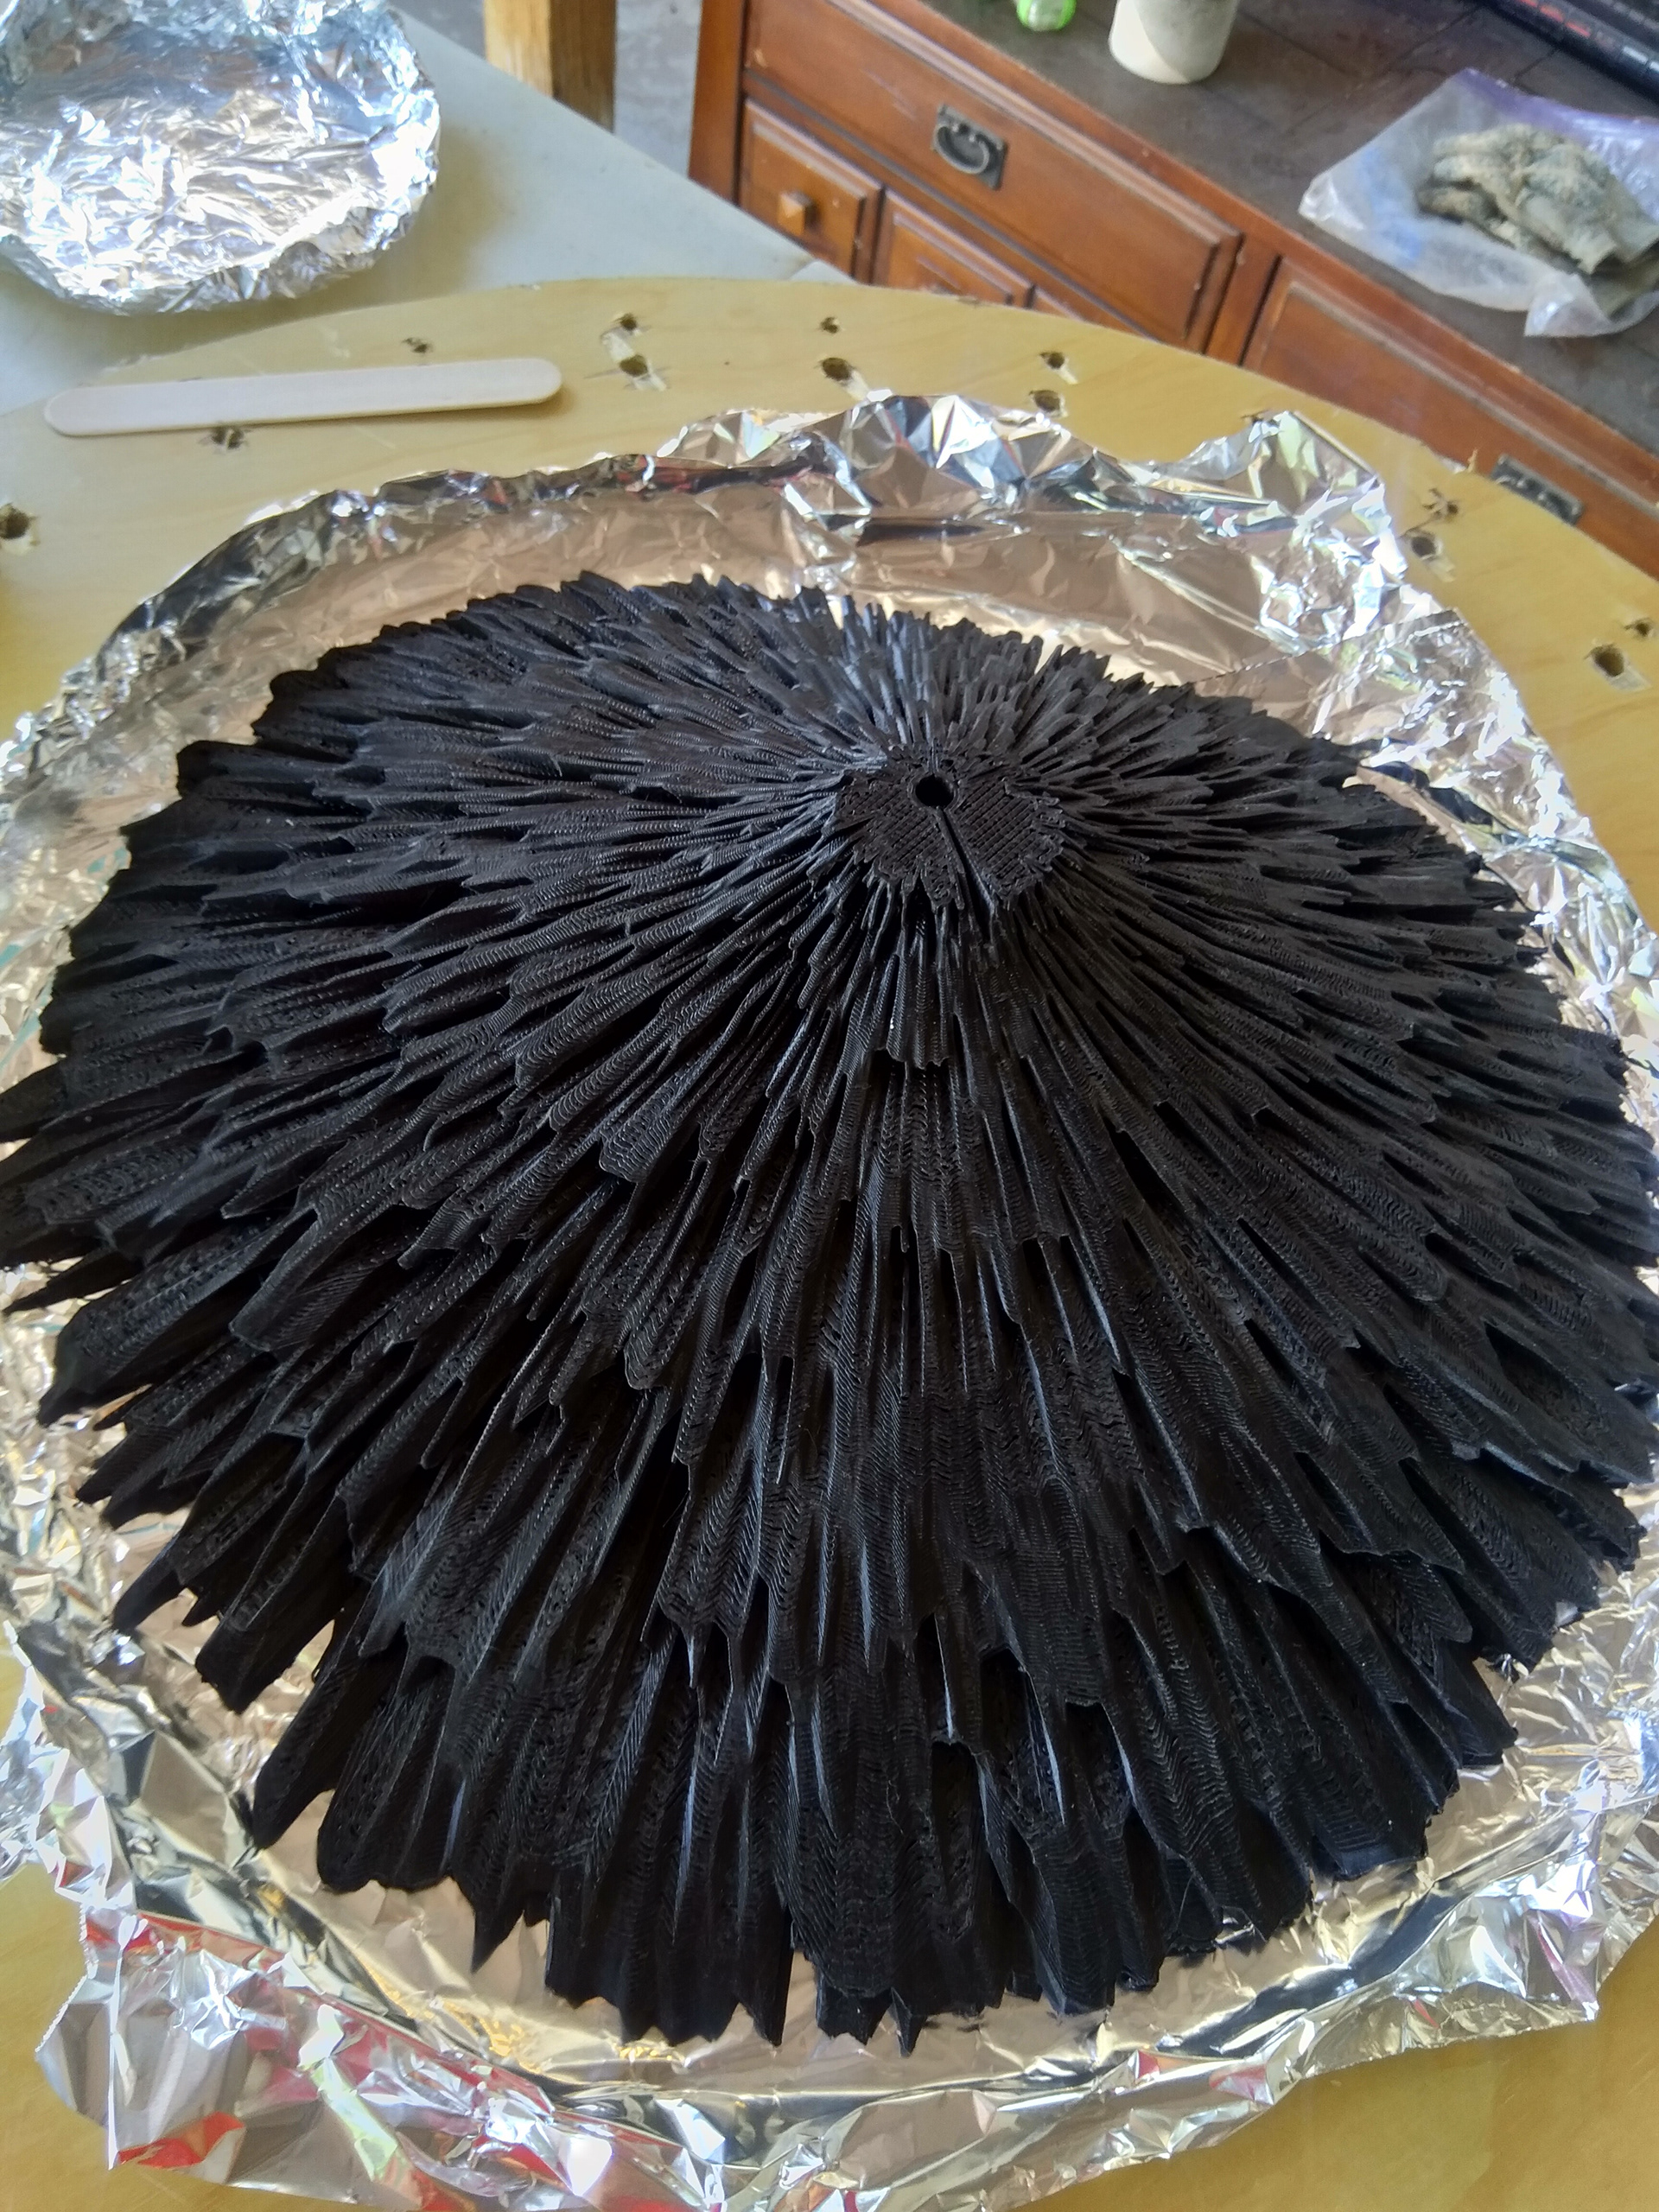
3D printing object.
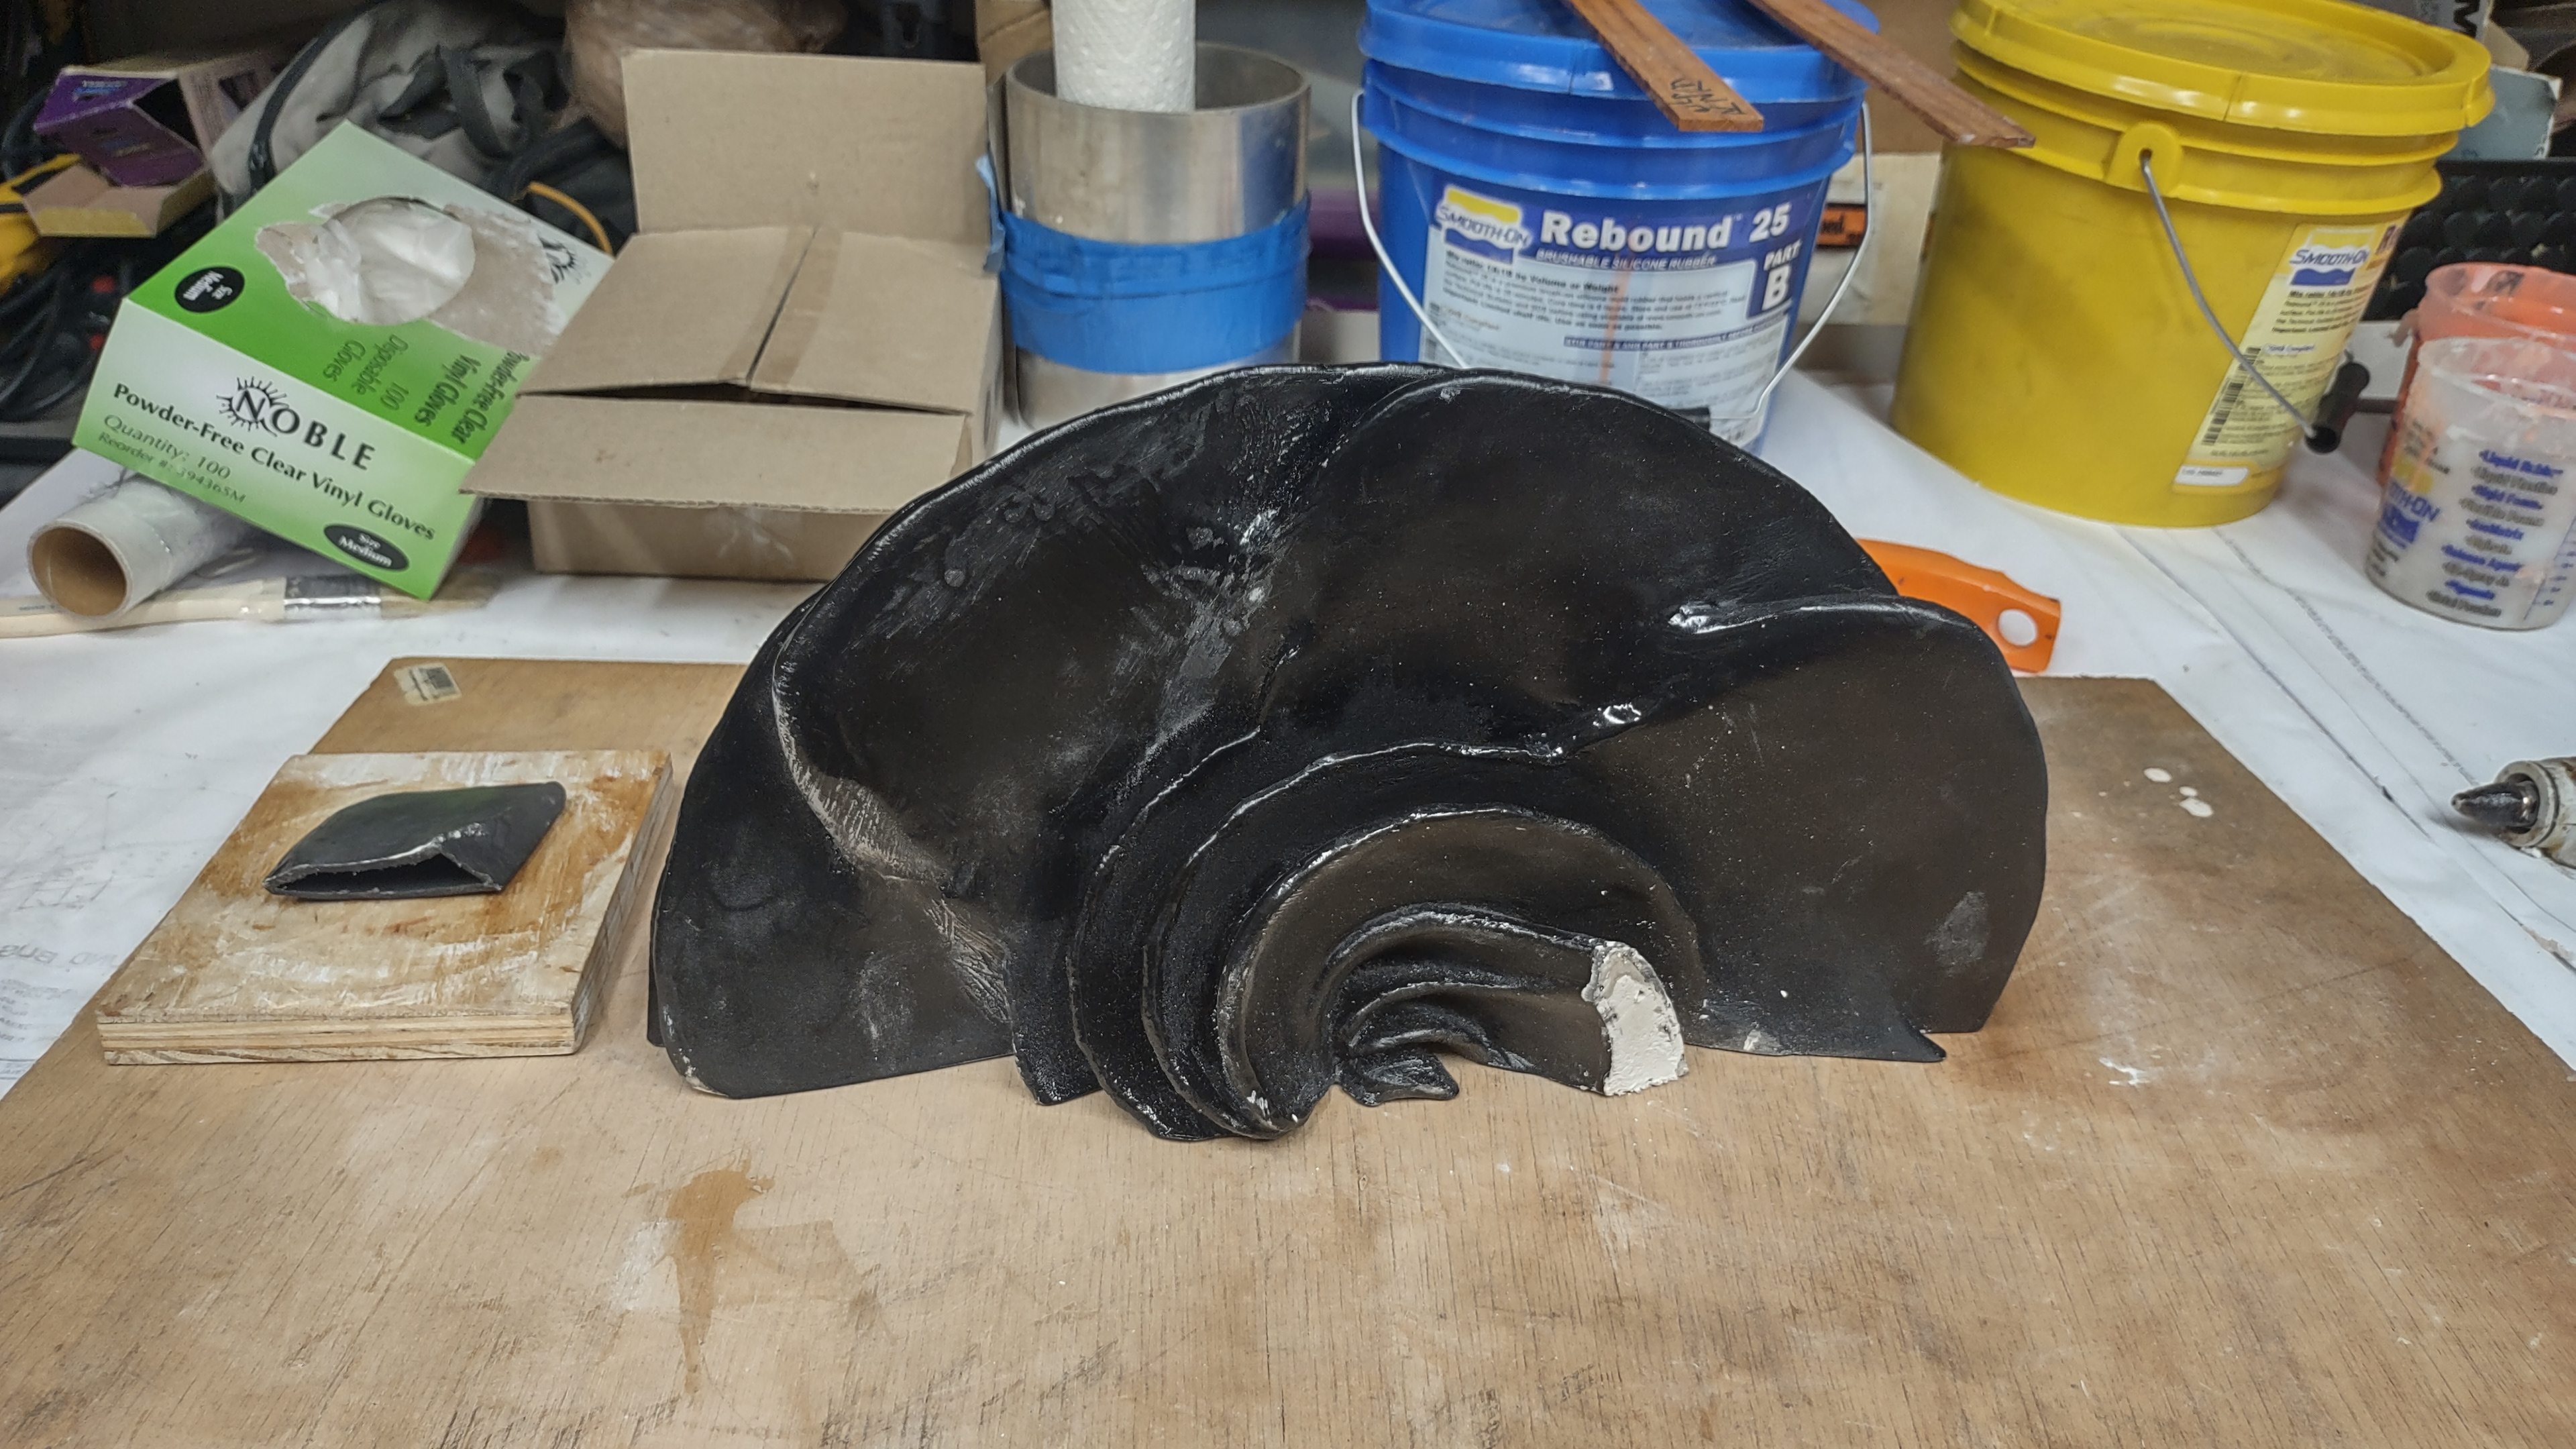
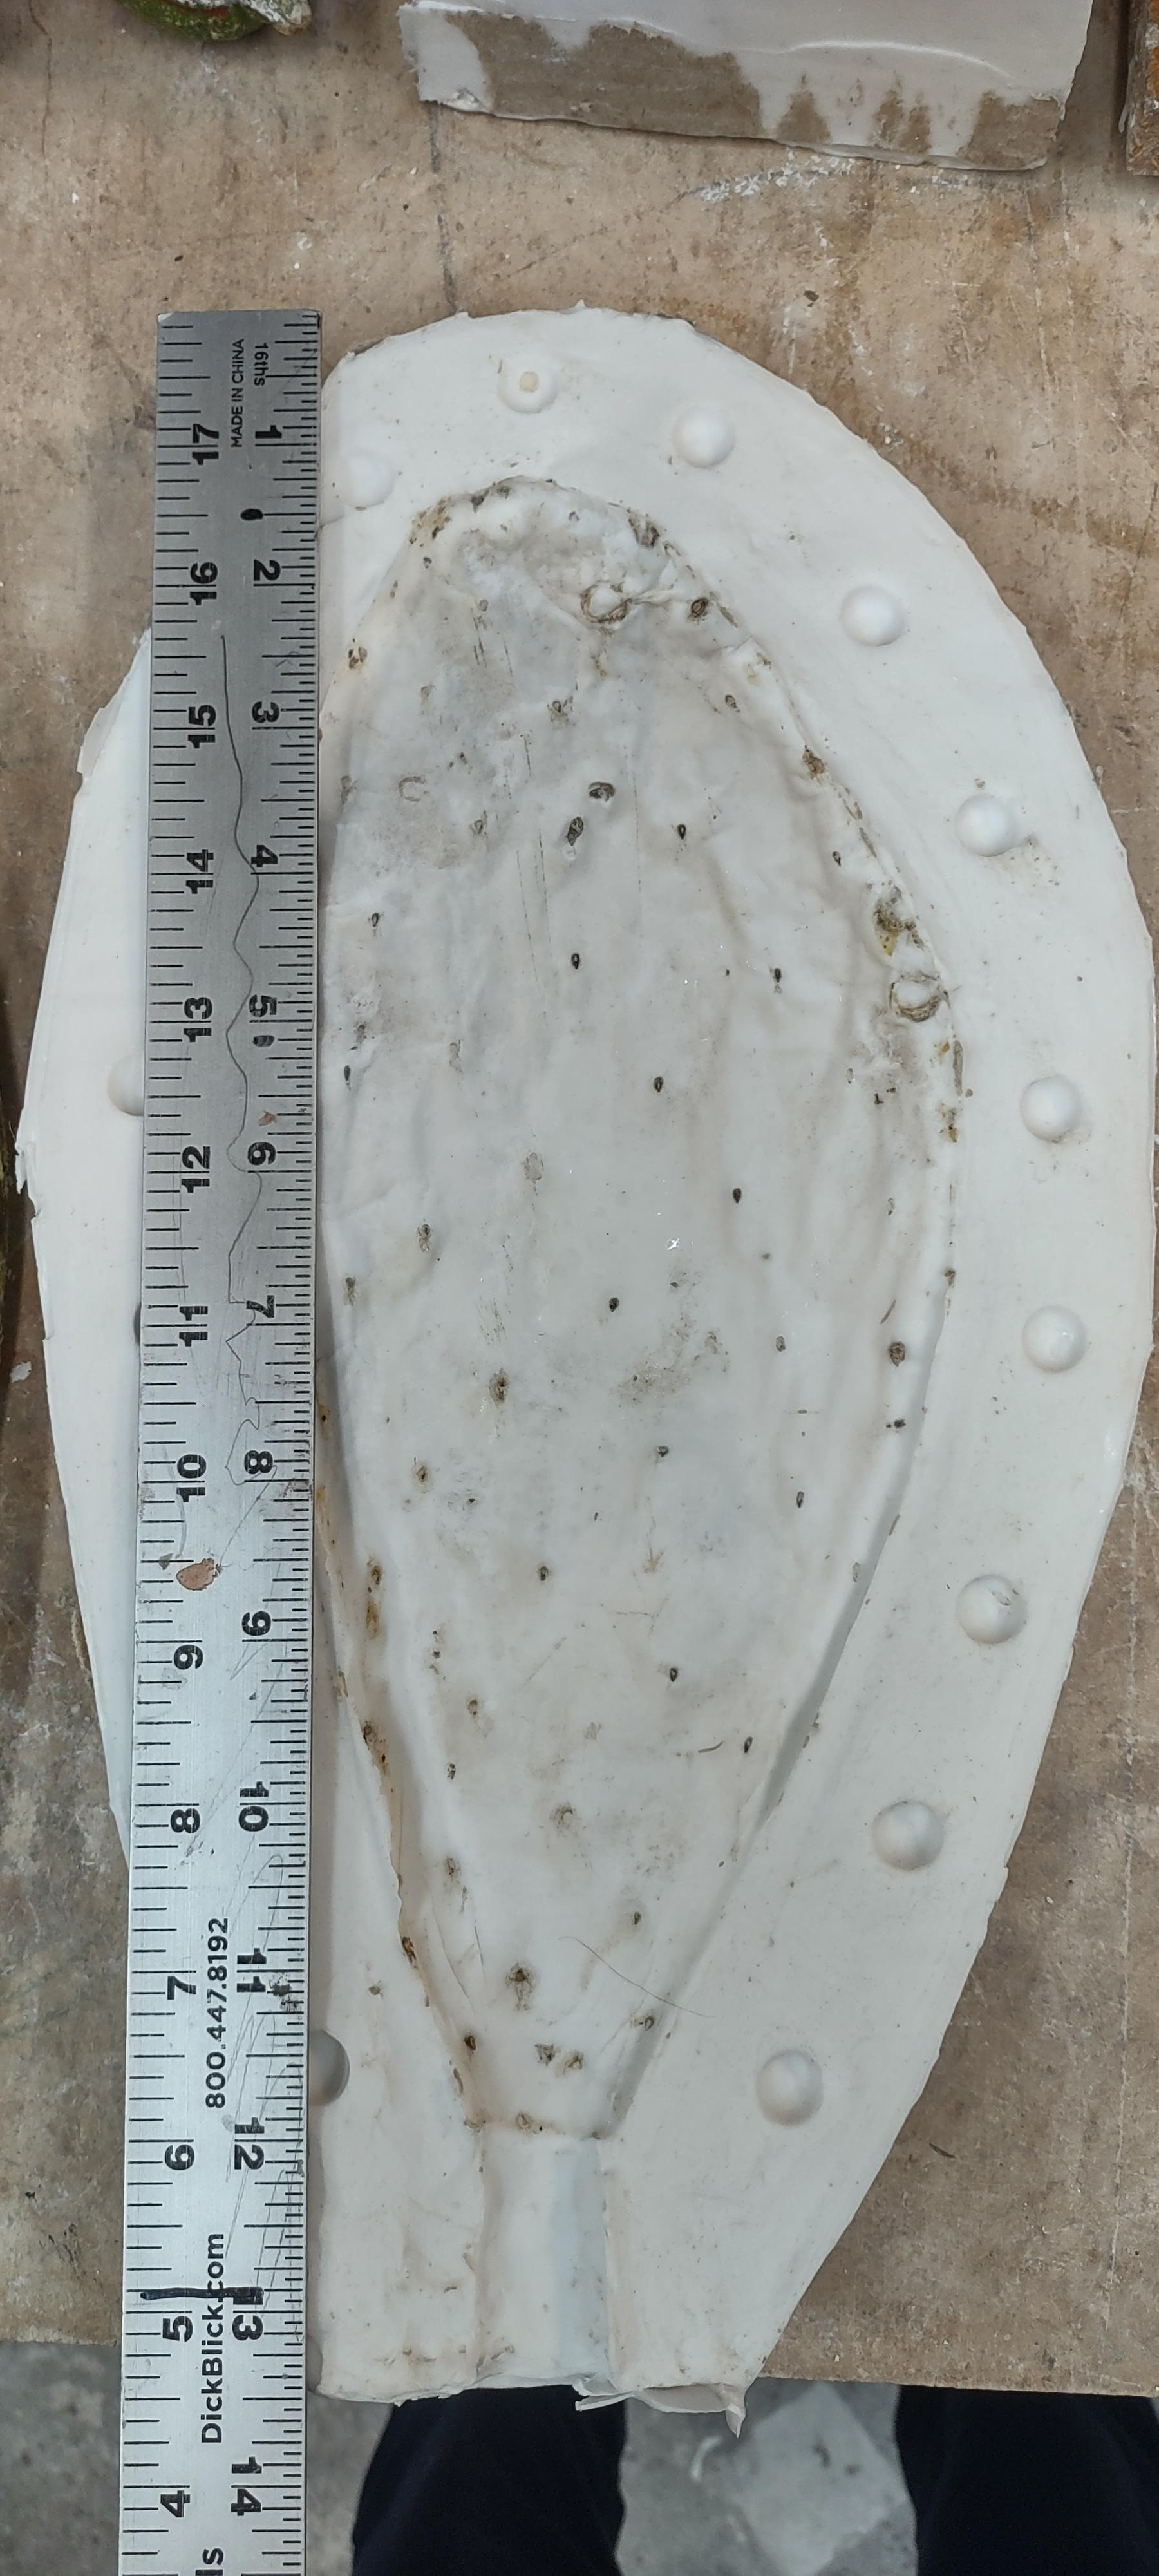
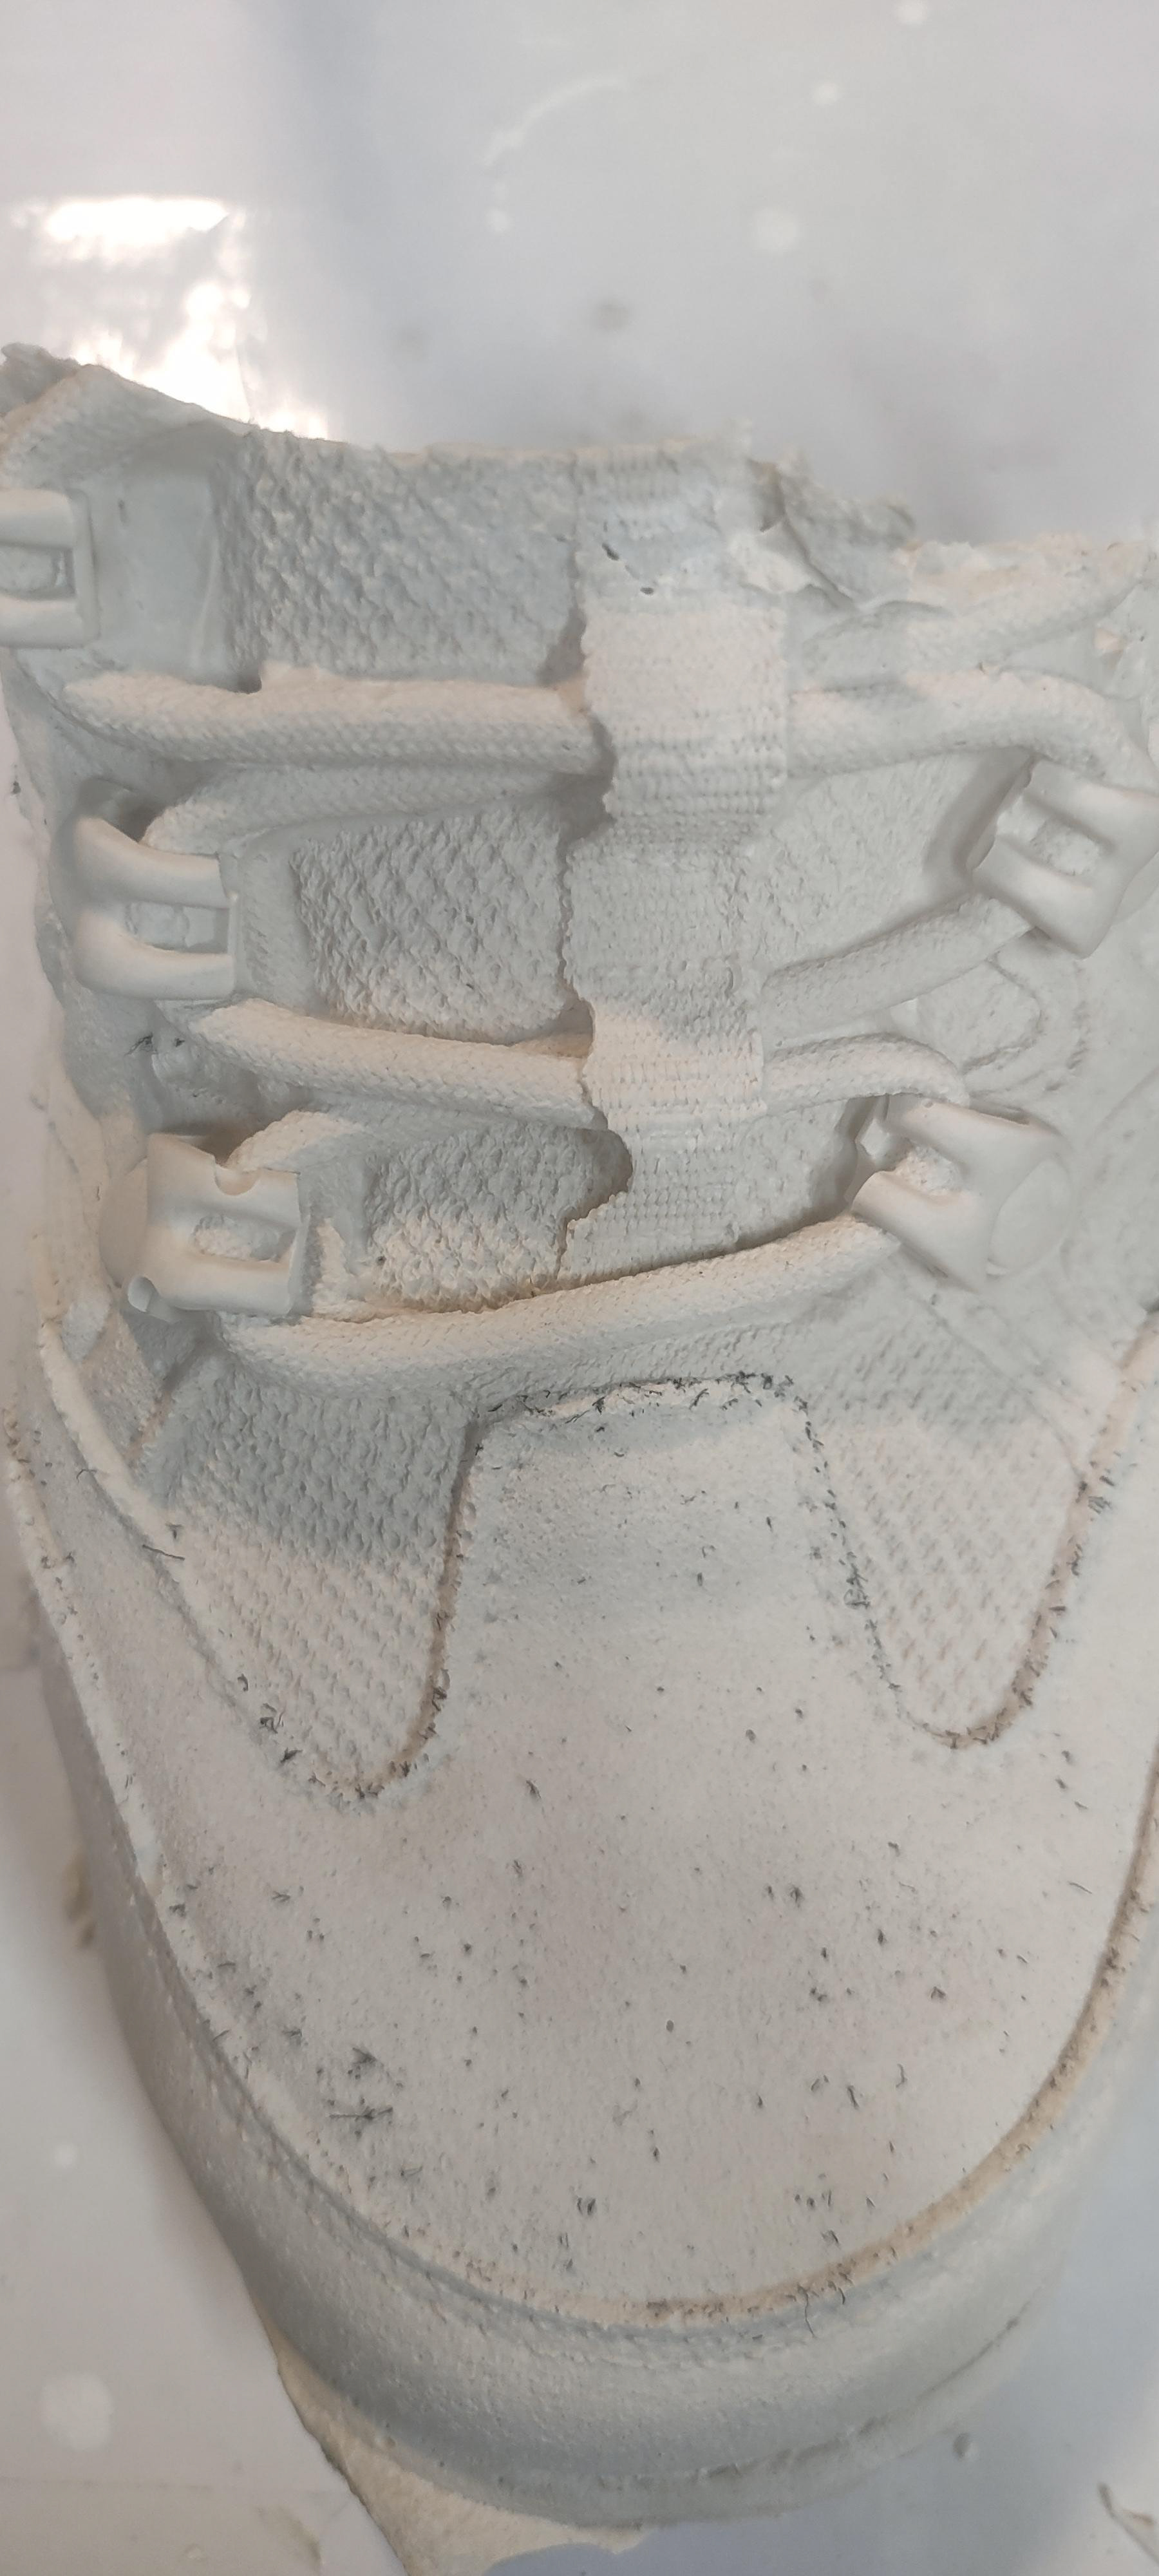
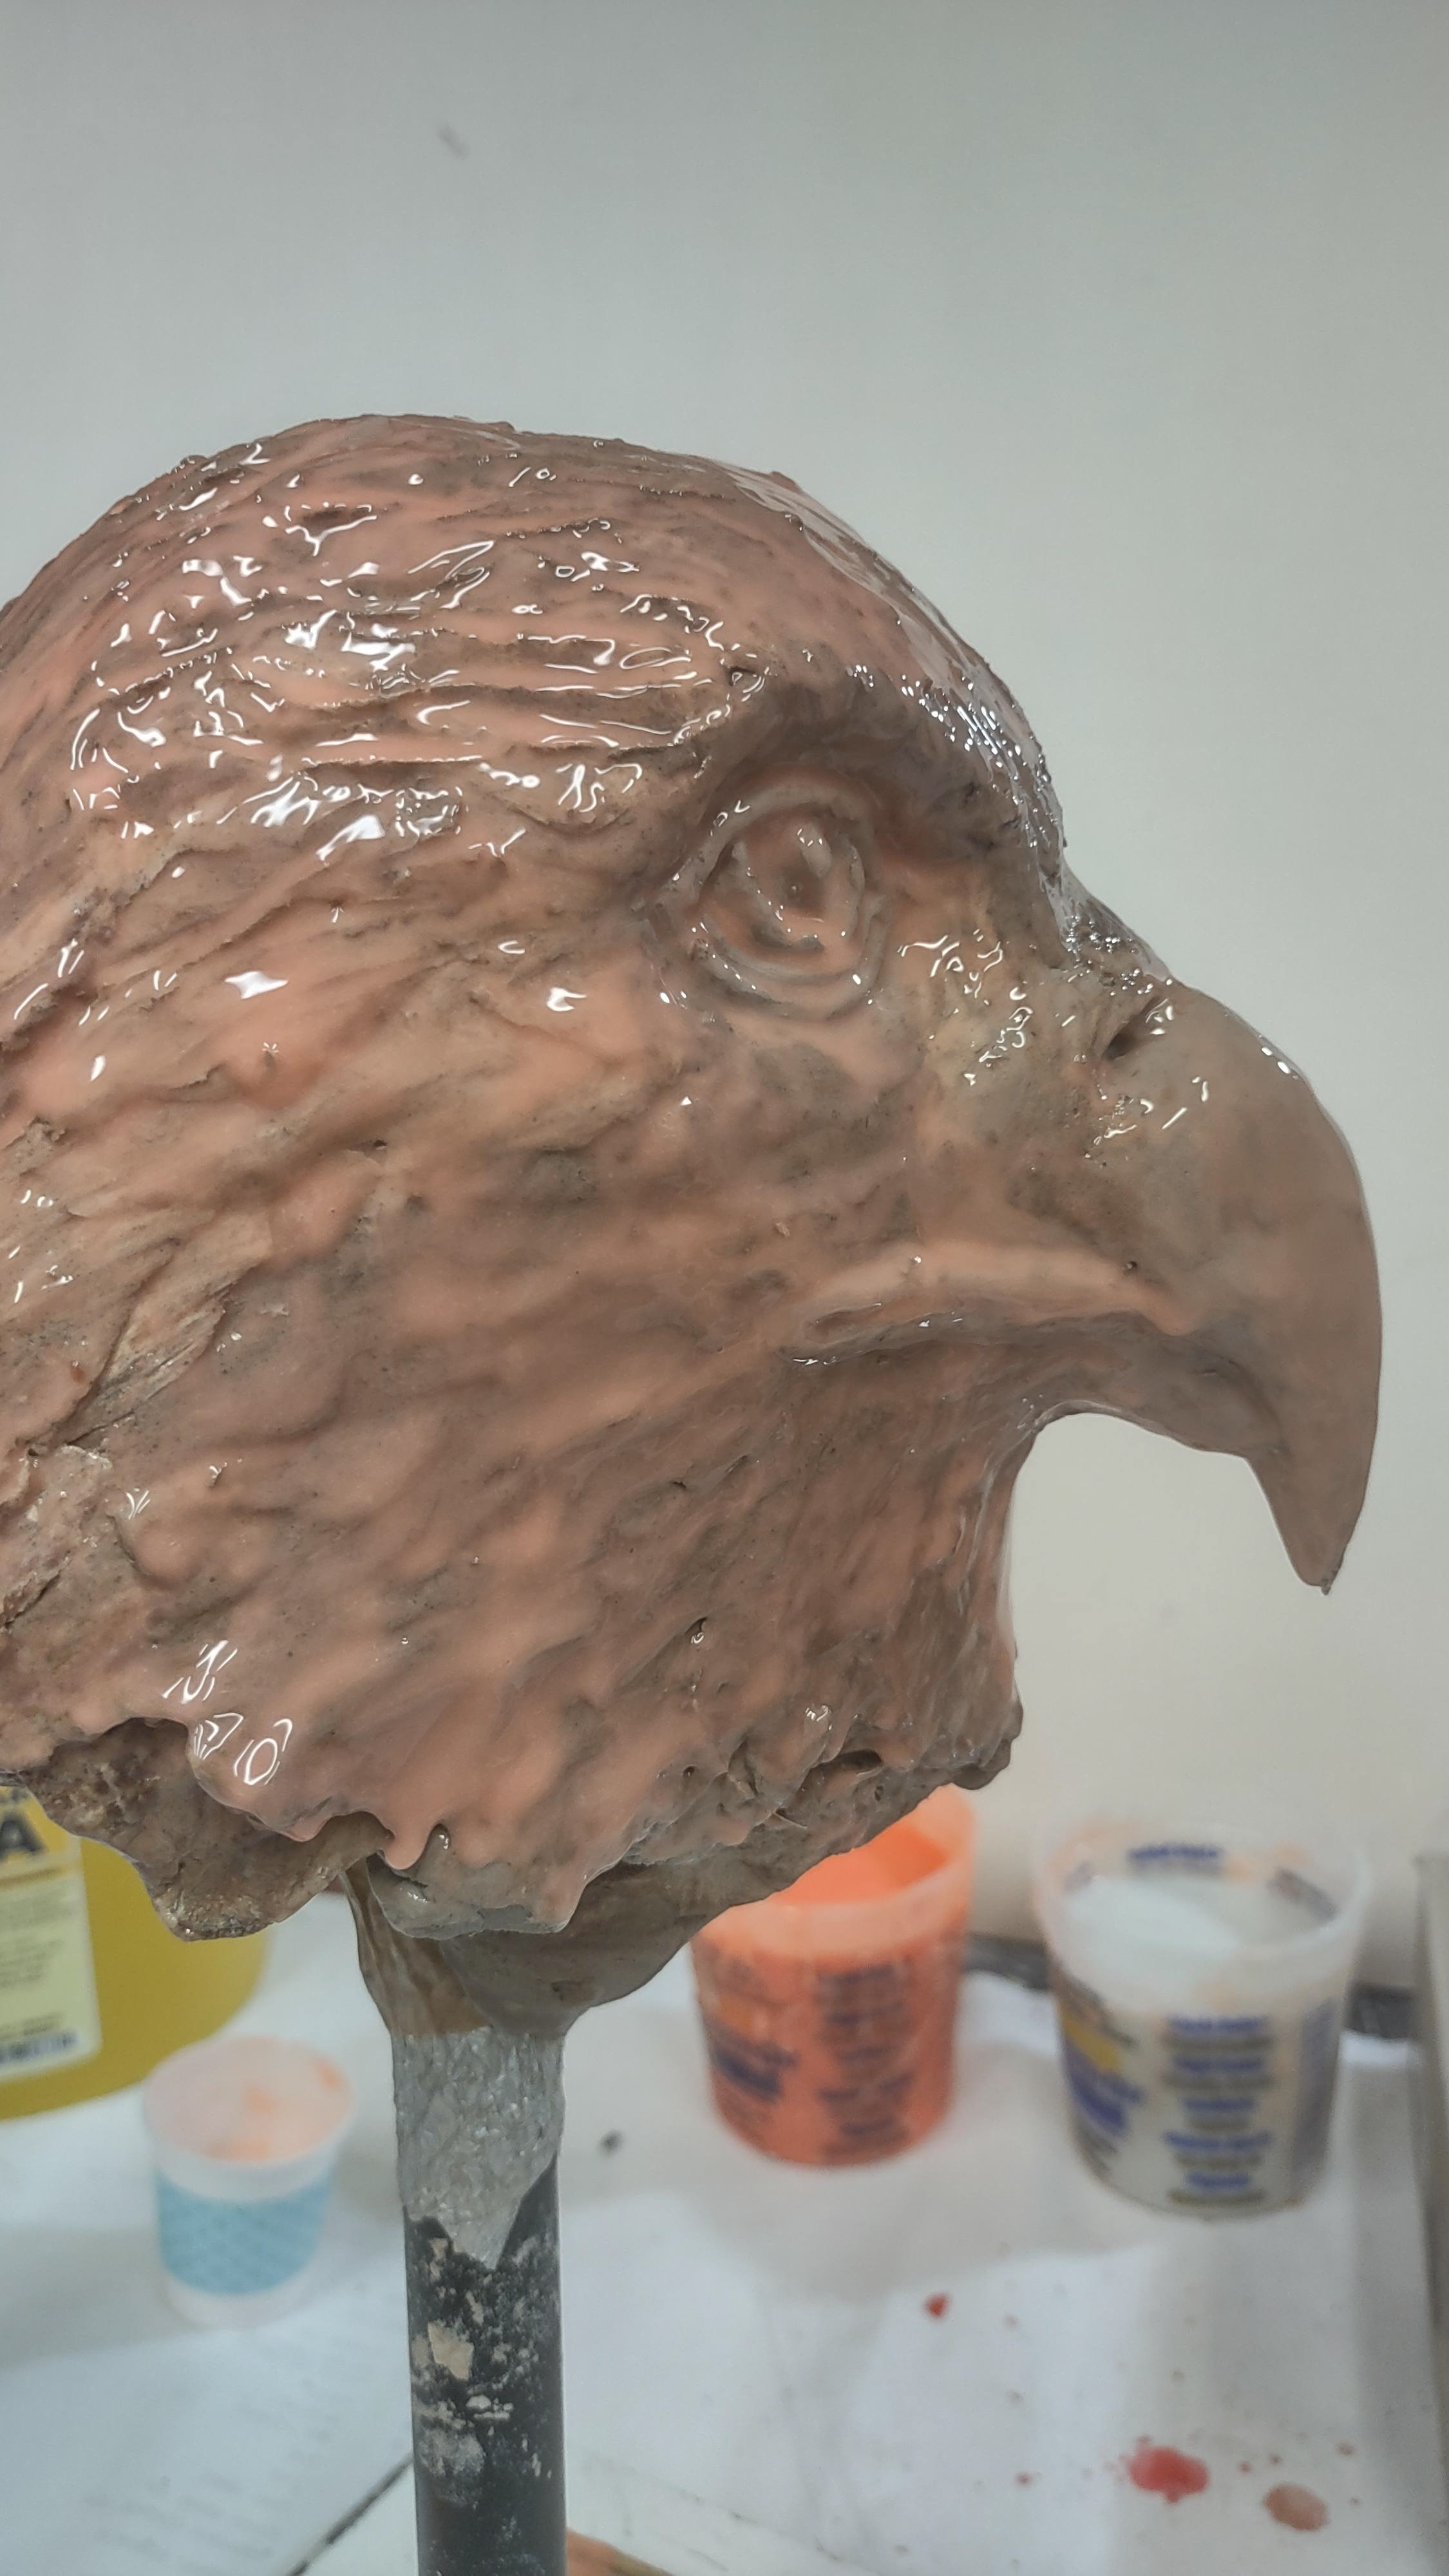
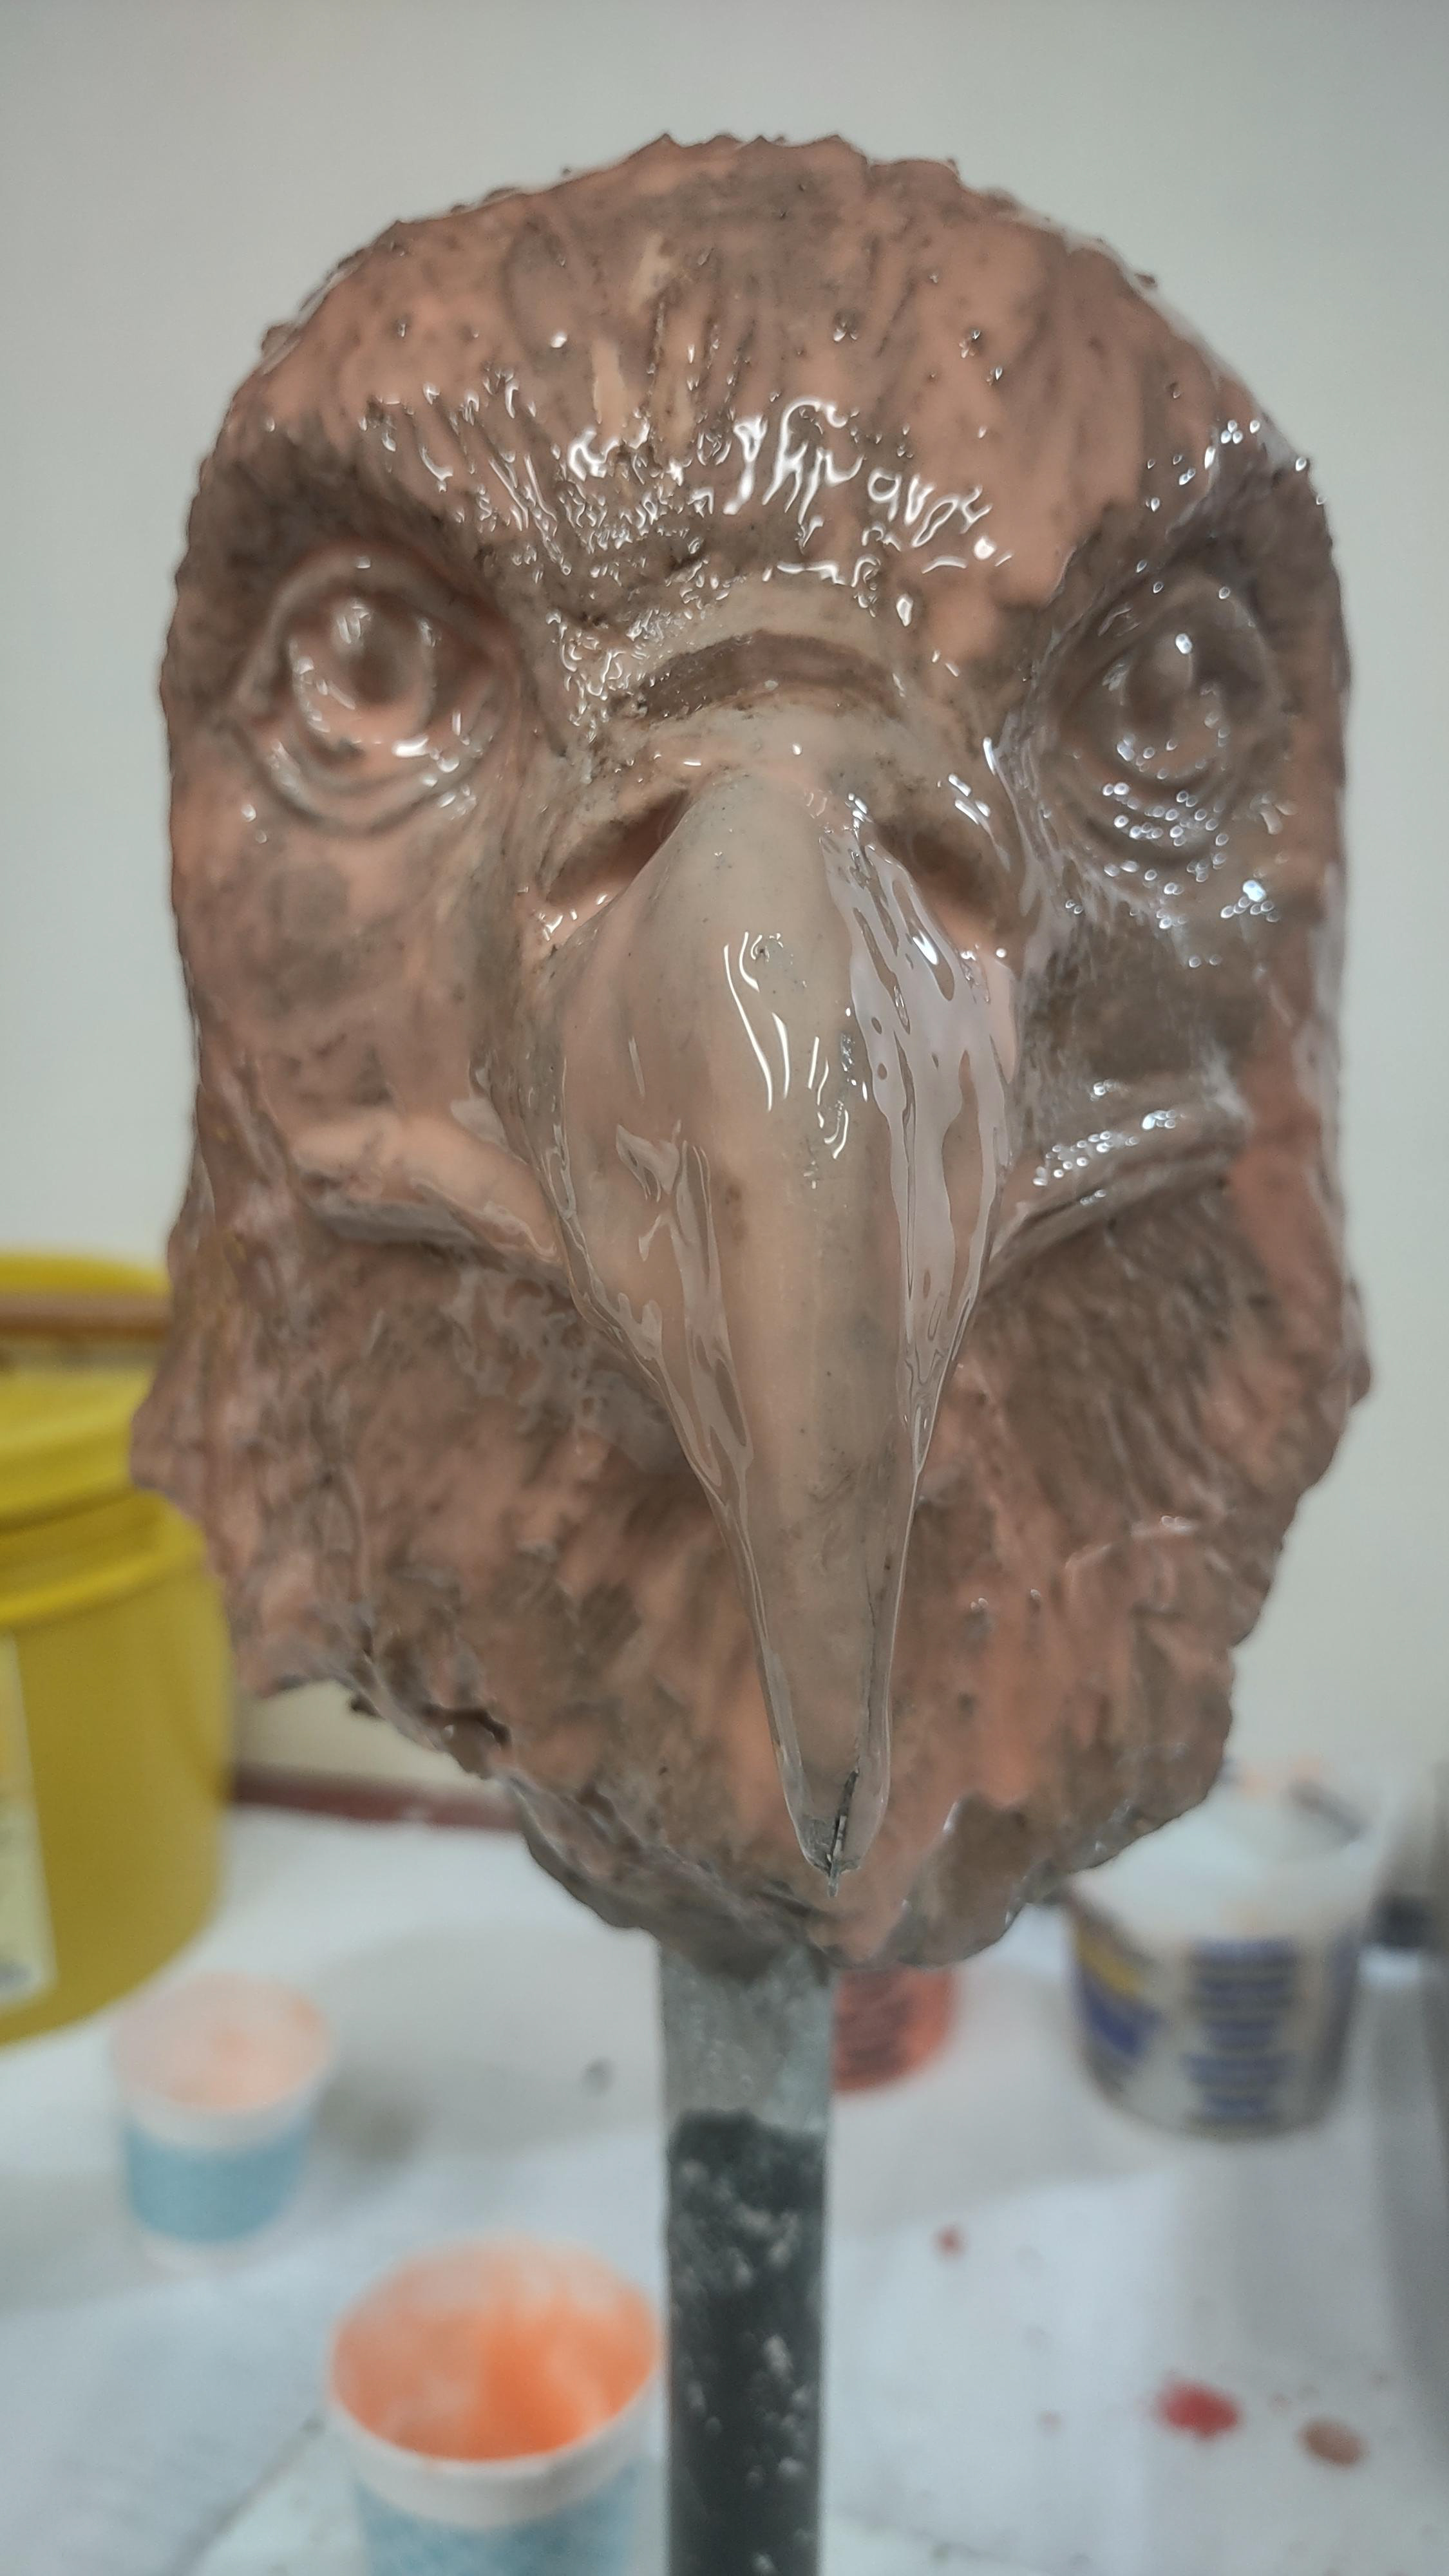
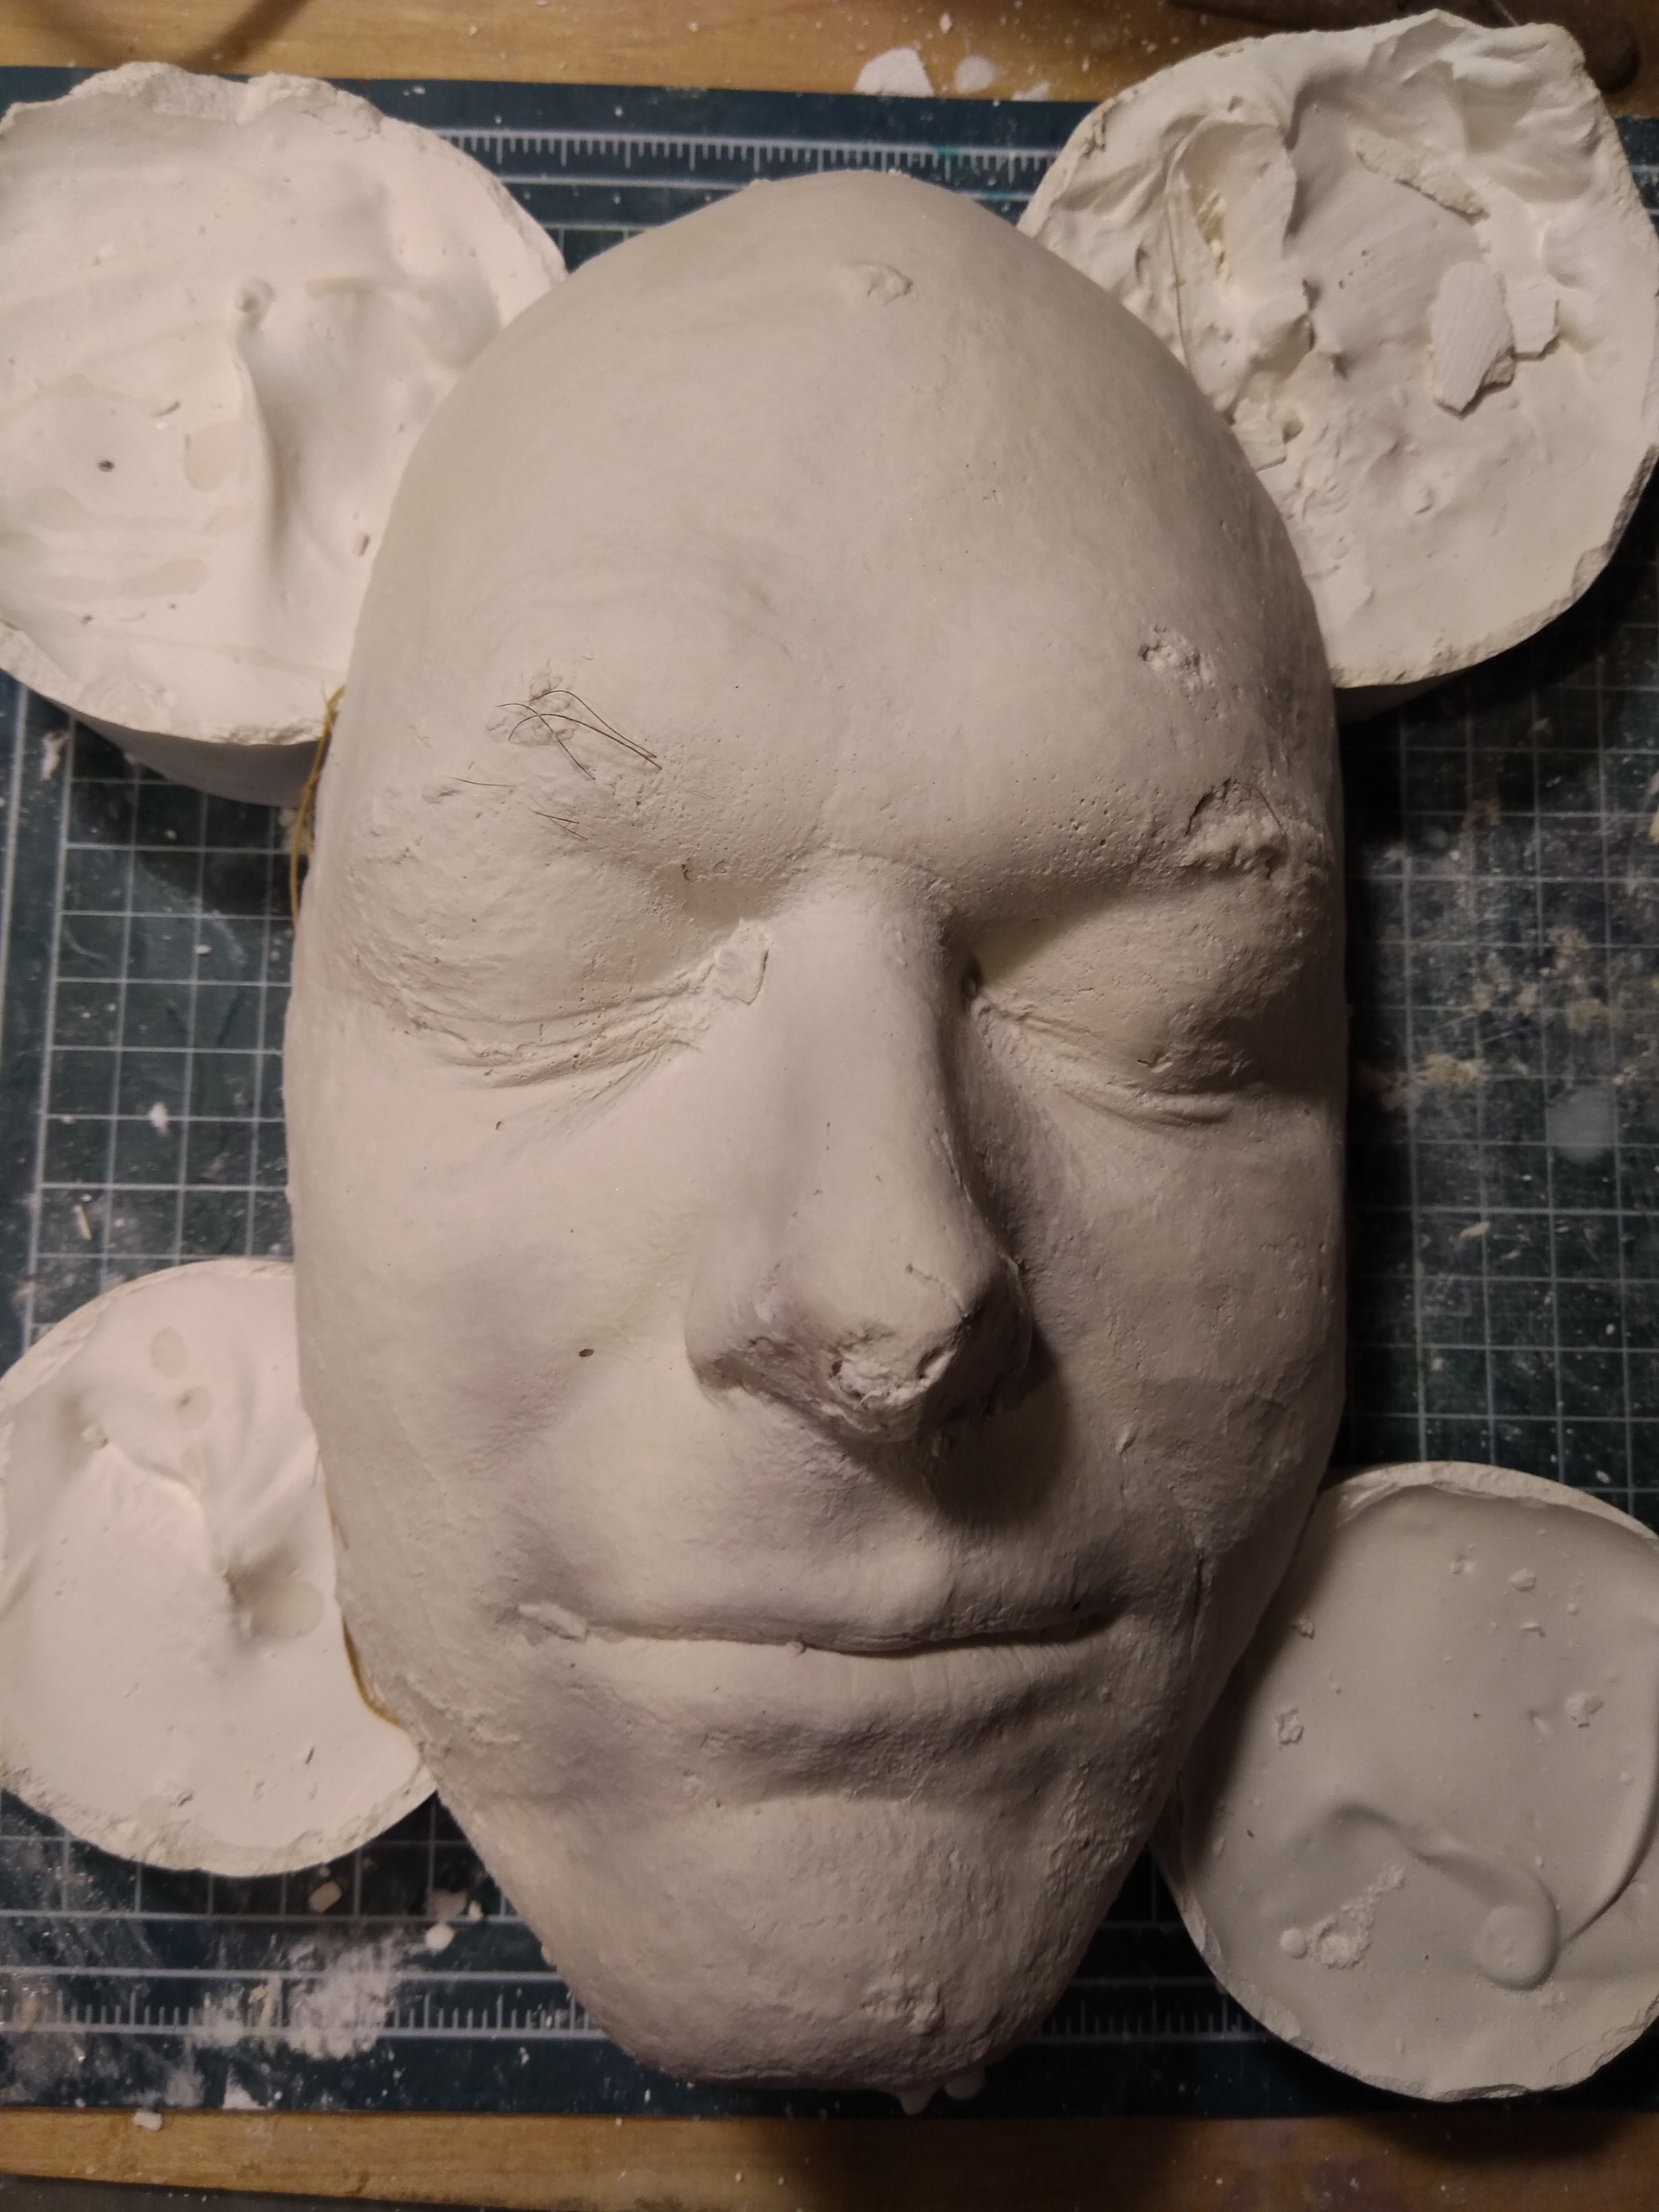
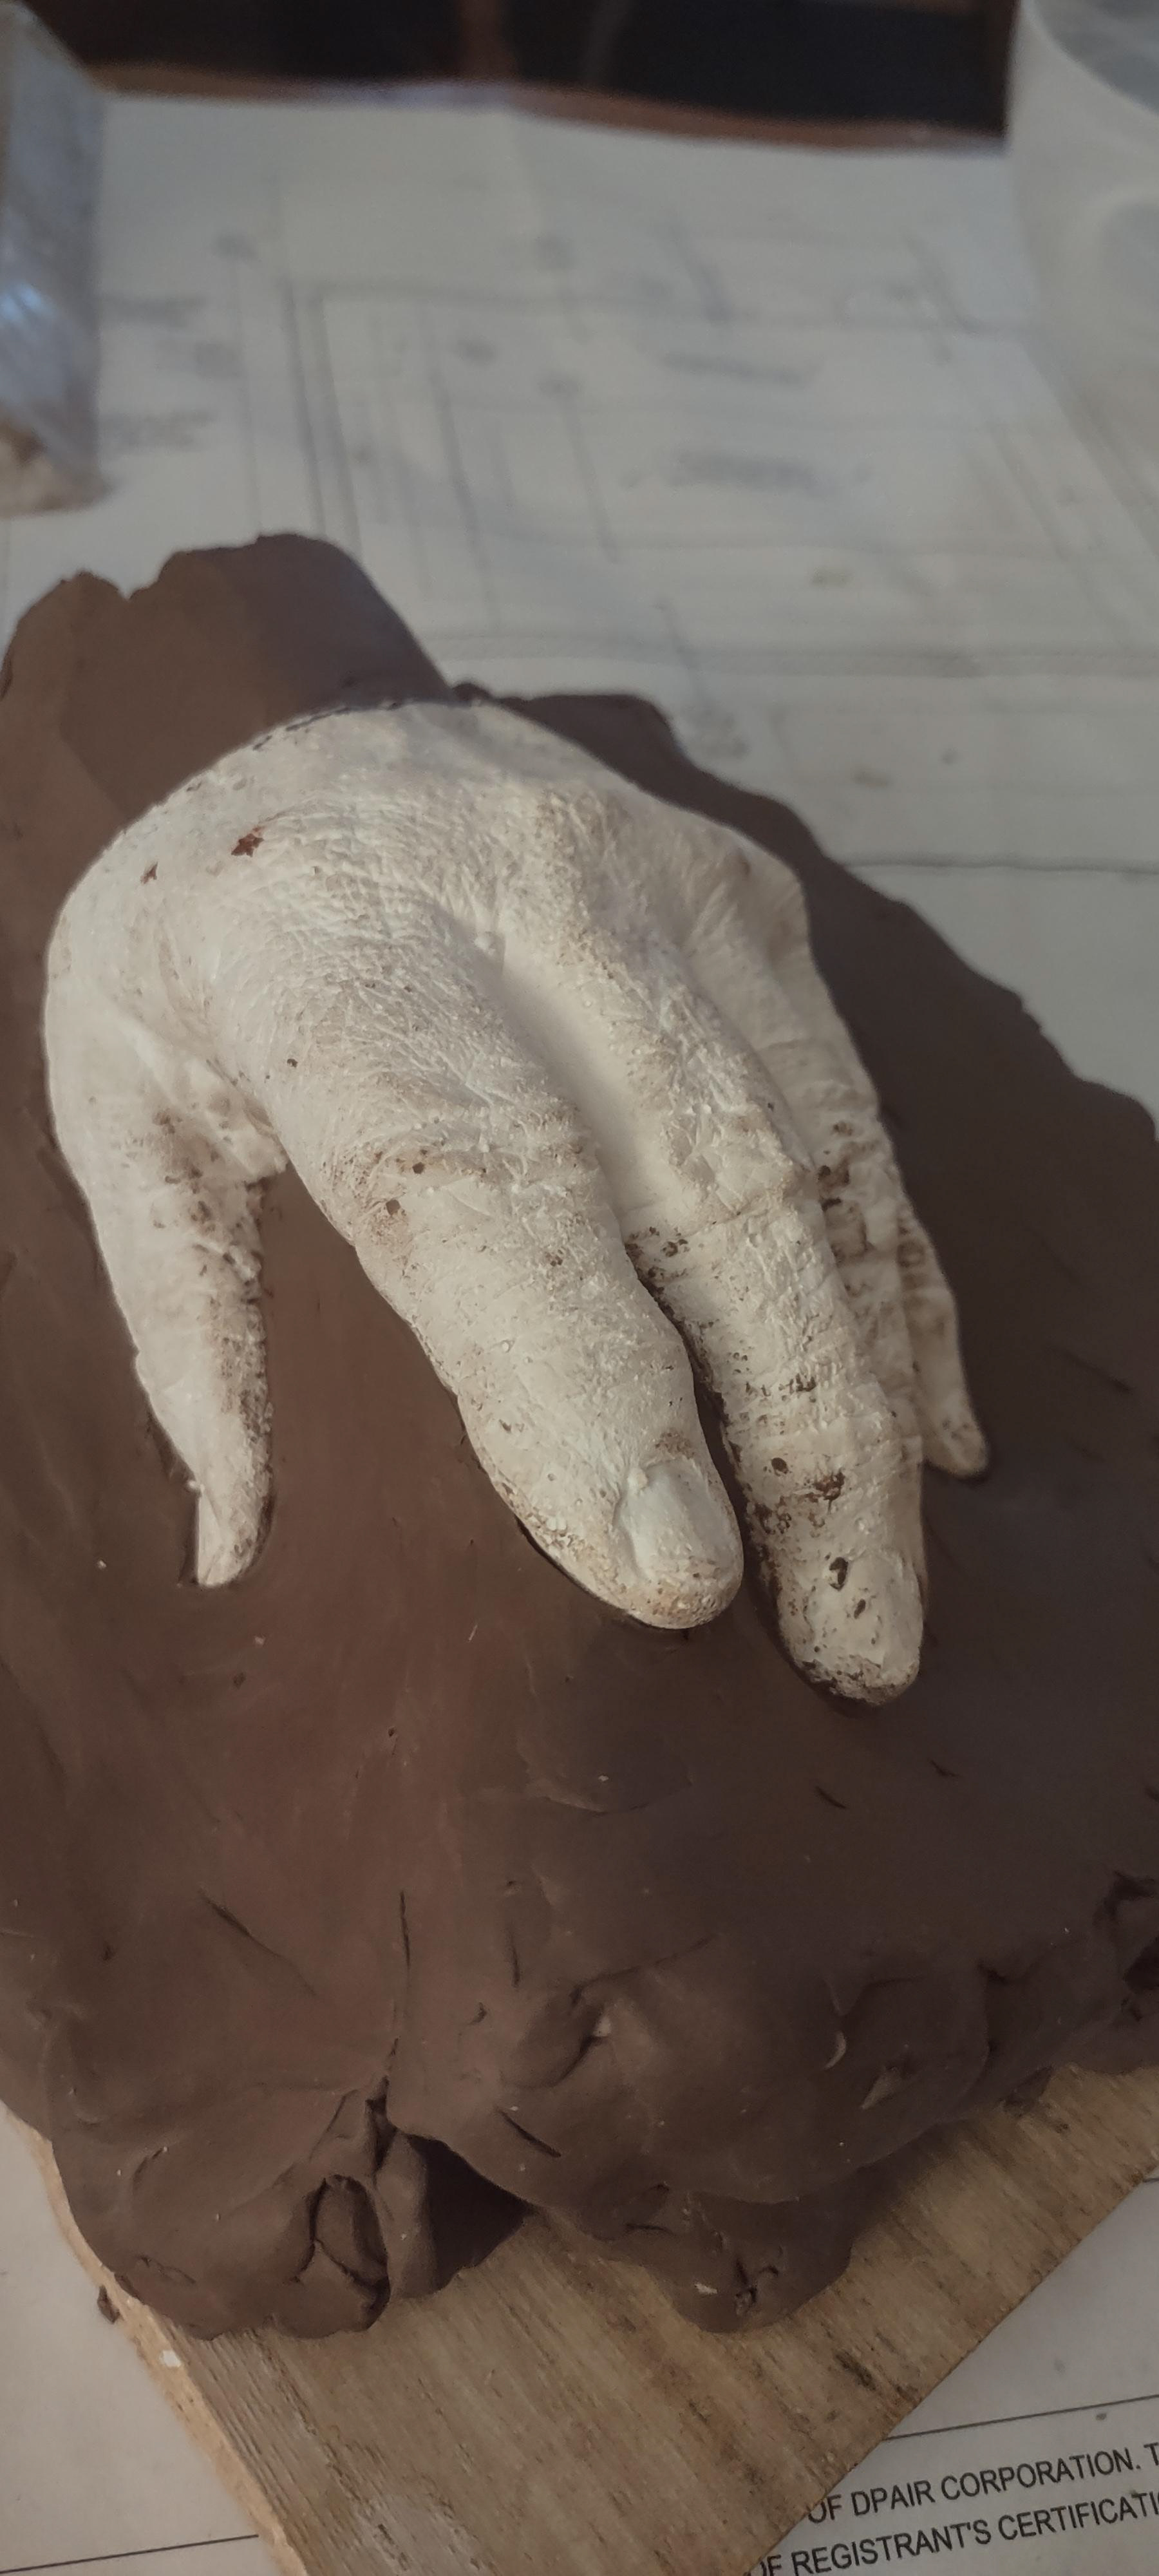
Working on the subsurface before making a mold.This stage is very important. Clean up the surface execs the all the unnecessary texture.Put it on the plaster and sending the surface and make a smooth surface.
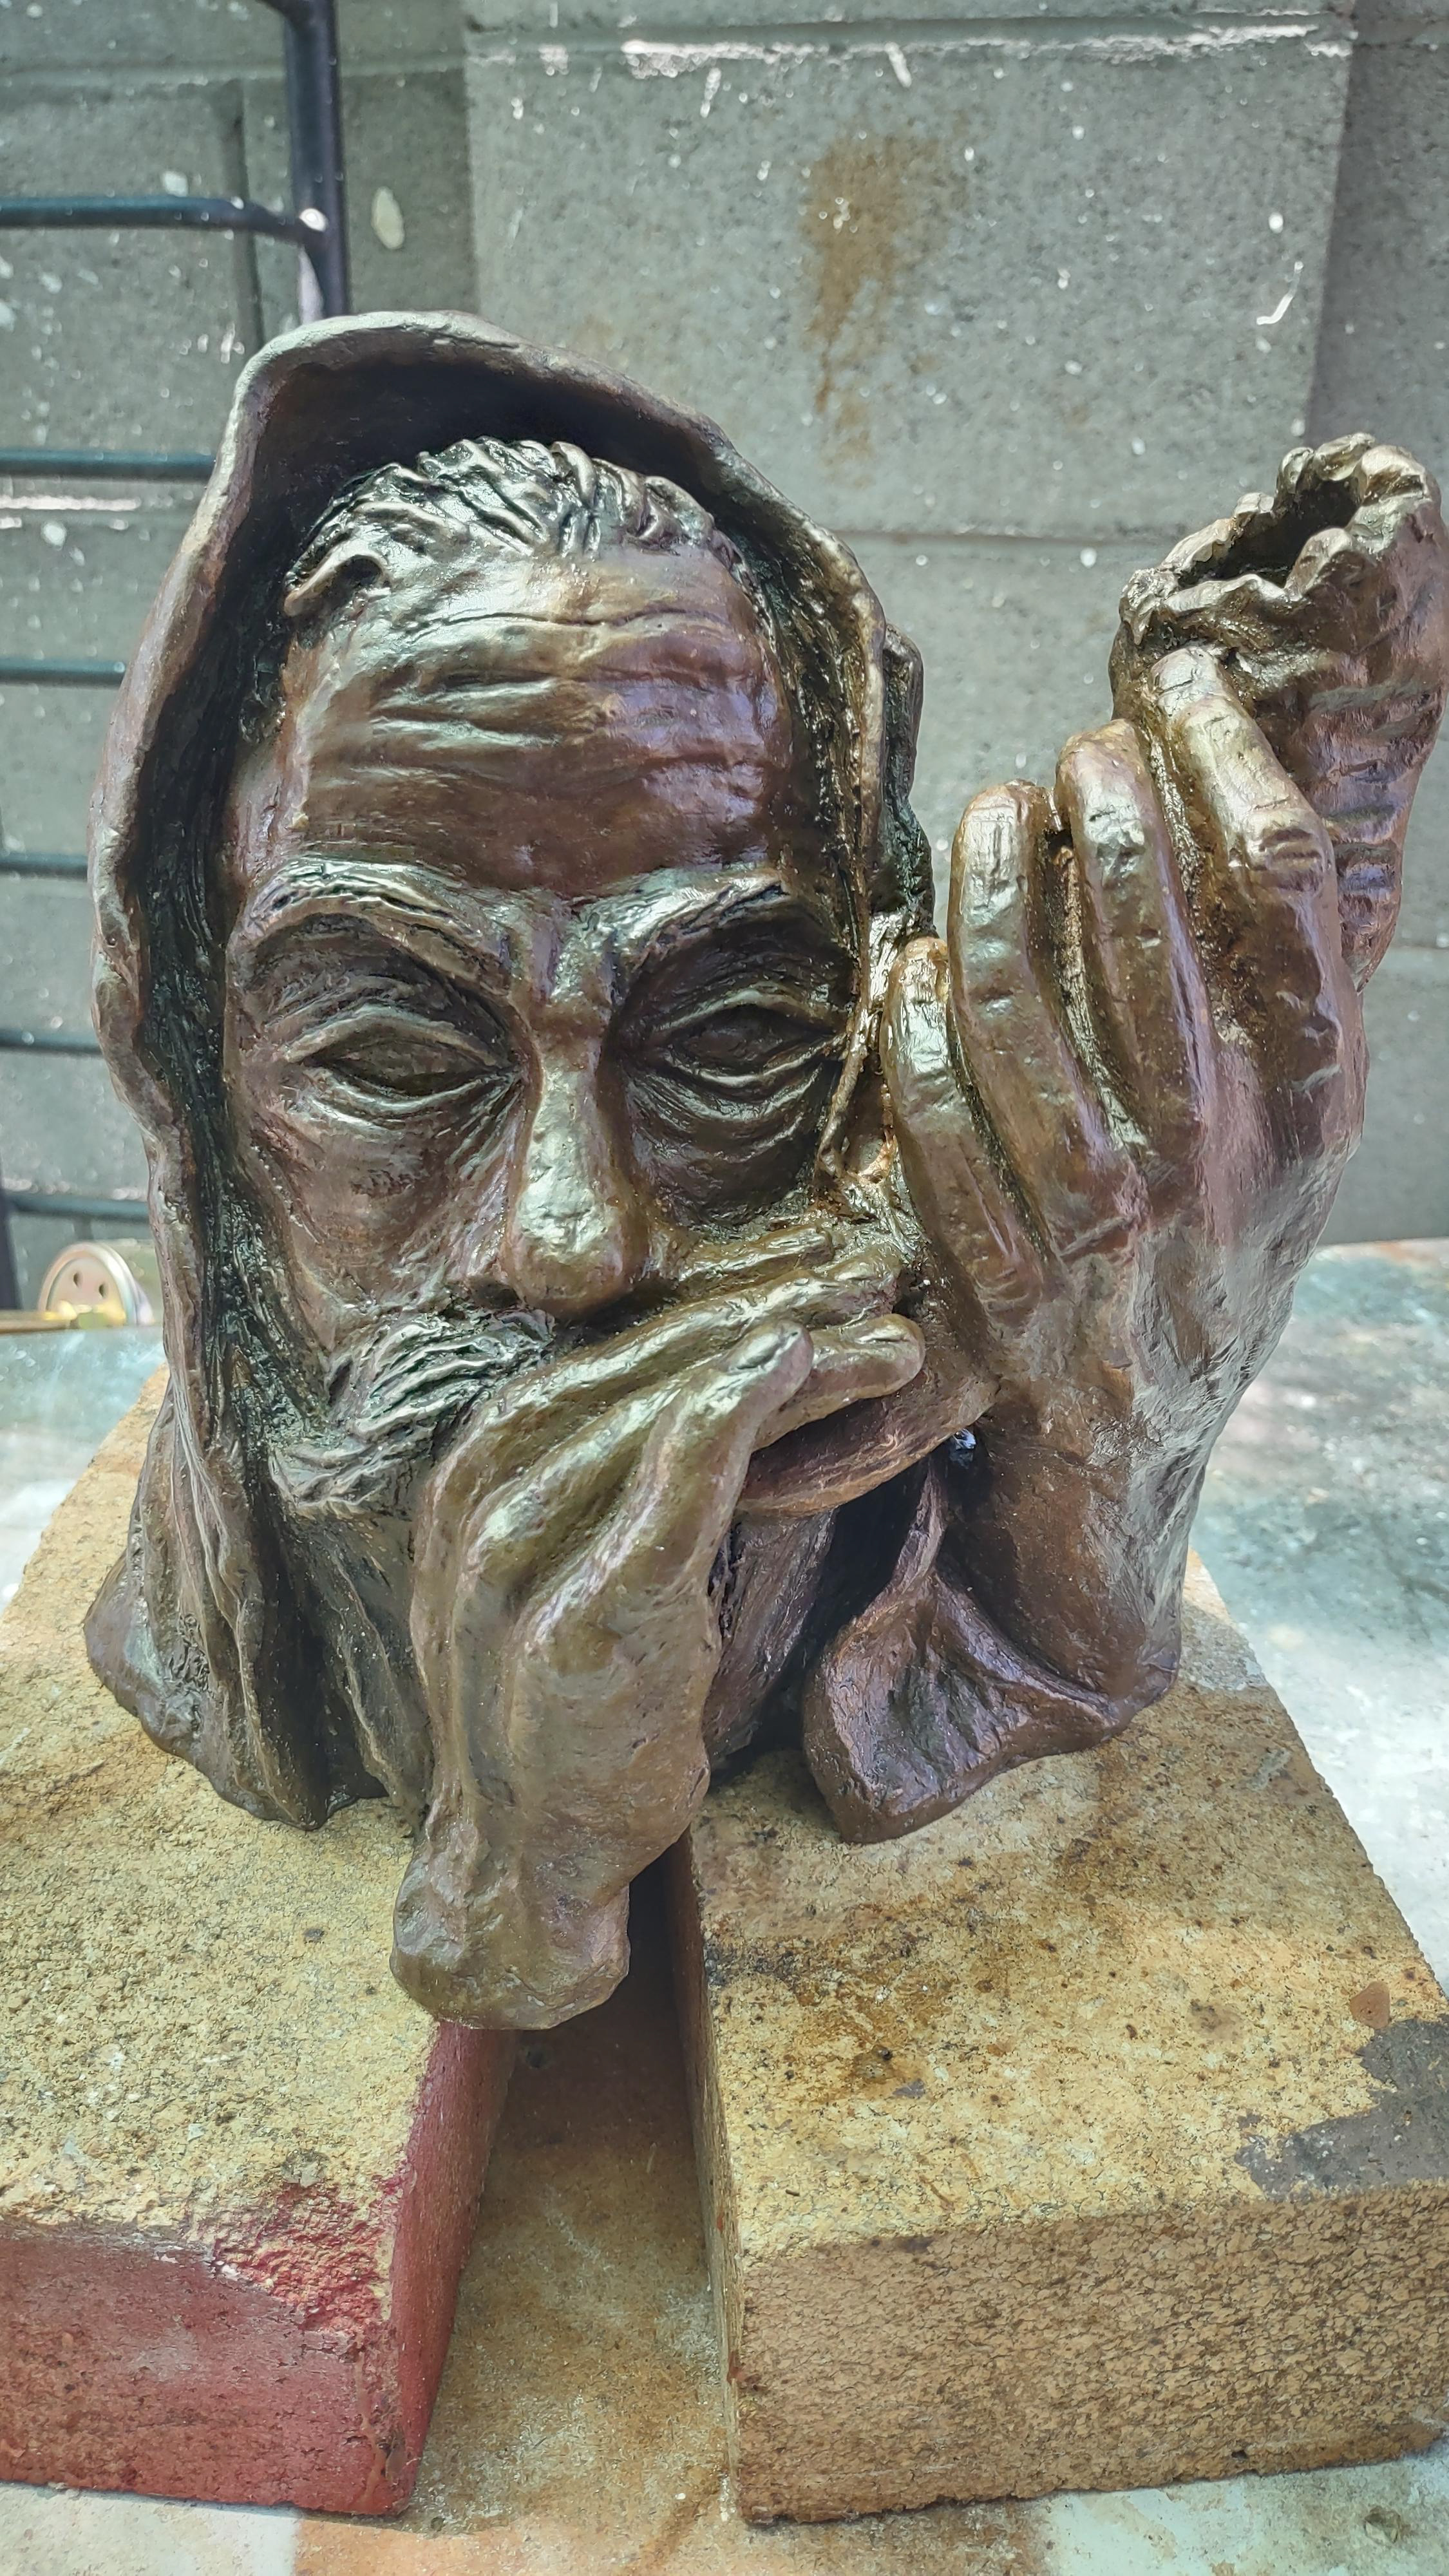
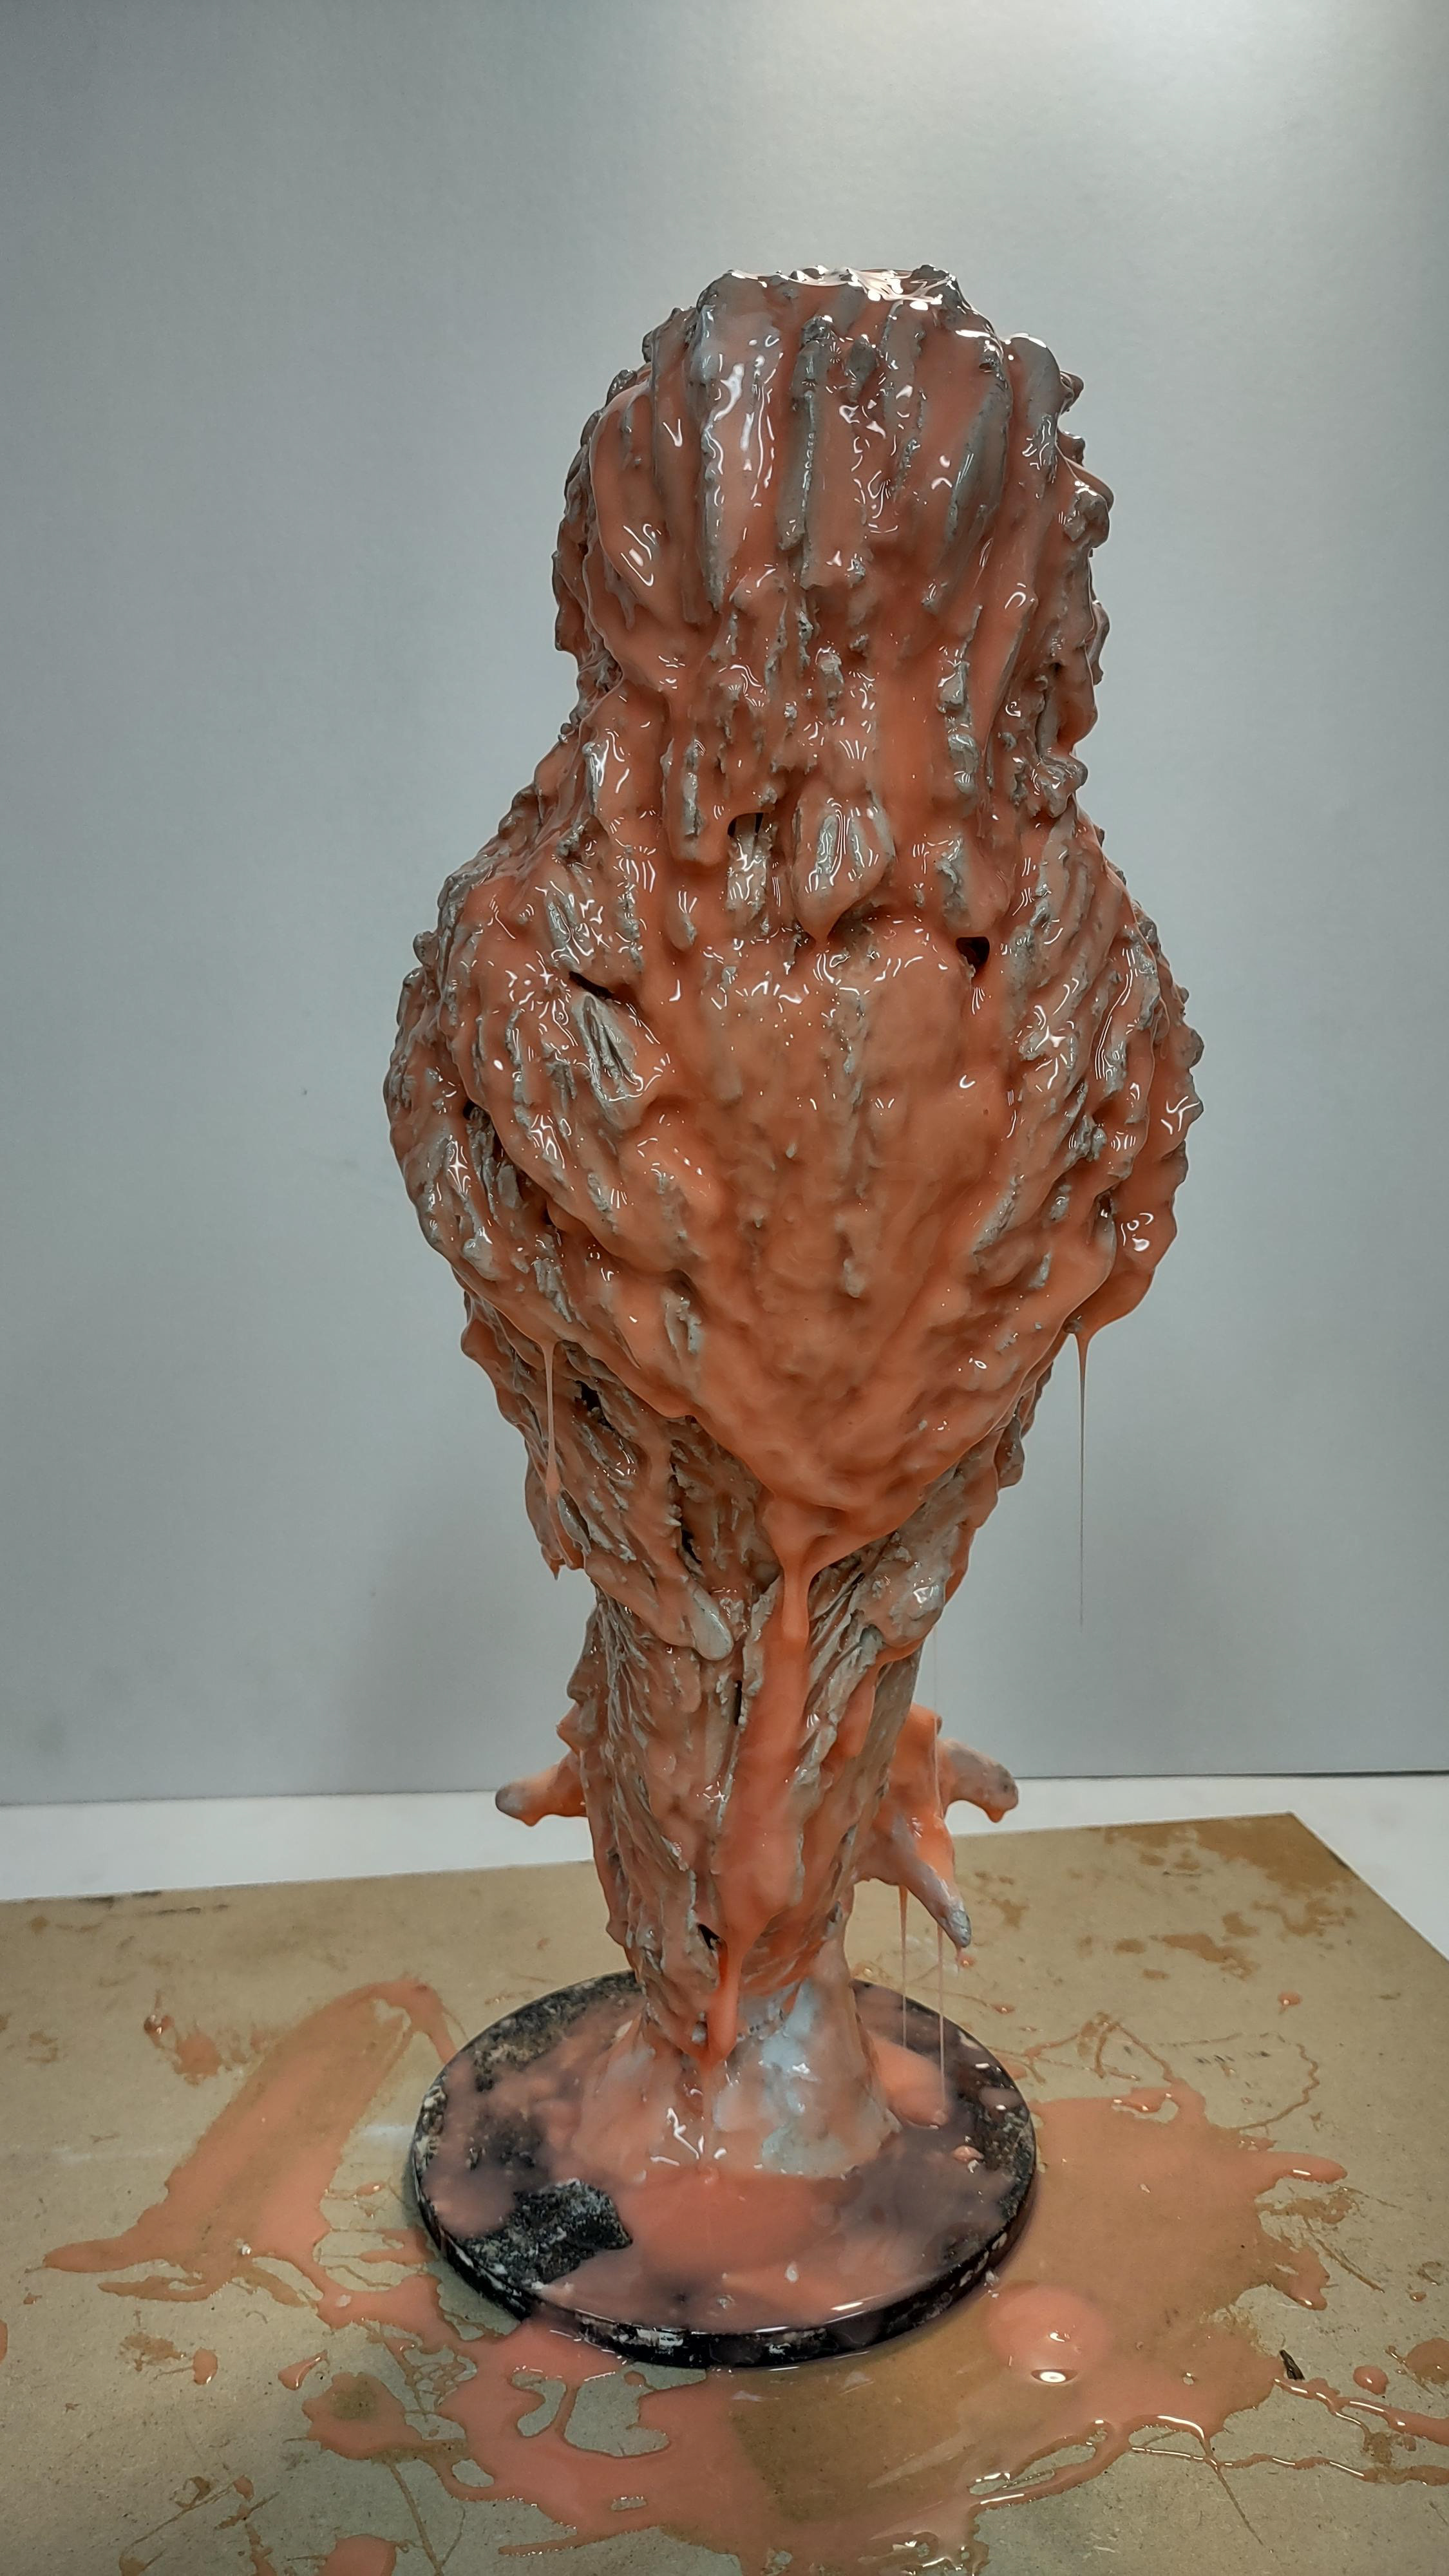
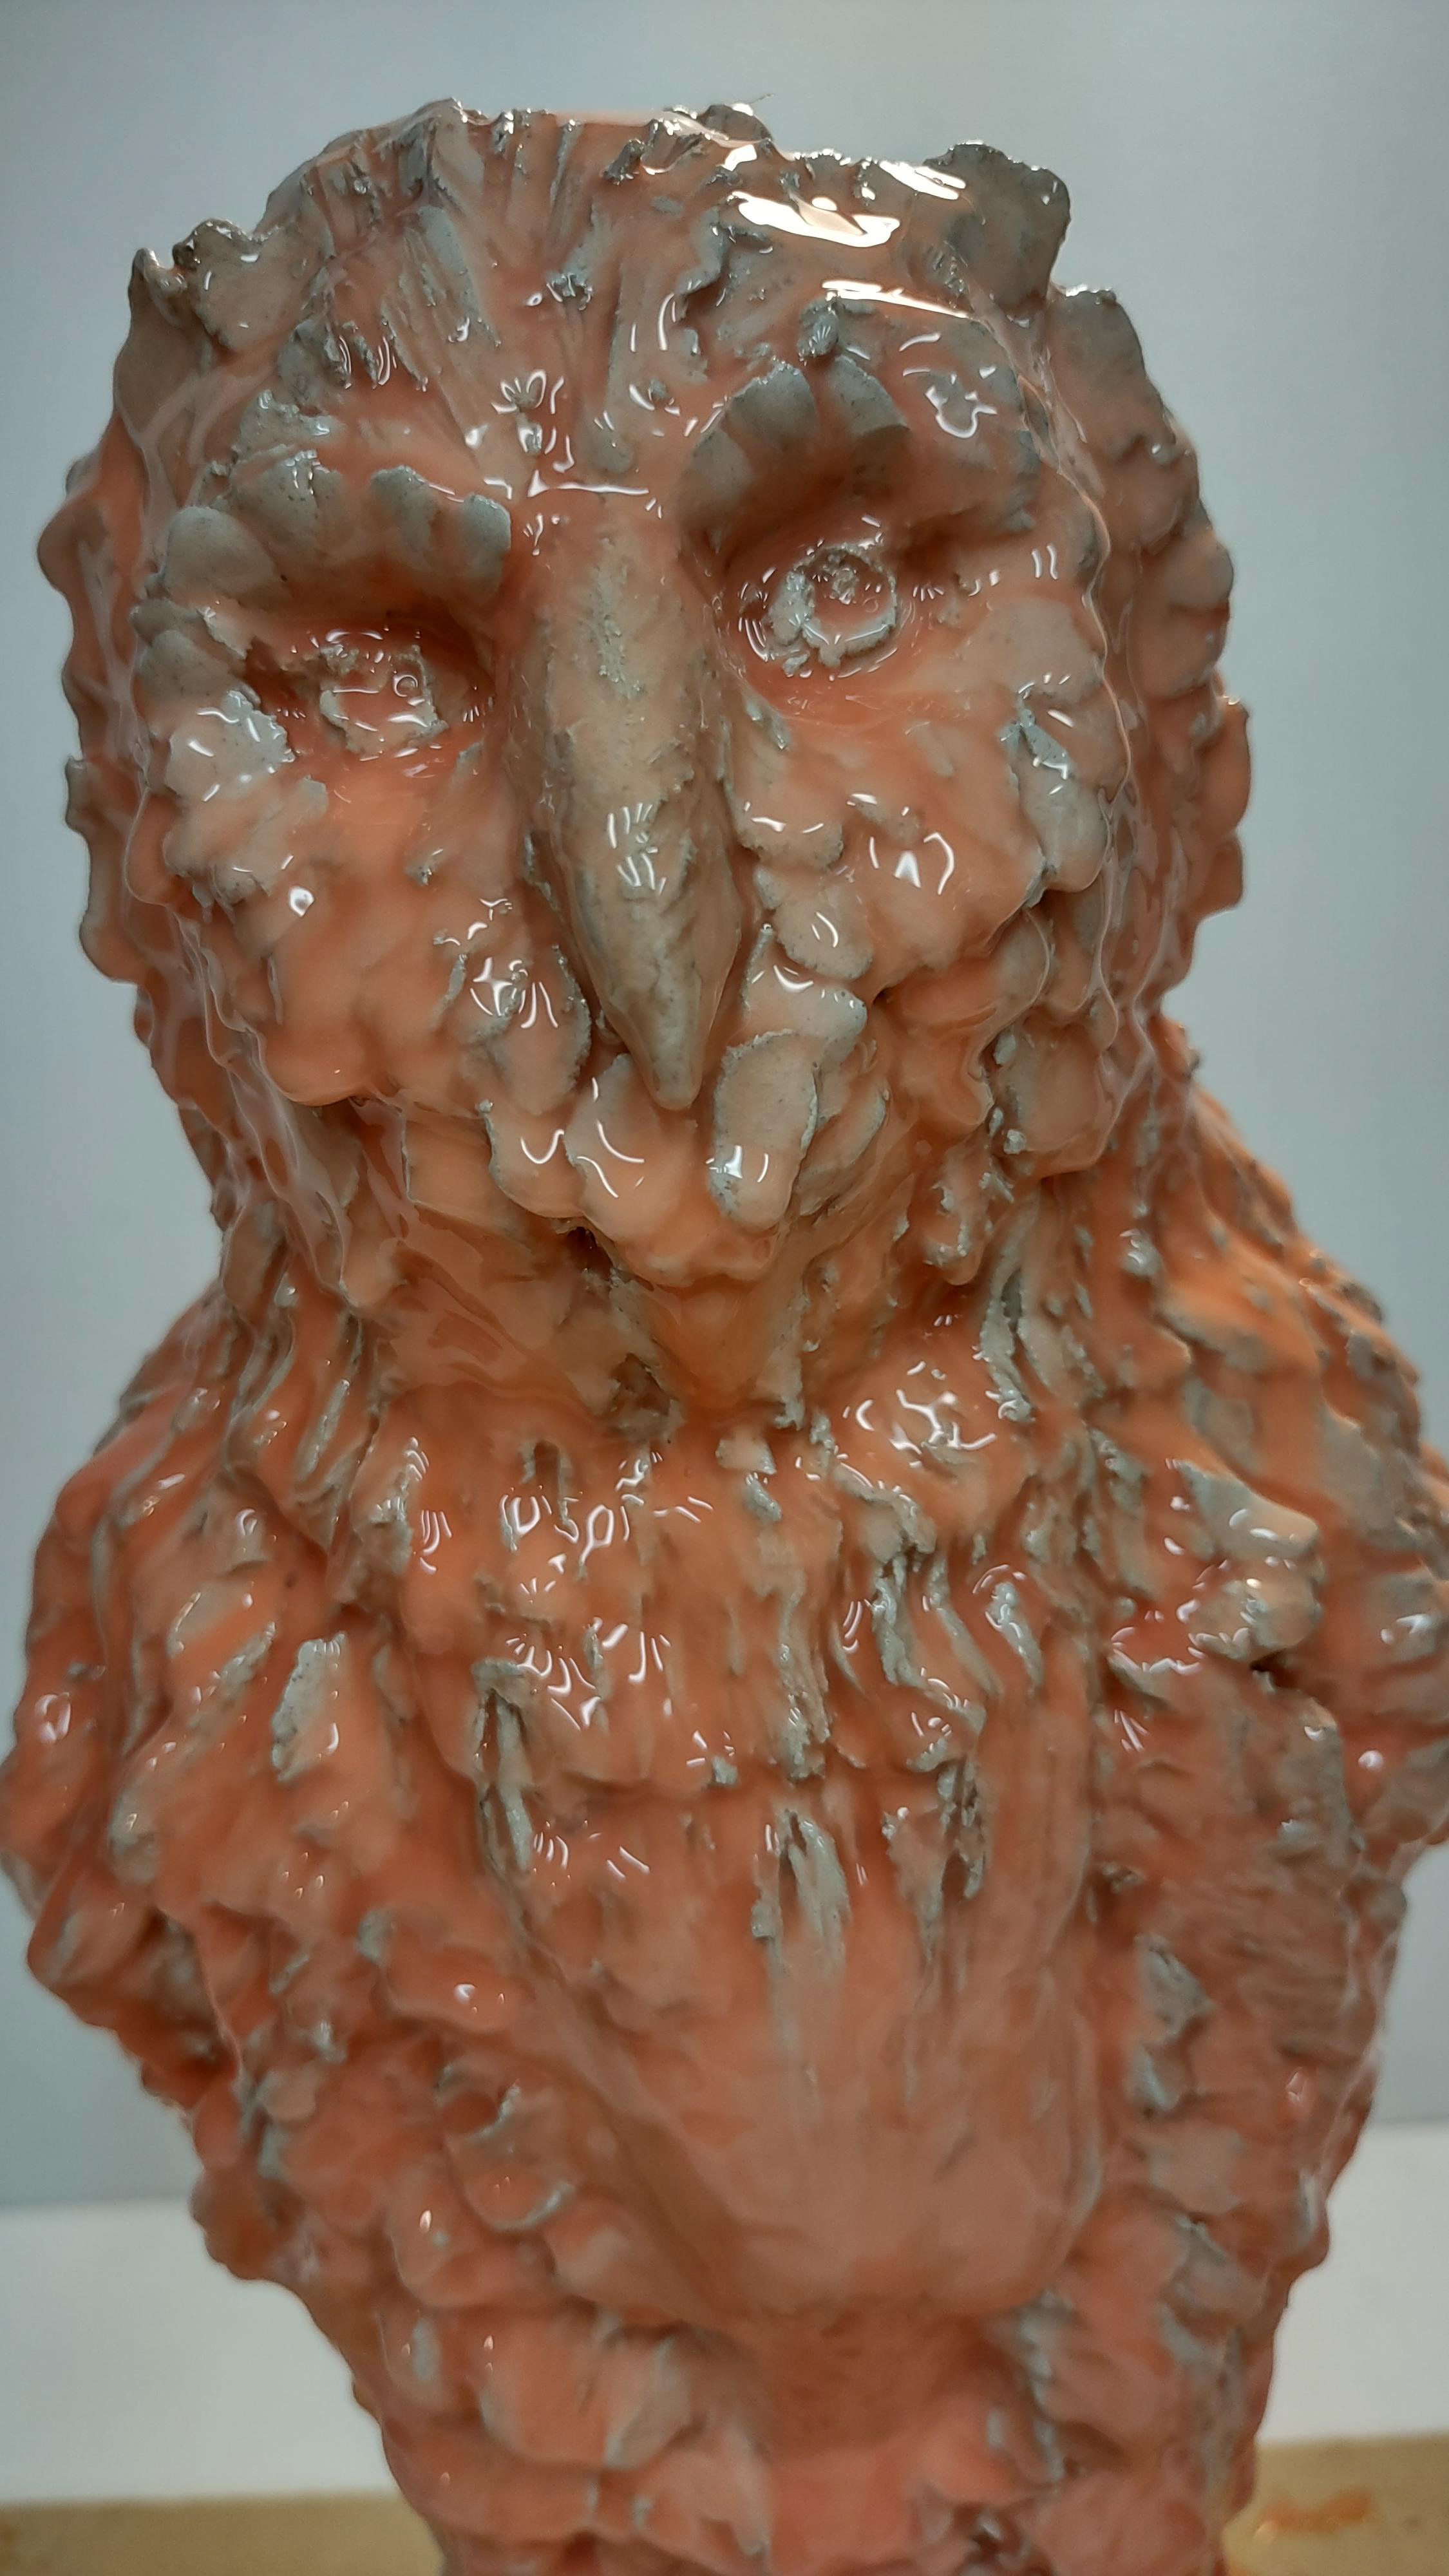
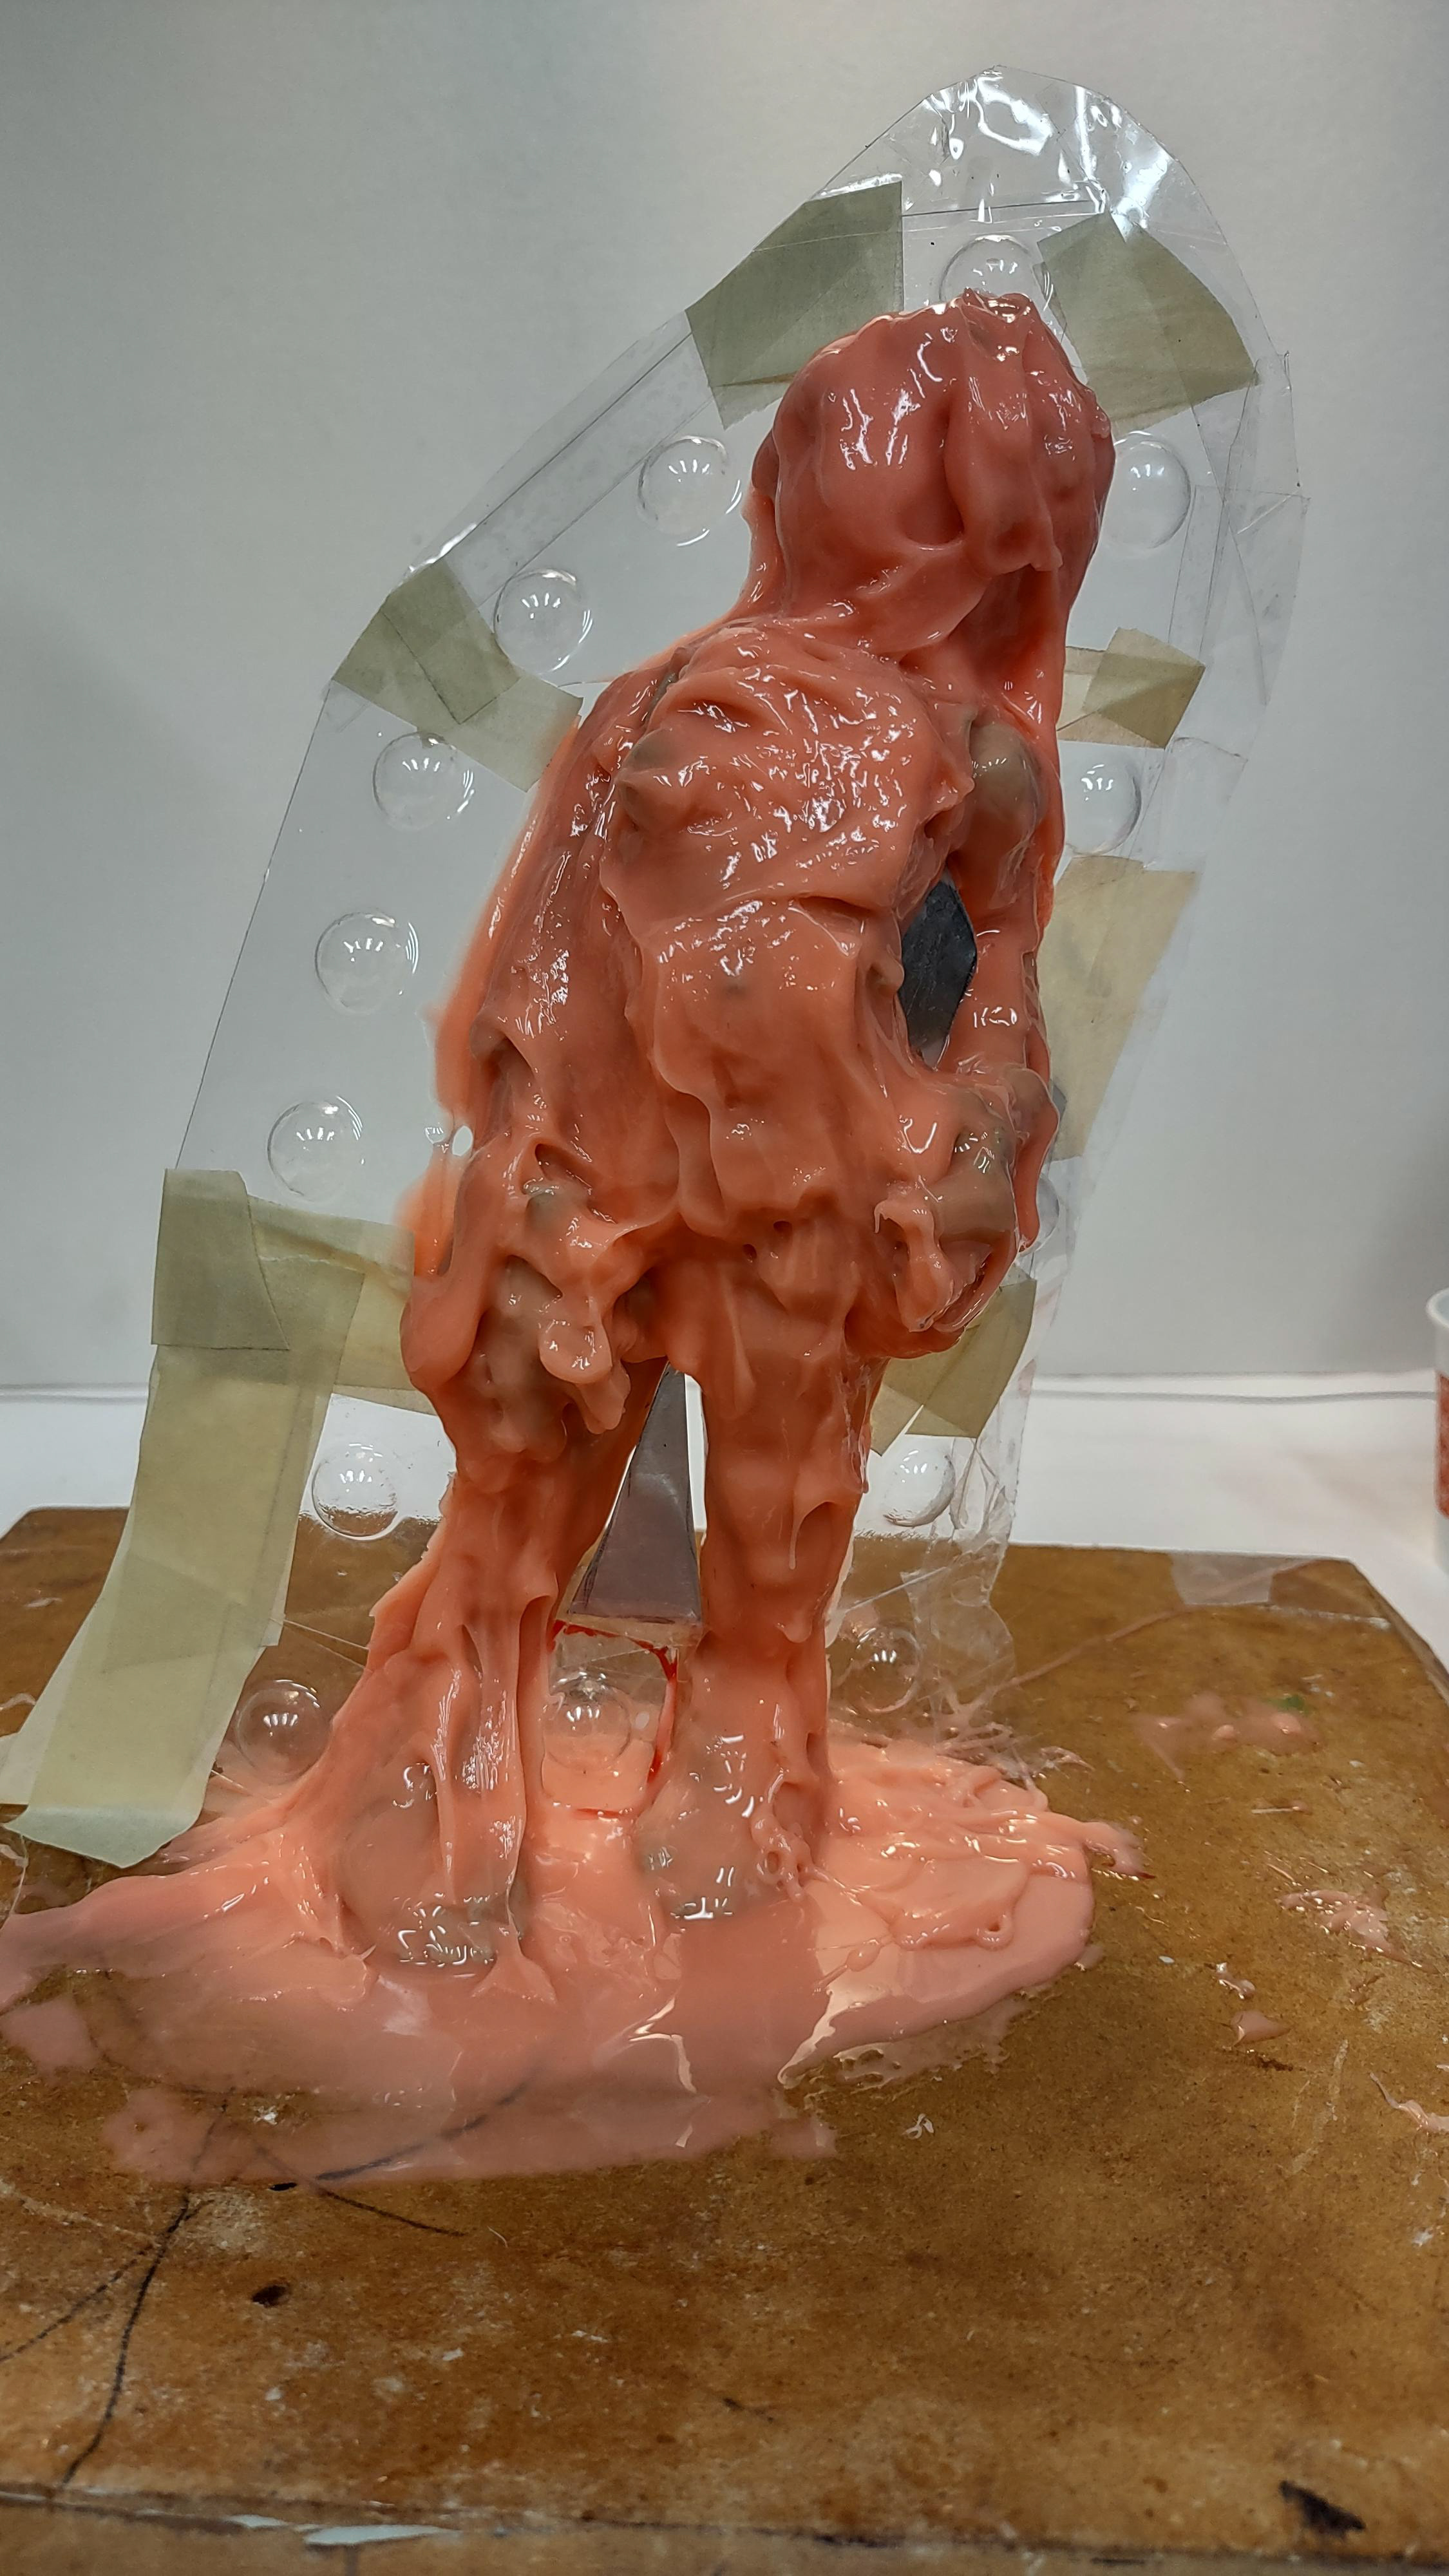
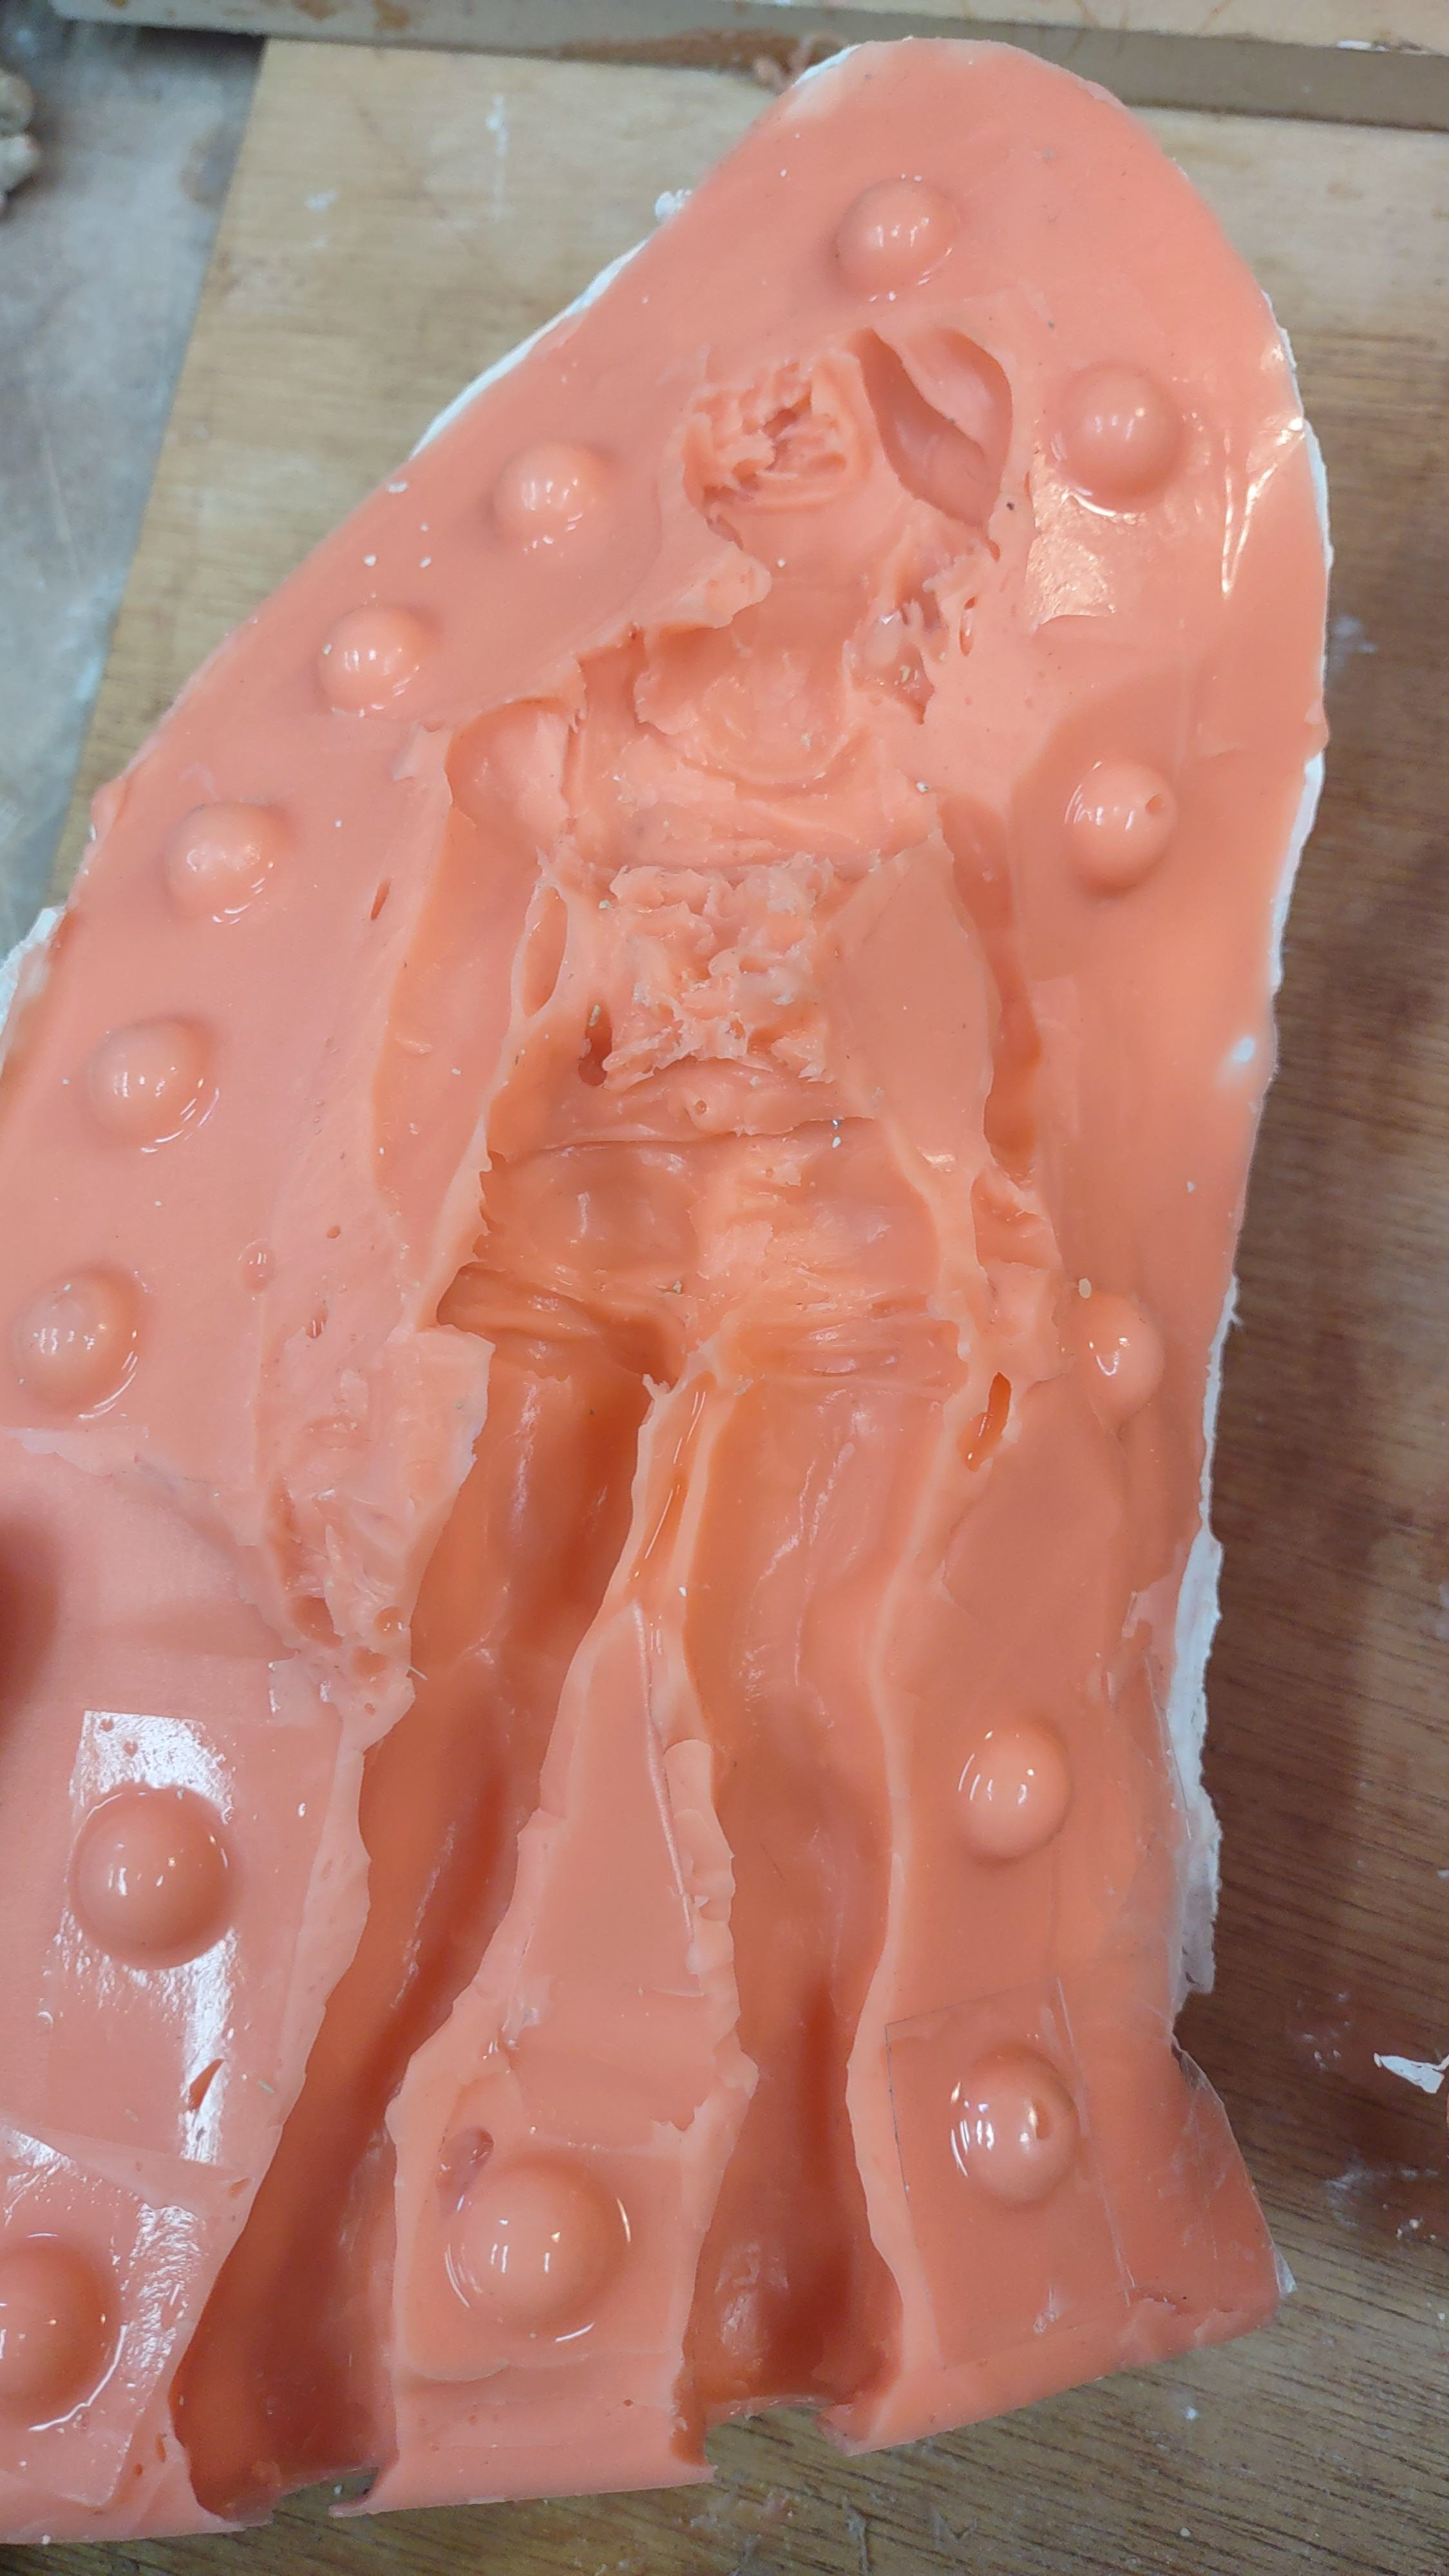
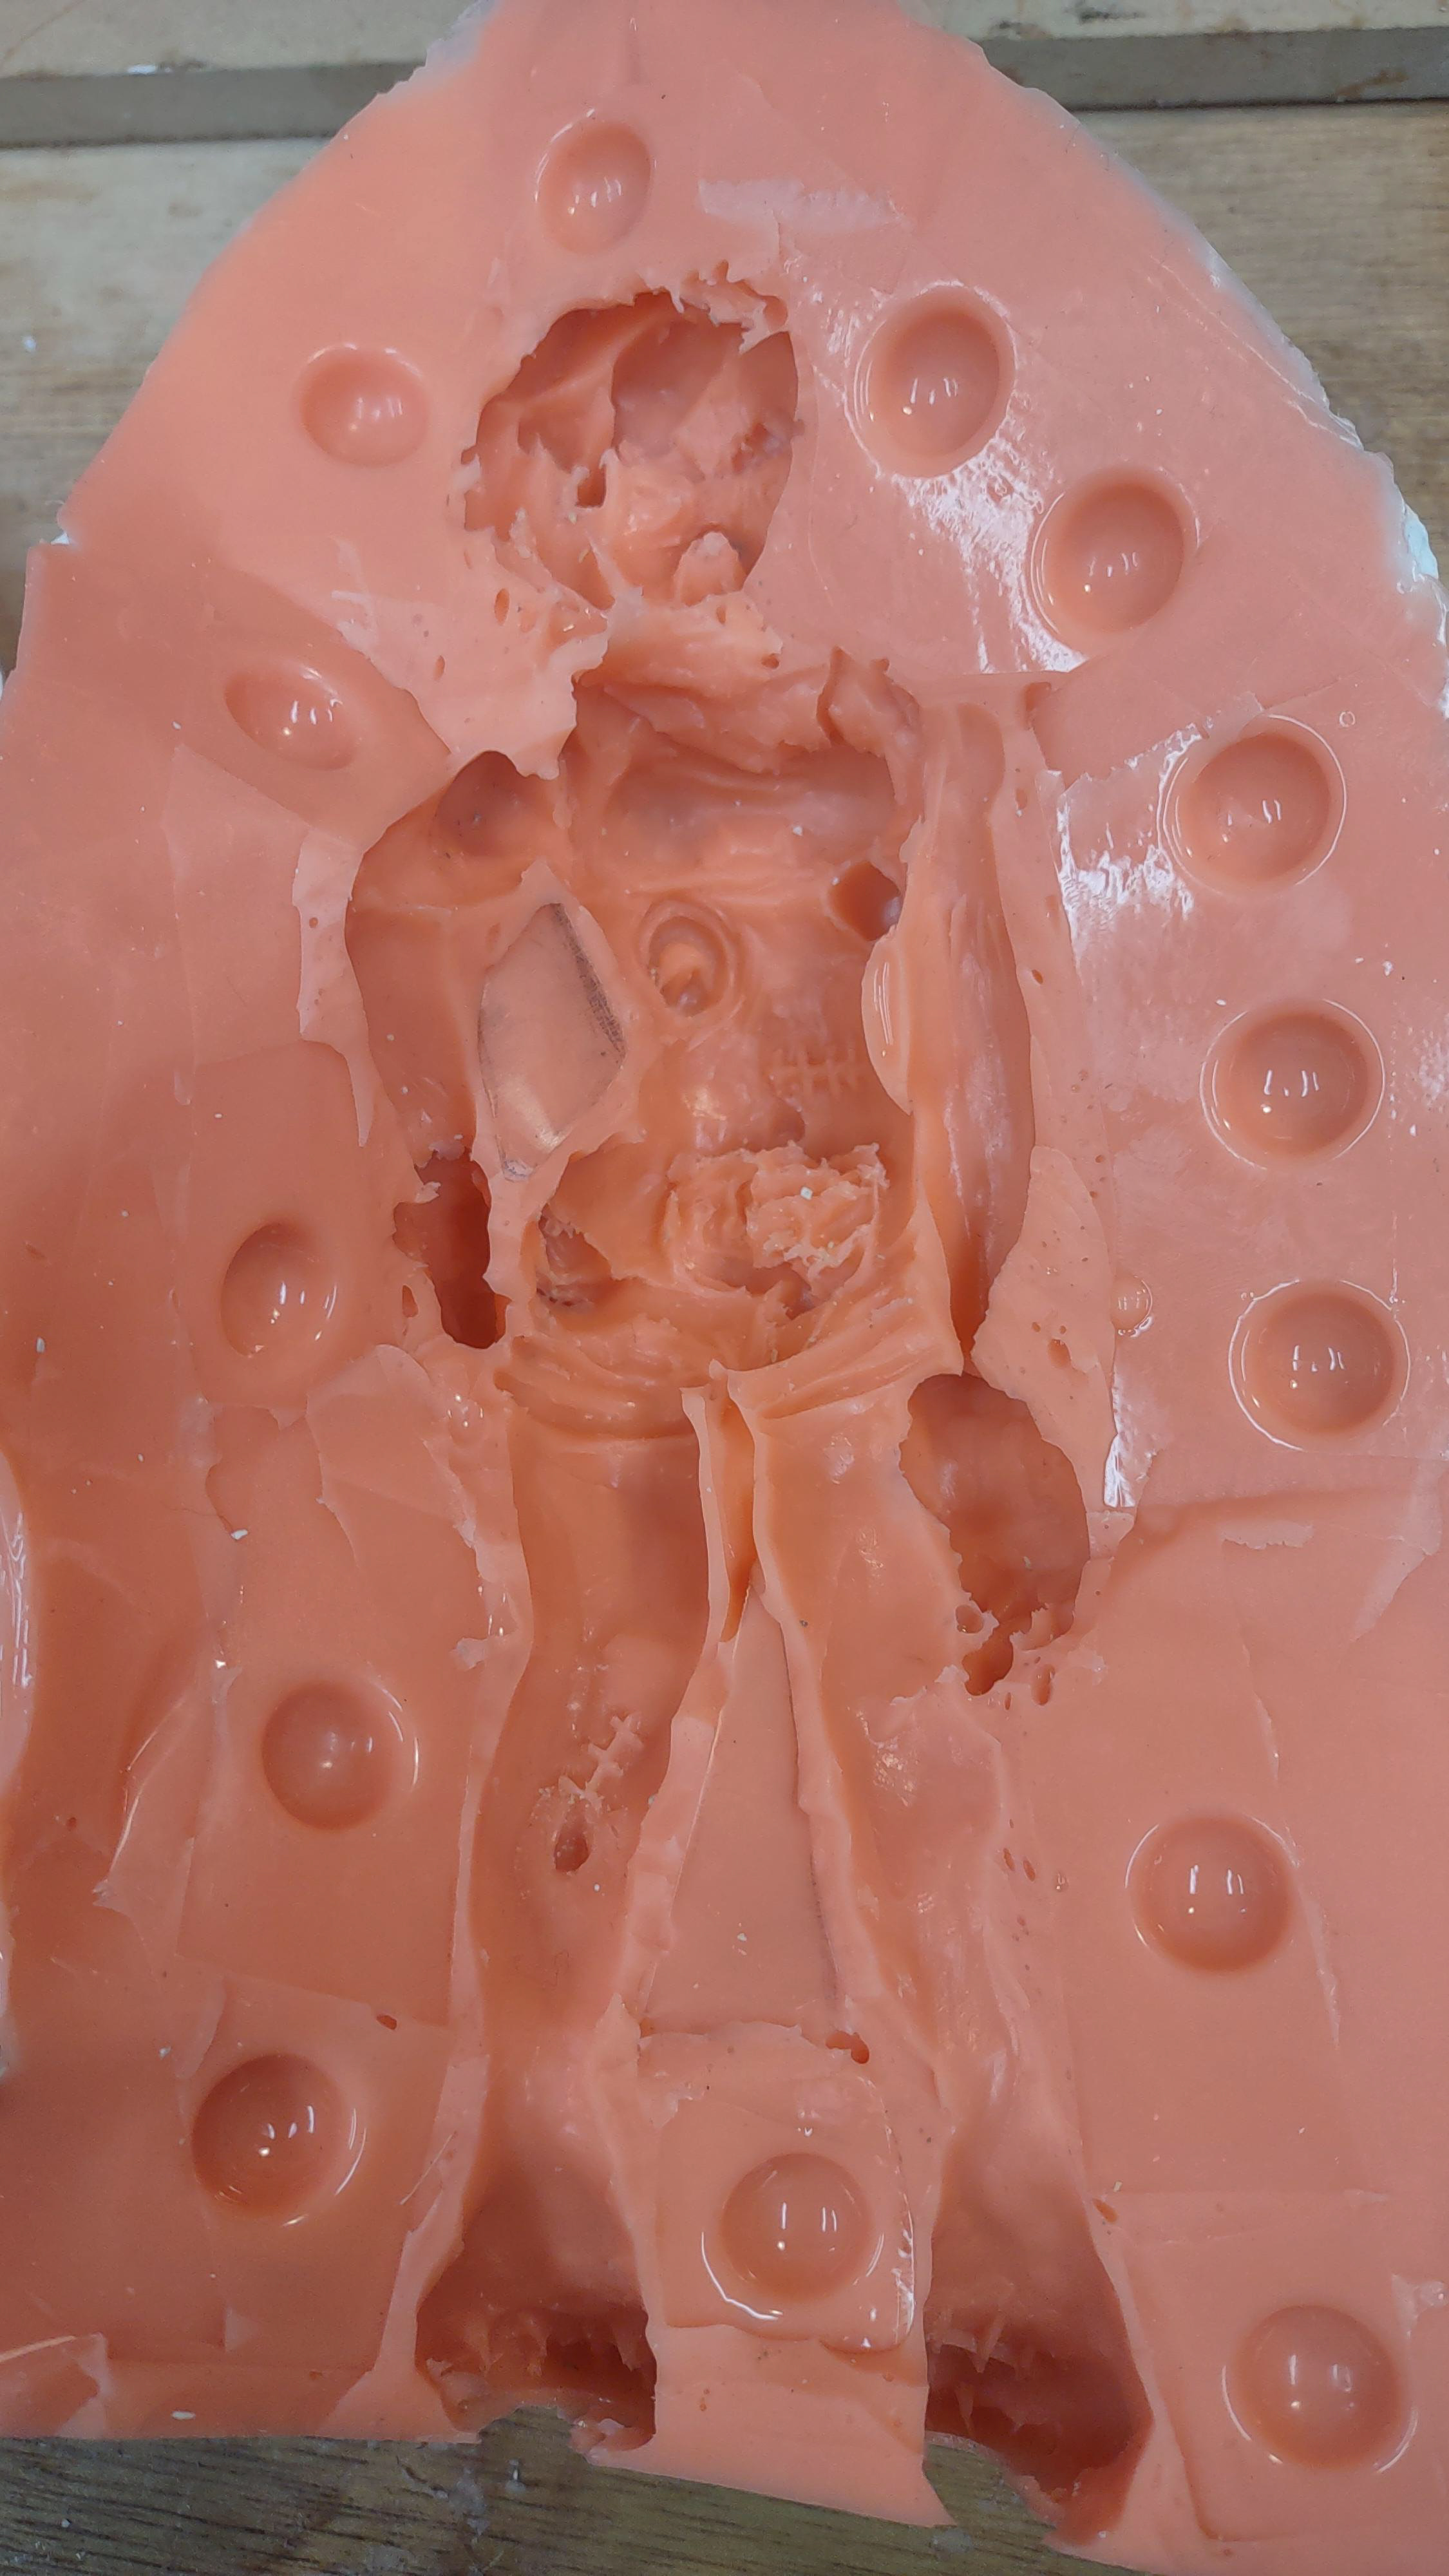
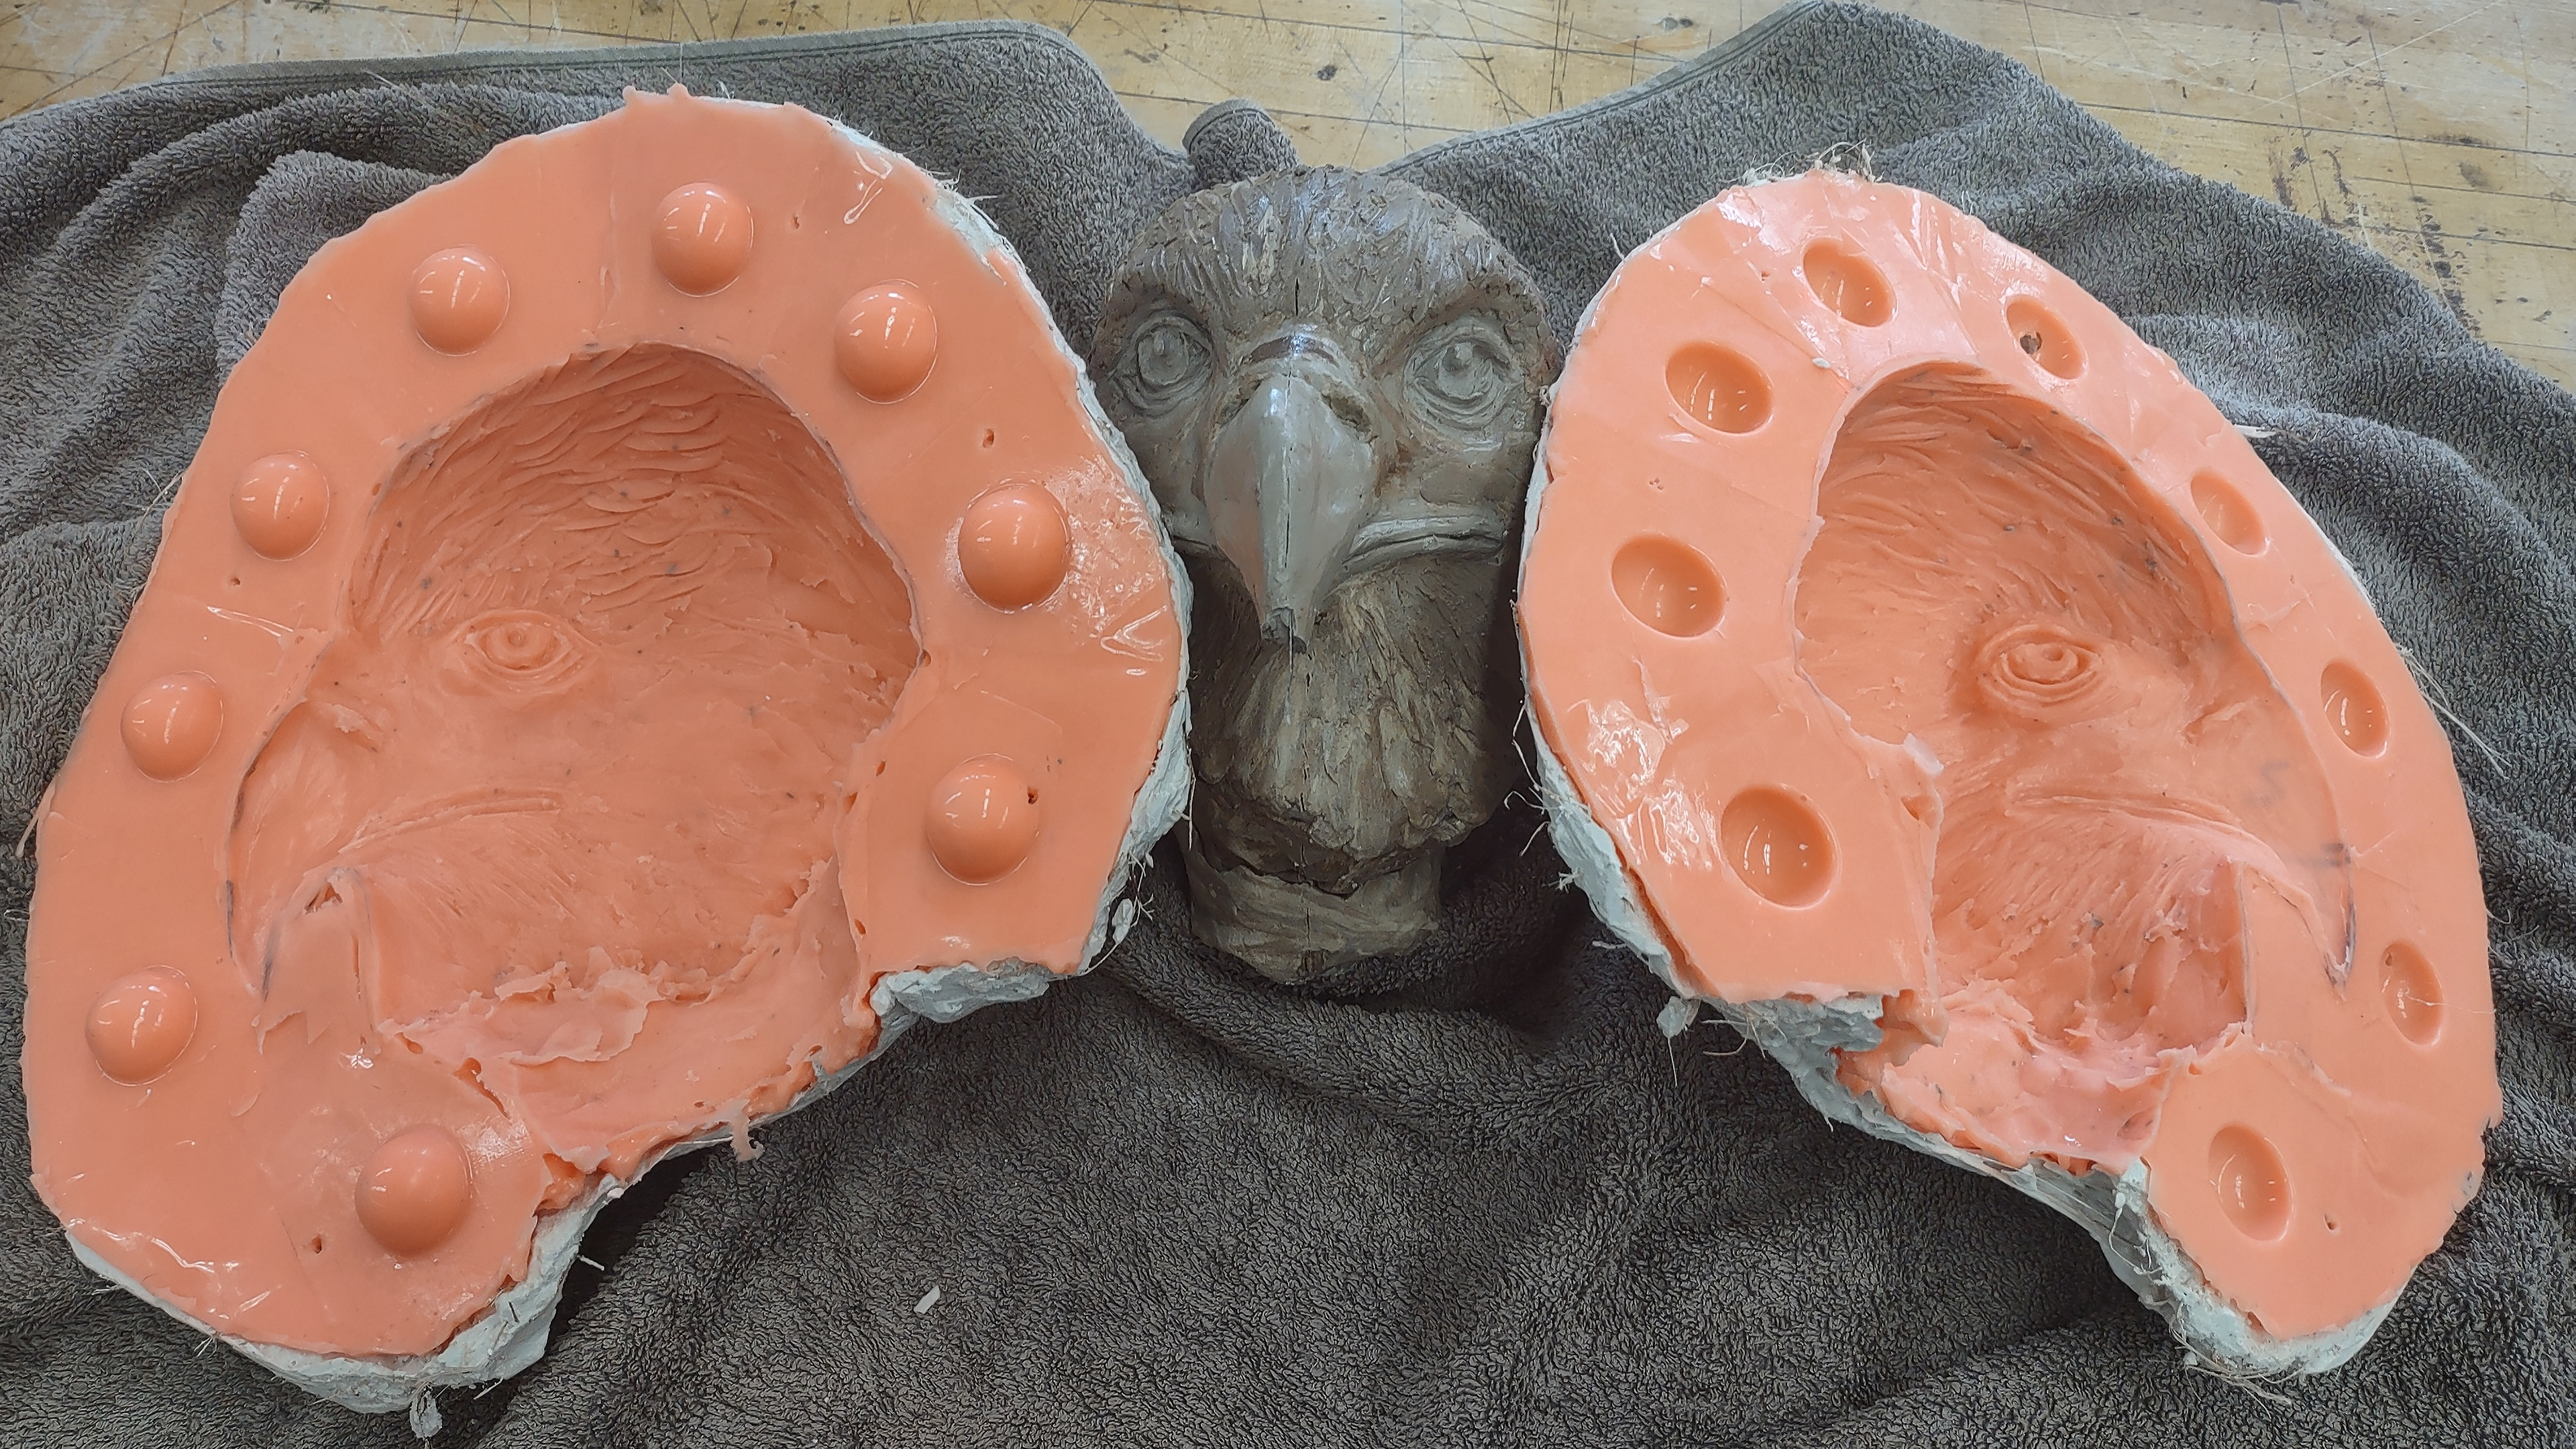
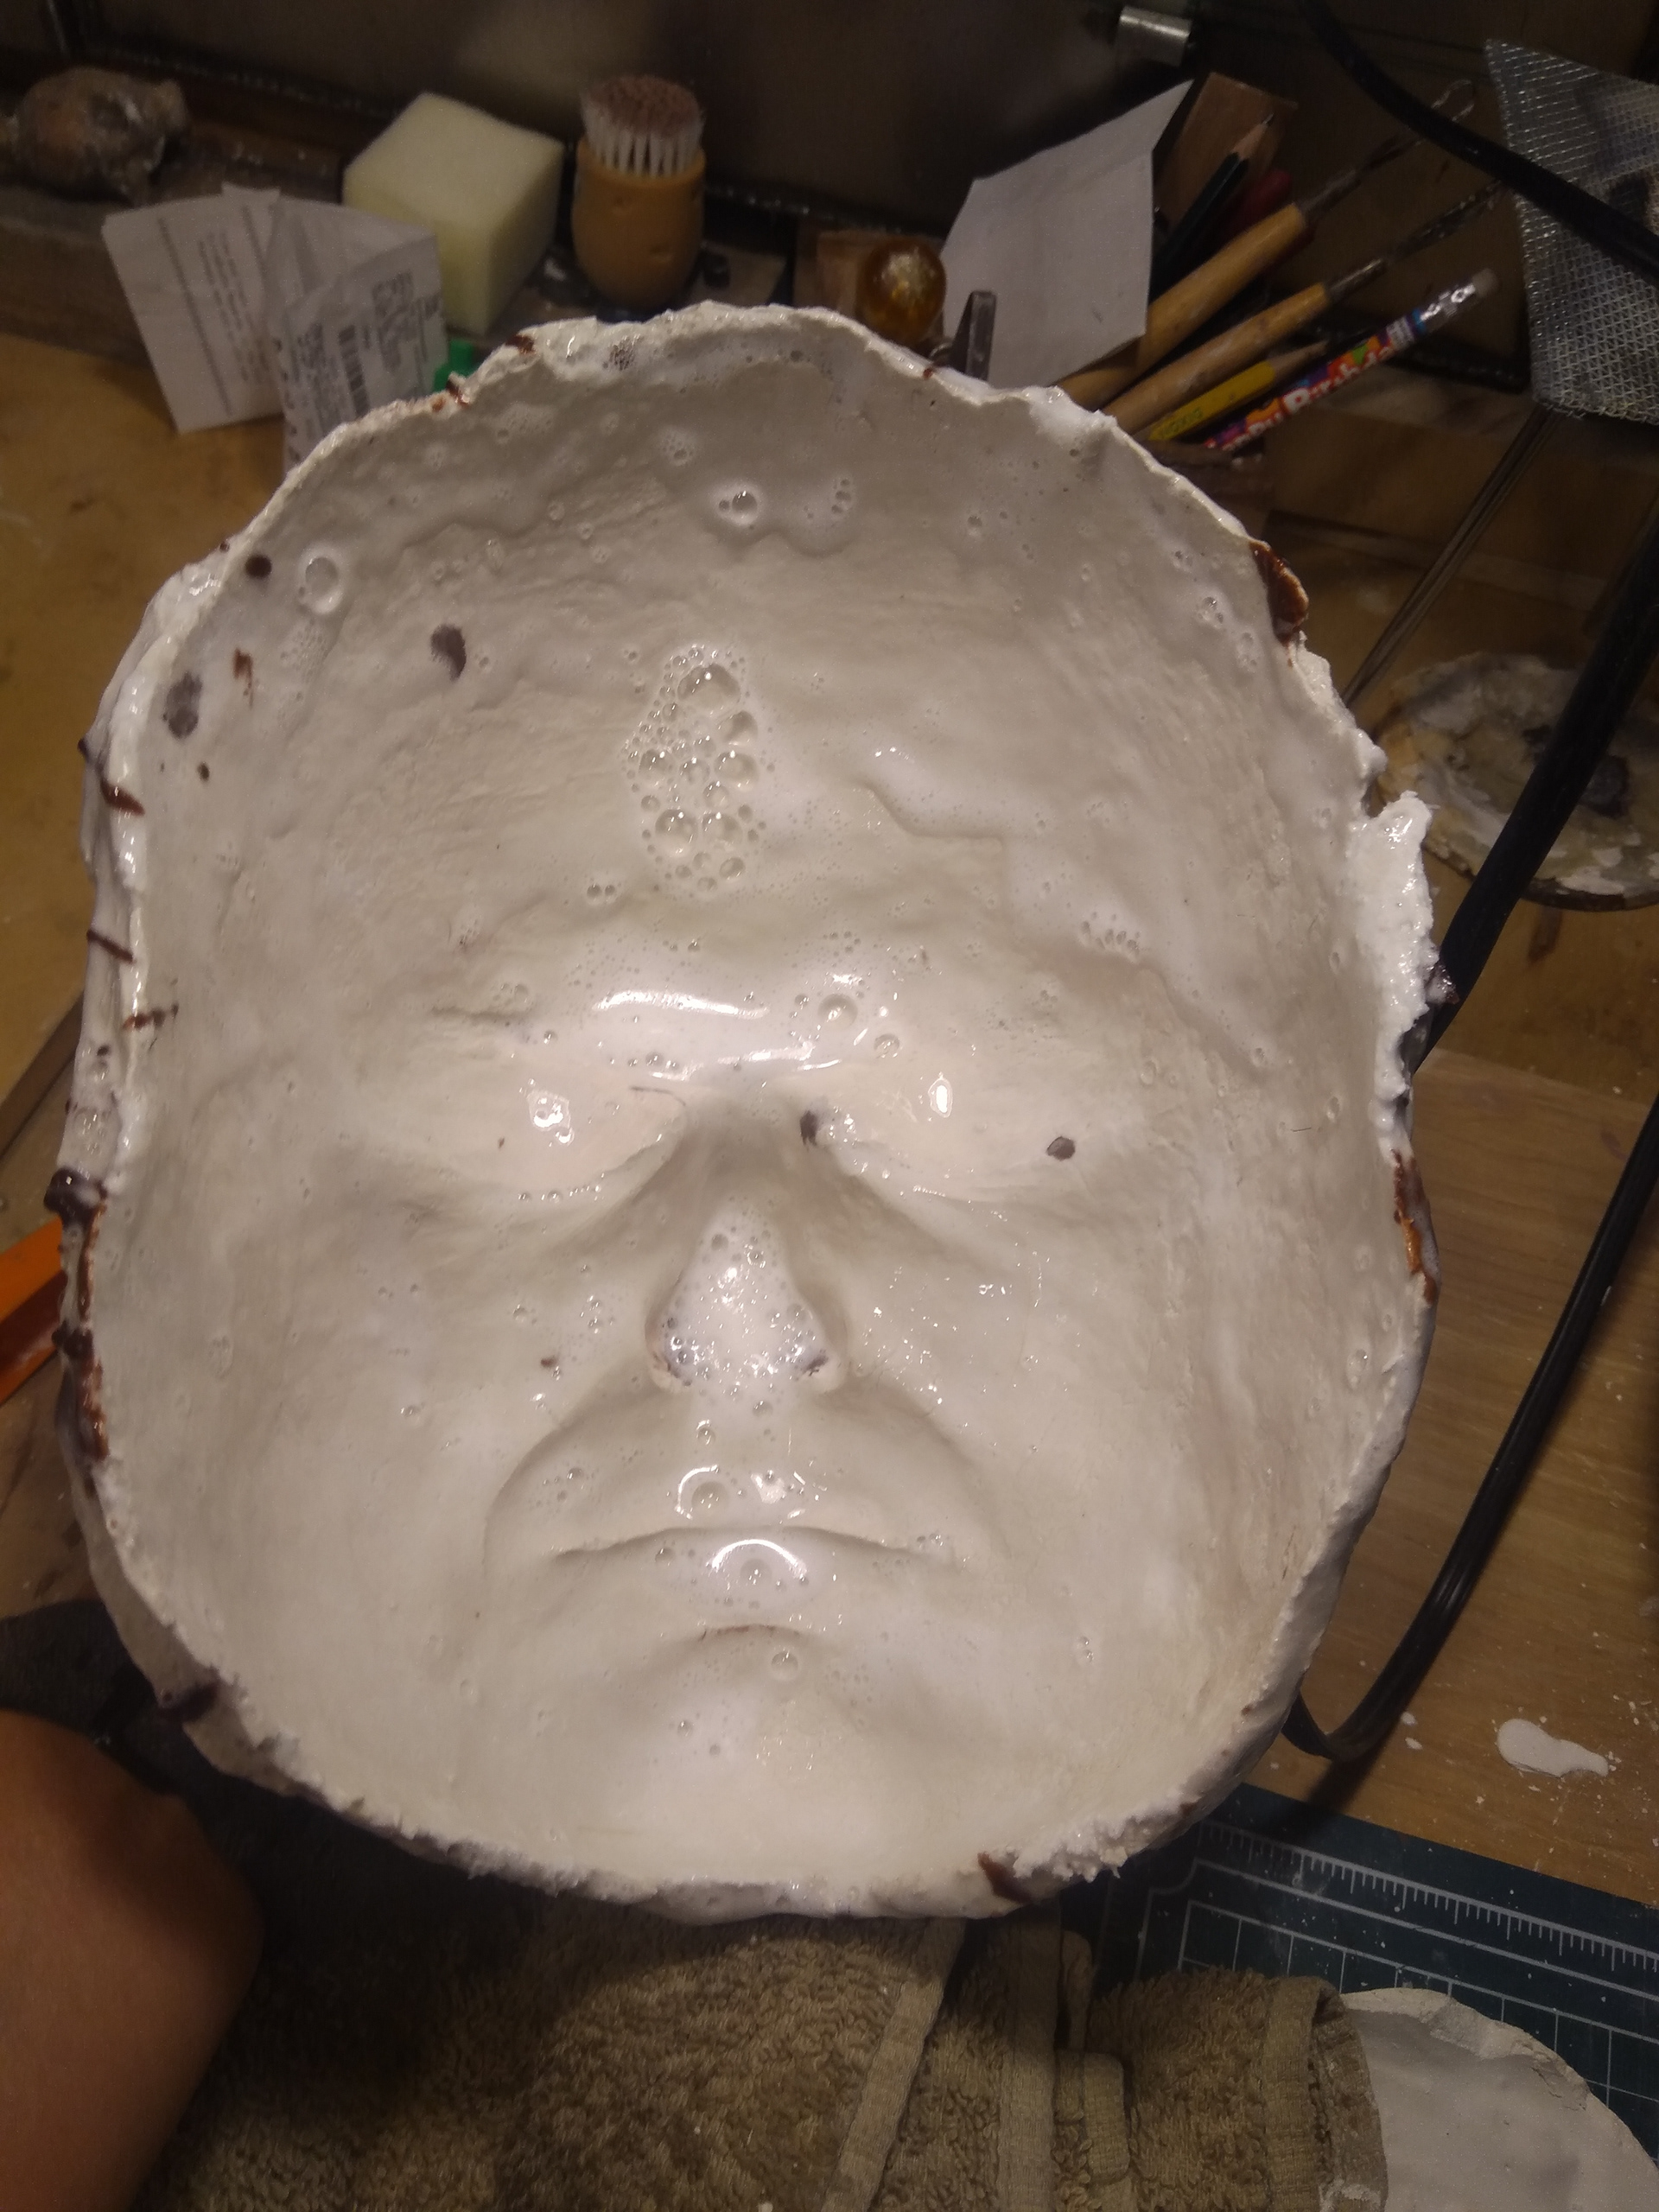
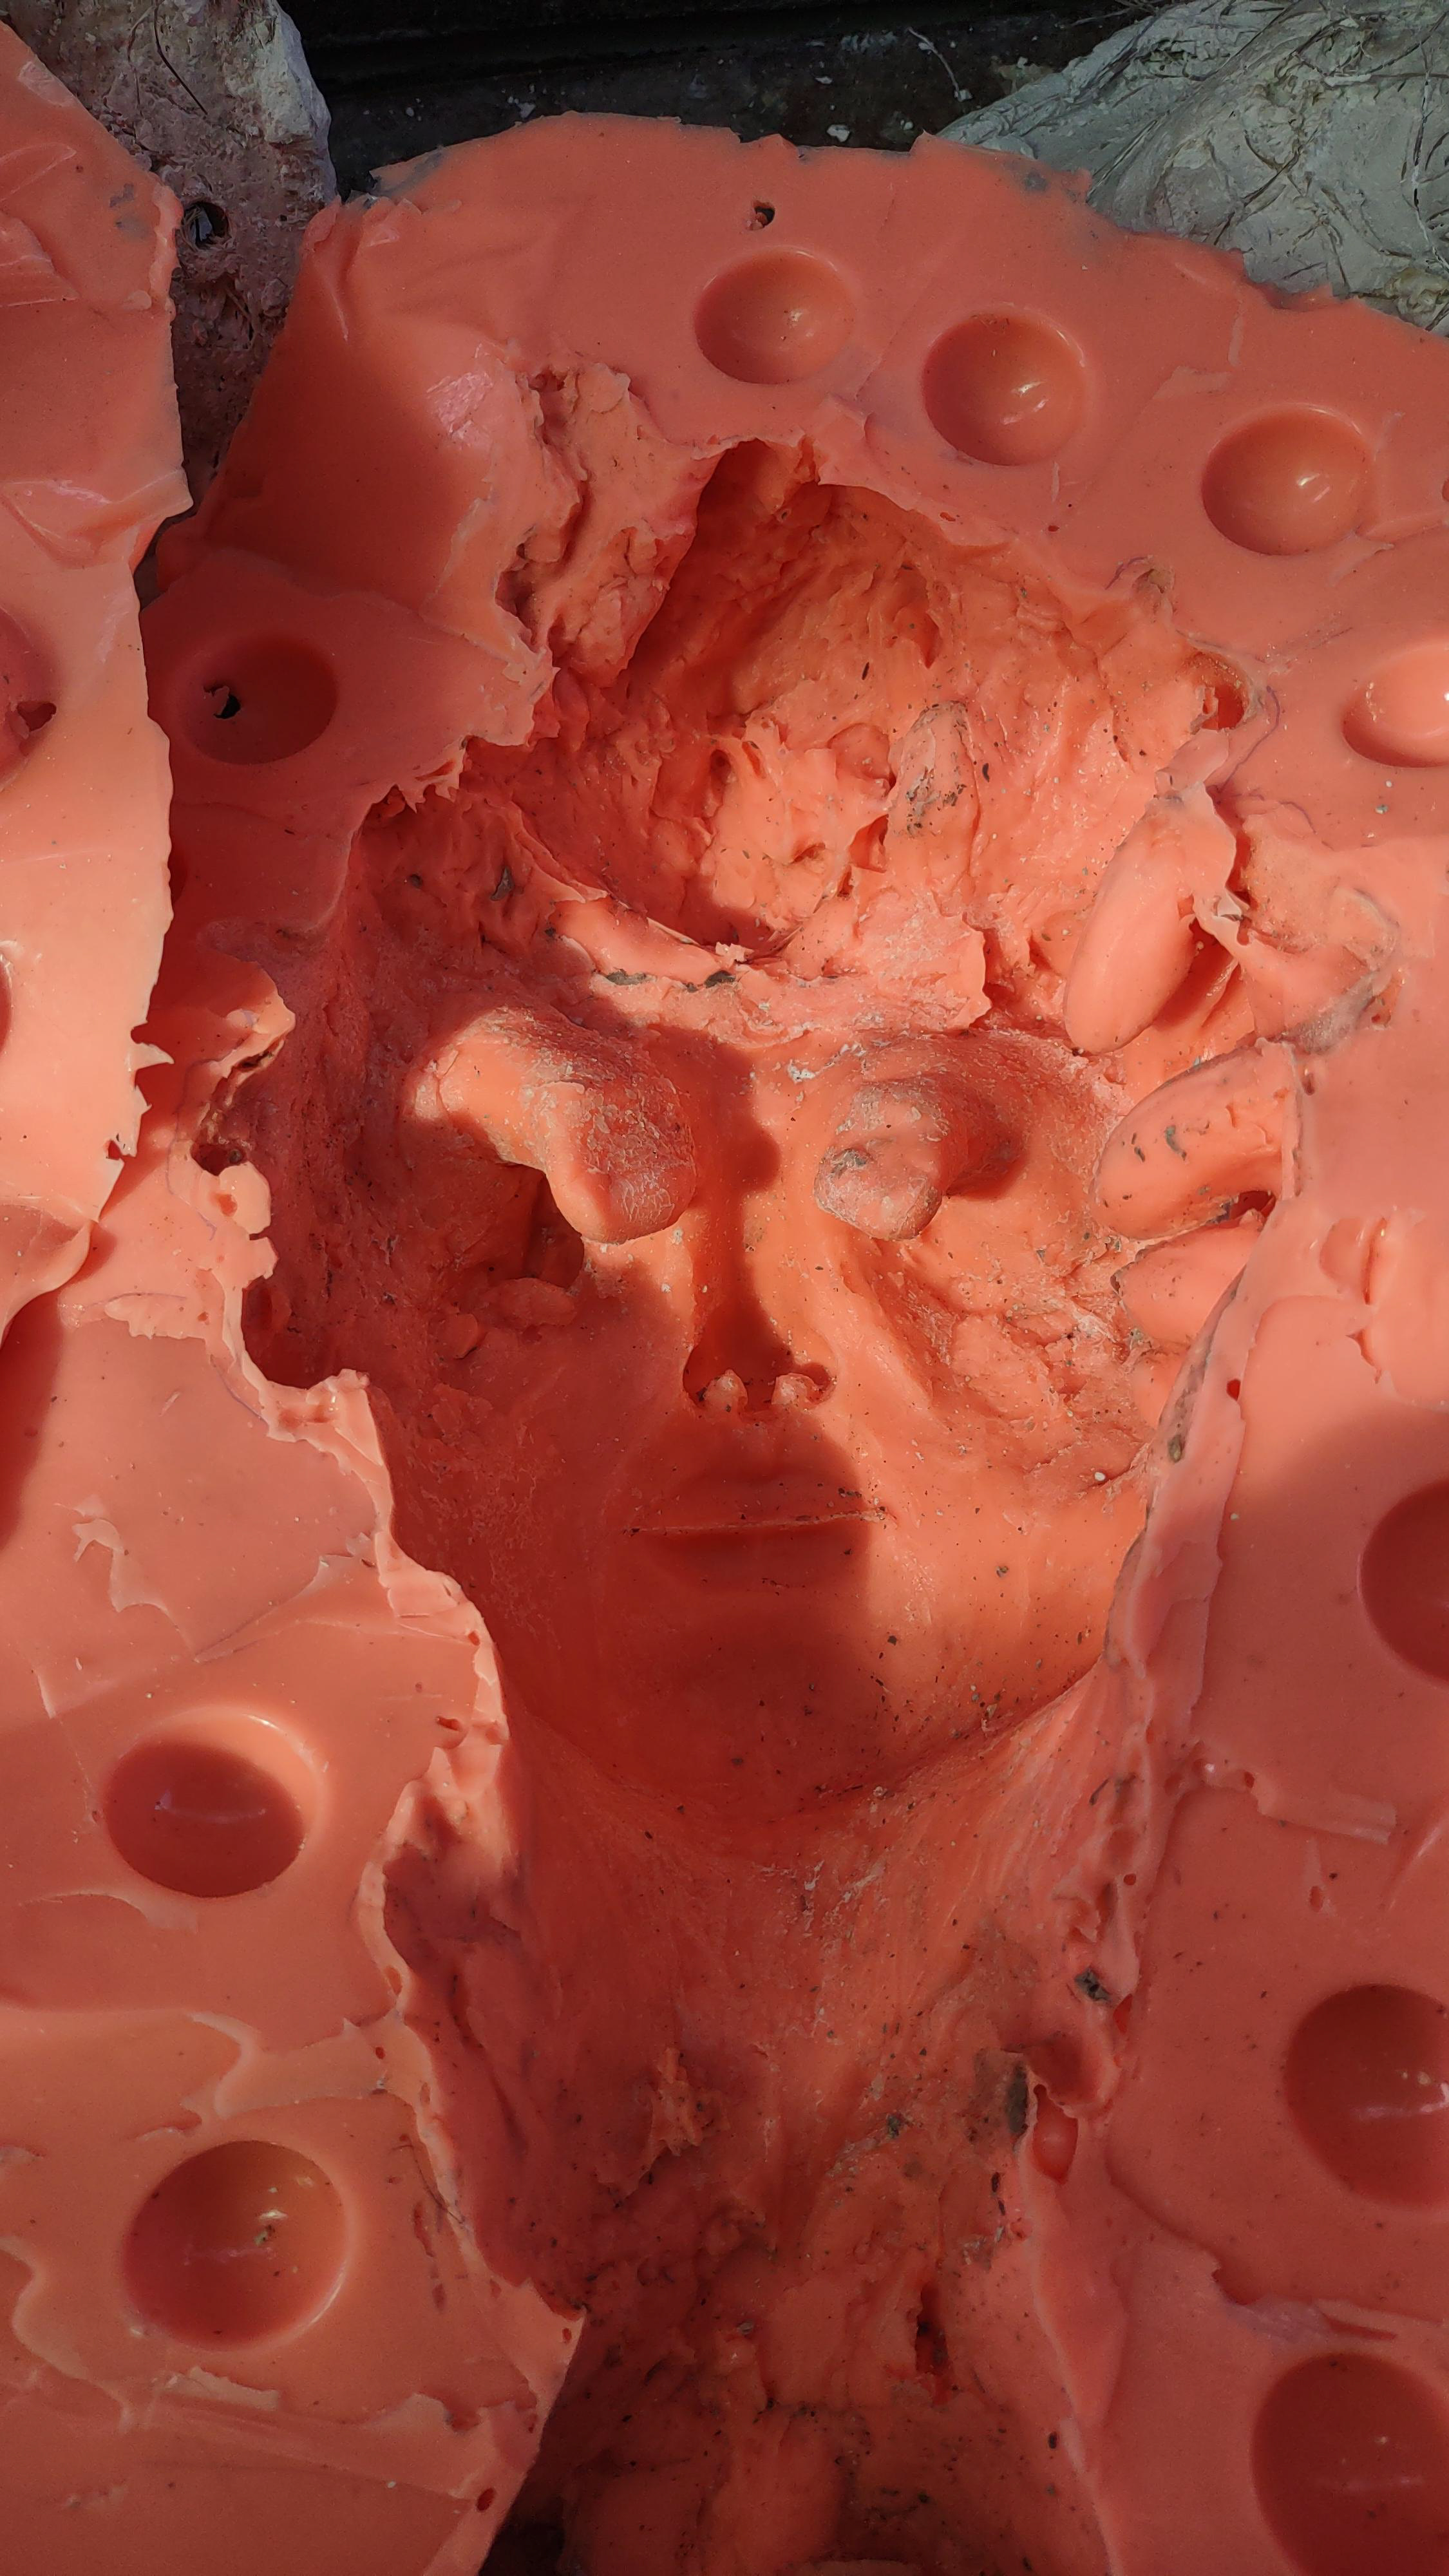
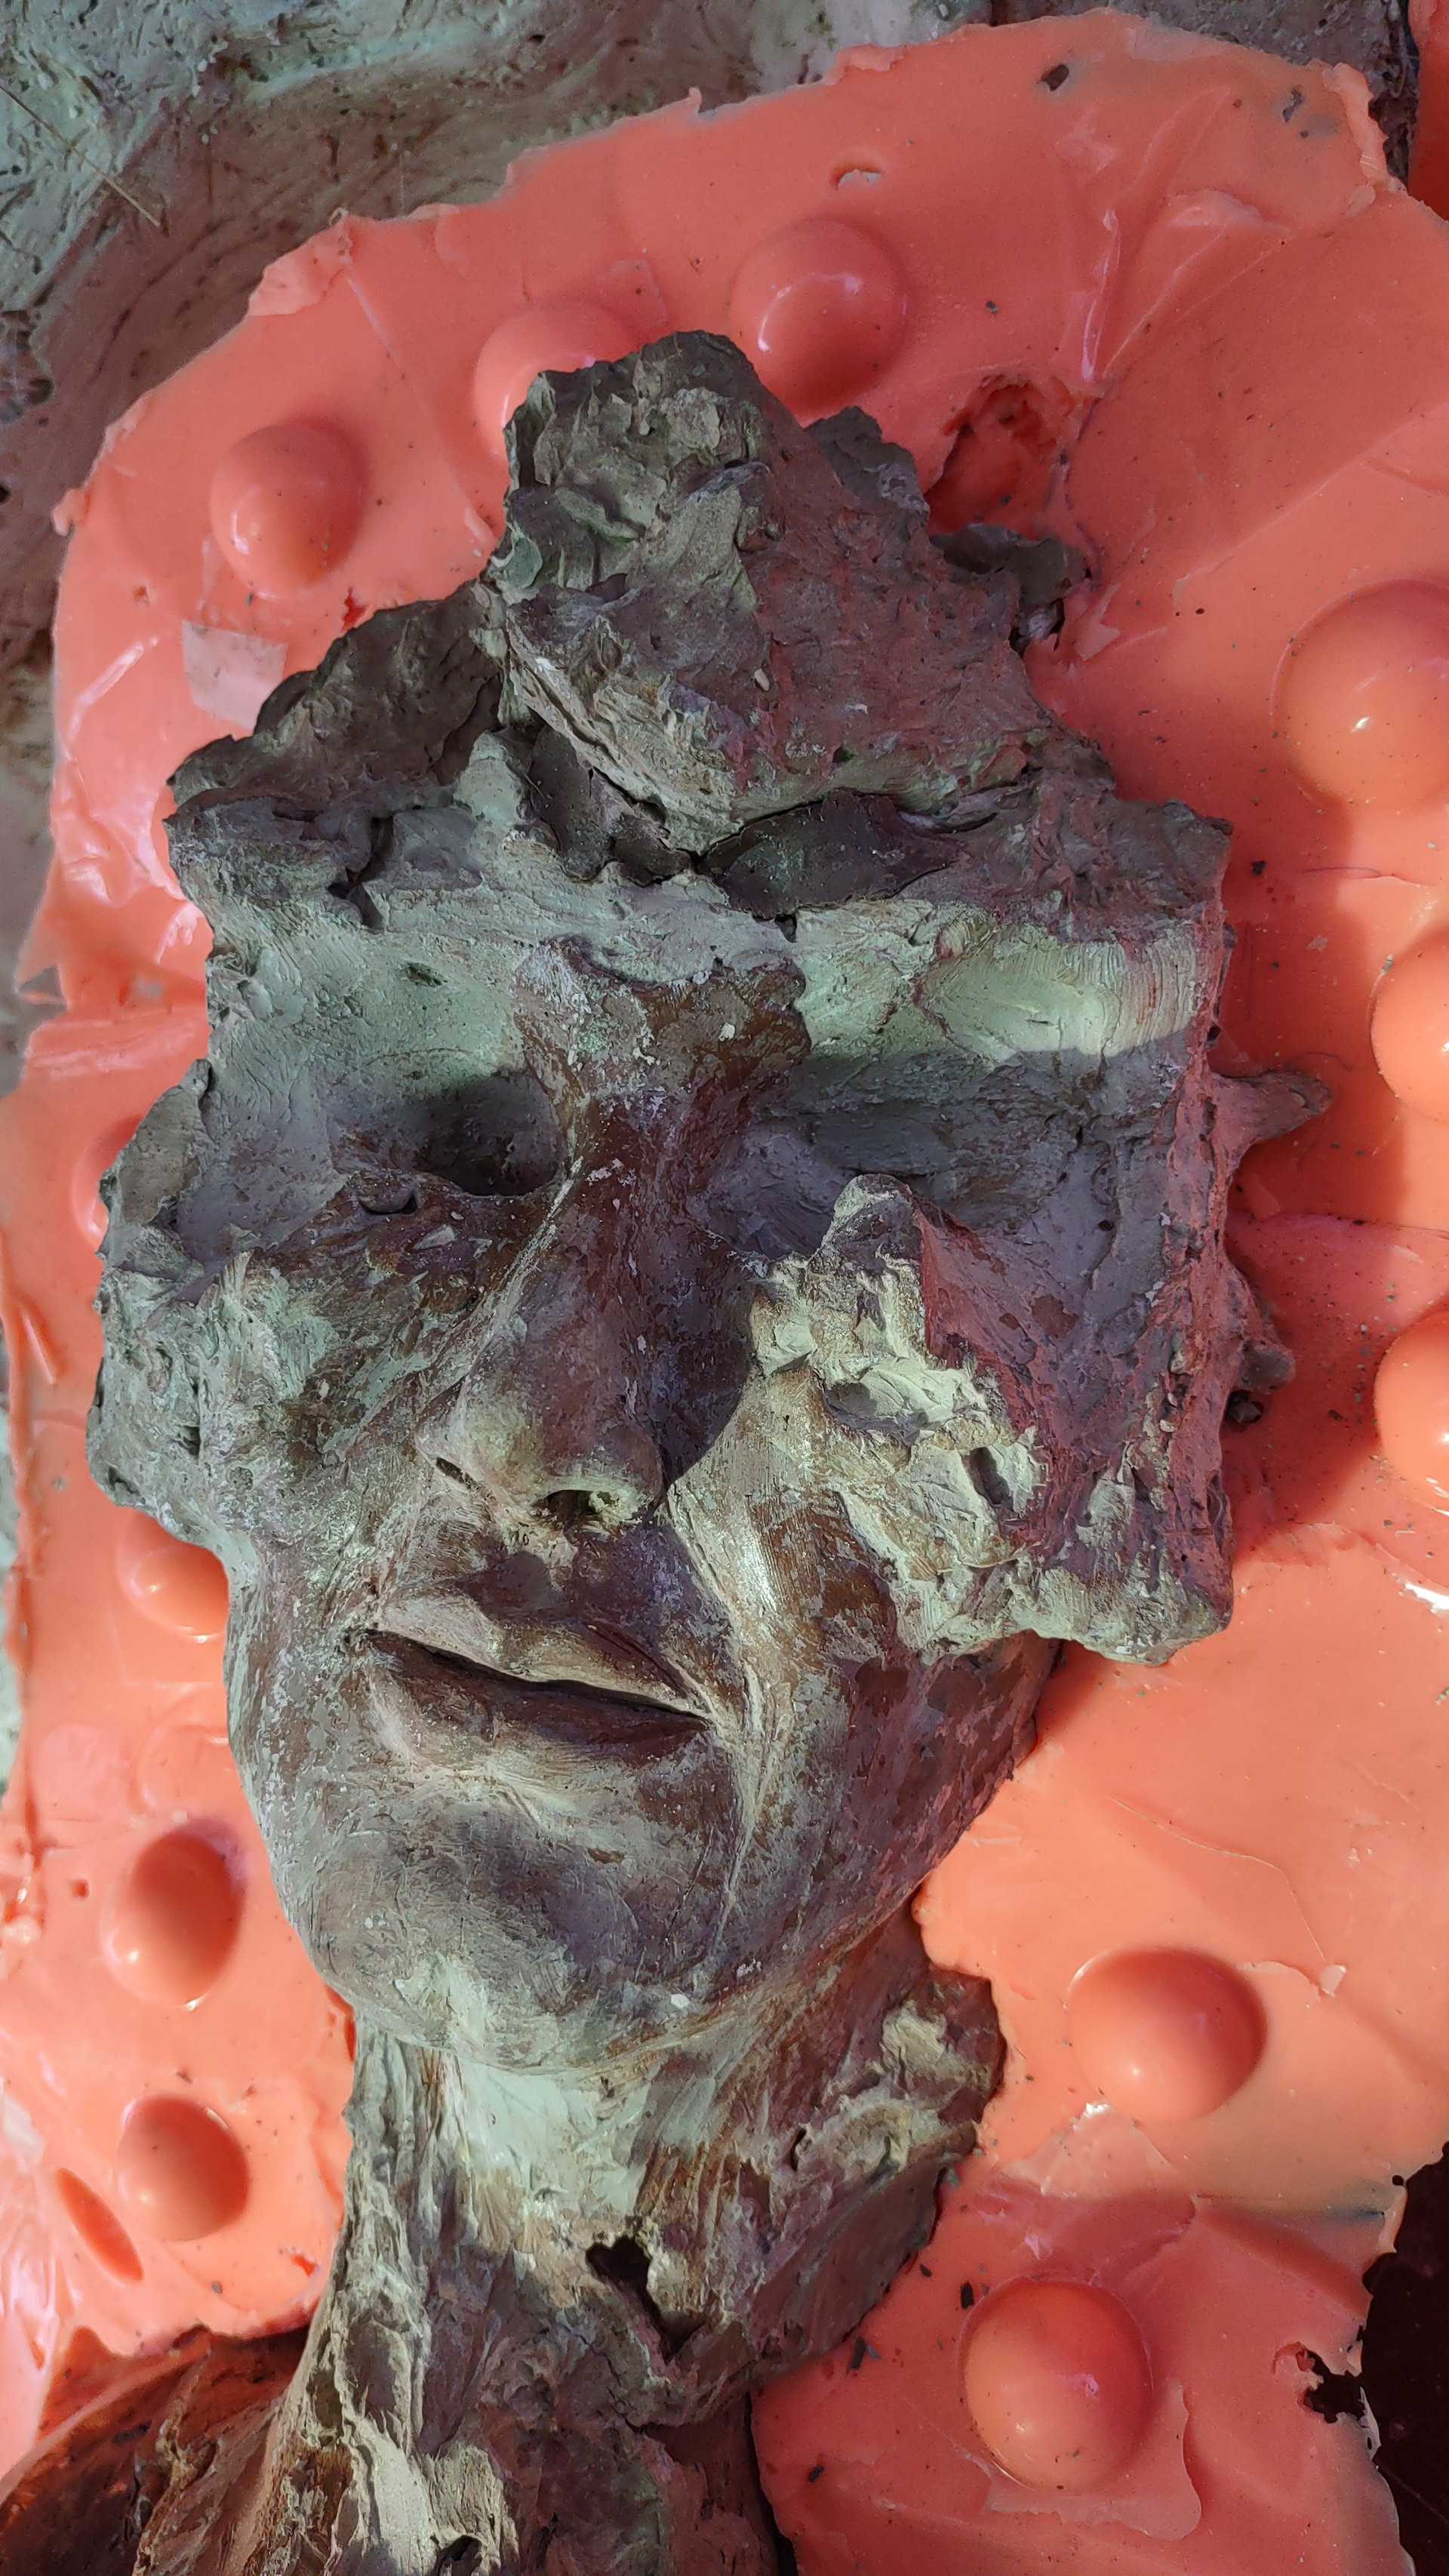
De-molding.
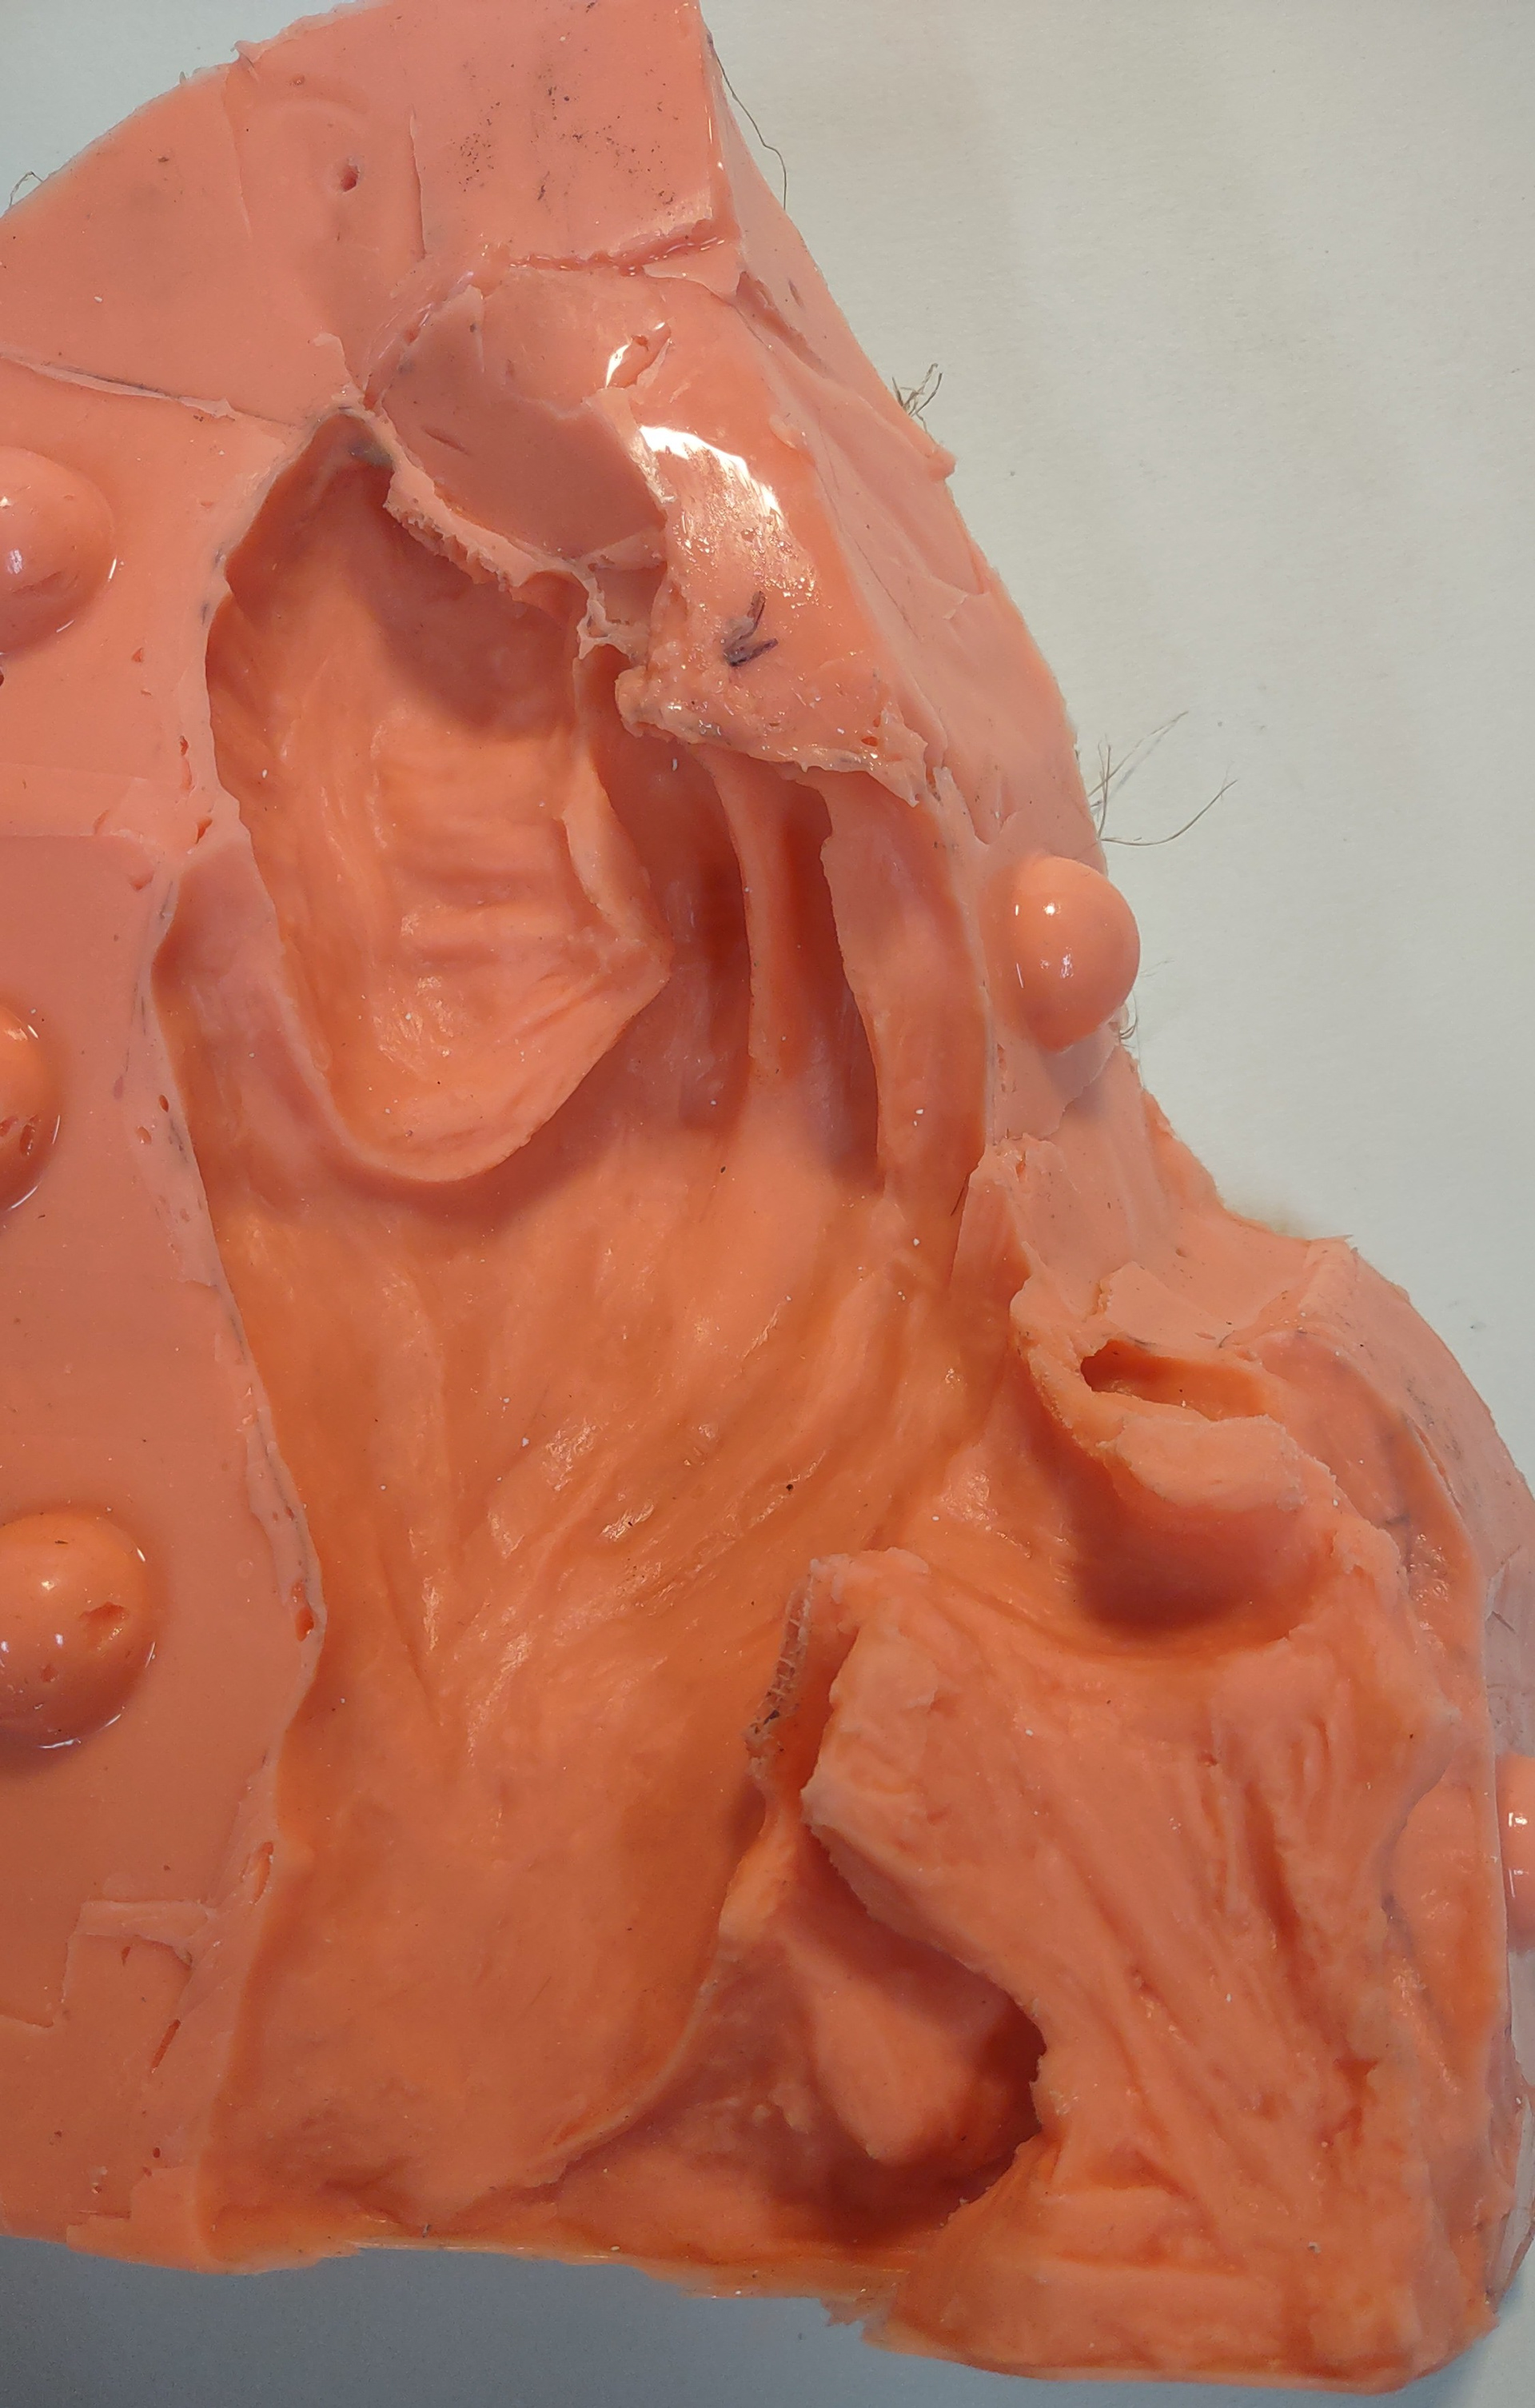
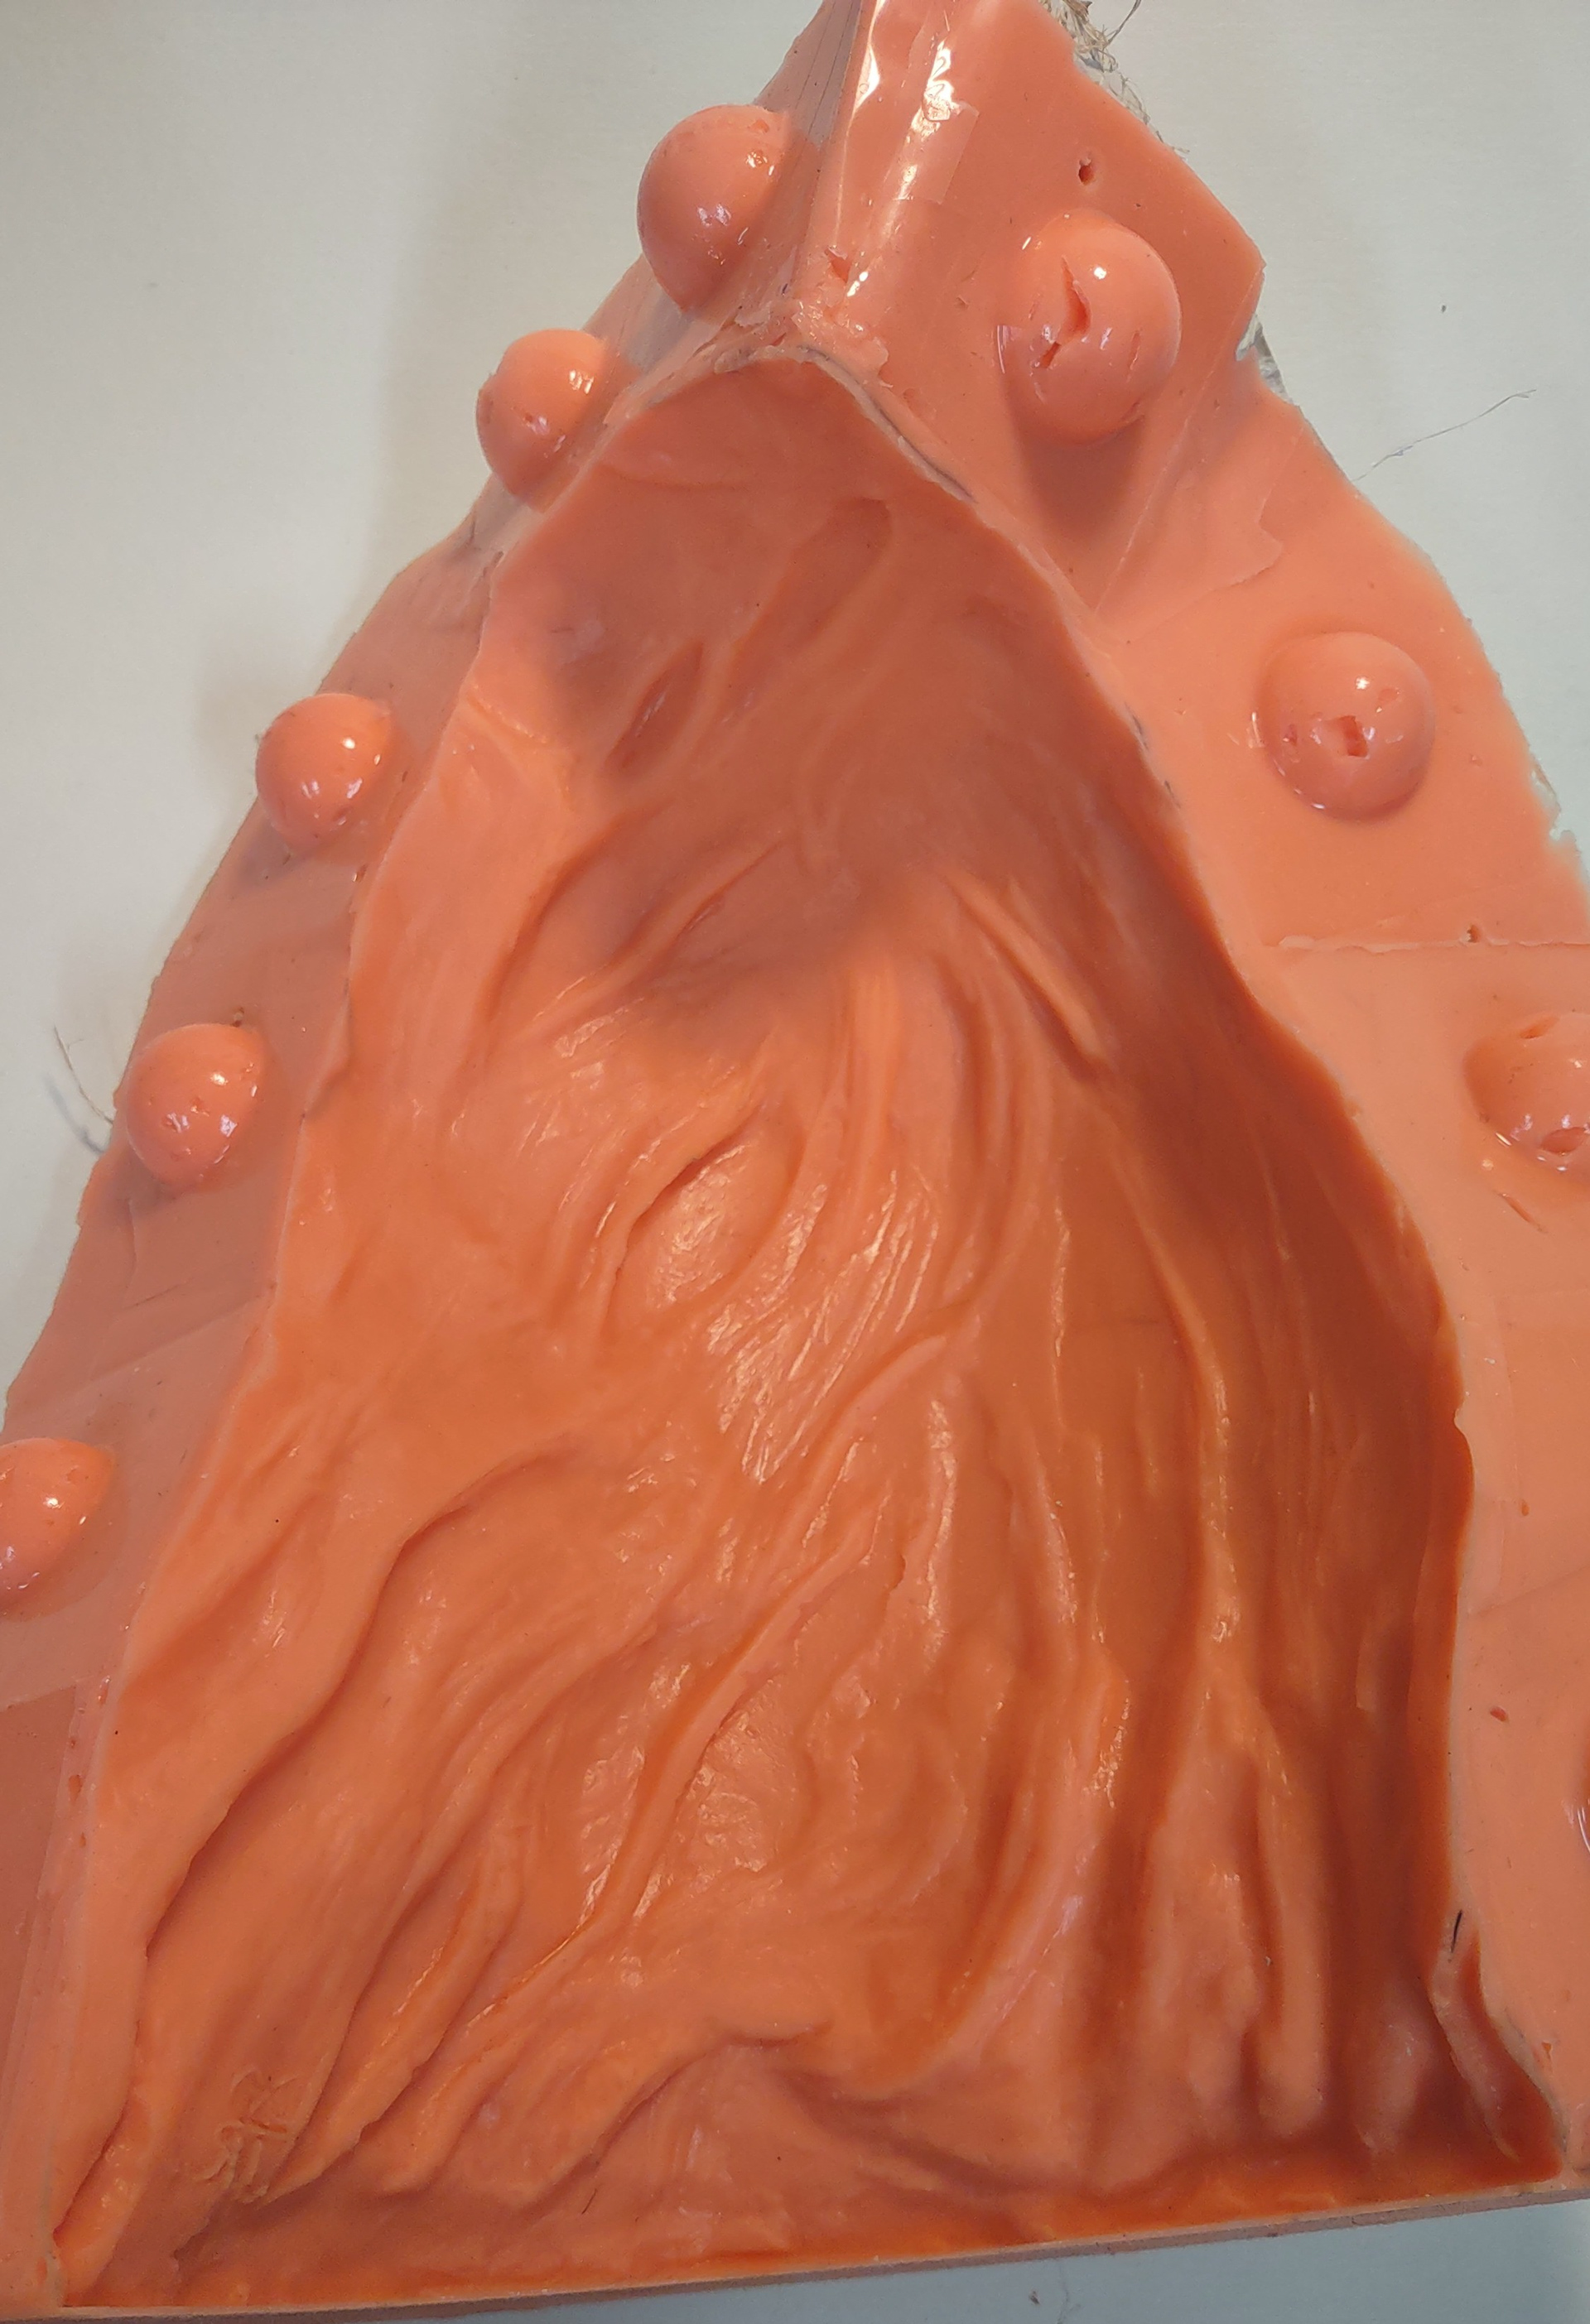
Silicon mold from 3D object.
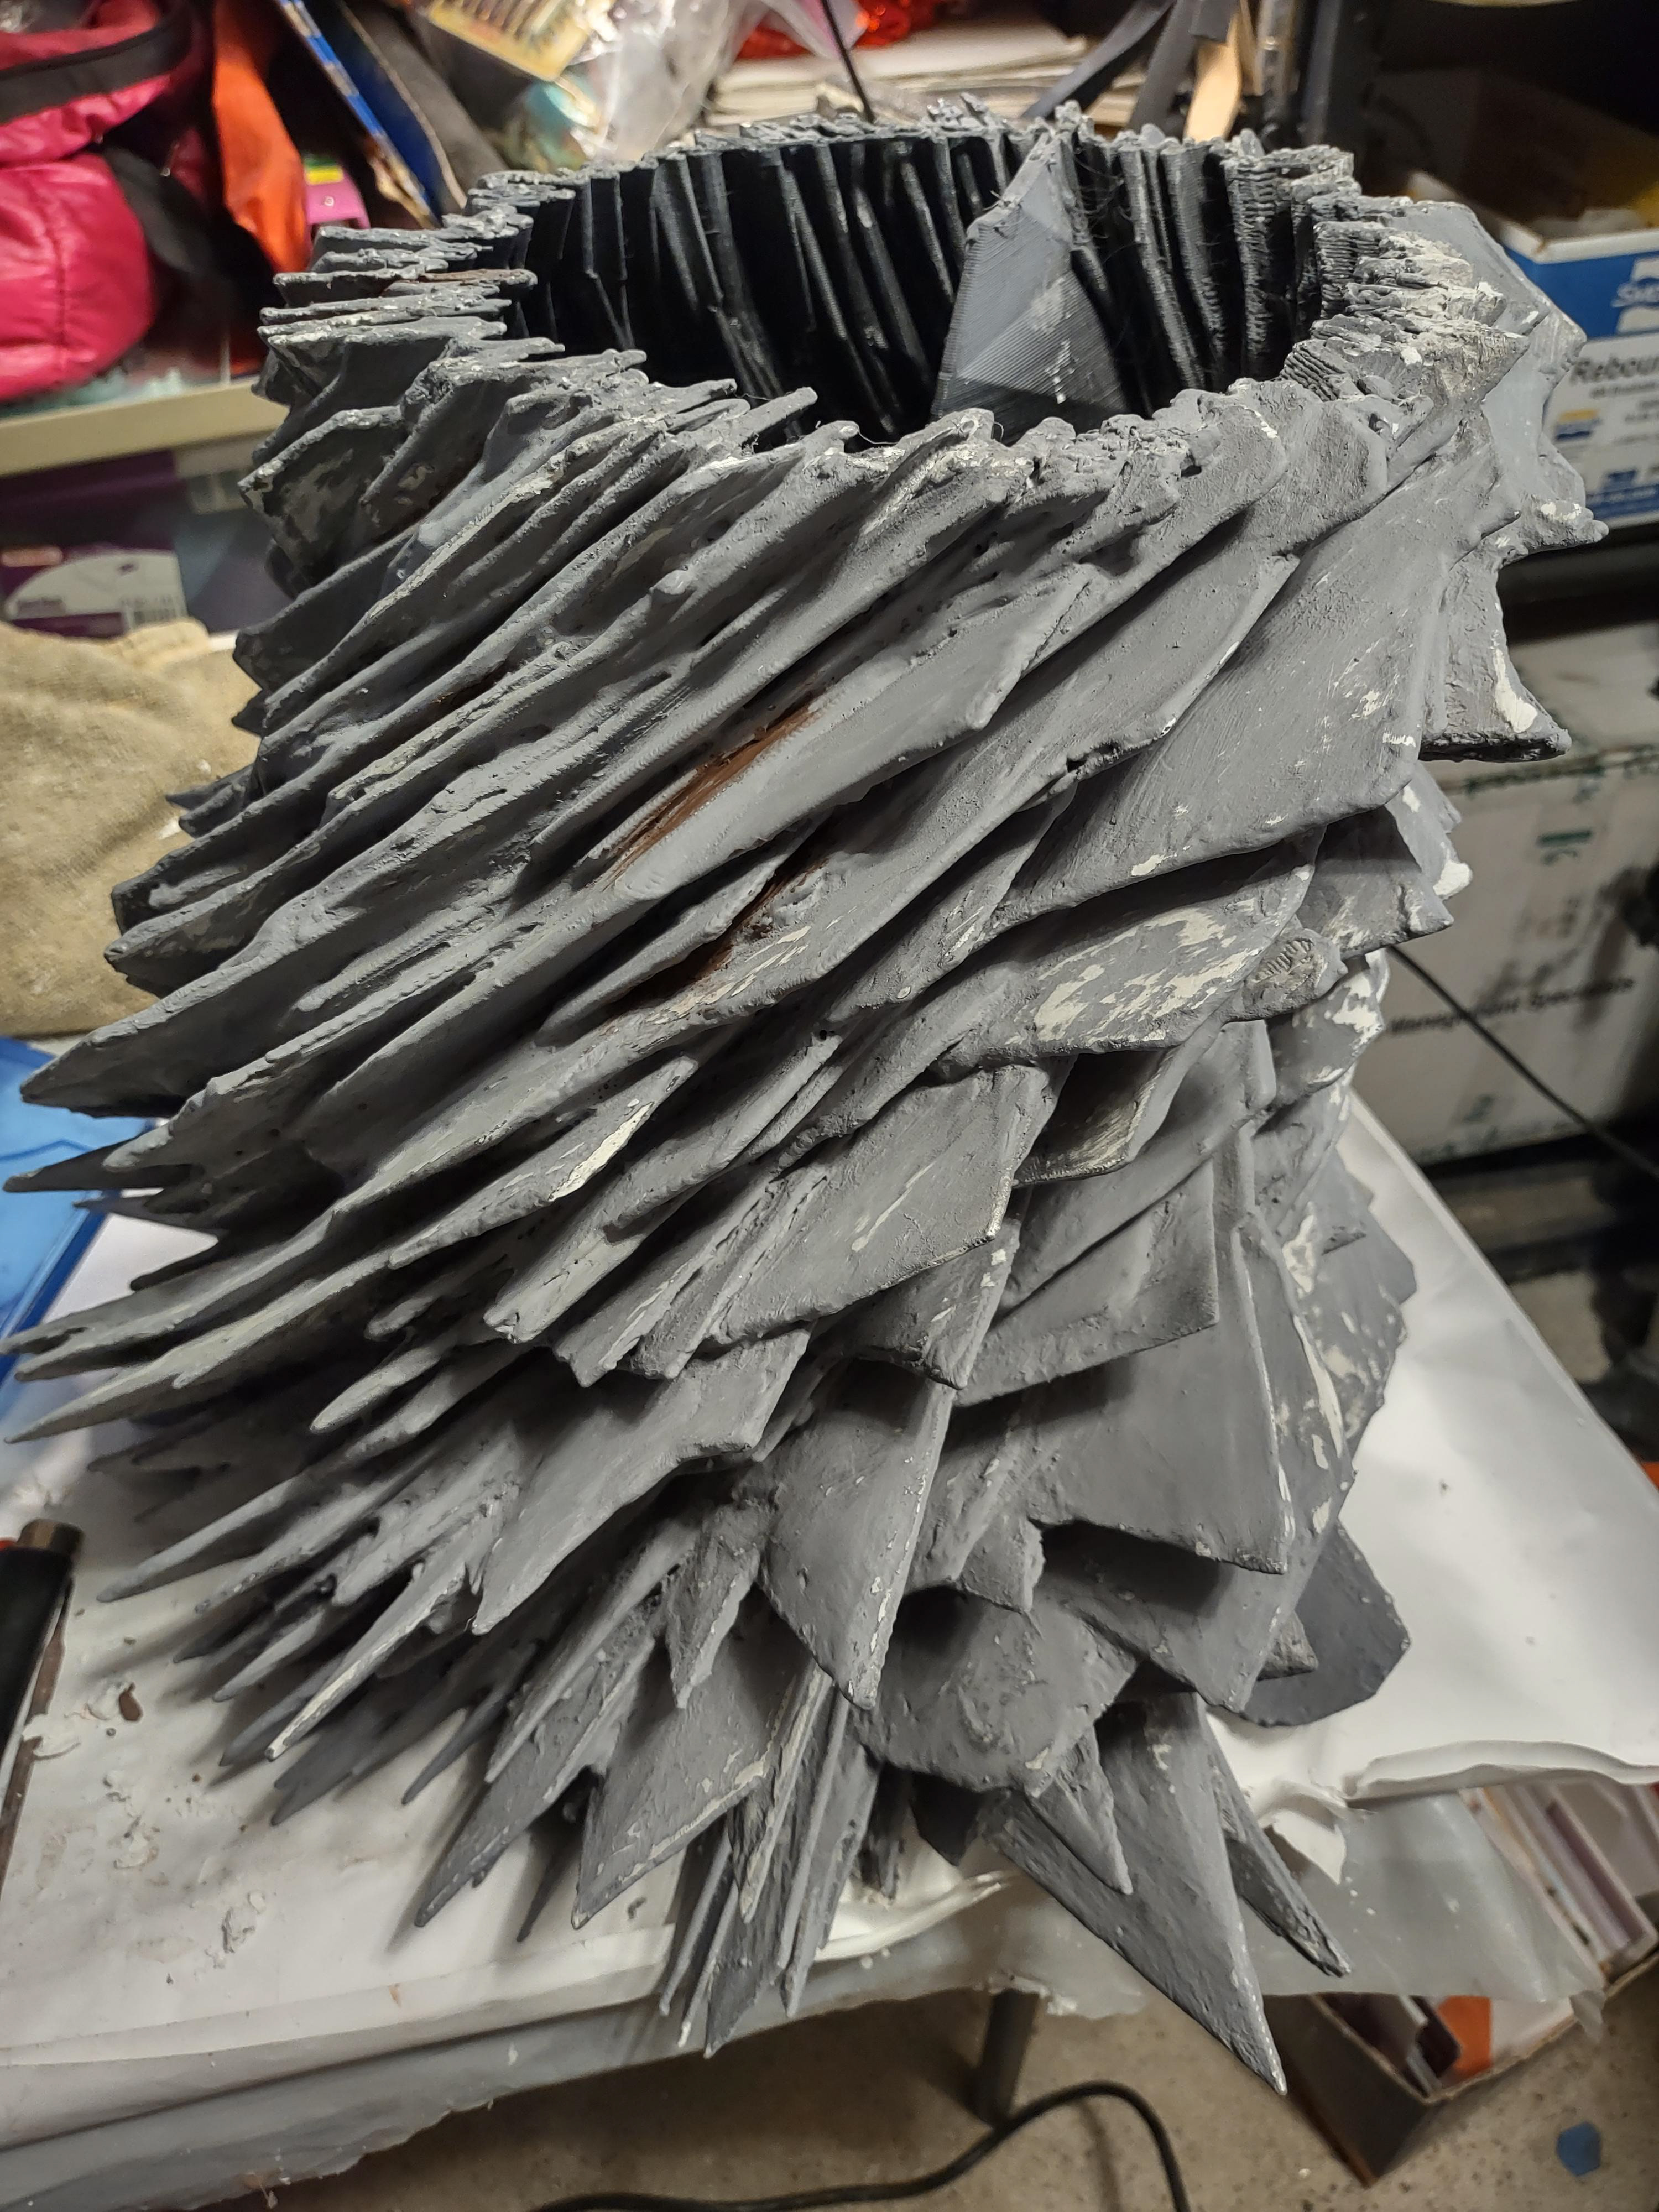
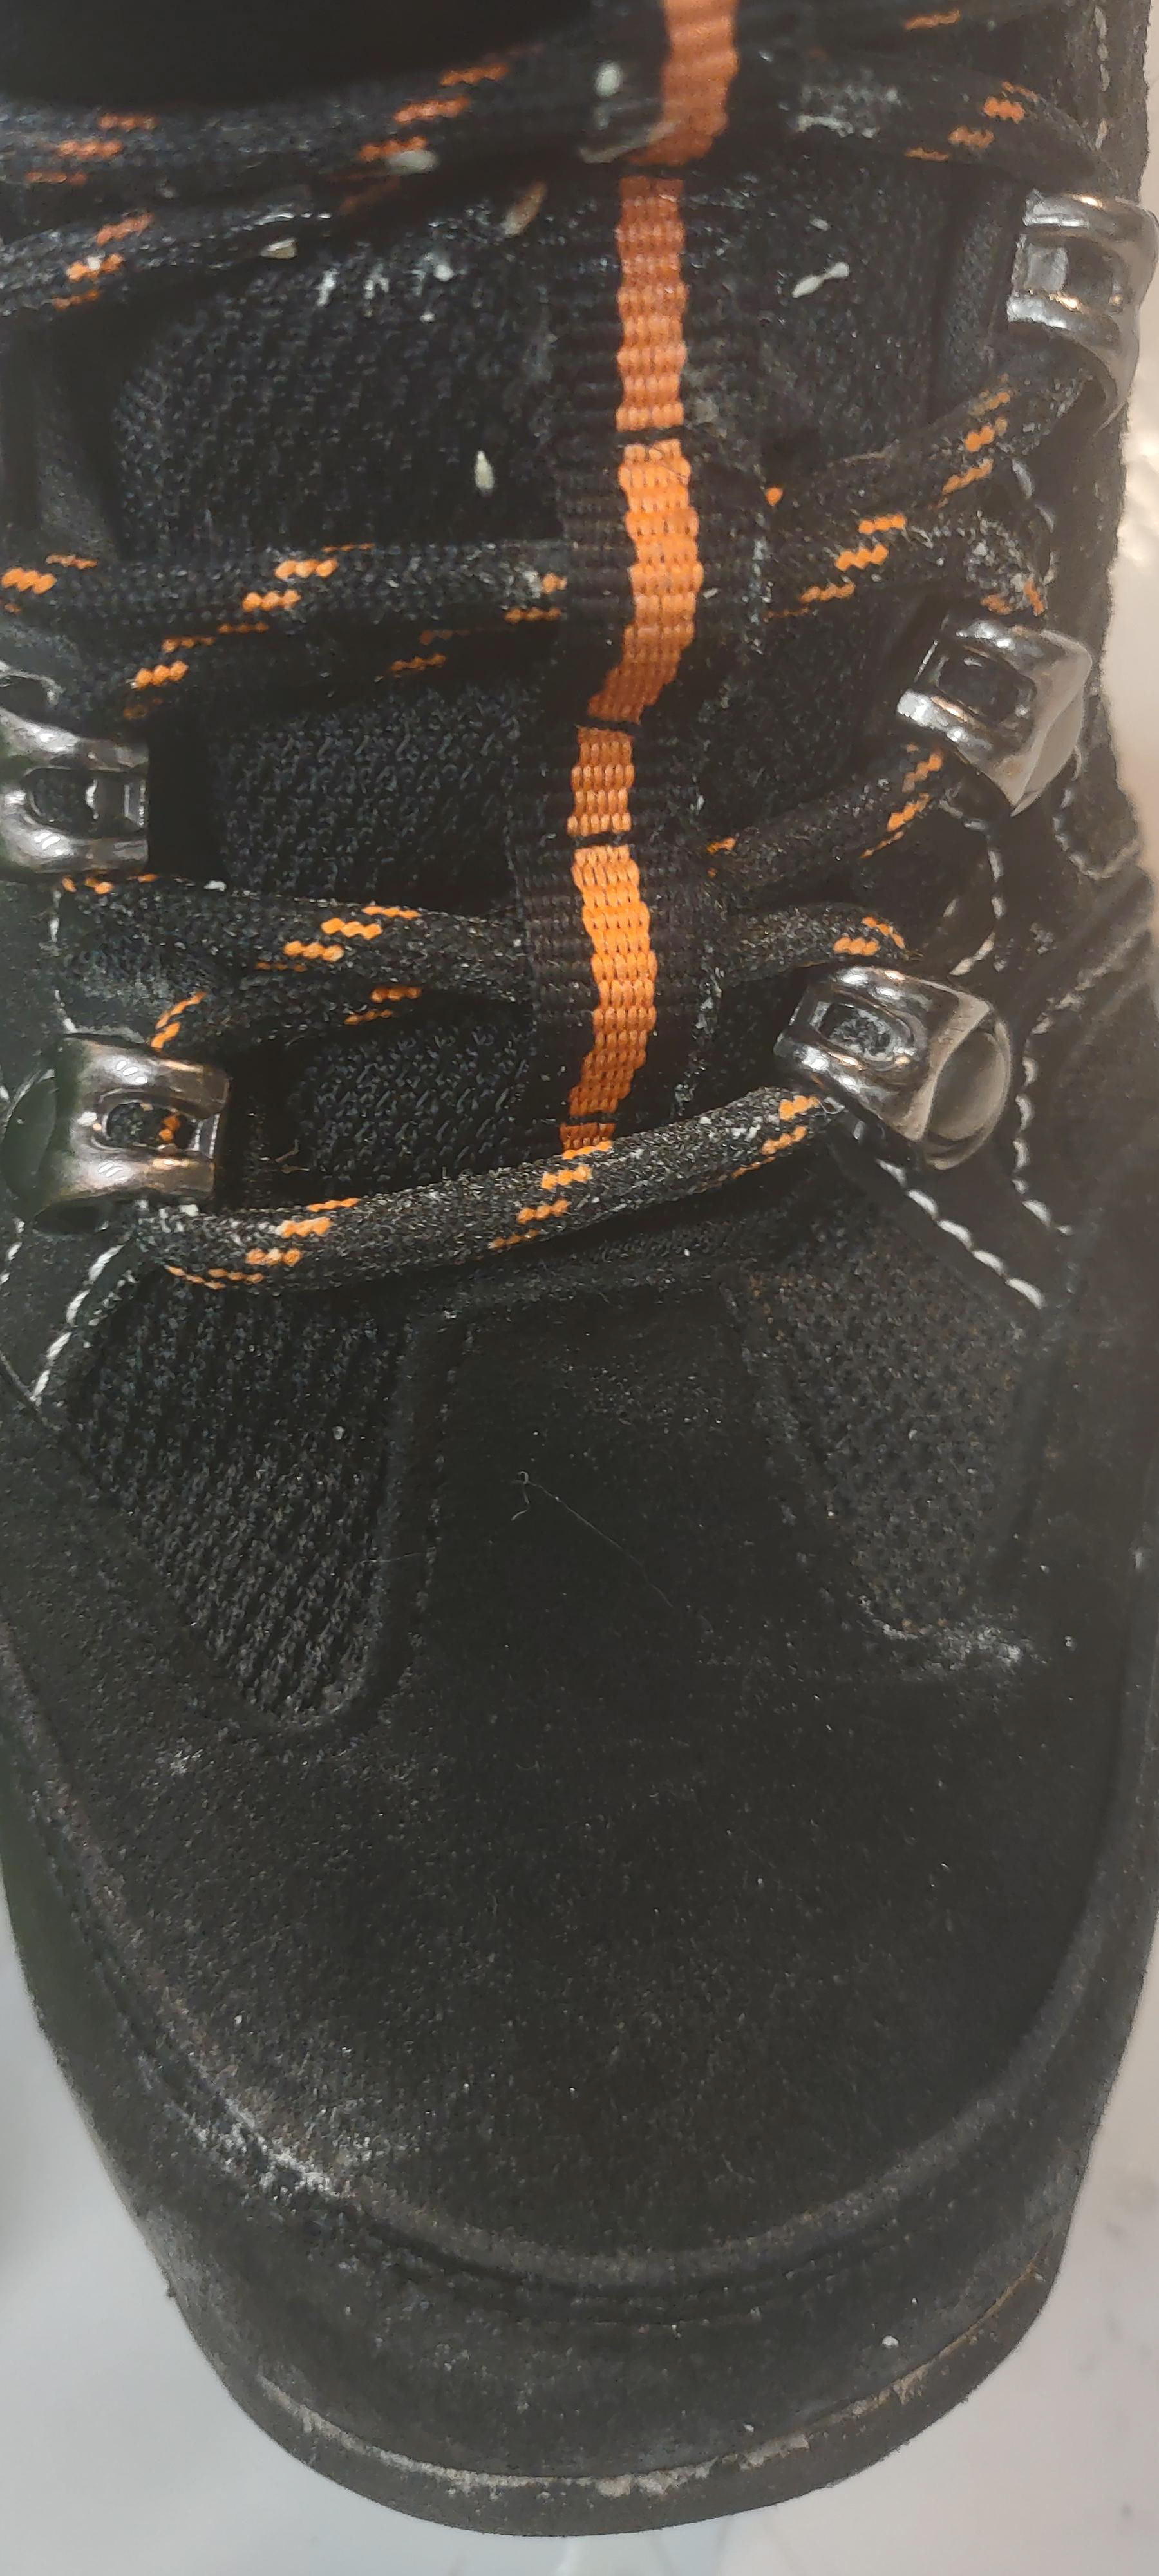
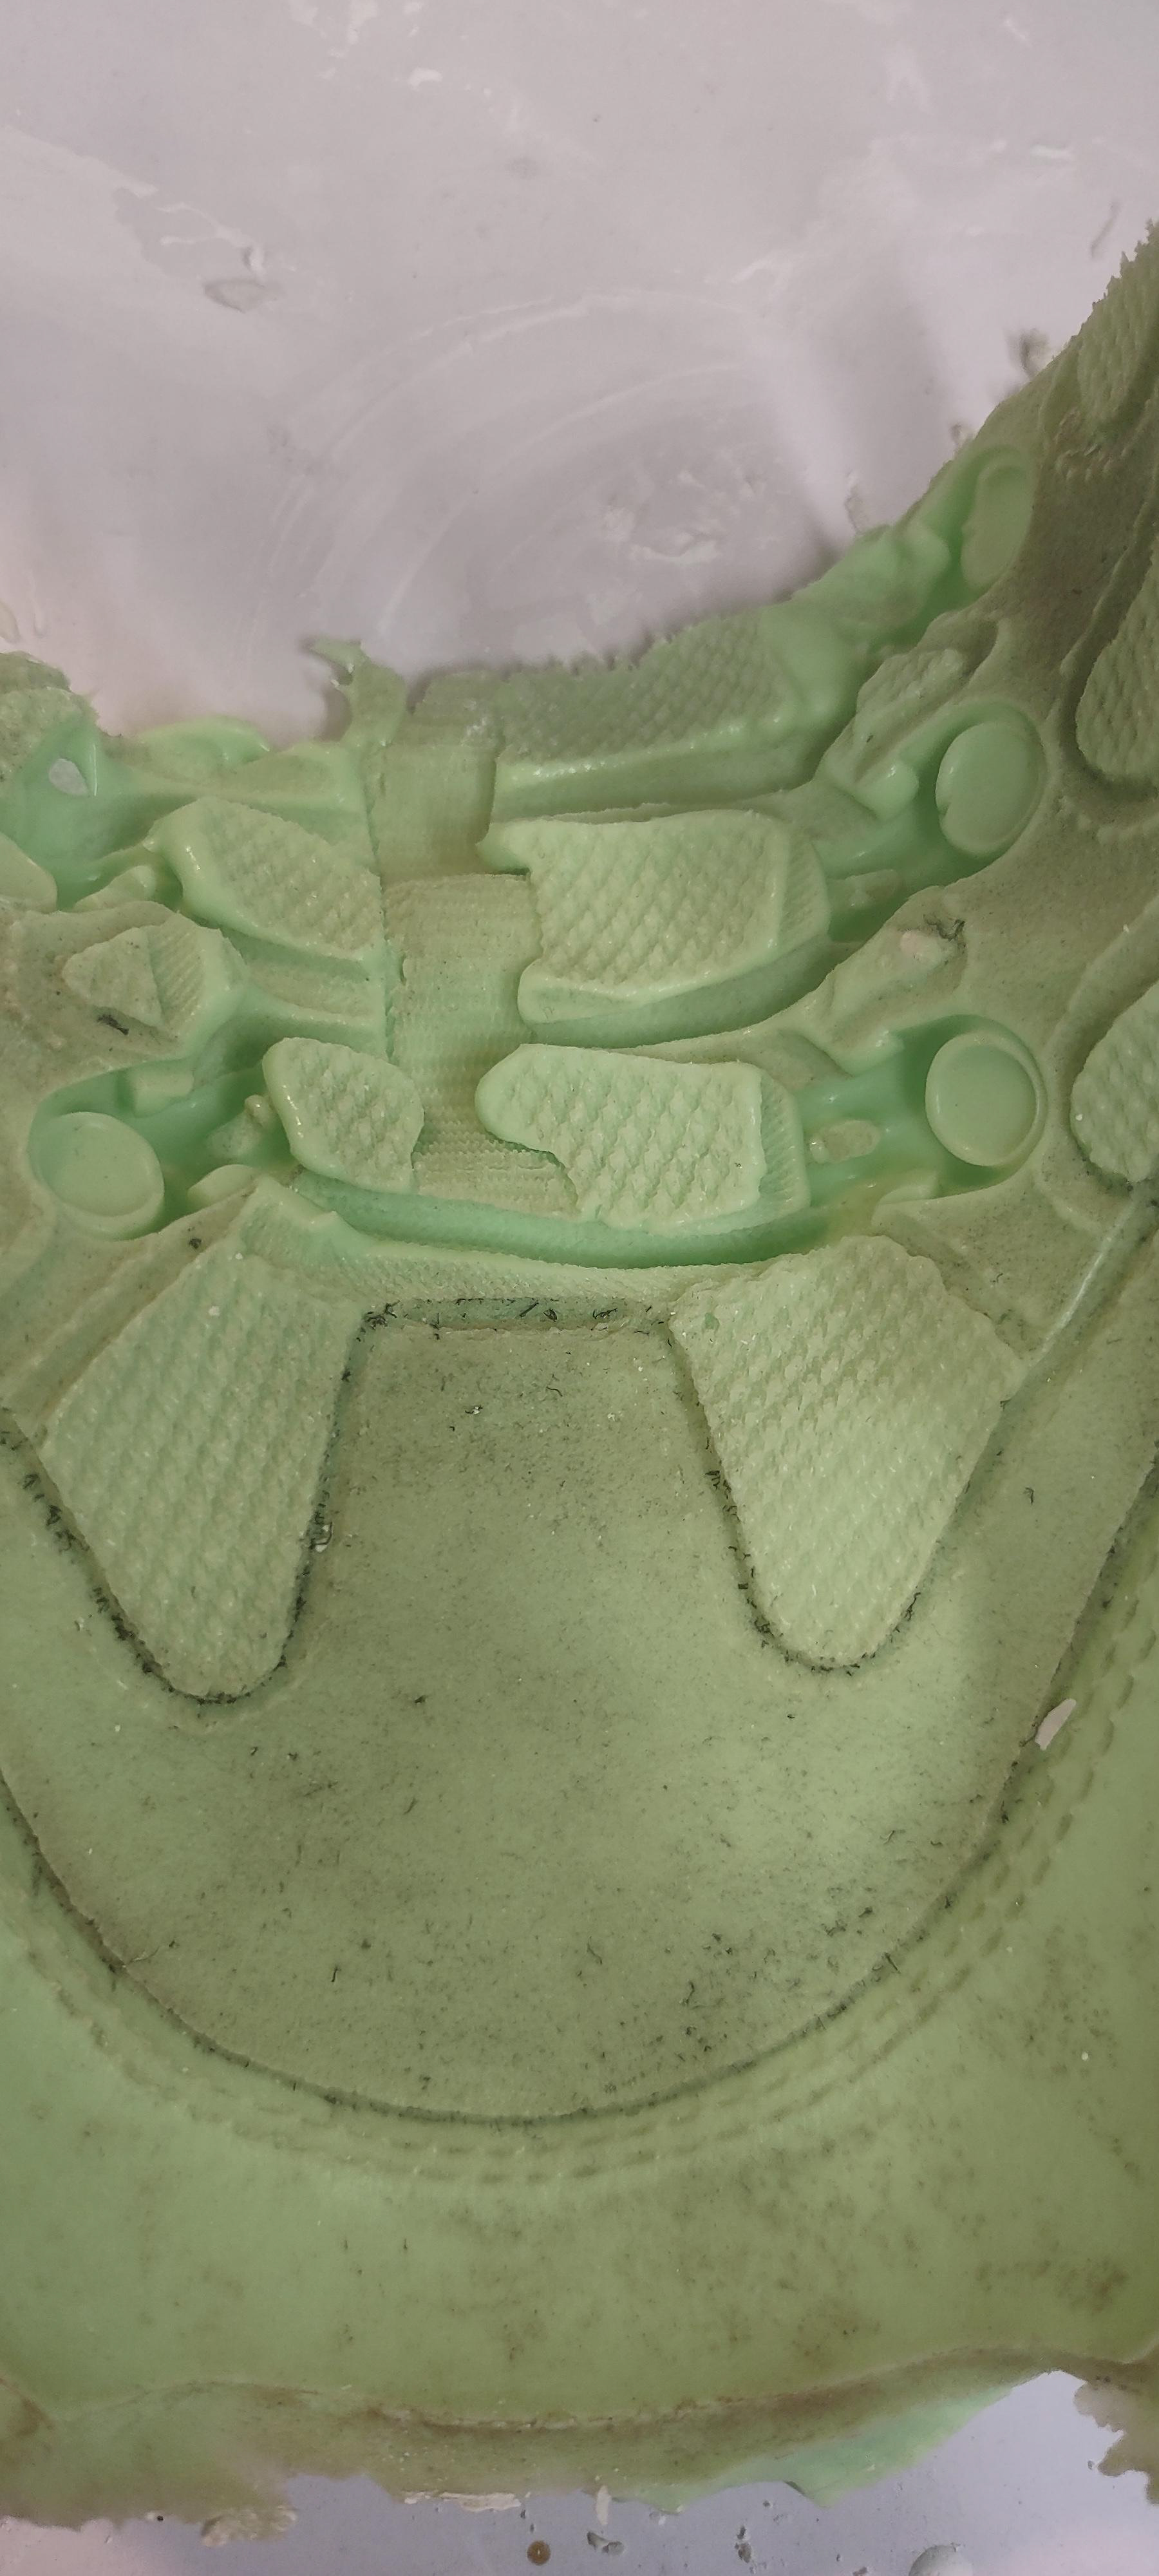
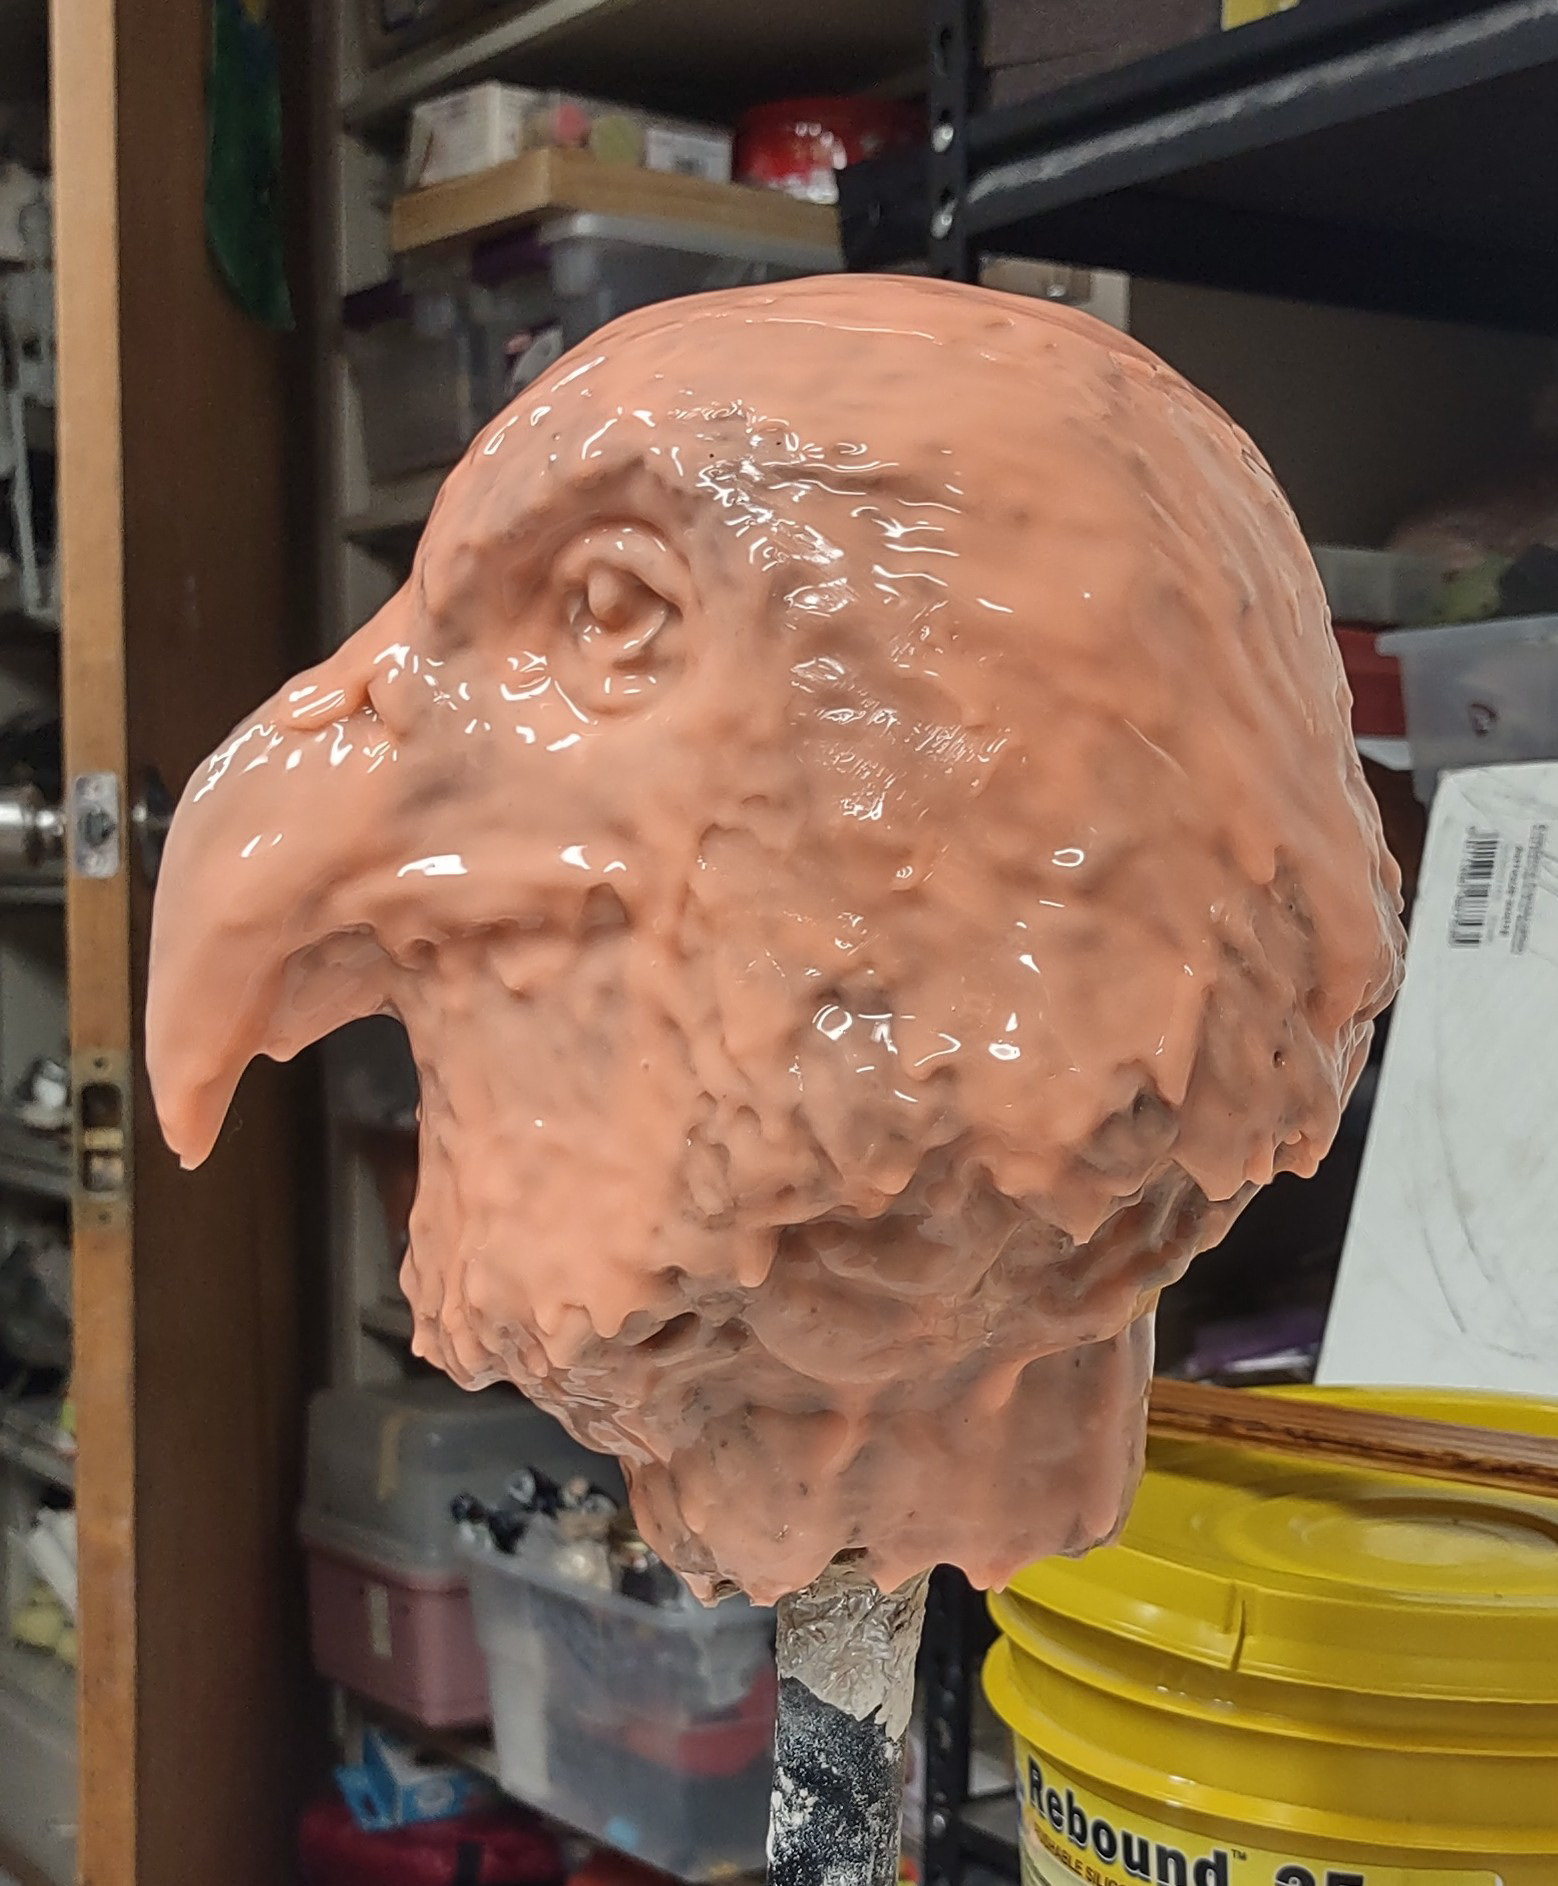
Working on surface 3D print object.
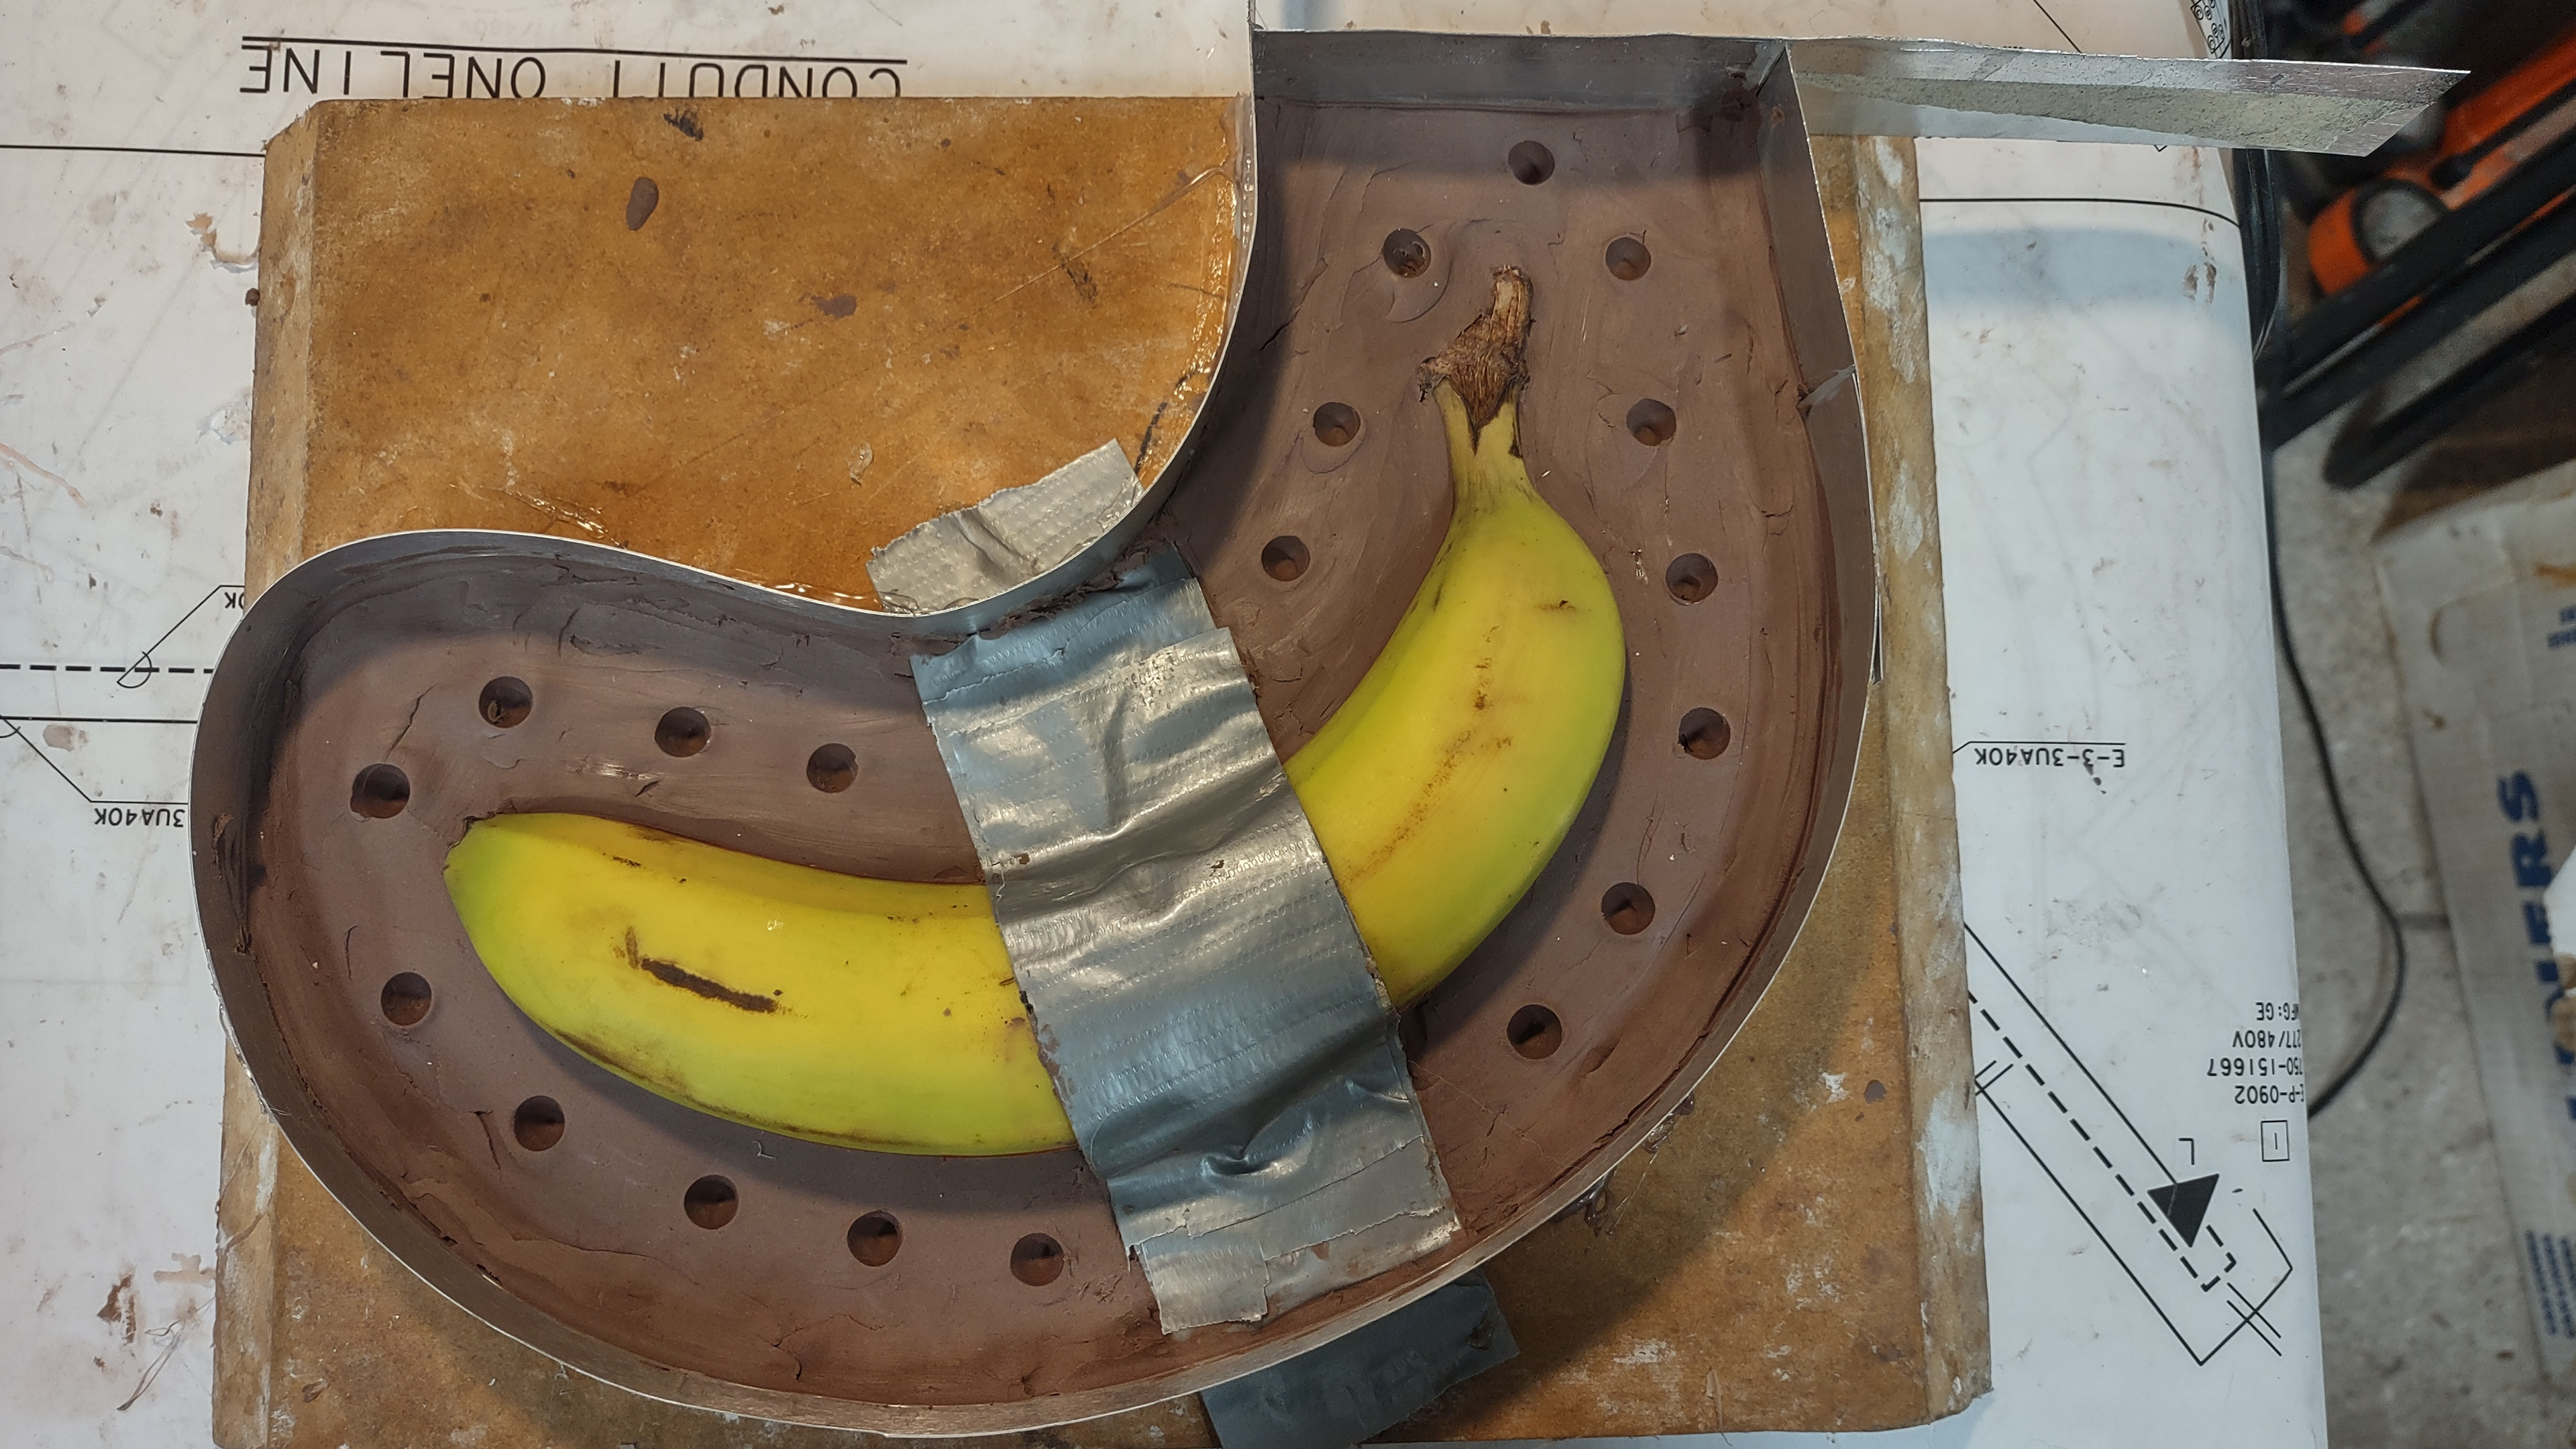
Diving the section of the object.
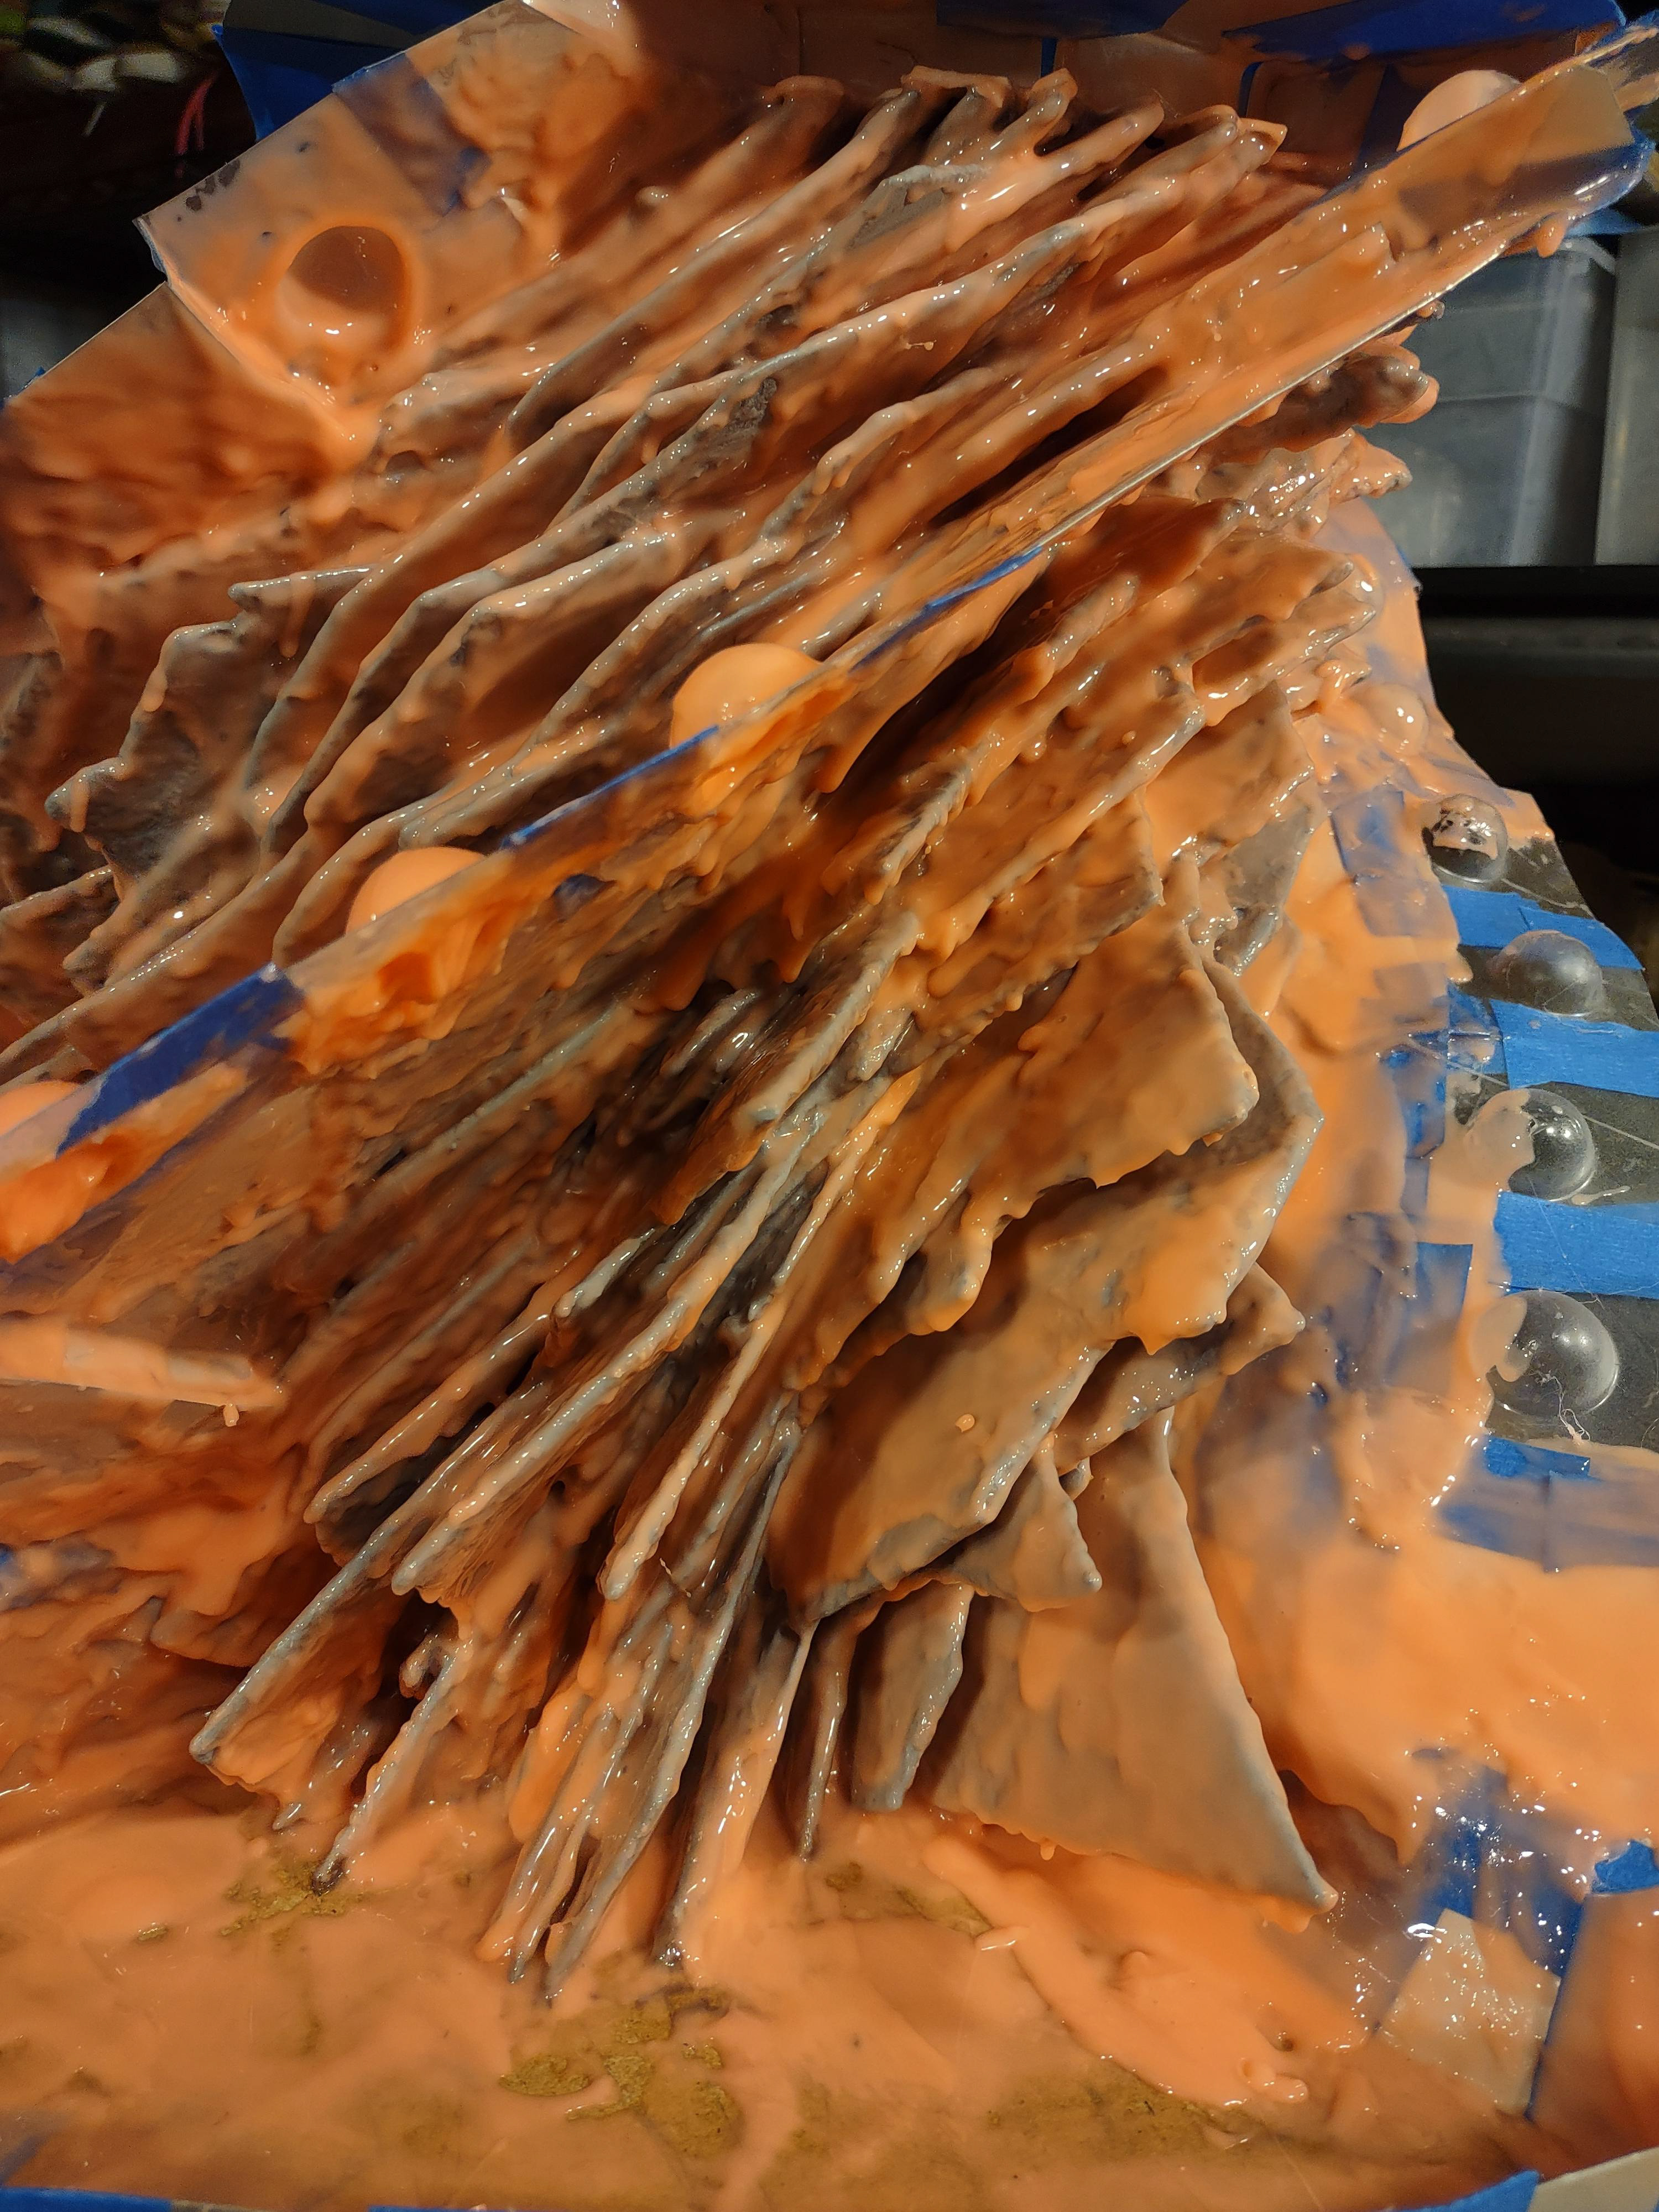
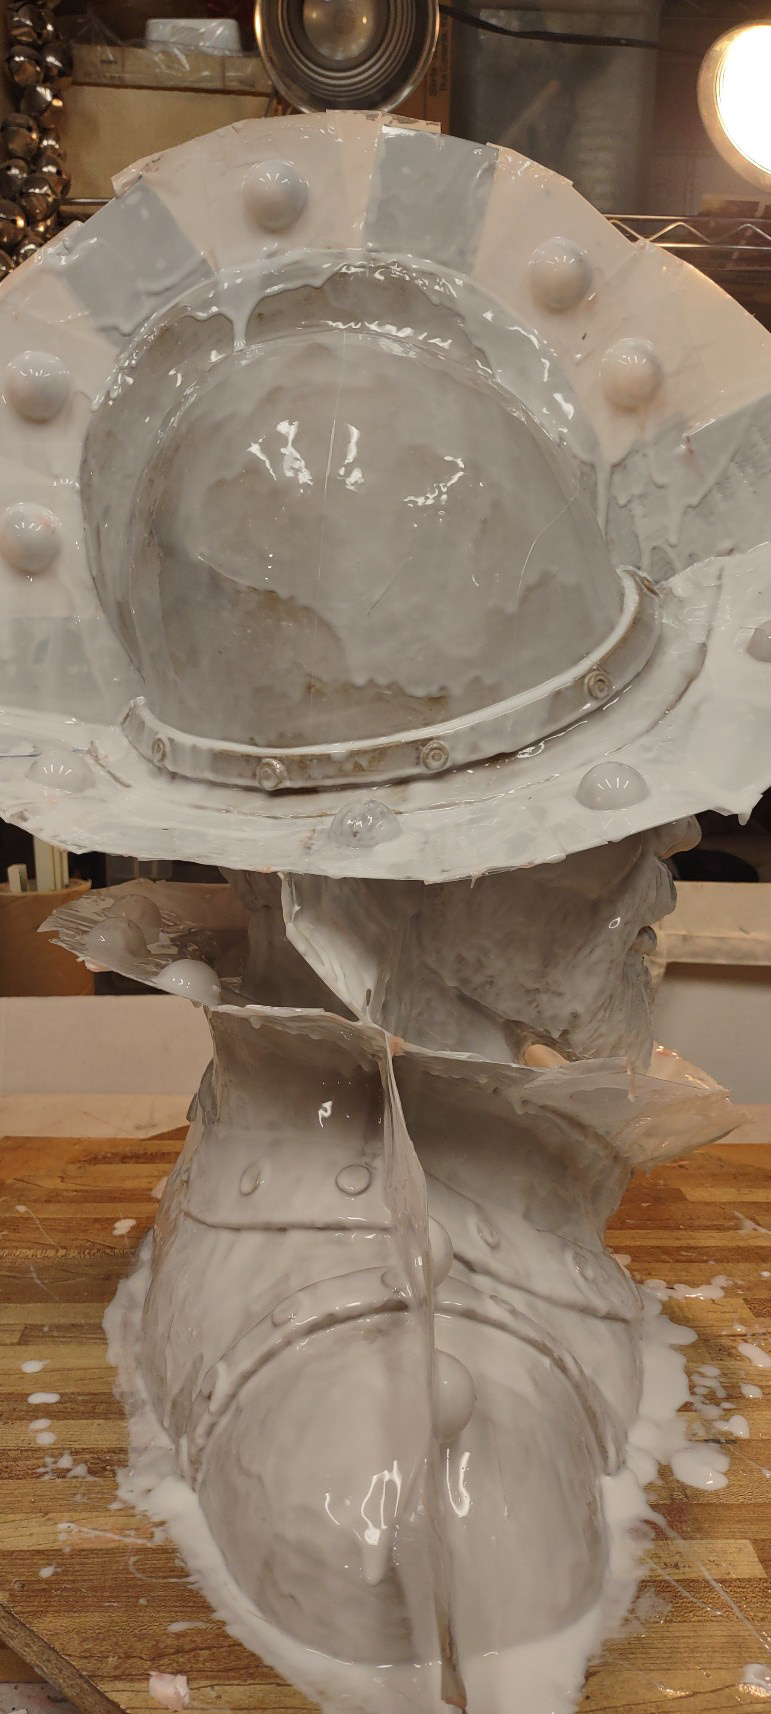
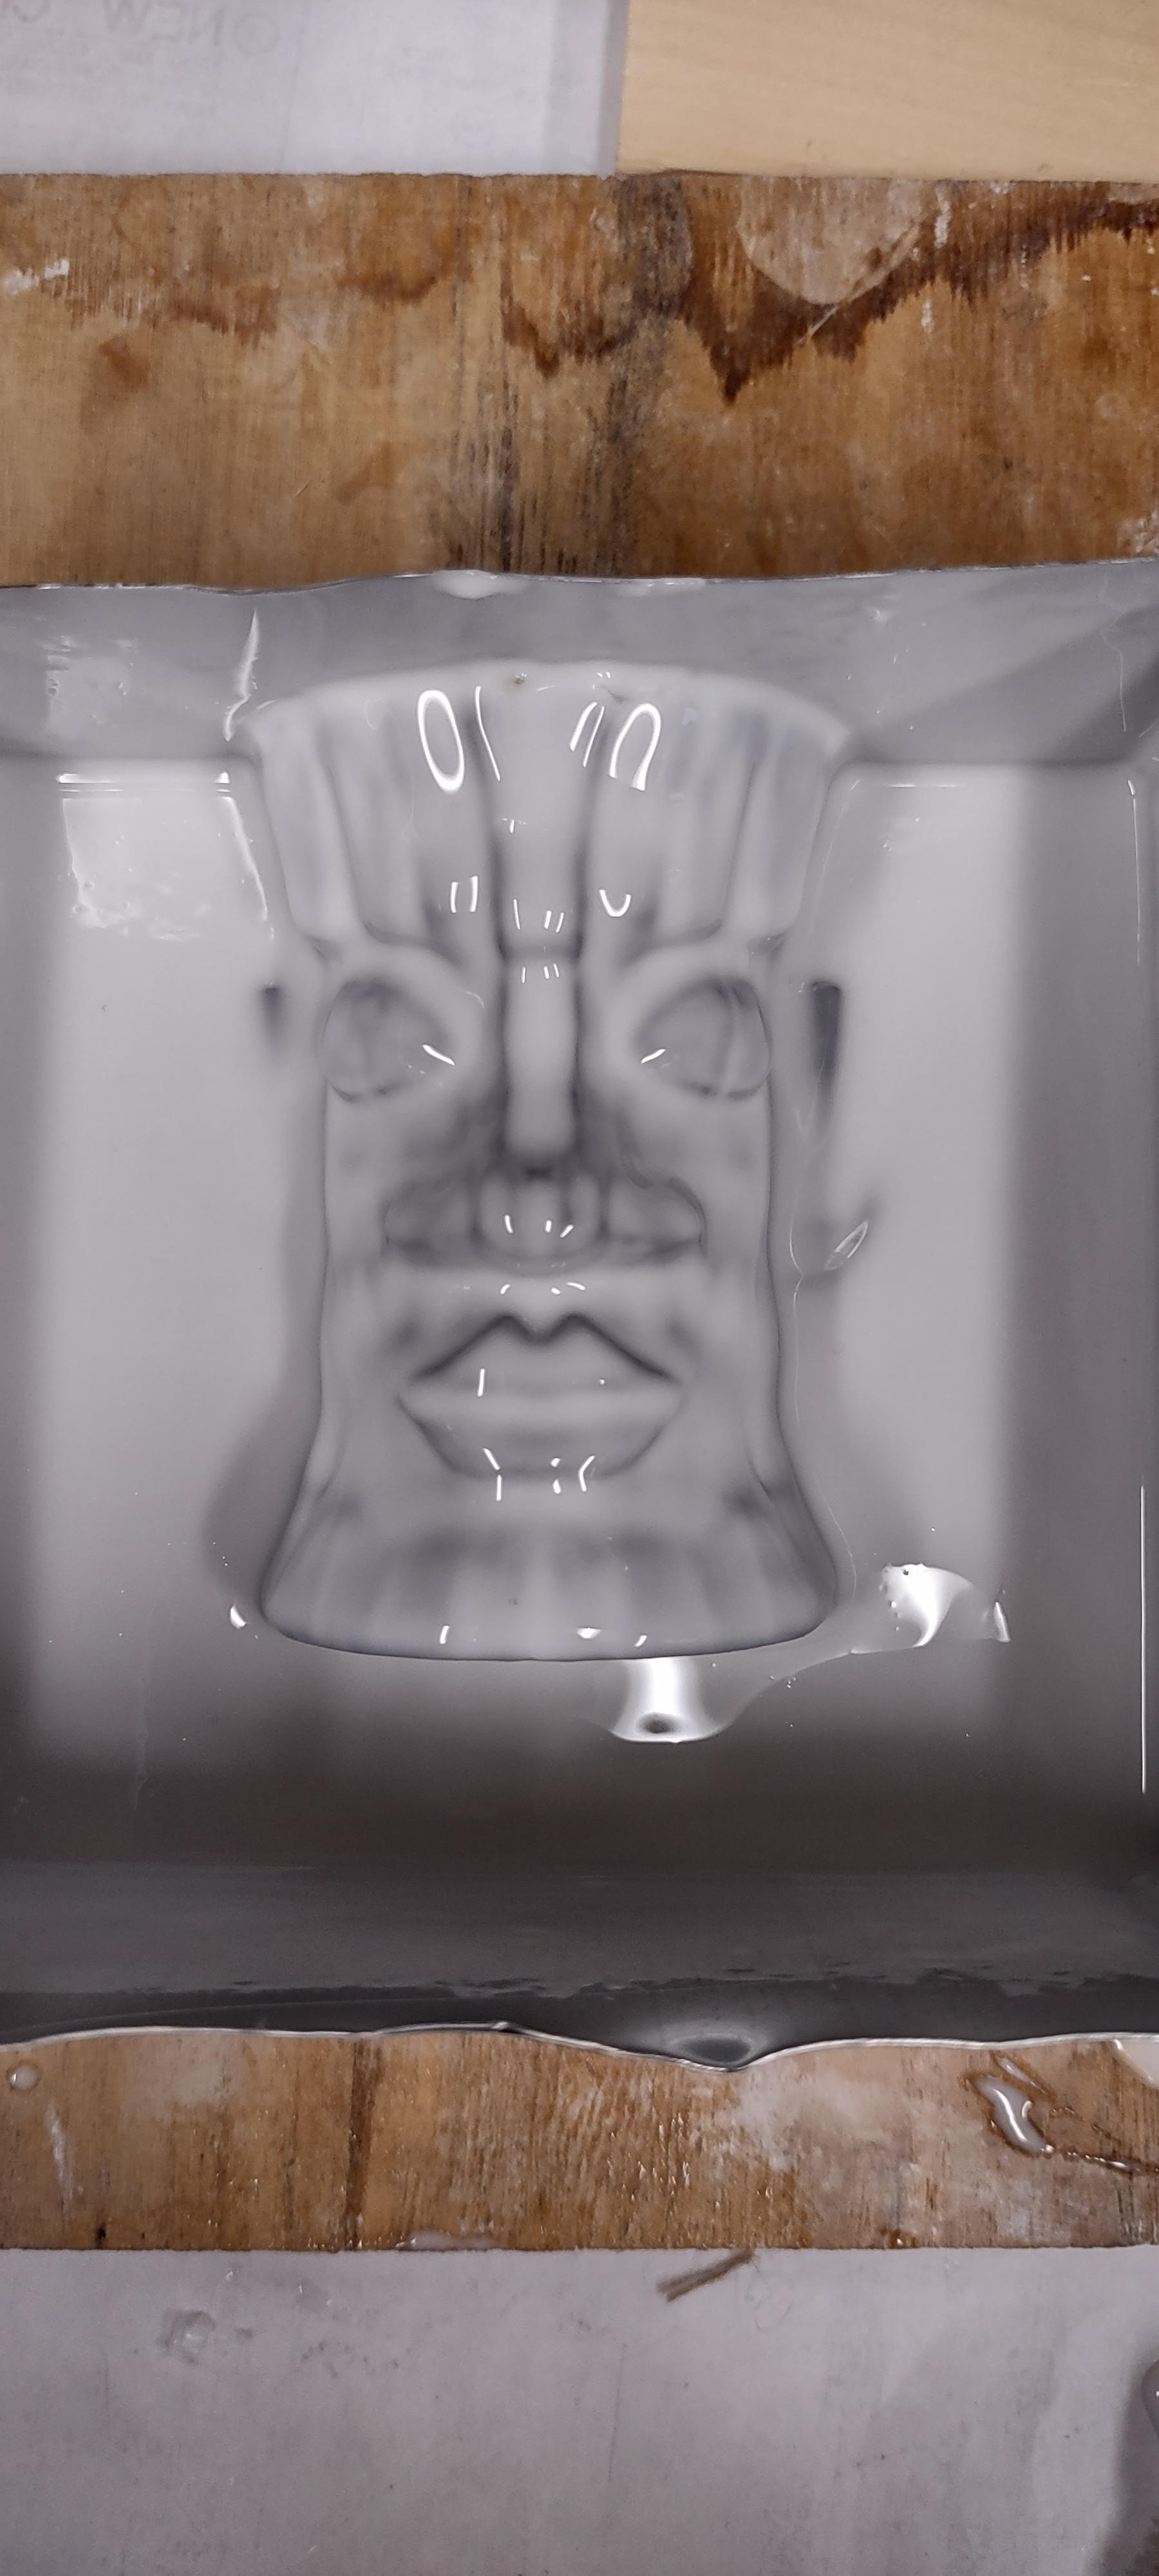
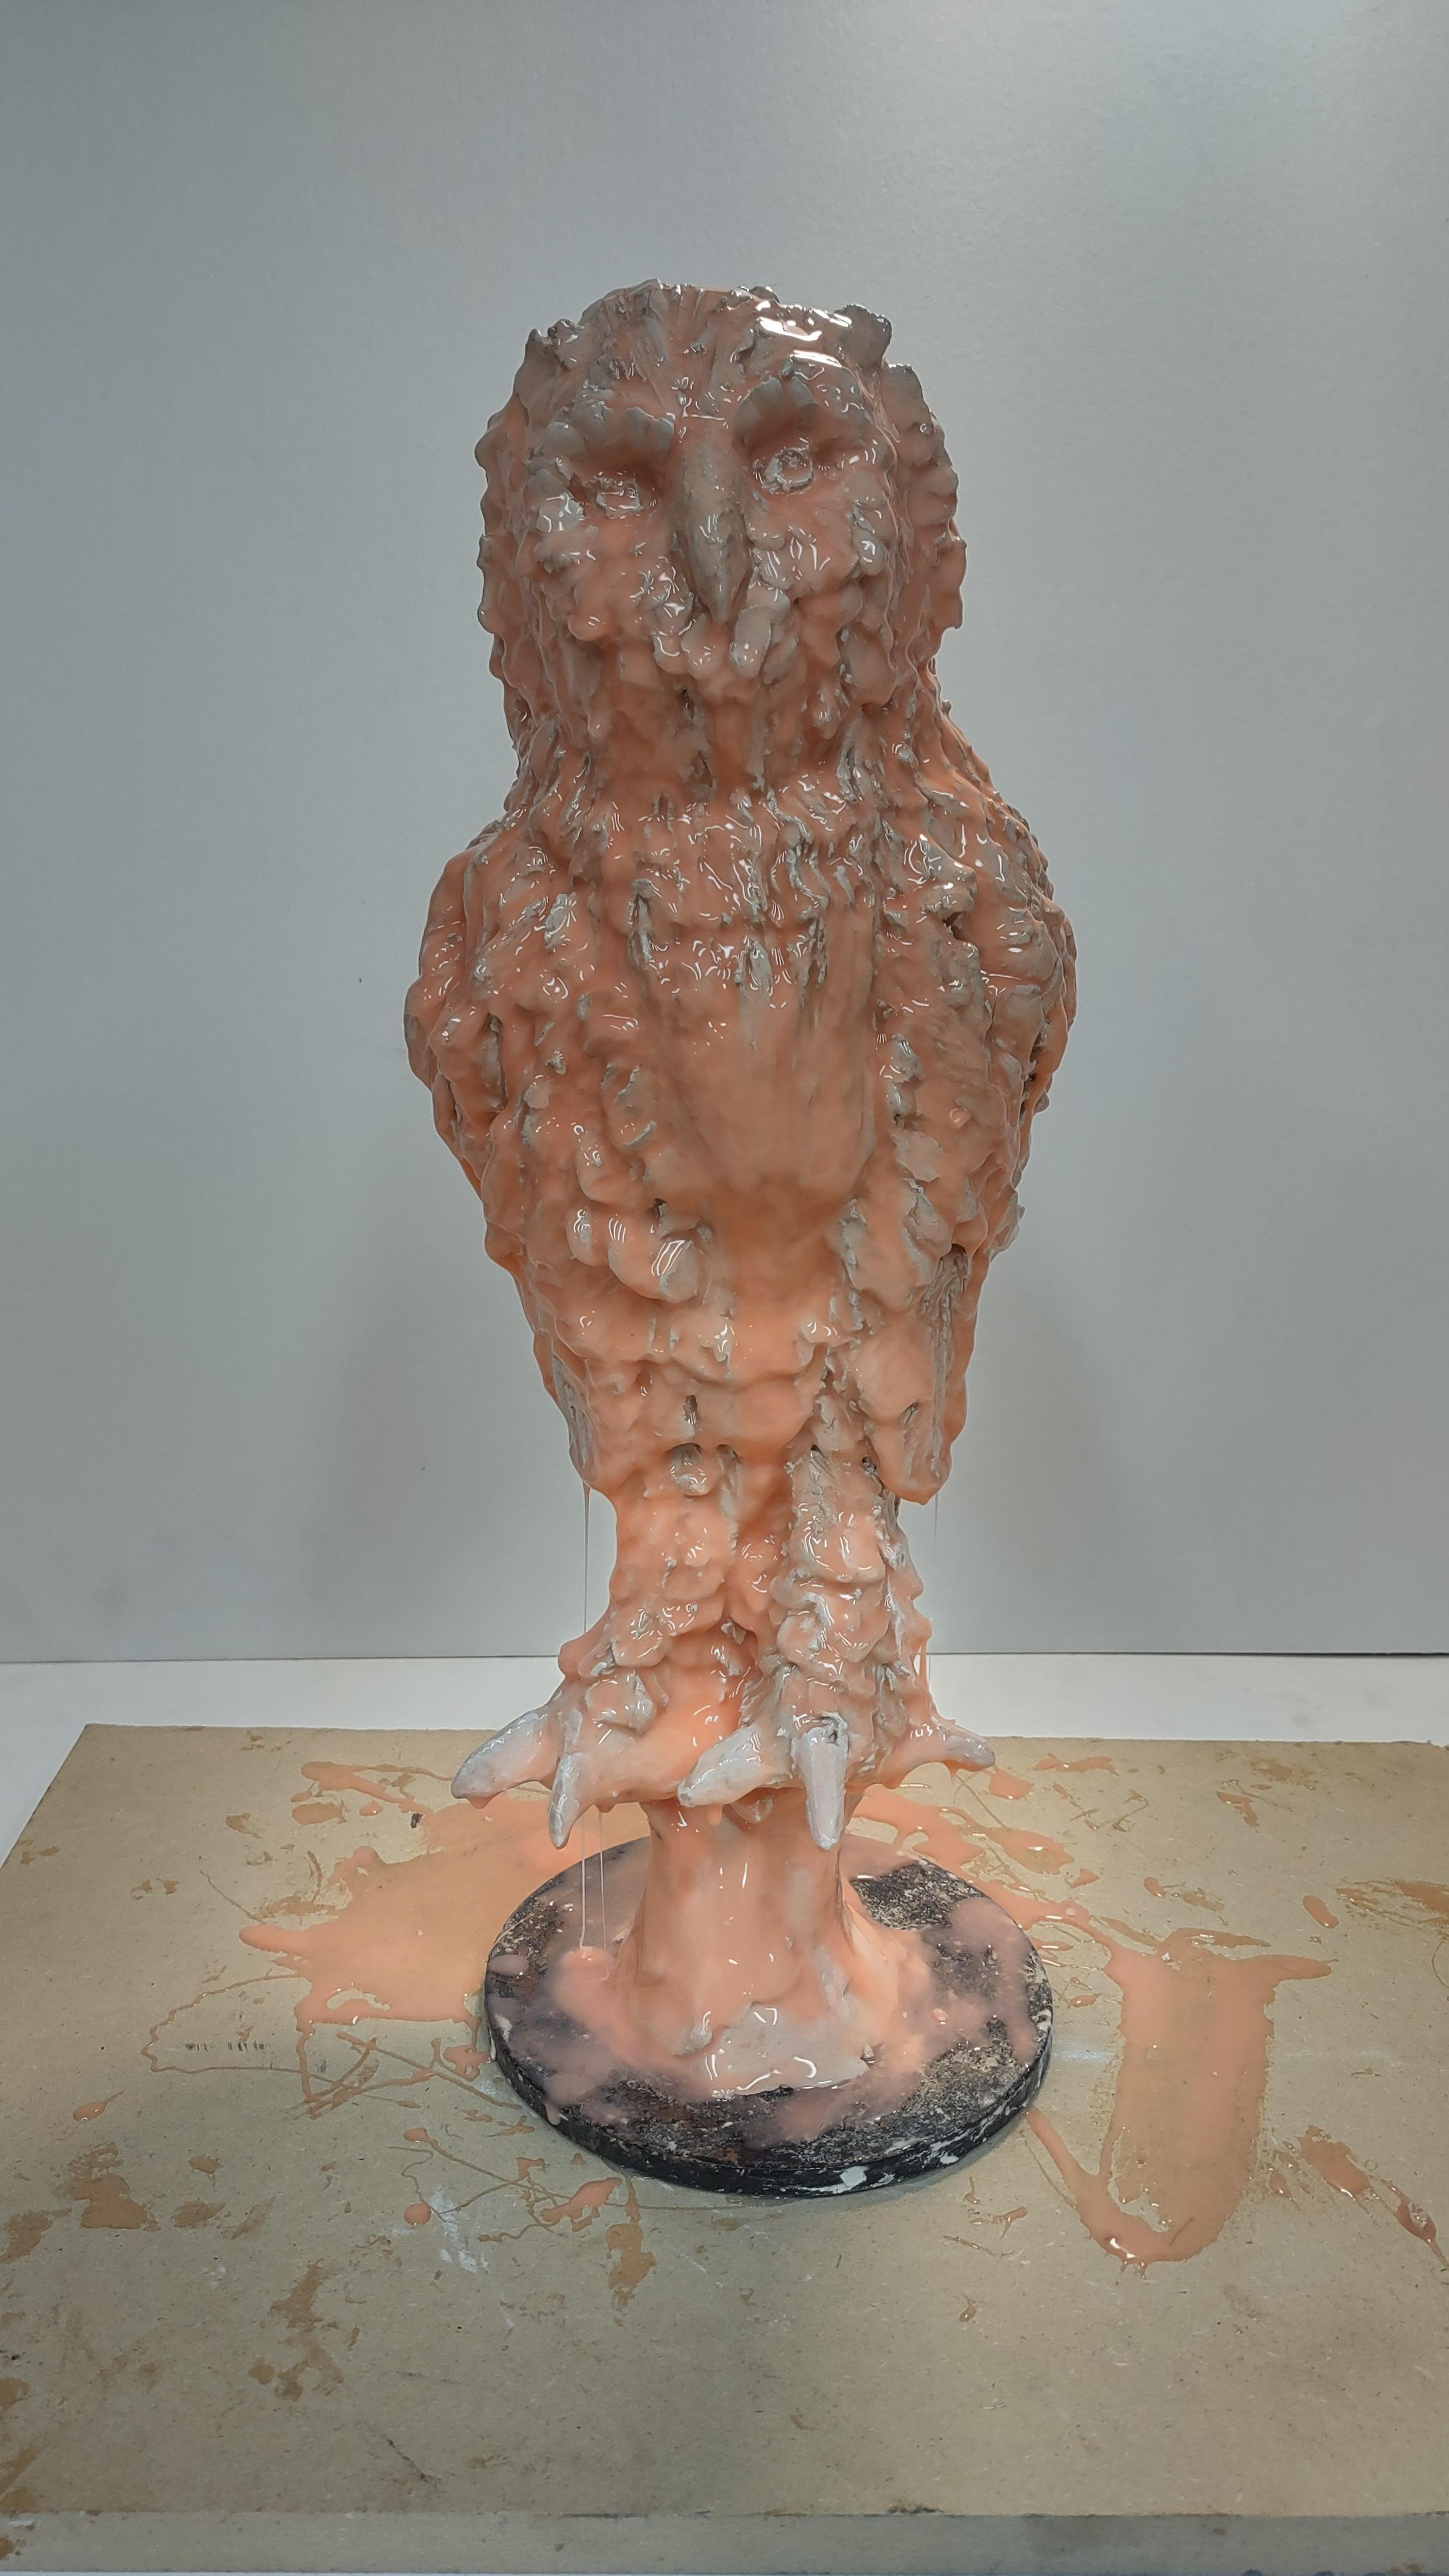
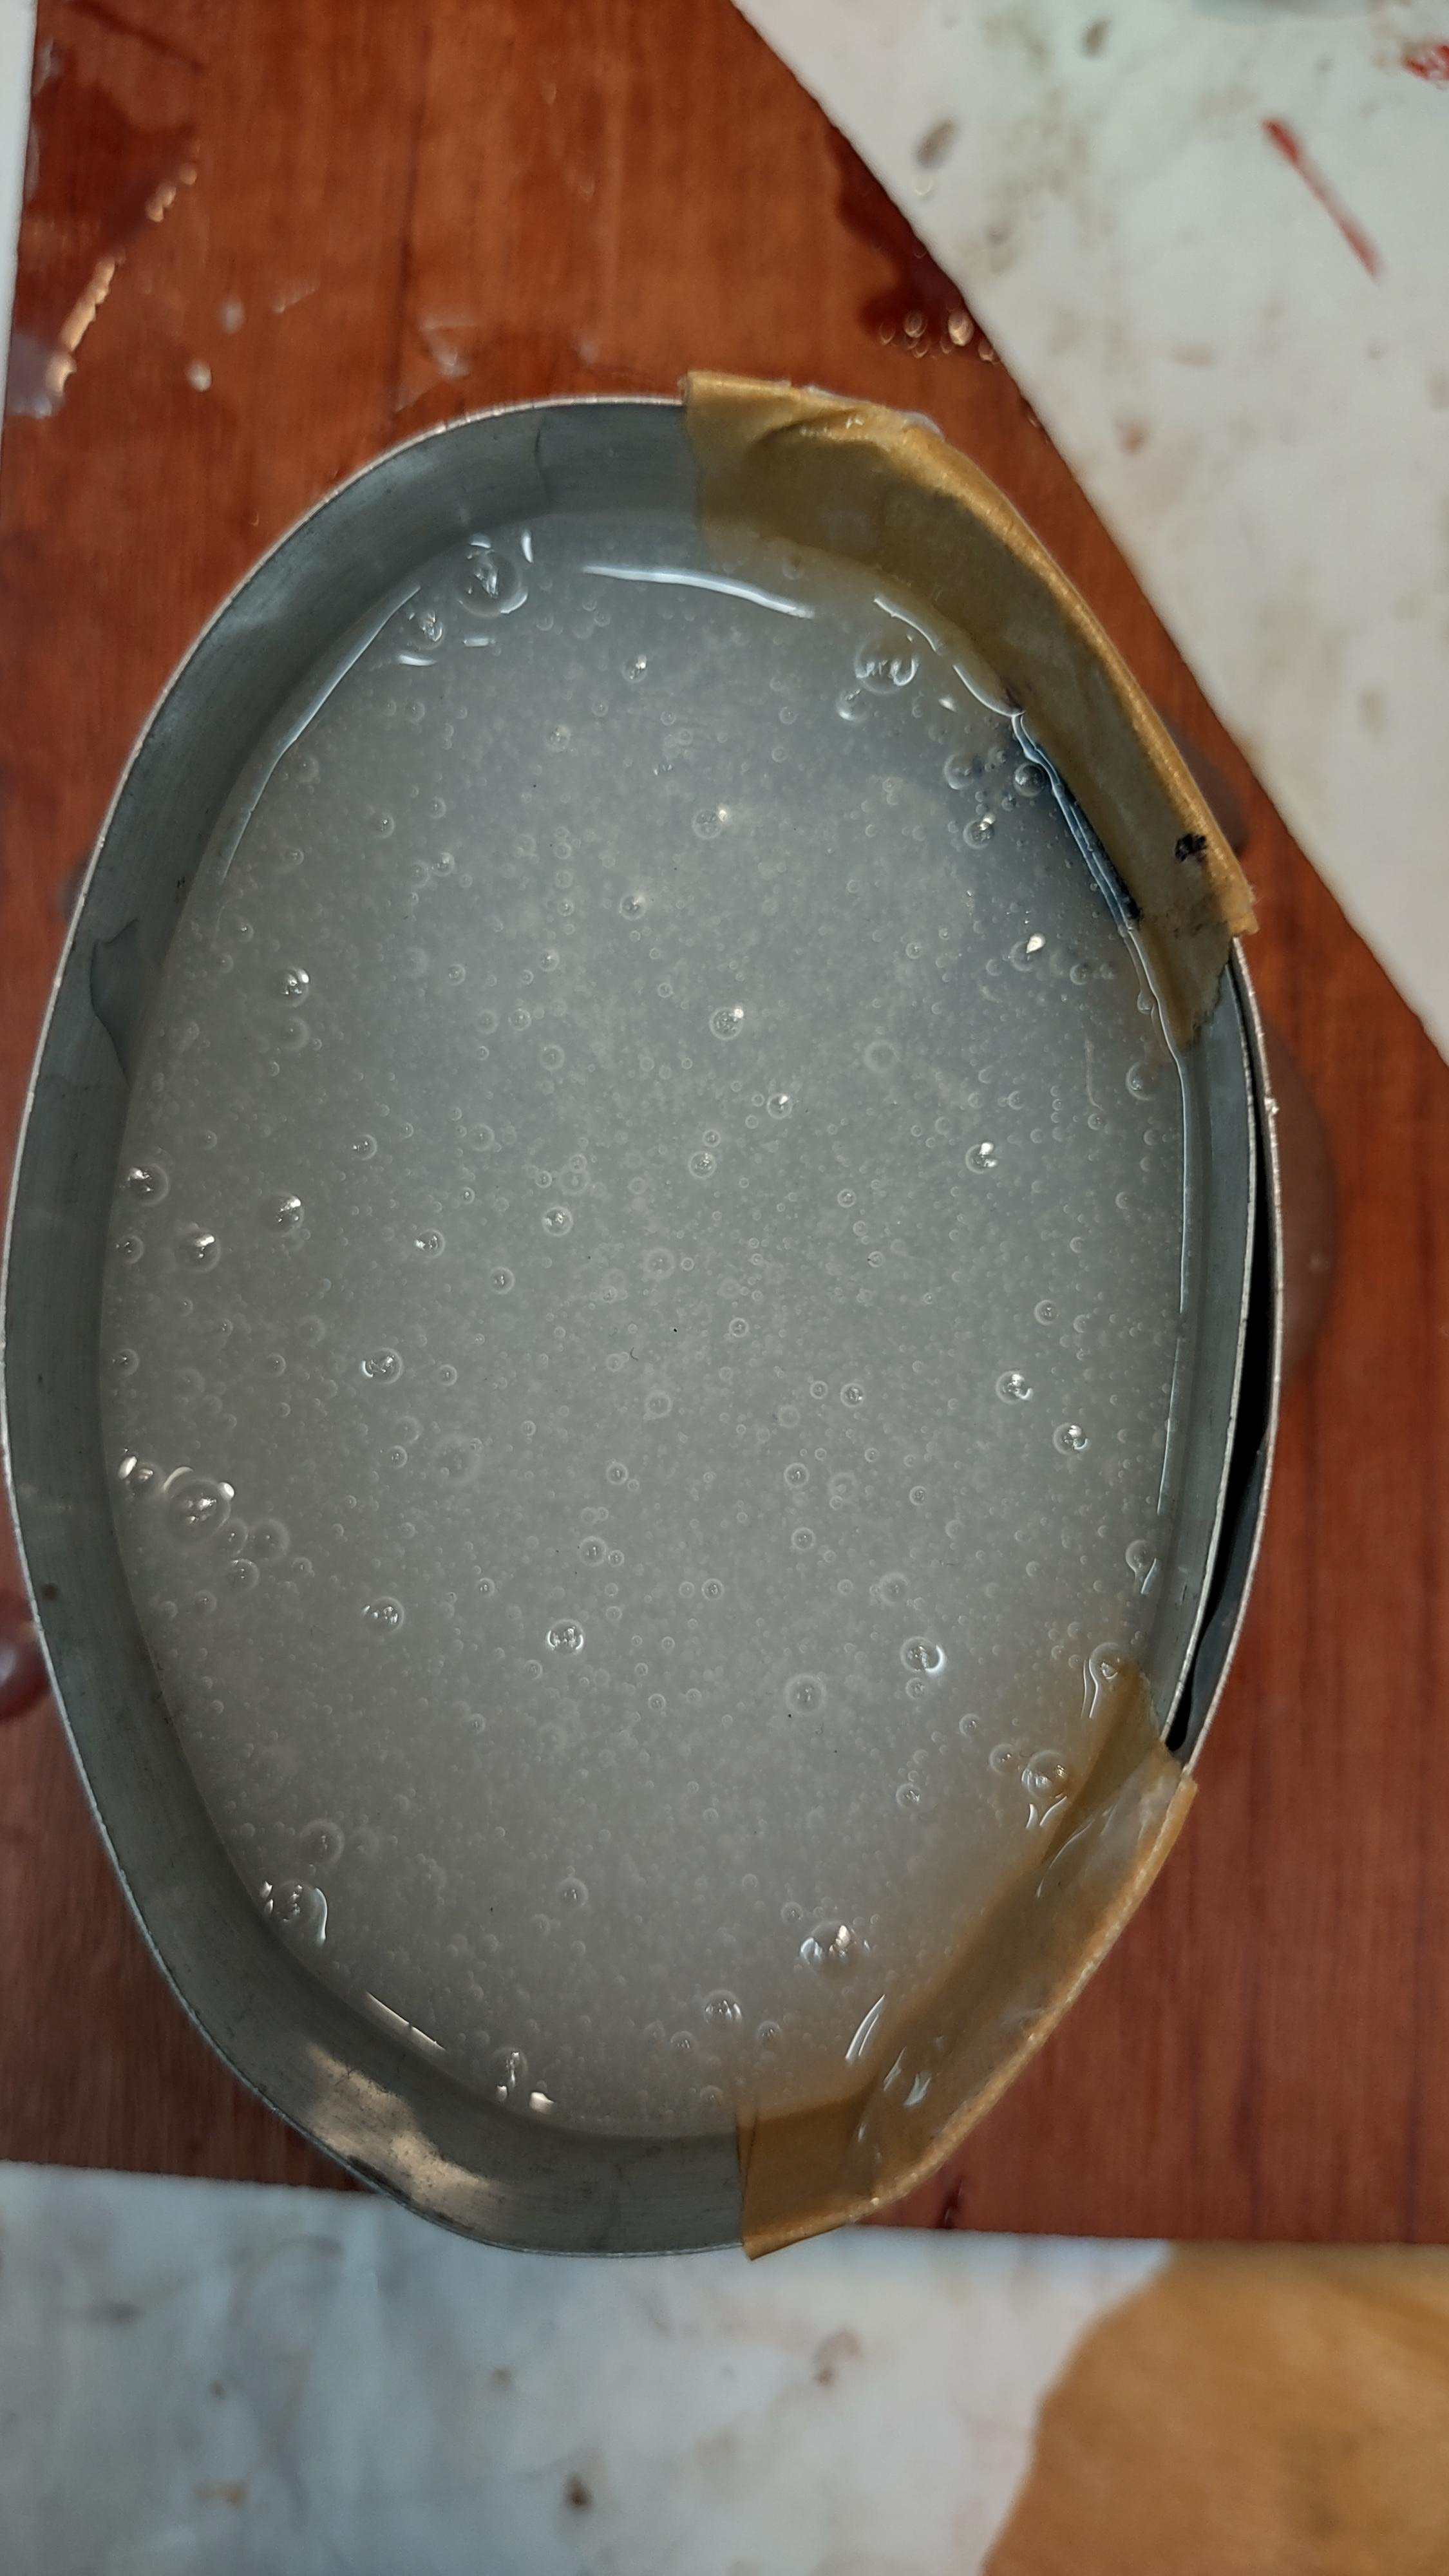
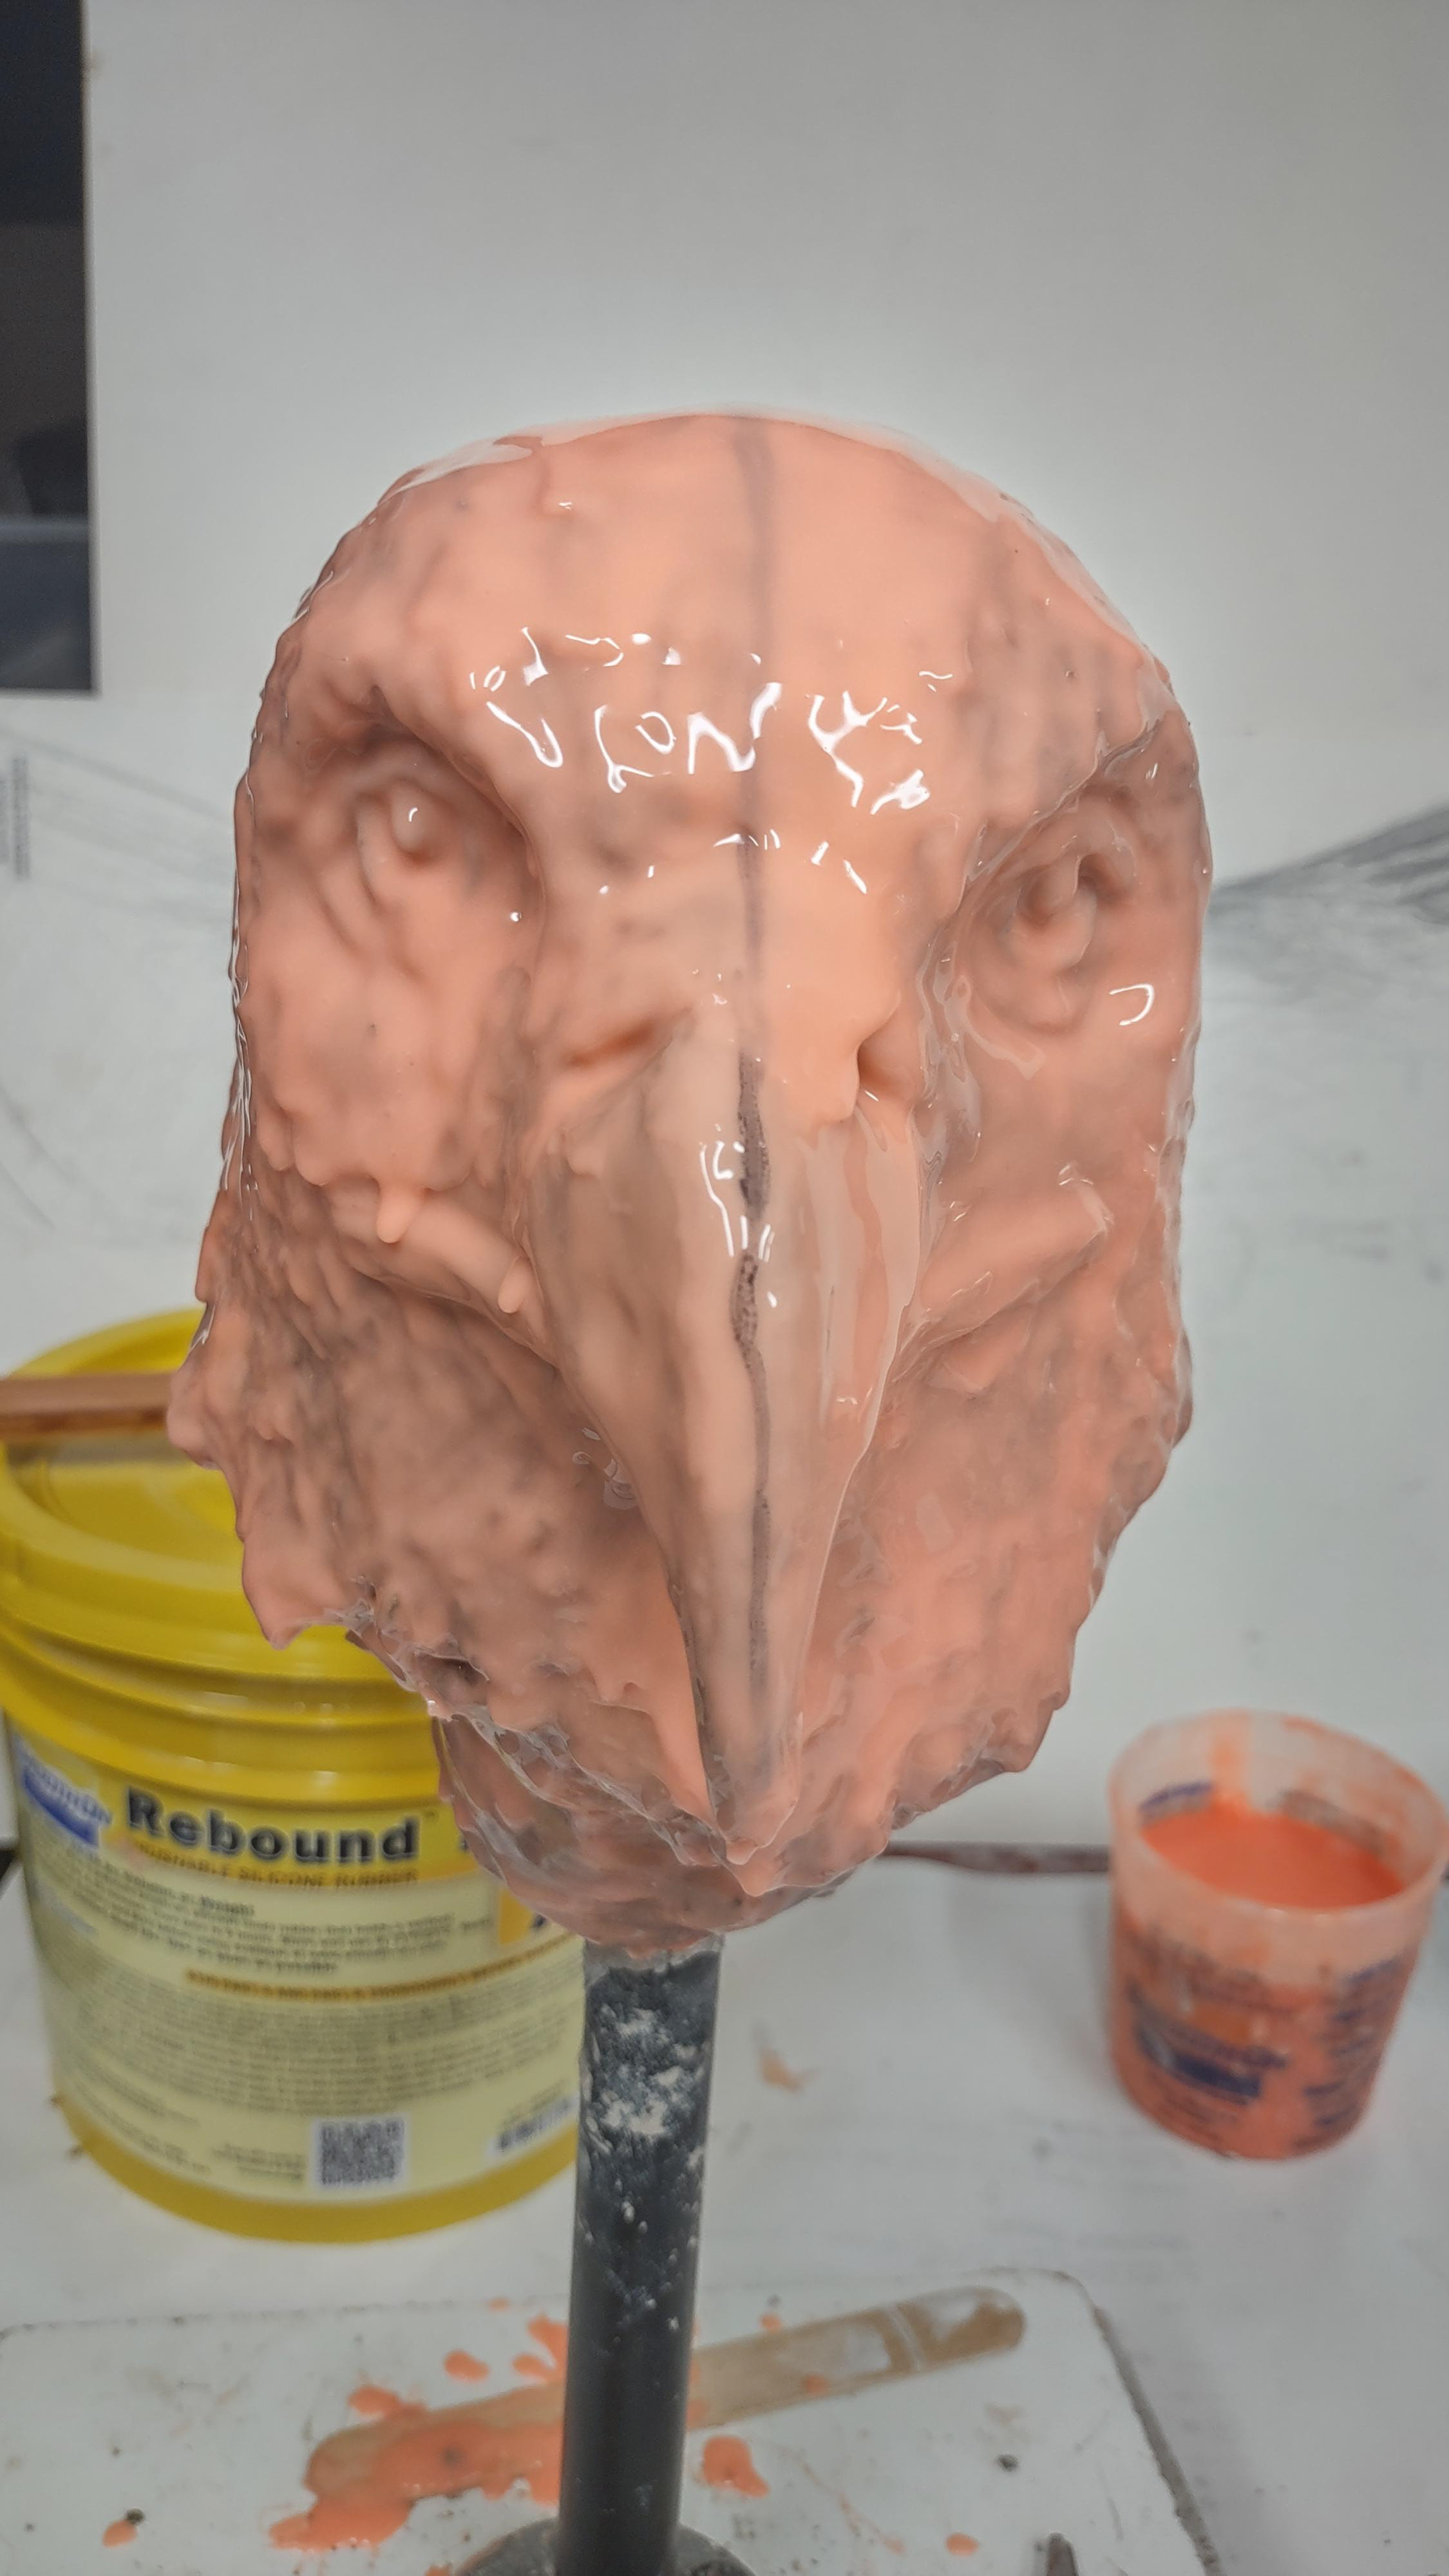
Put silicon on the object.
Its very important that adding very thin coat. Because, it helps captured all the details.
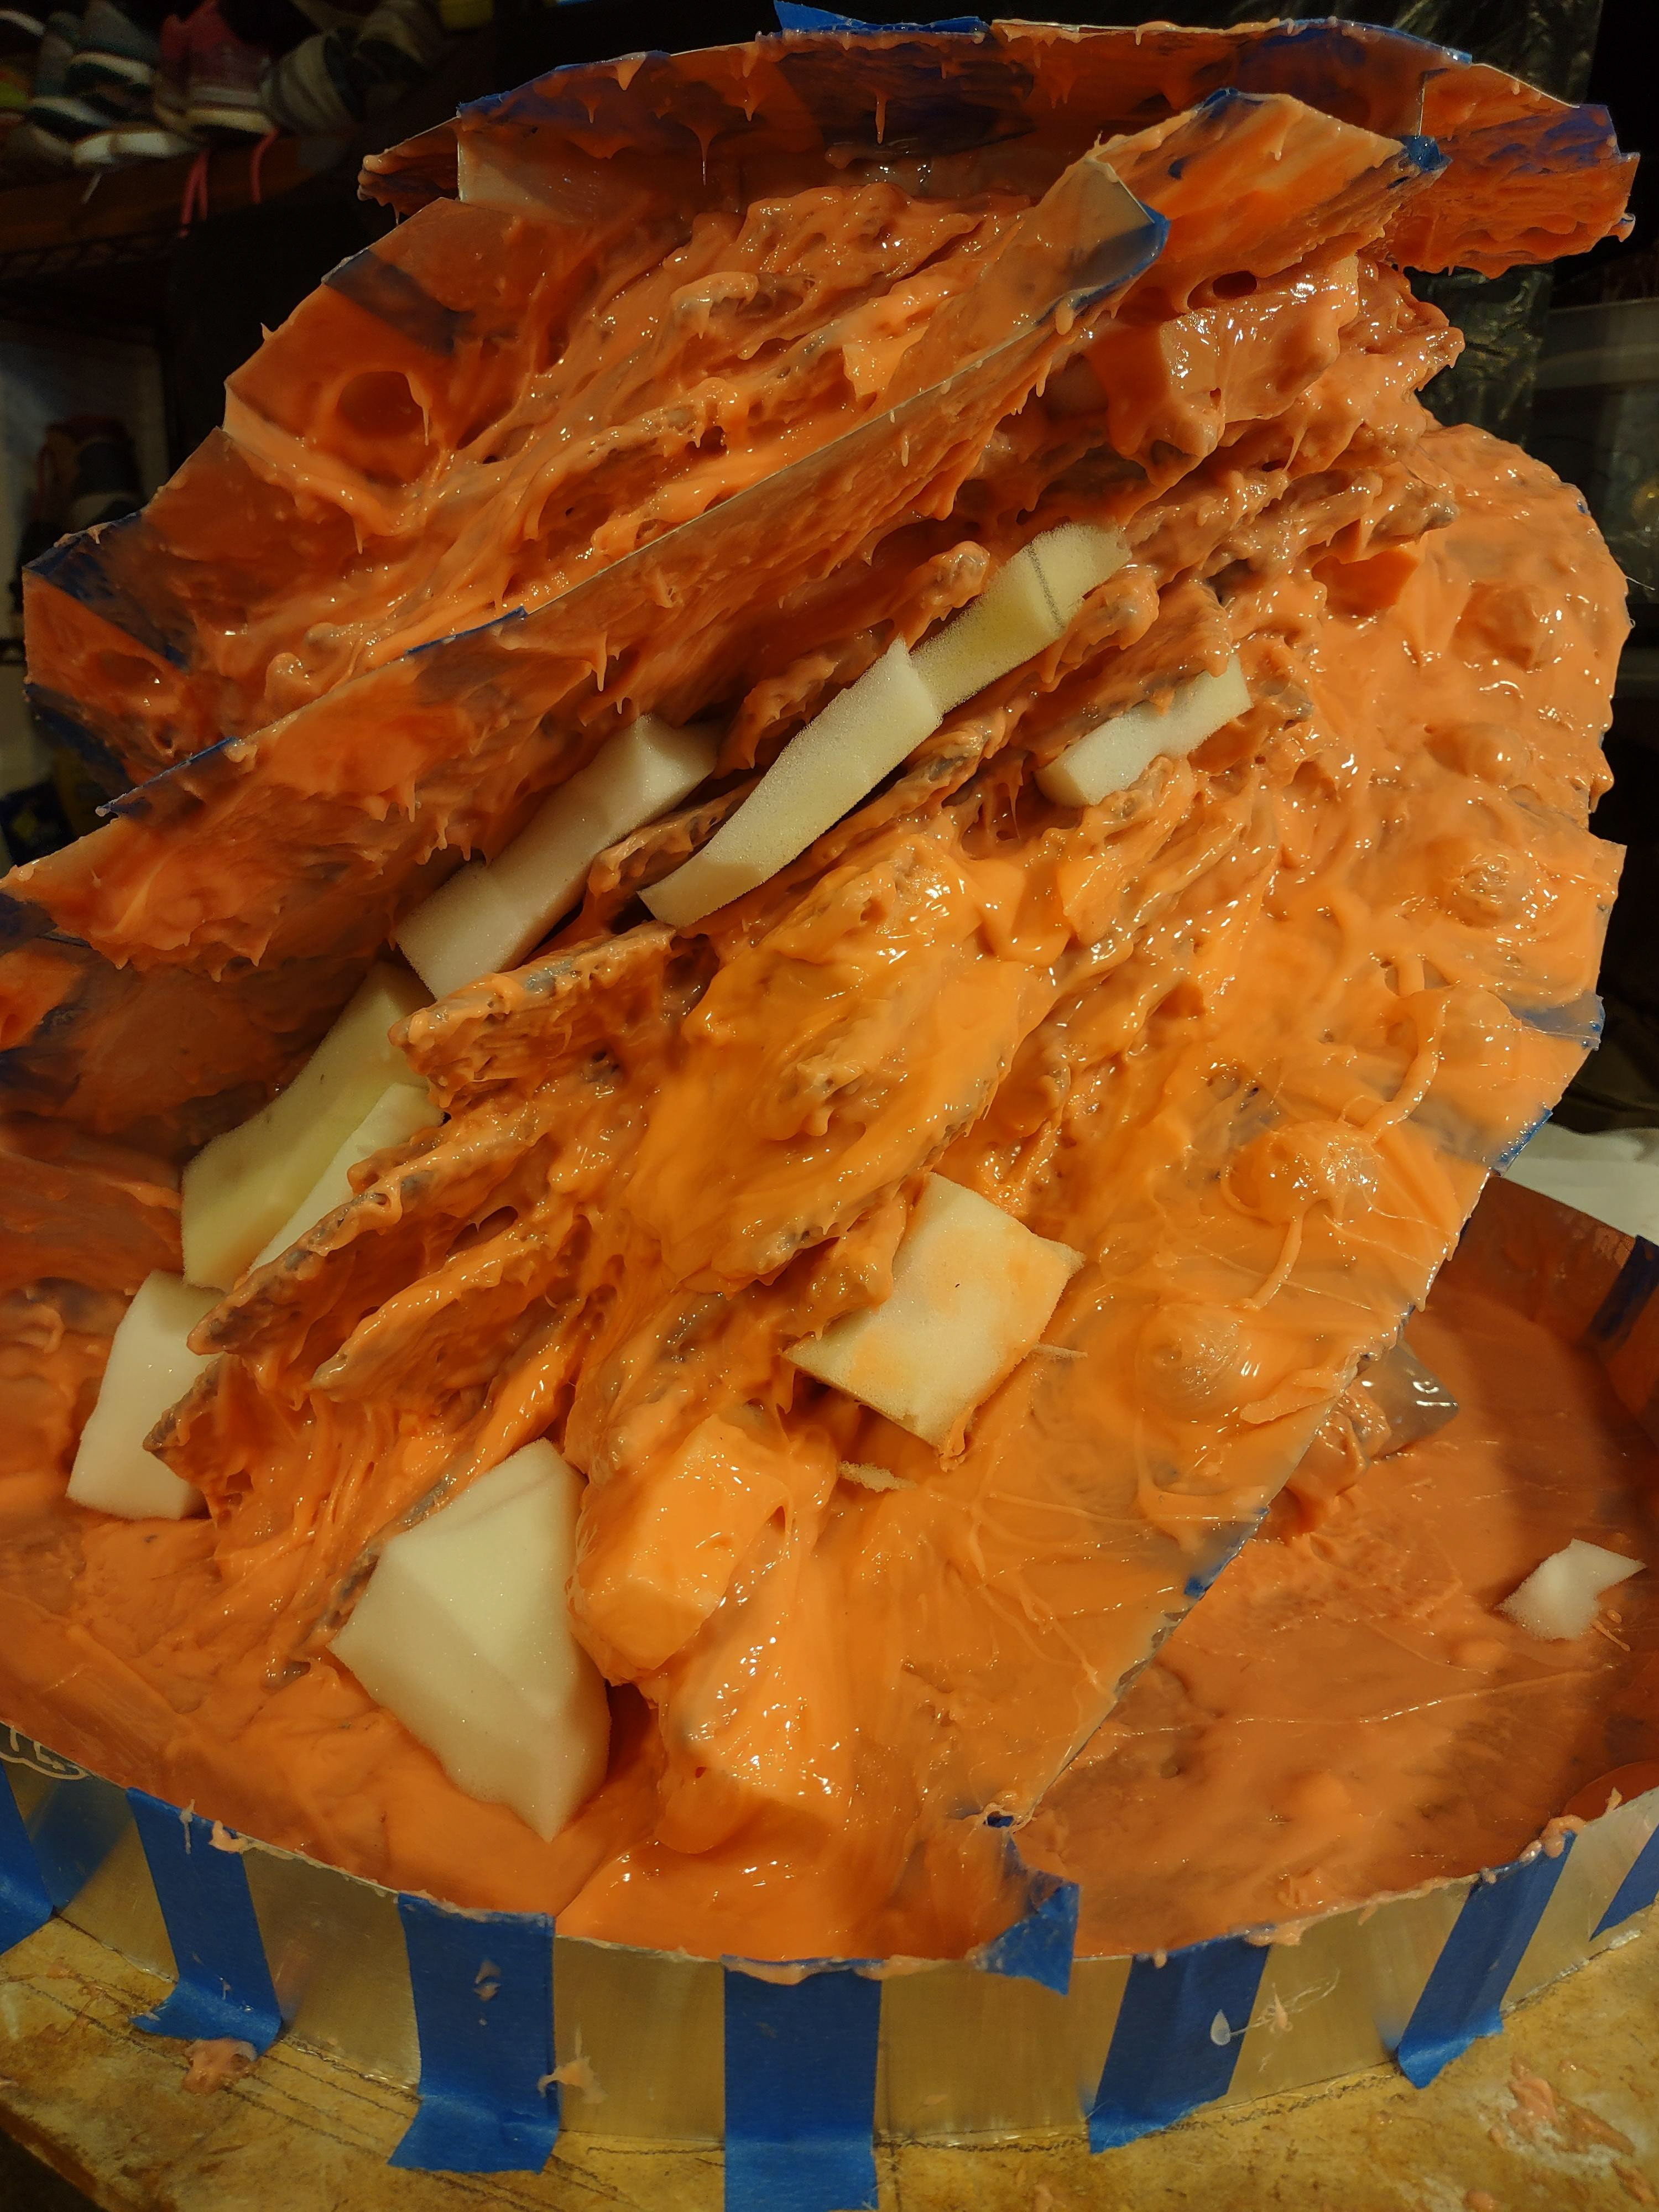
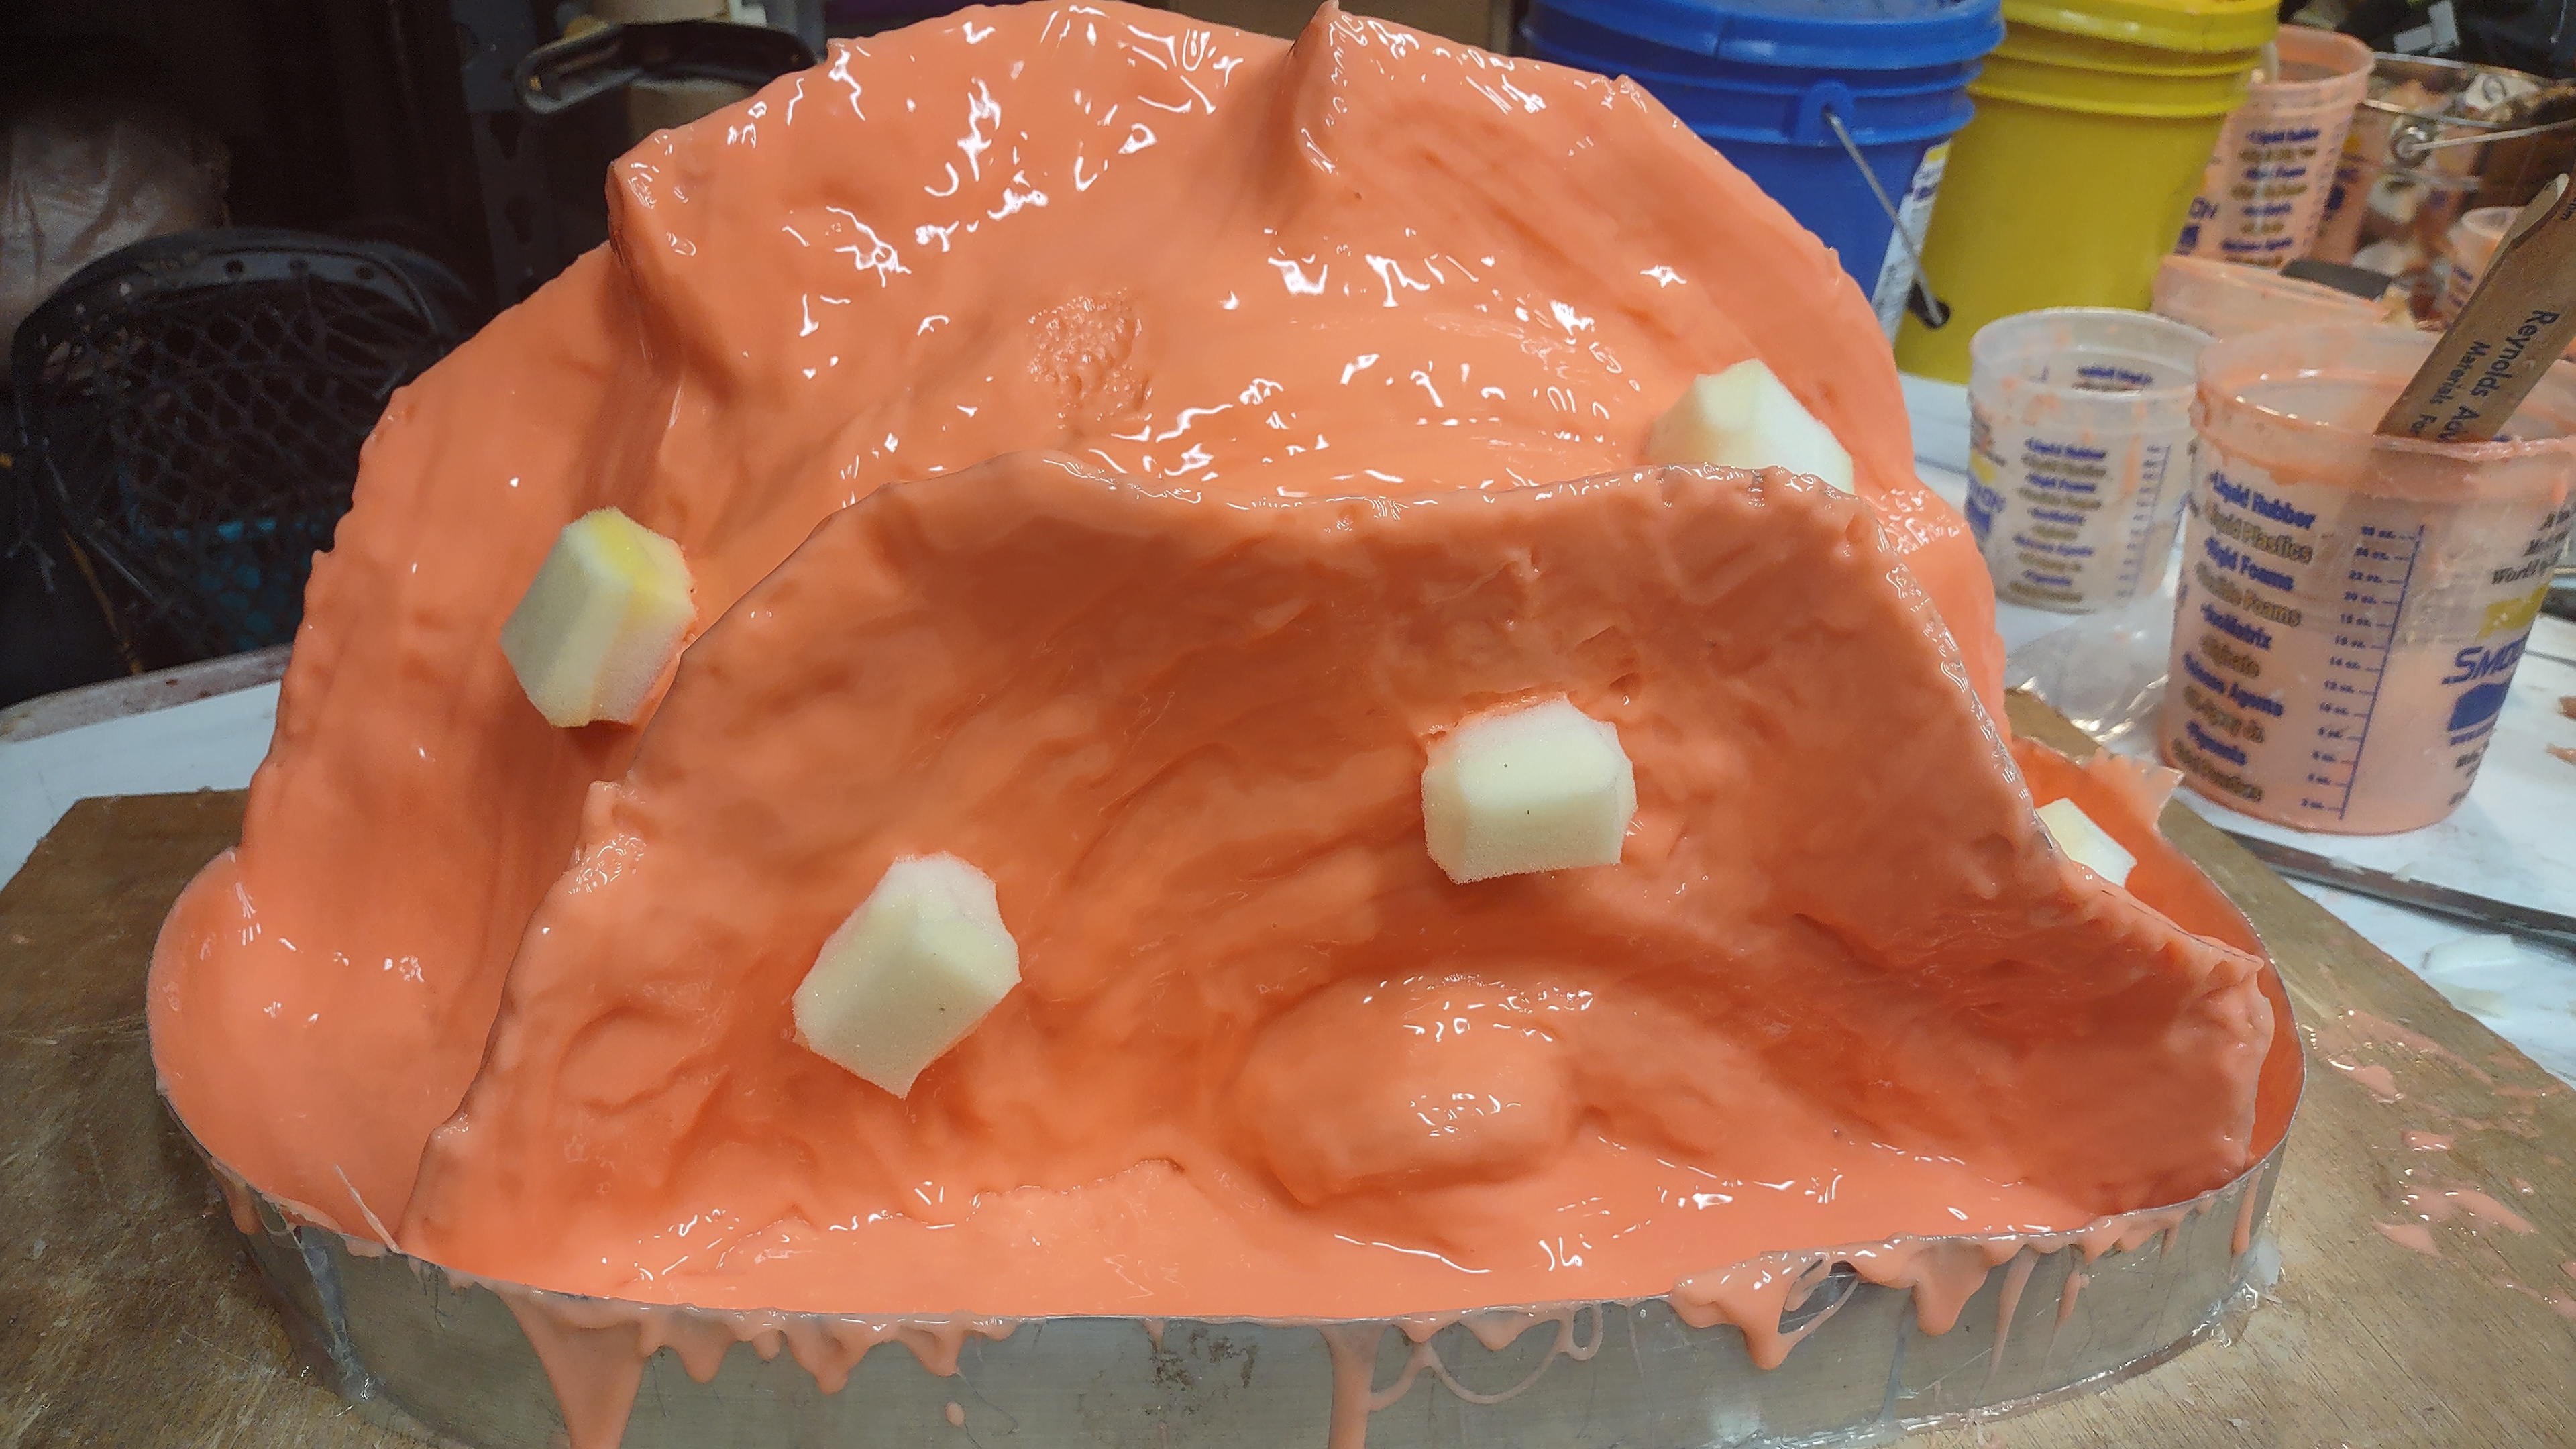
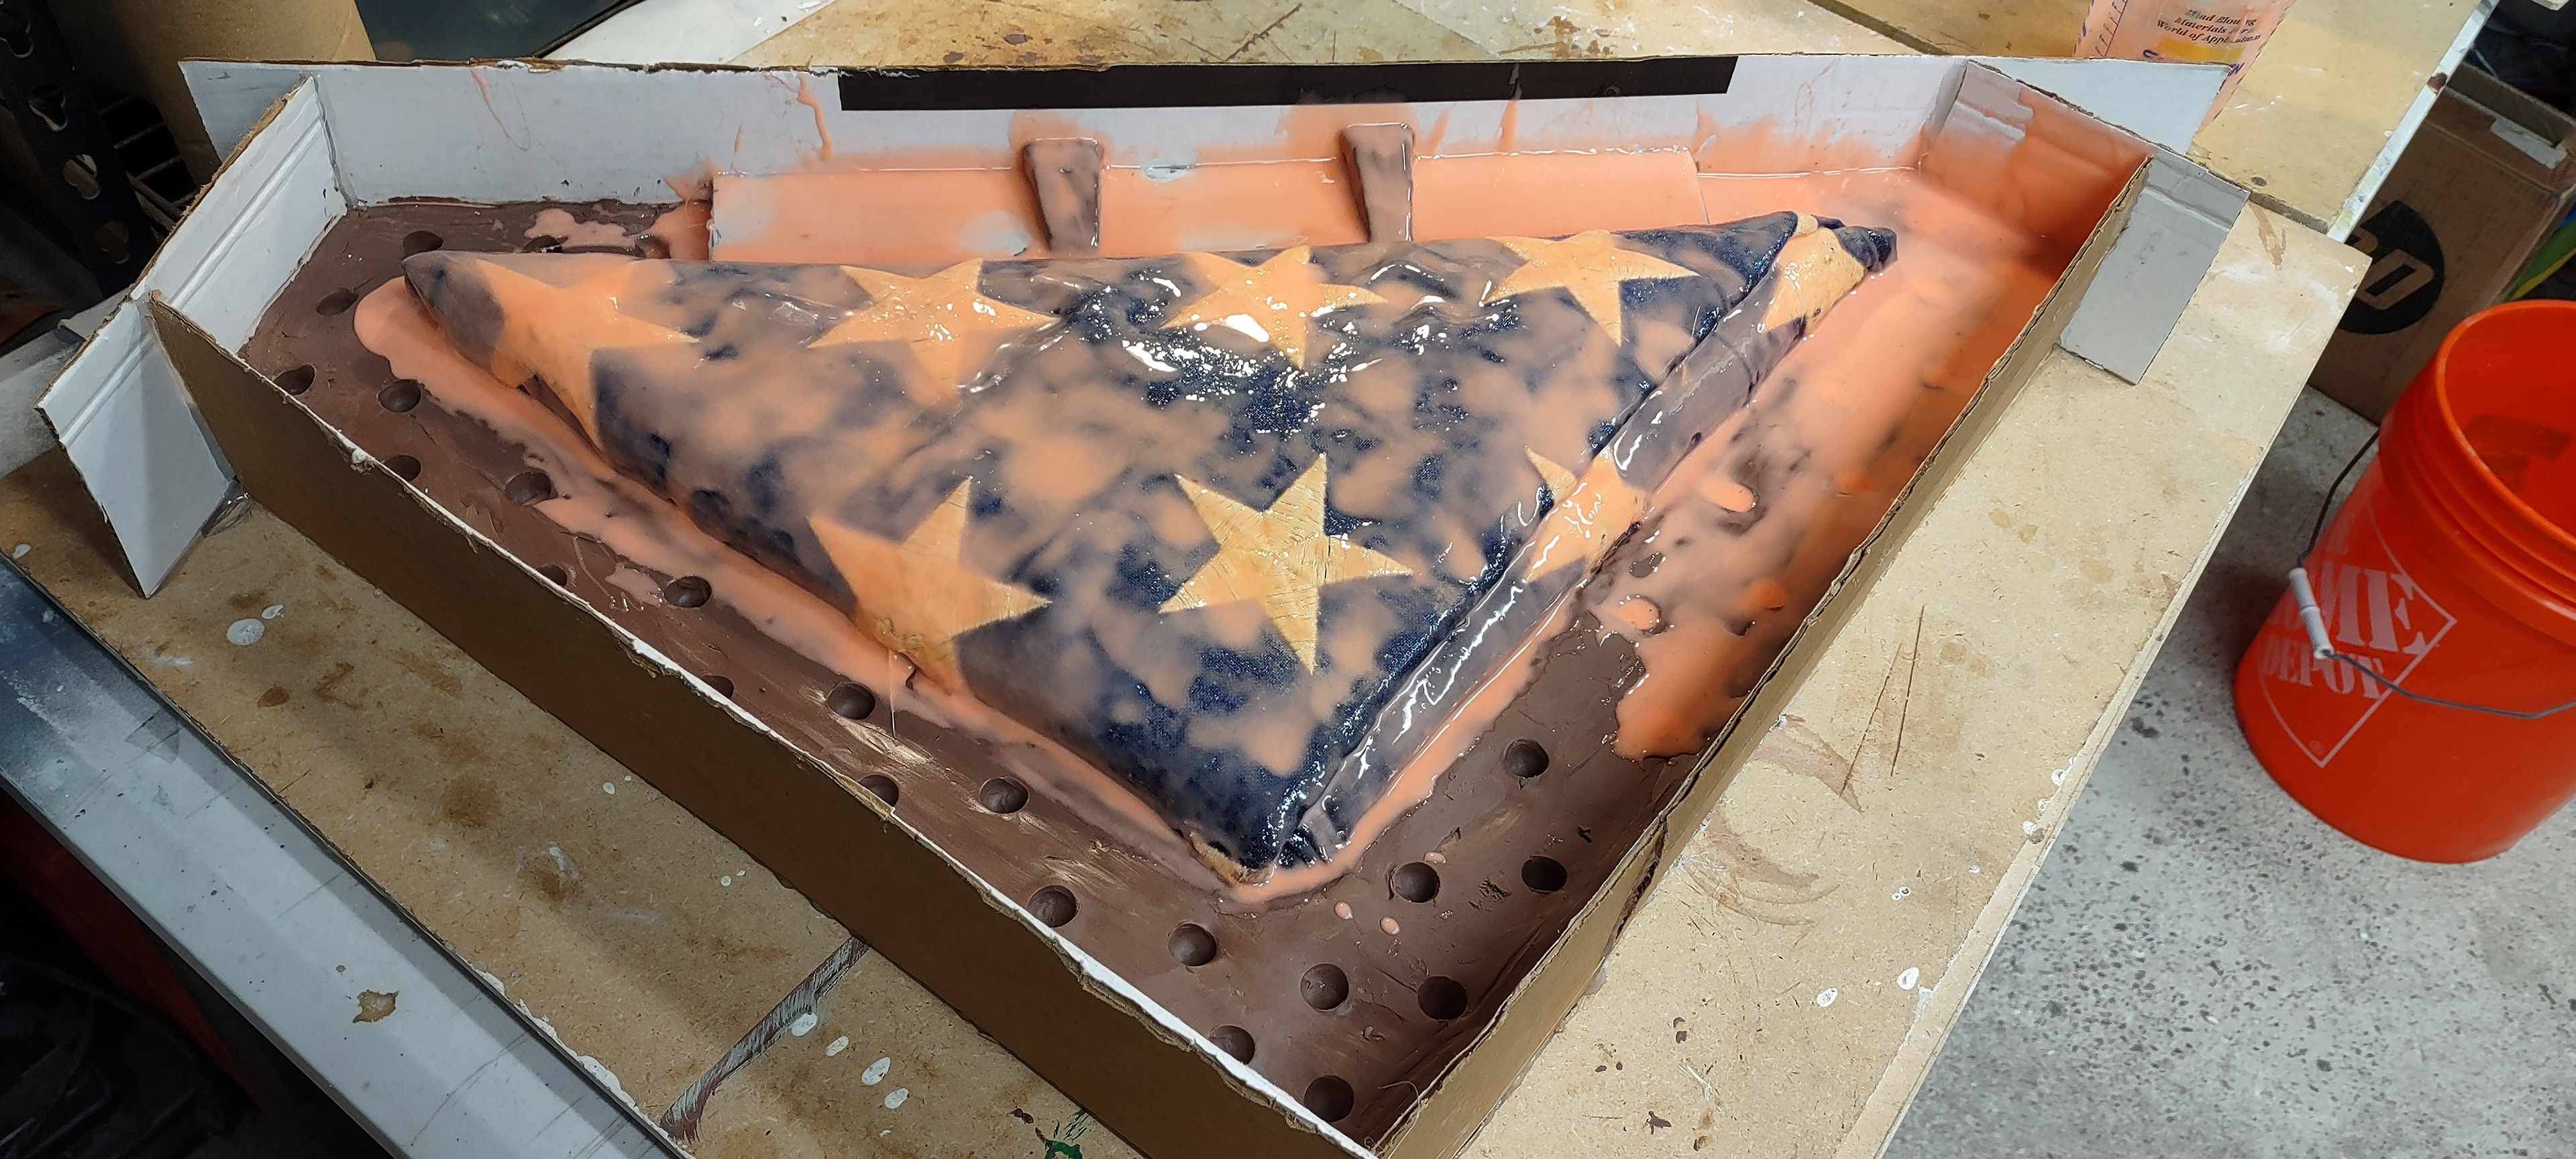
After 3 or 4 silicon coats, sometimes adding the forms in the big gaps.
It helps level of the surface and save the materials as well.
After this adding more silicon 2 or three times.
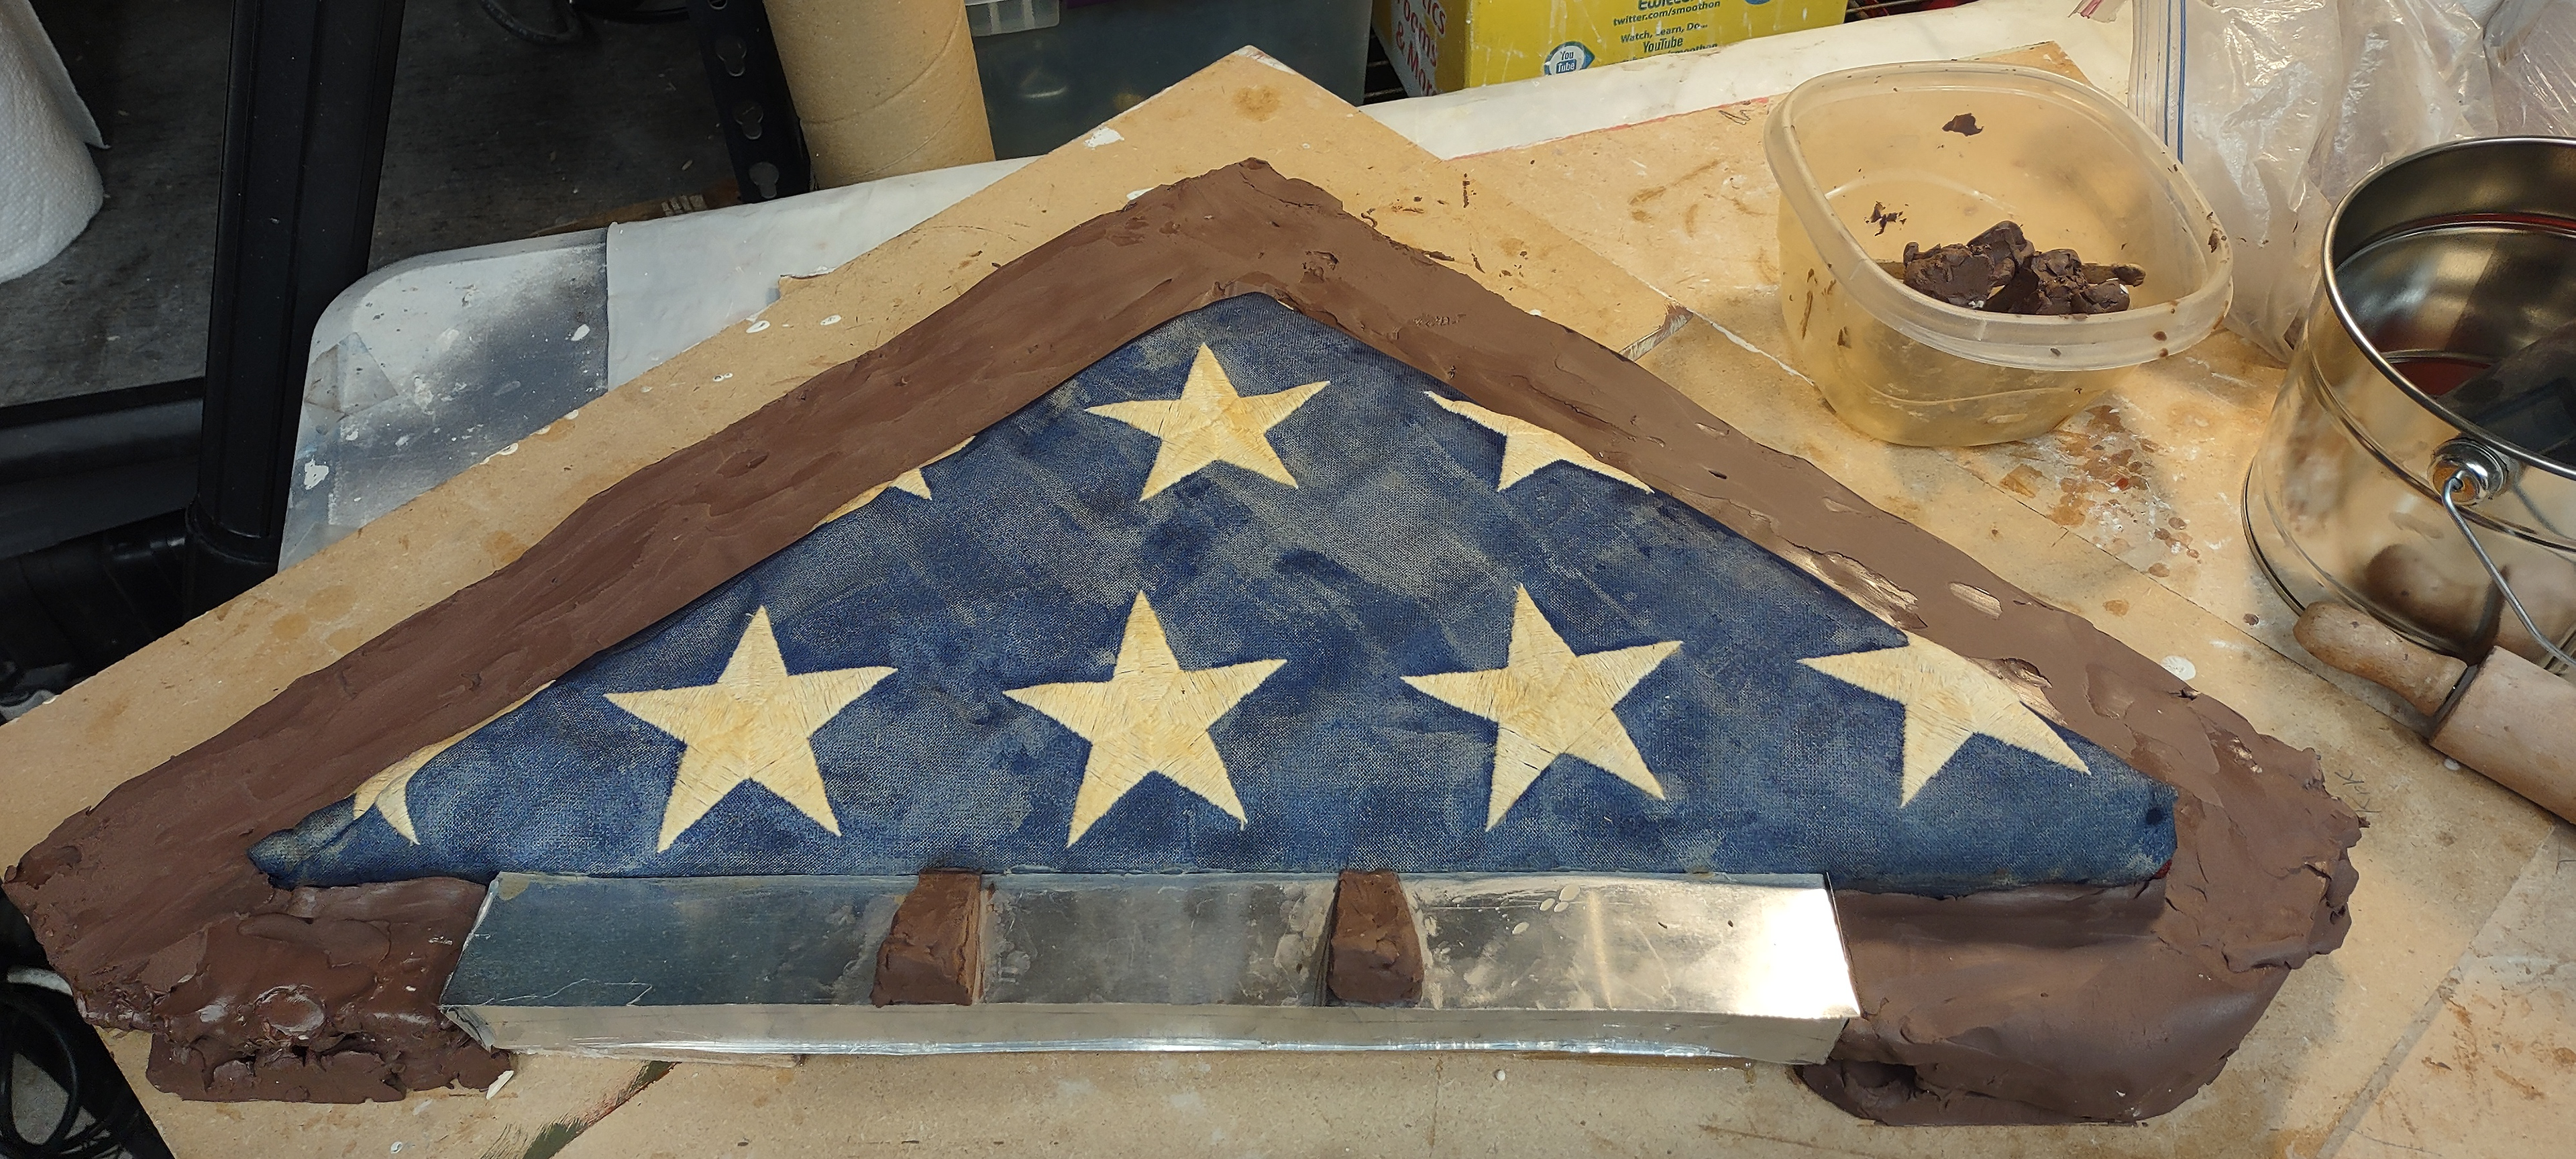
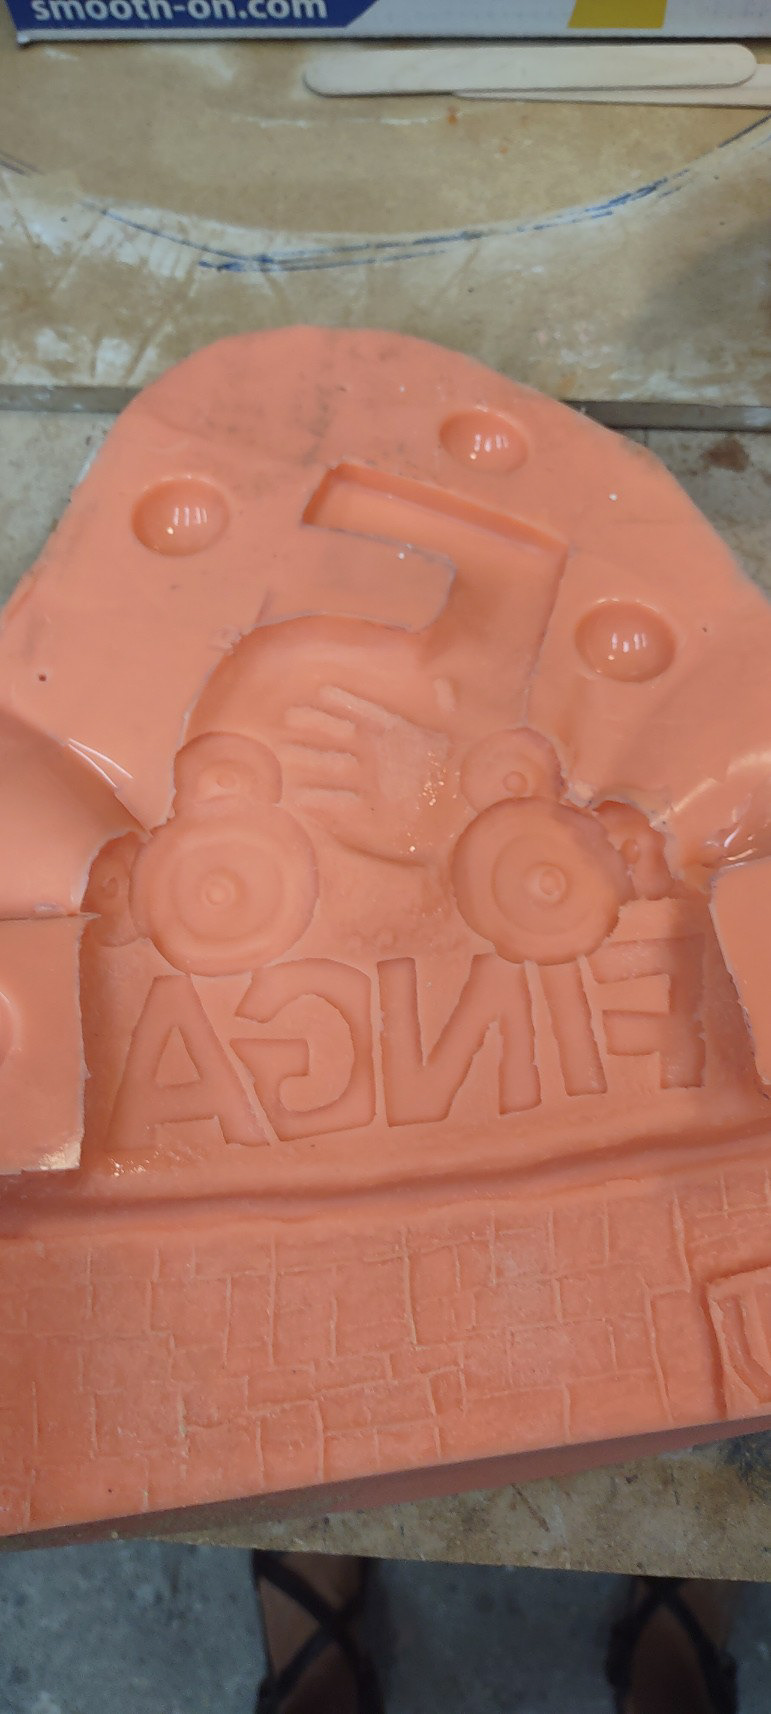
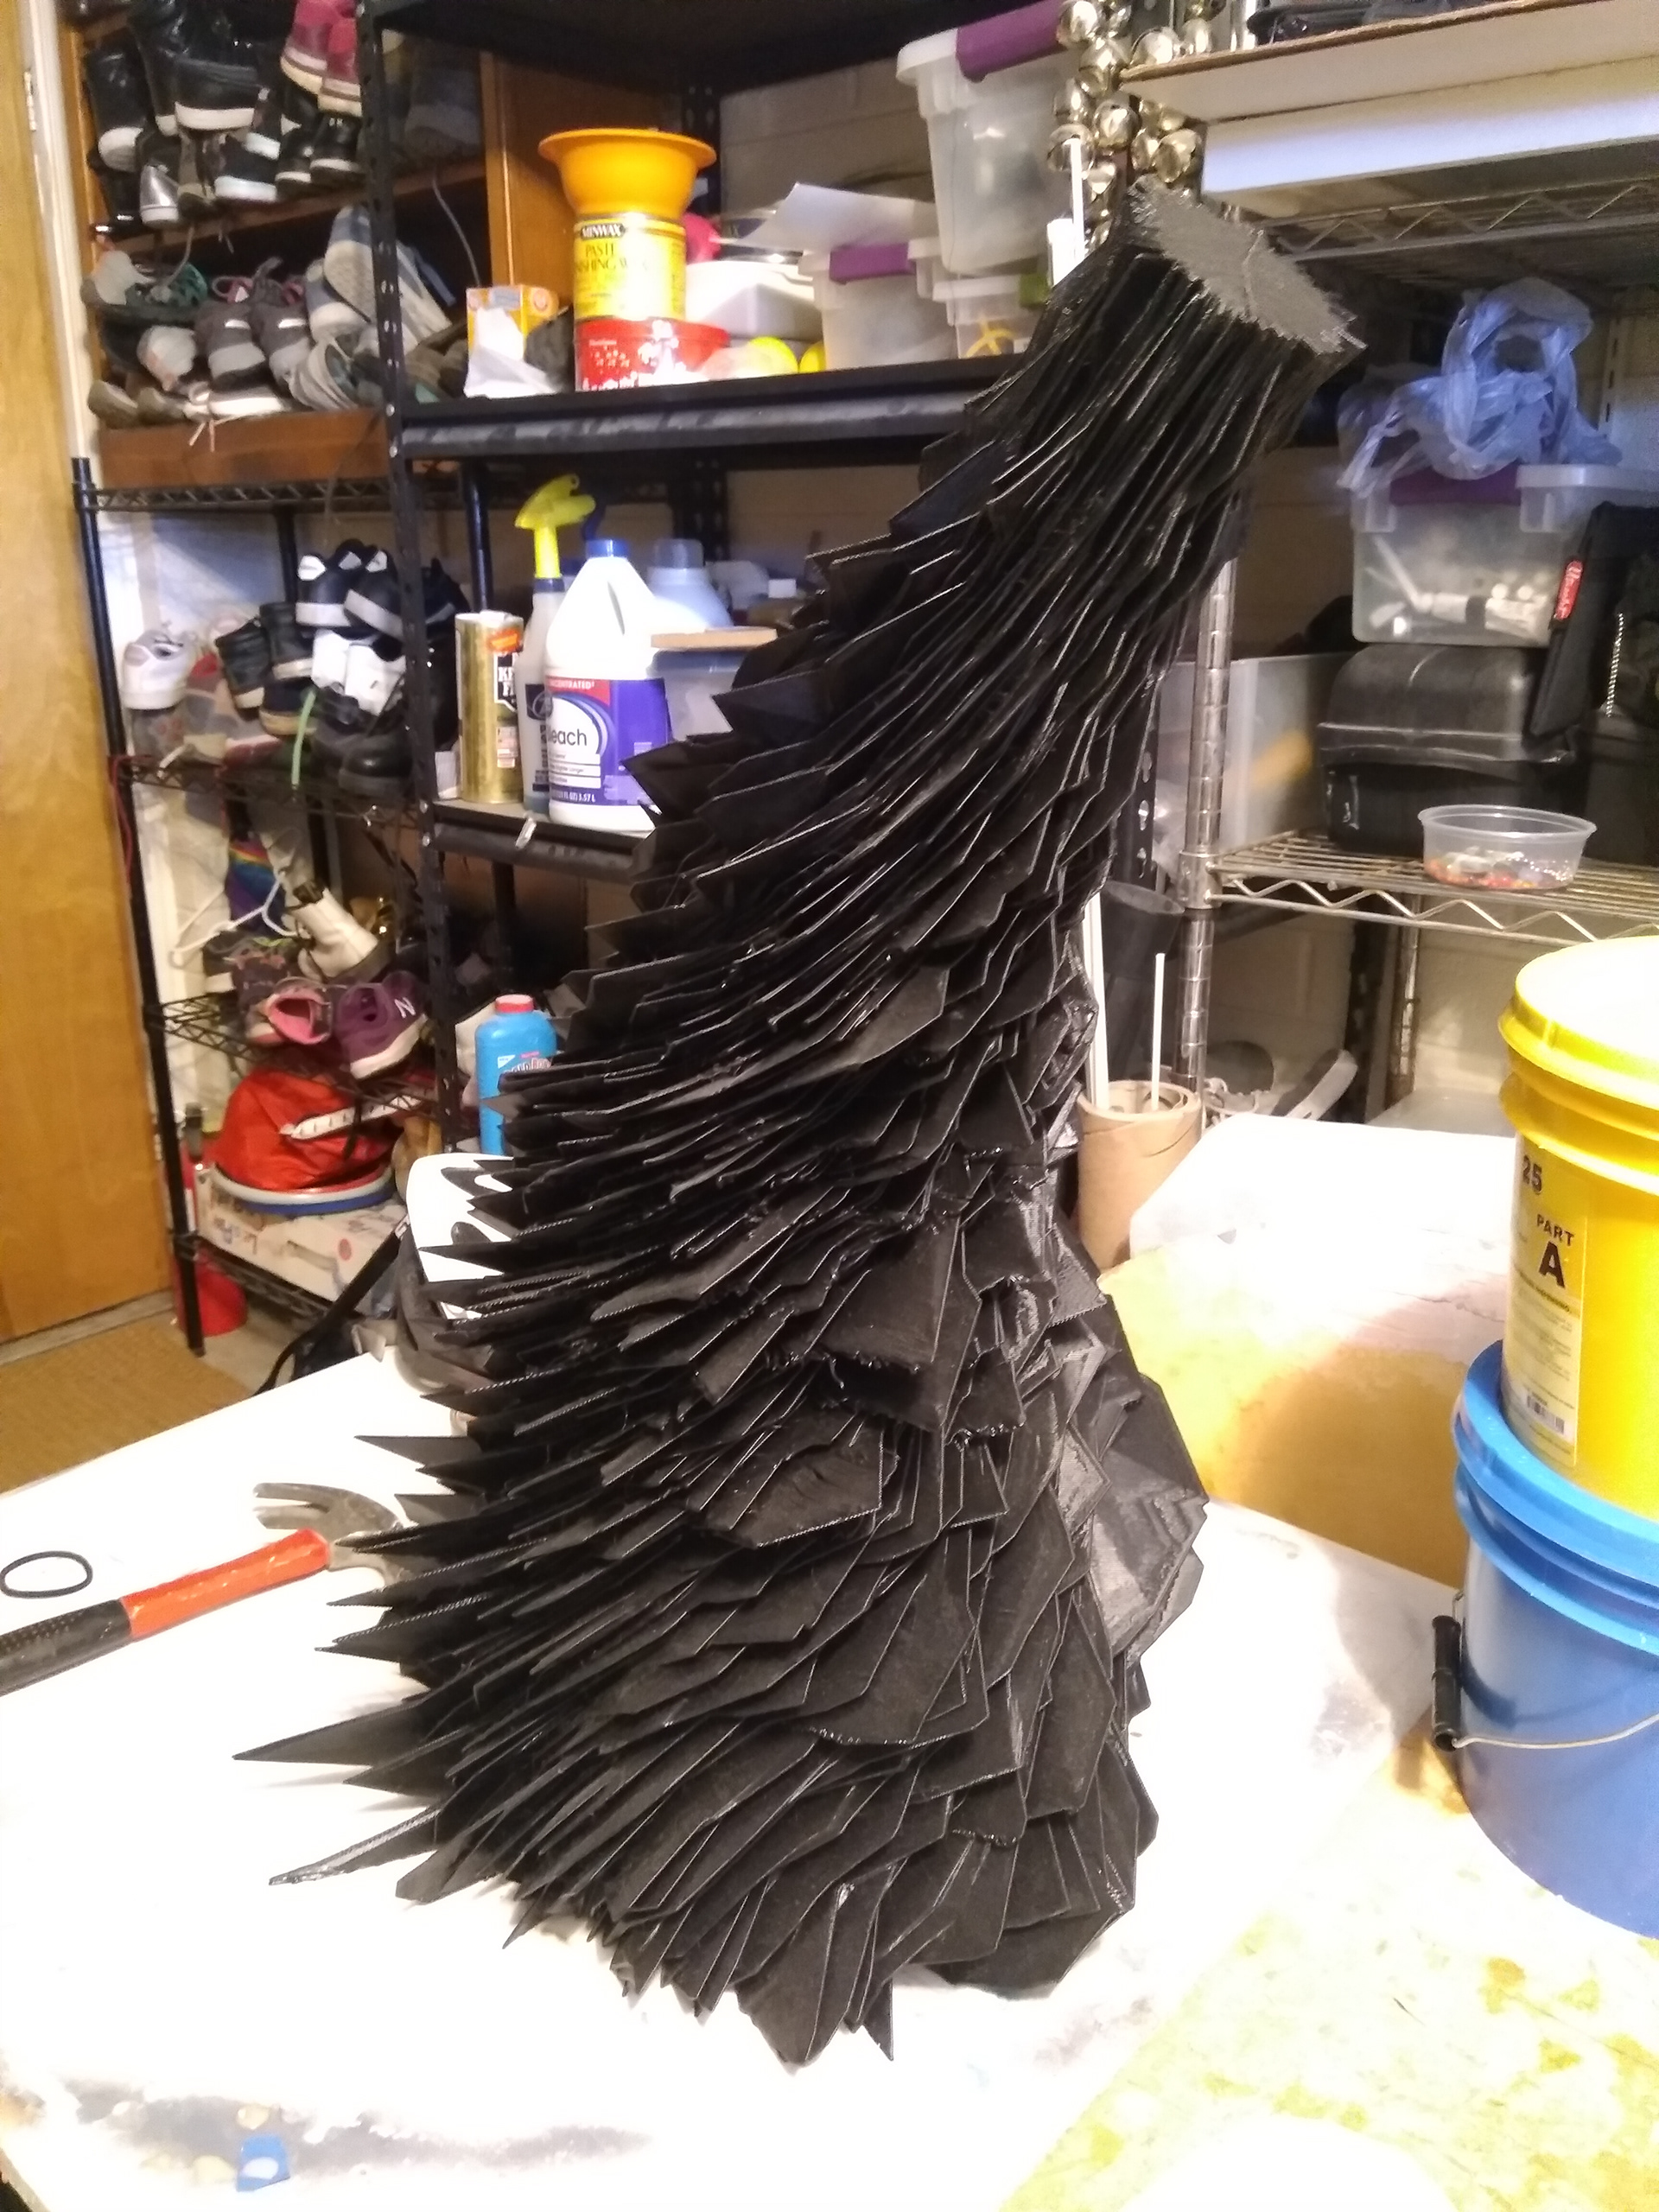
Working on Flag. This object is made in fabric. using a special seal before adding the silicon. Get ready for next step.
The fist coat is very important. We want capture the all the original details .
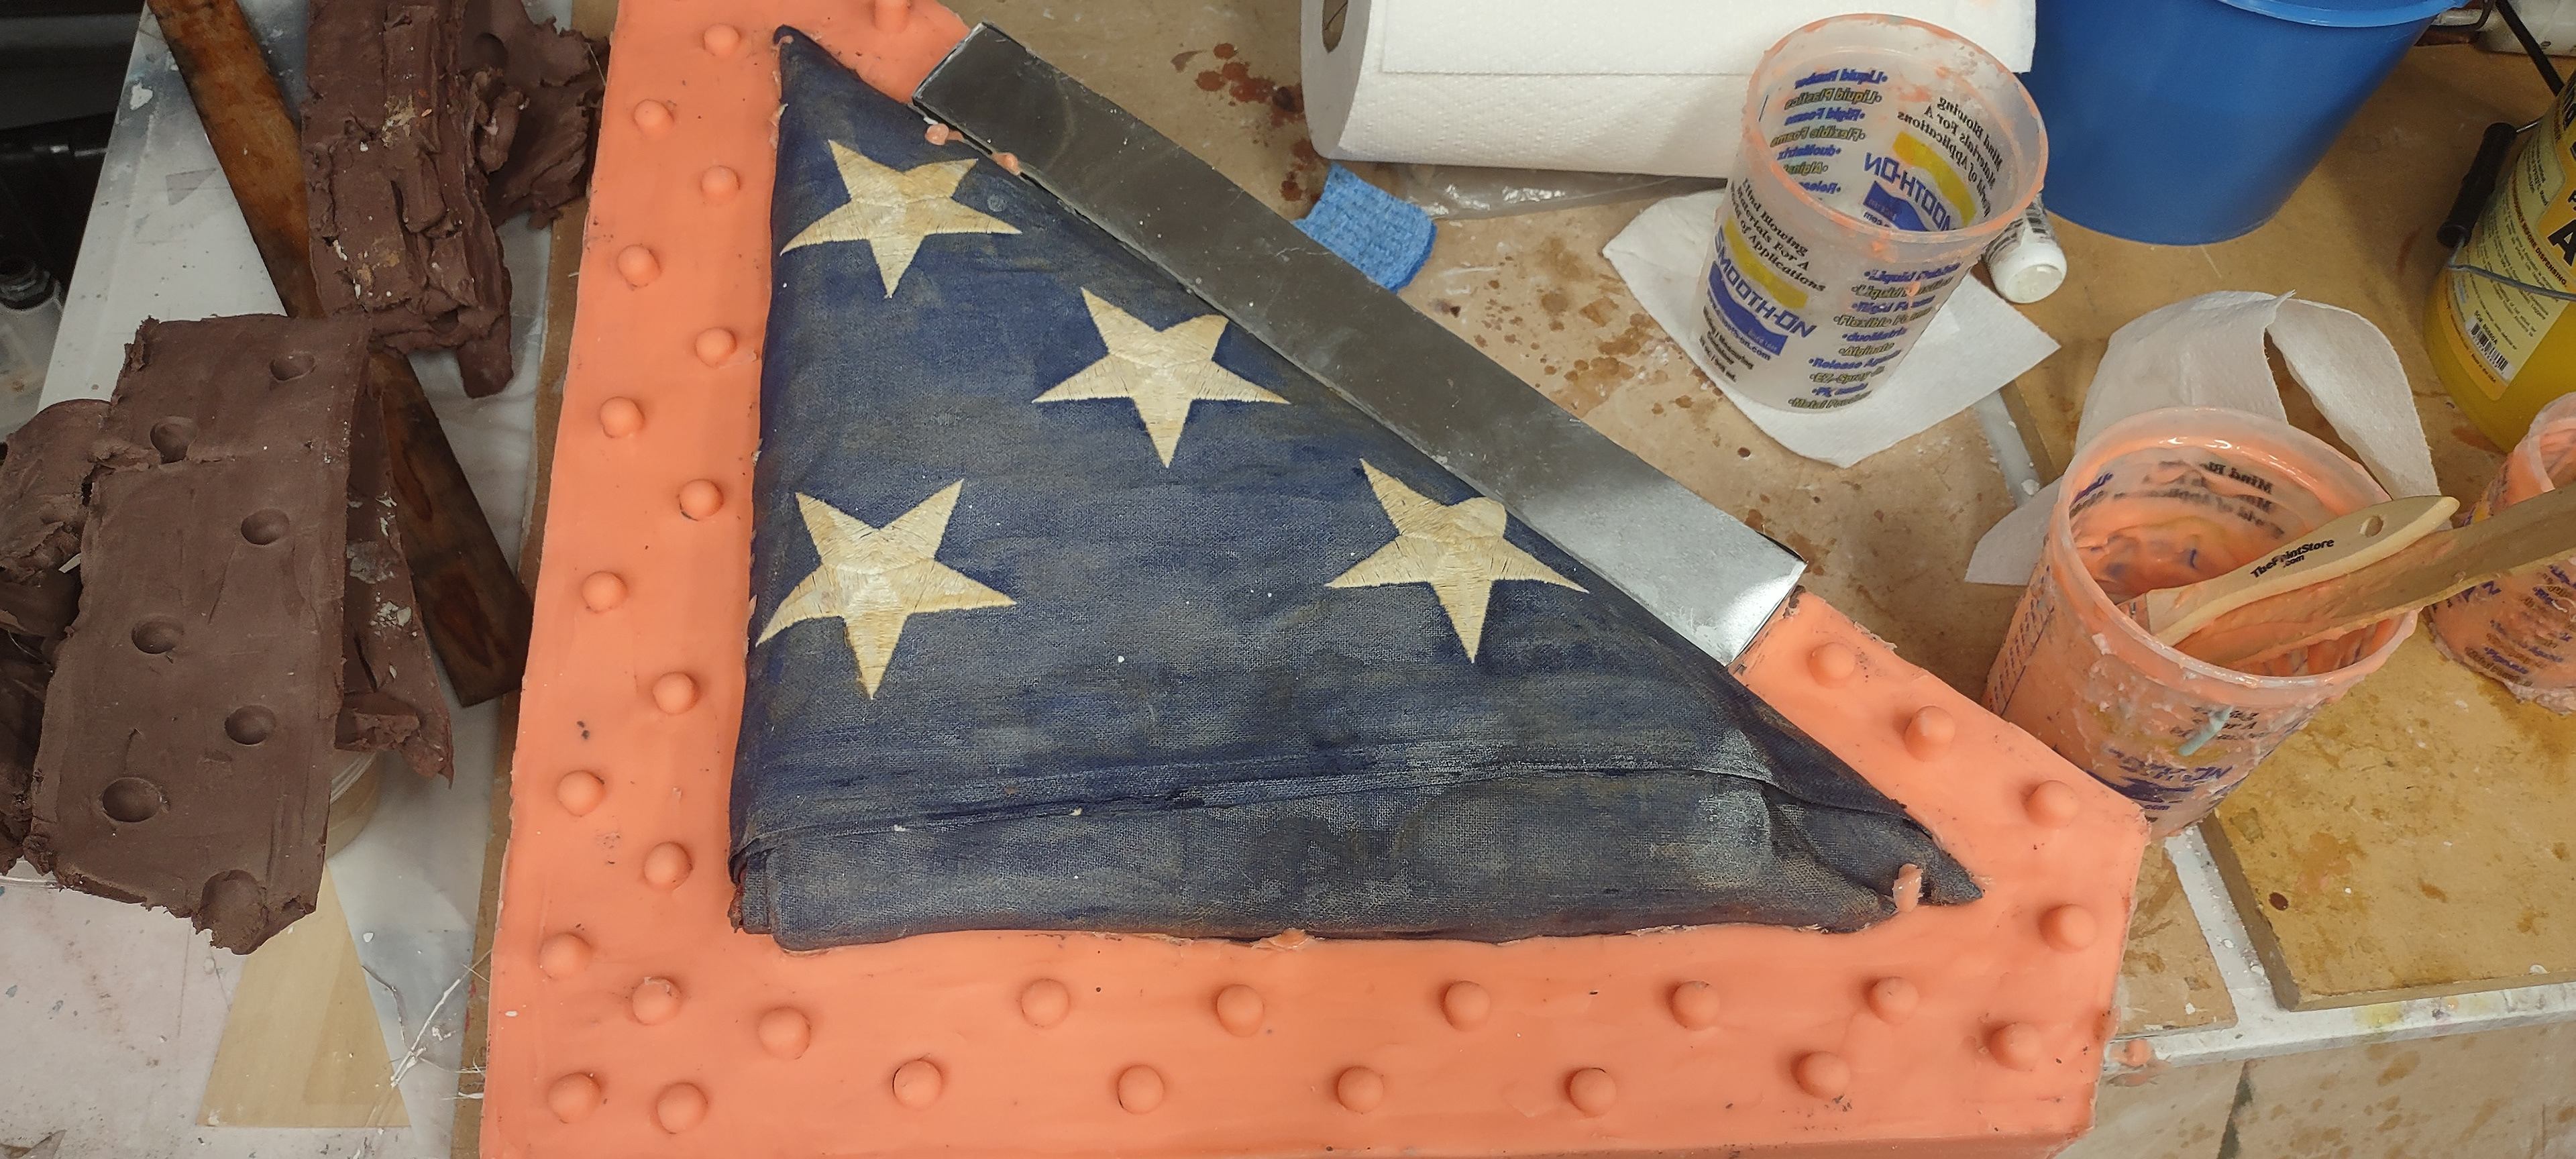
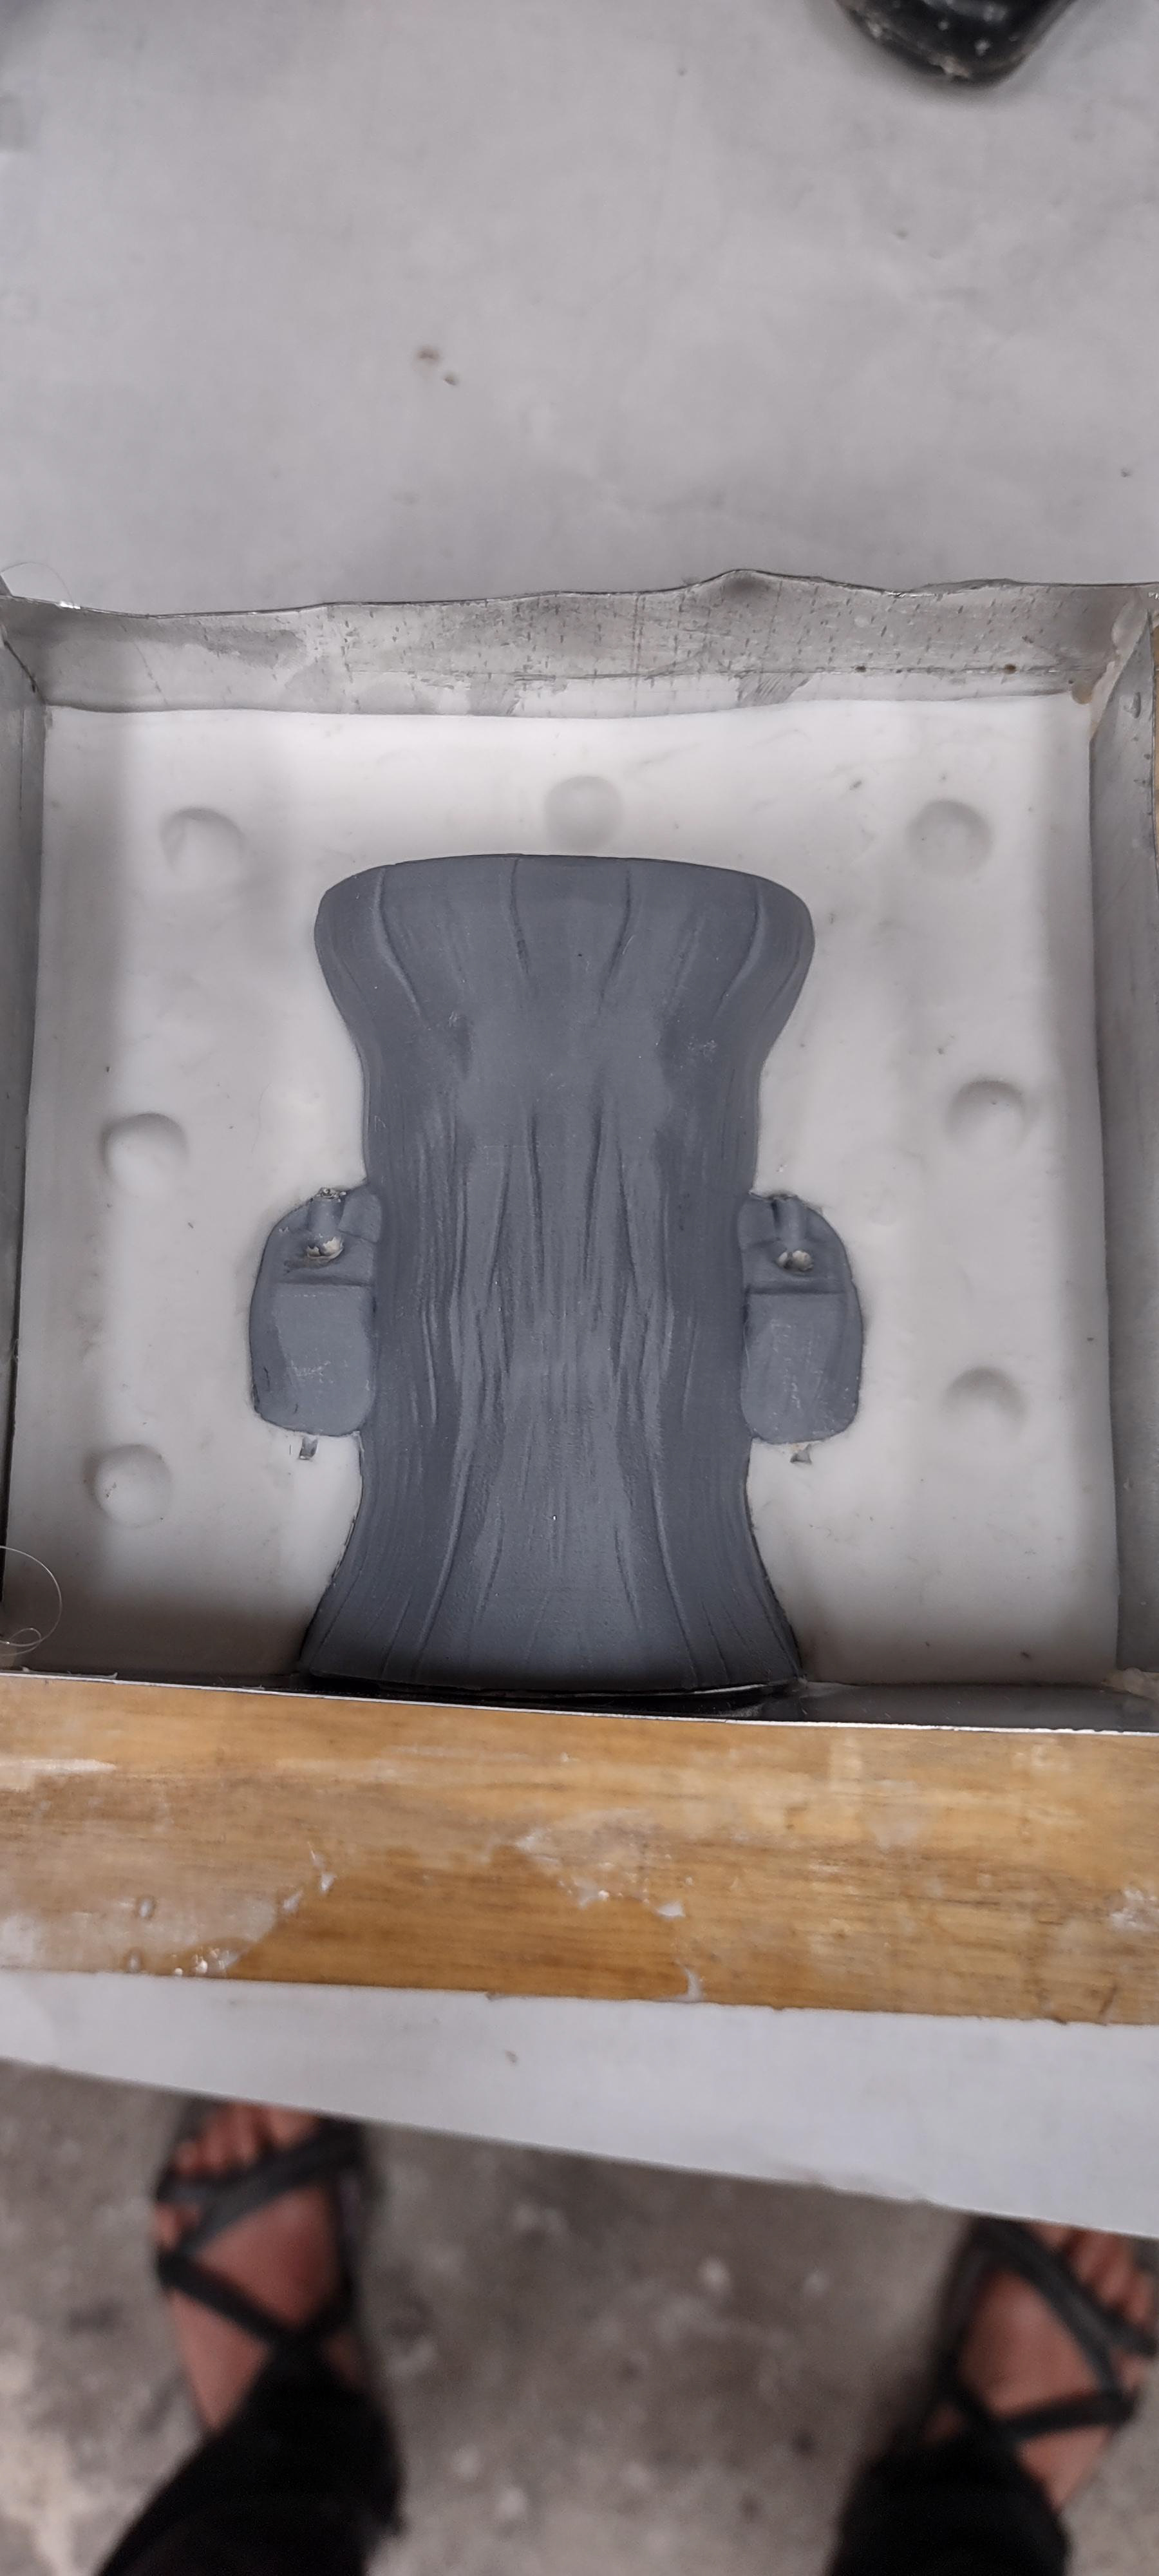
Now, the half of the mold is done. get ready for next part of the mold.
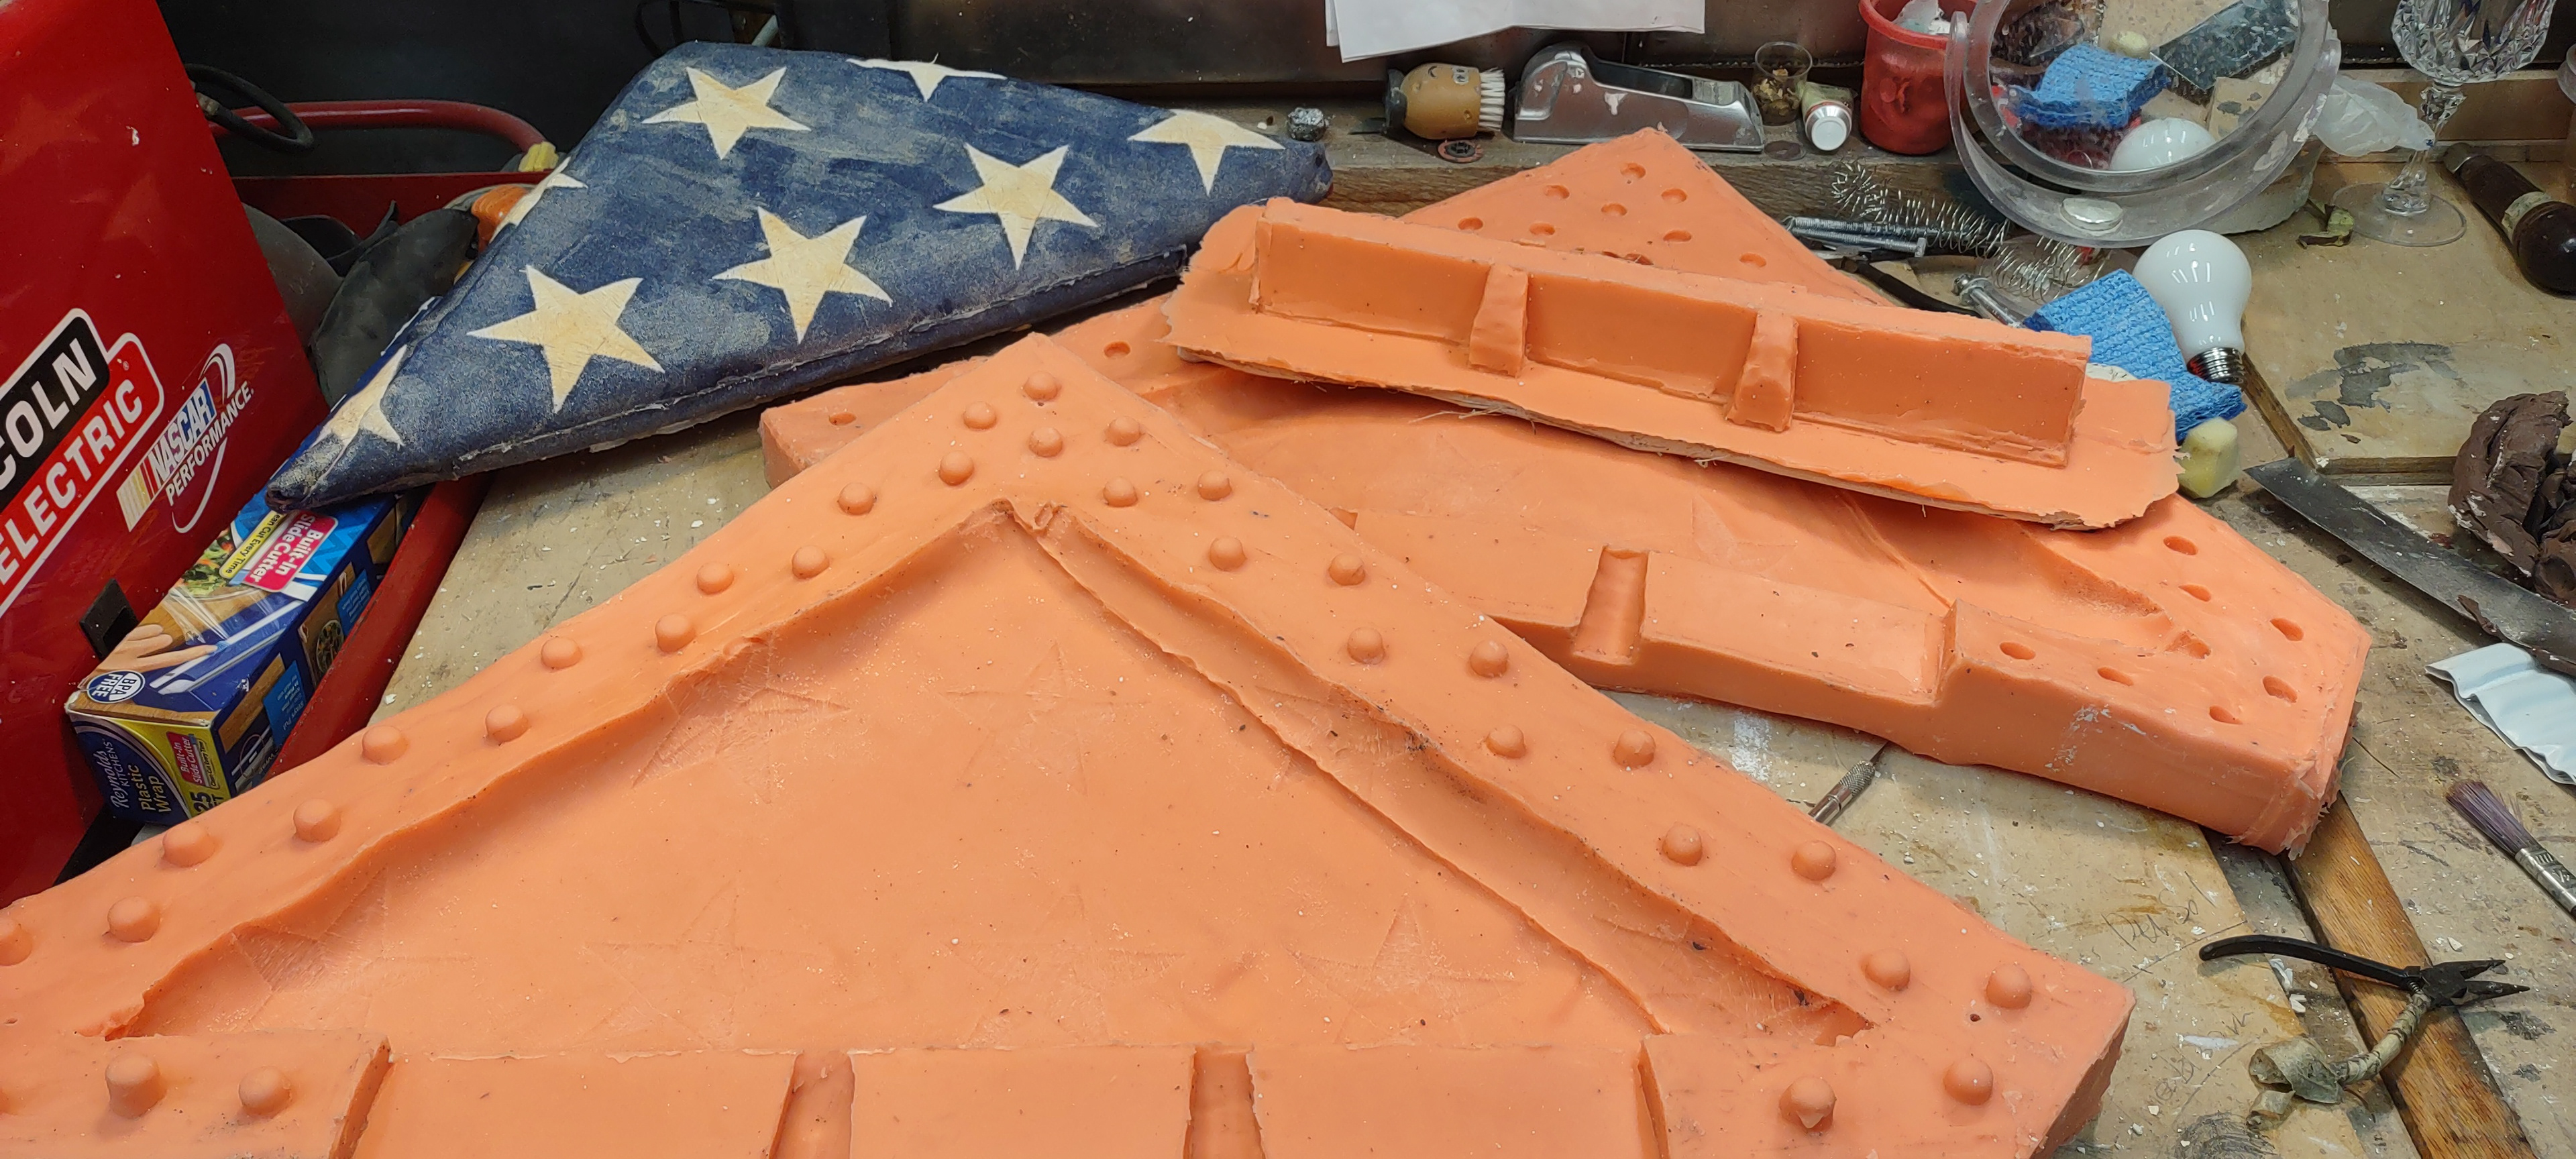
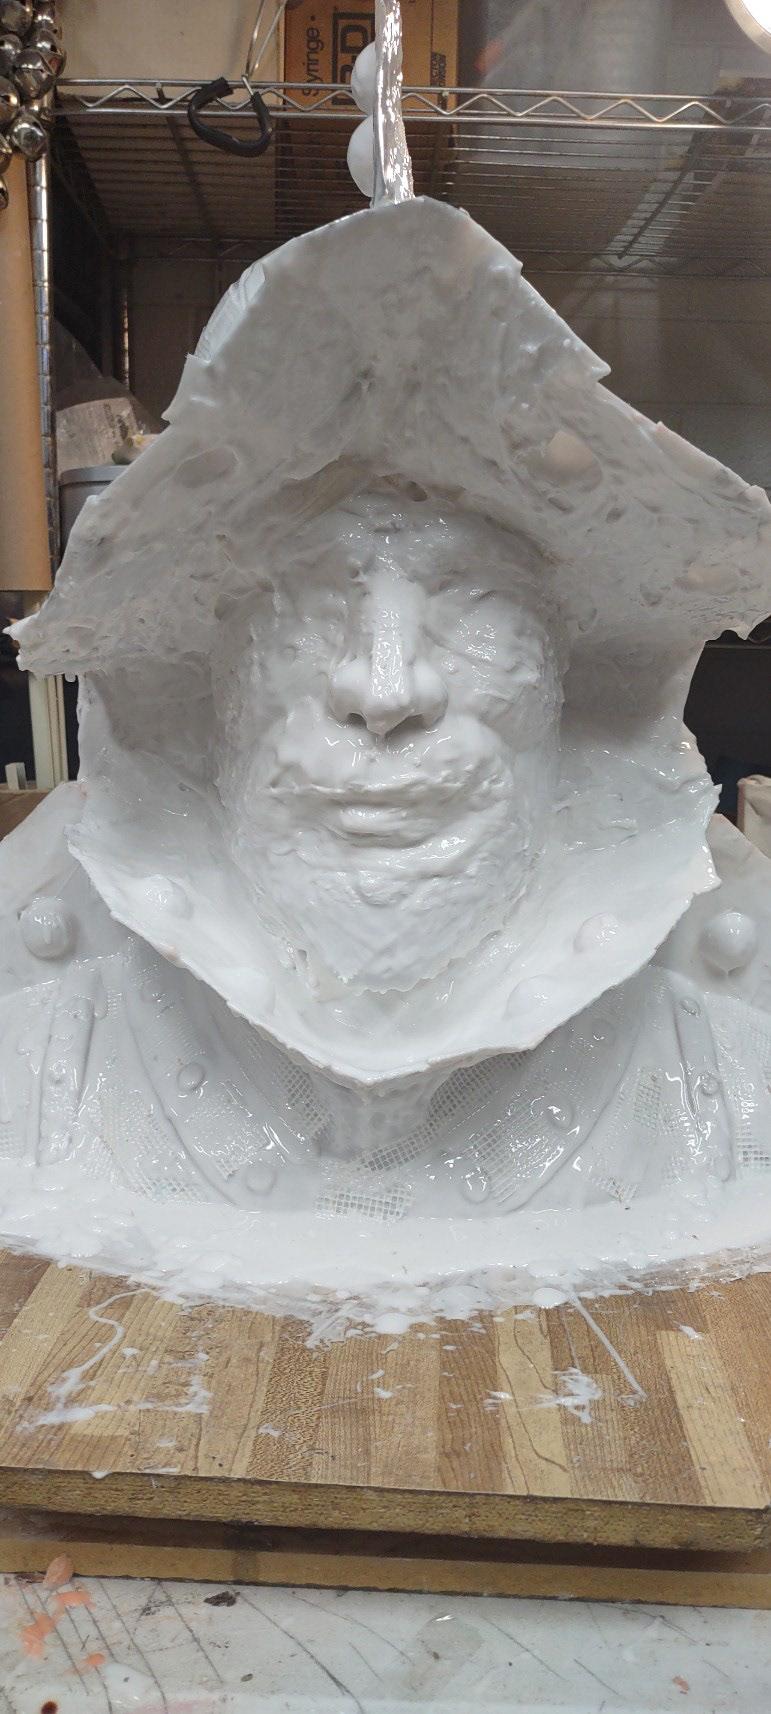
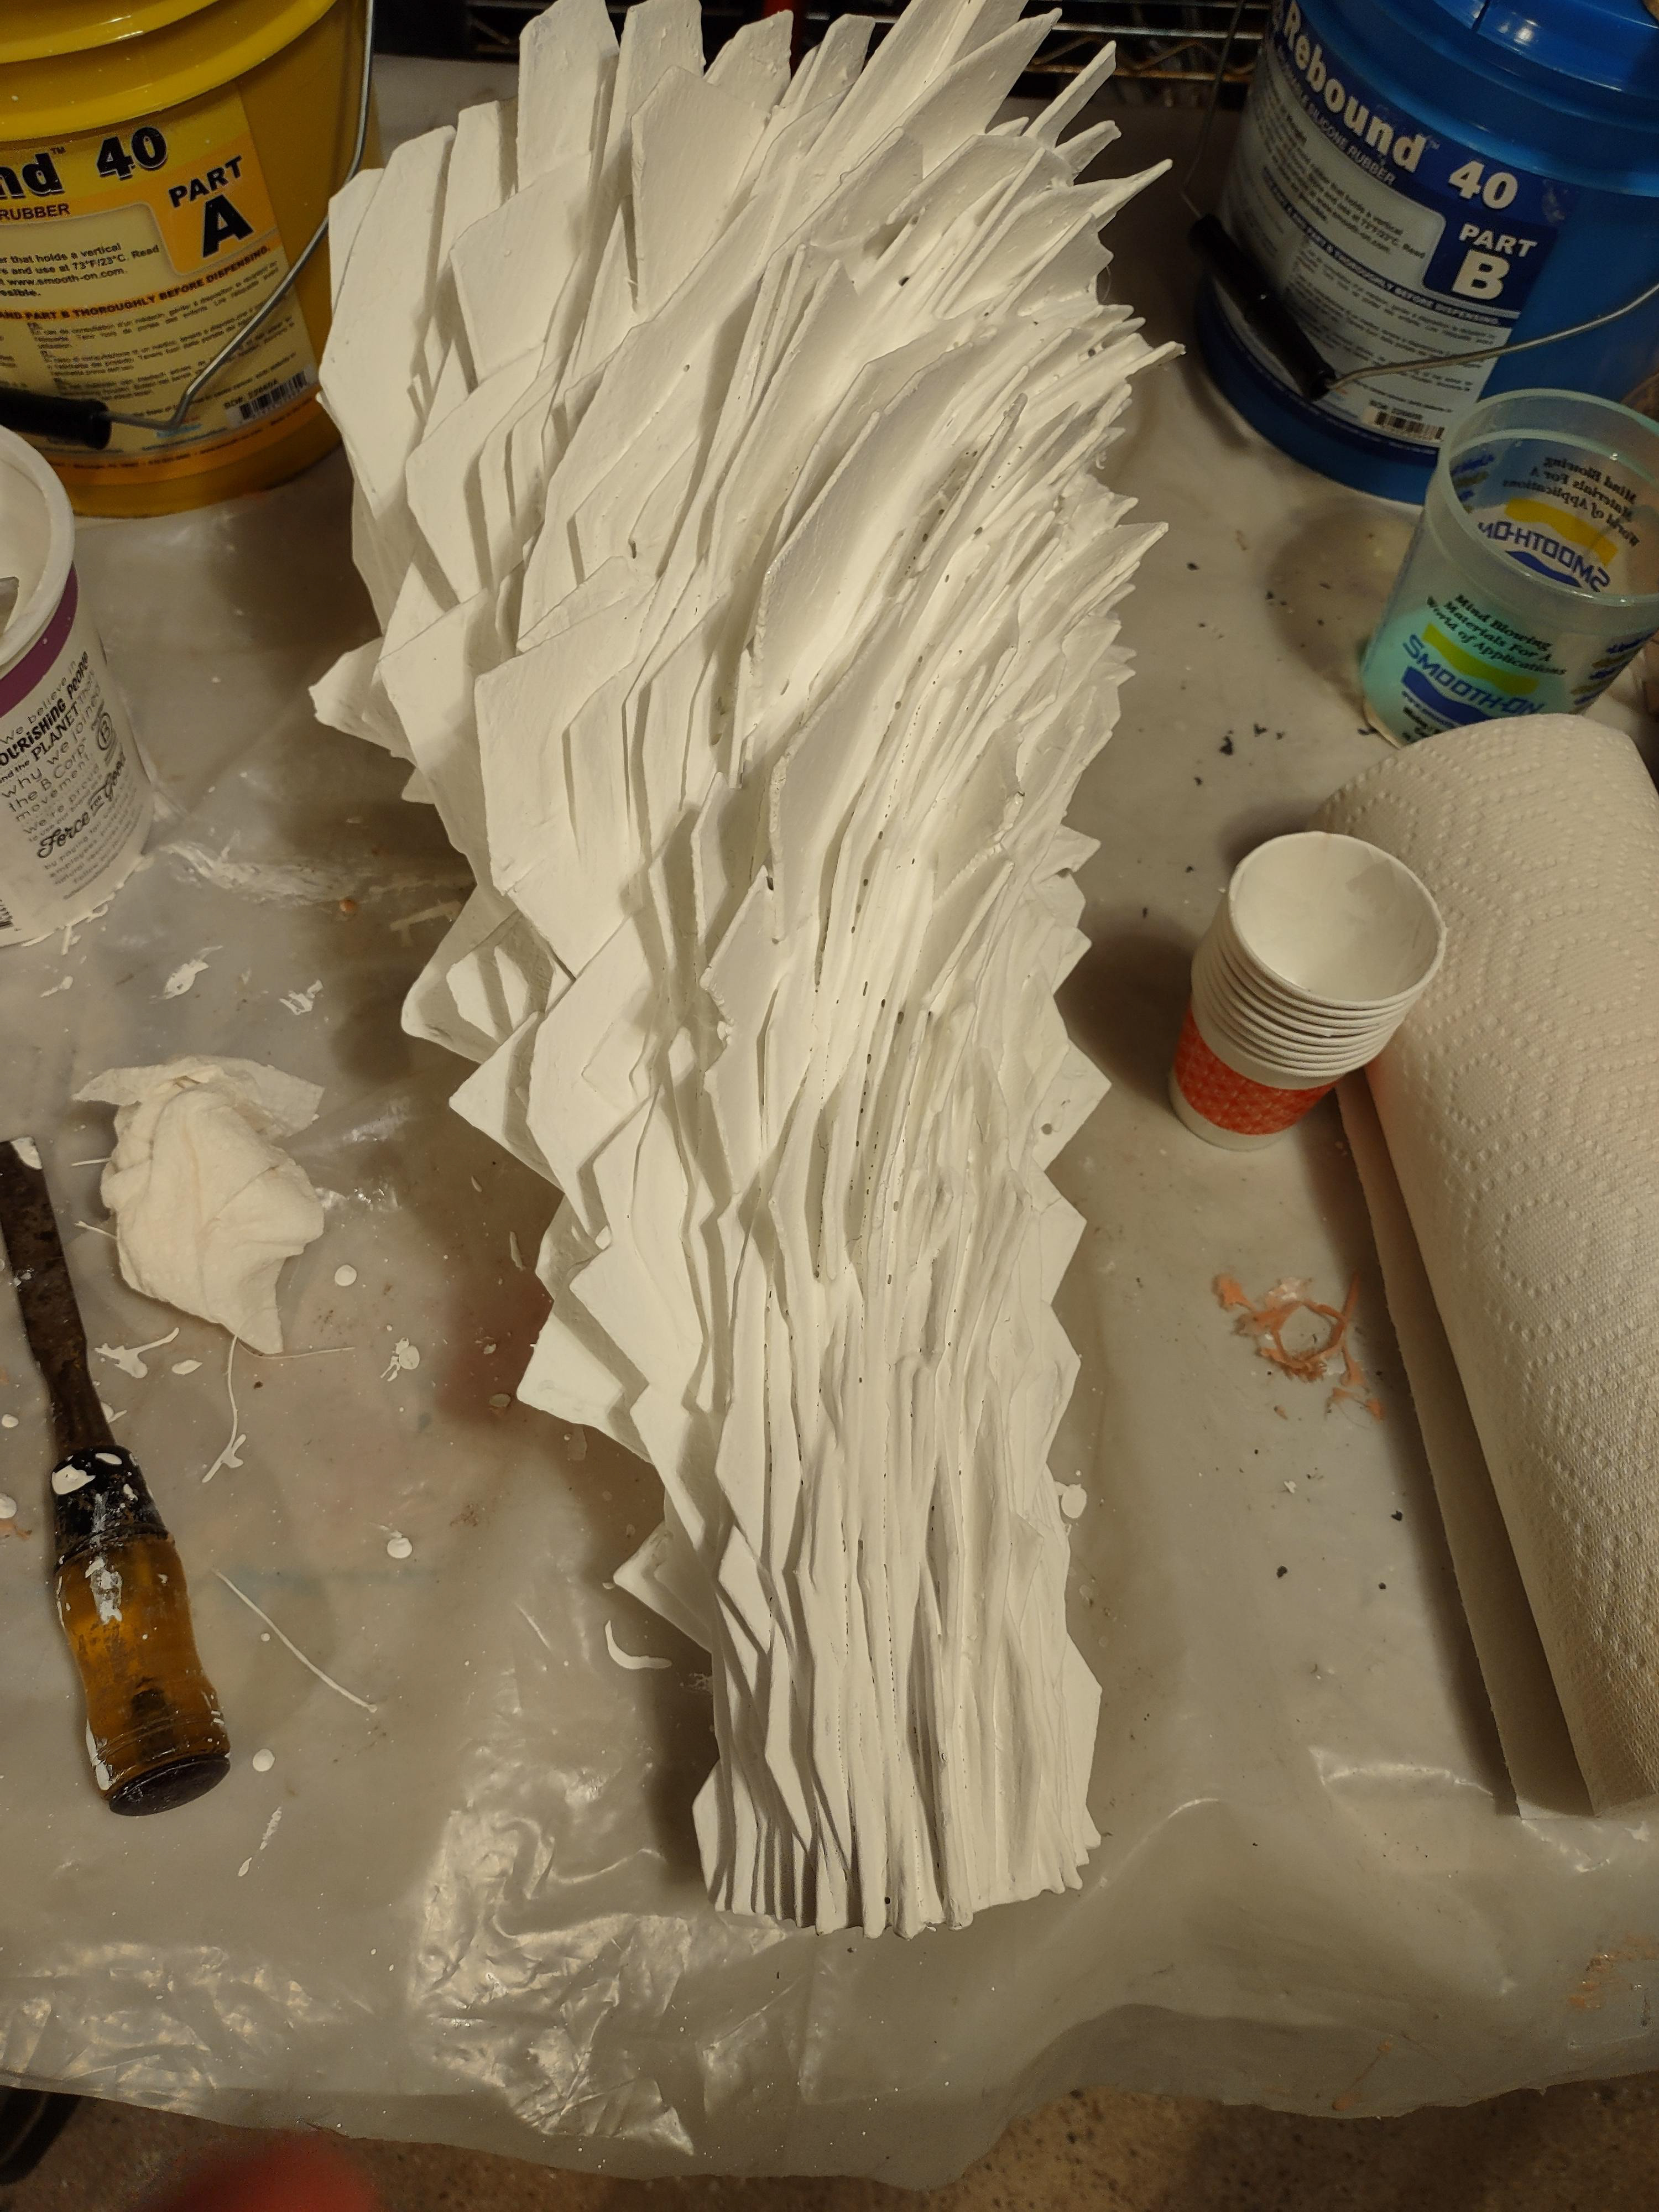
De-molding. De-molding is always exciting part in mold making process.
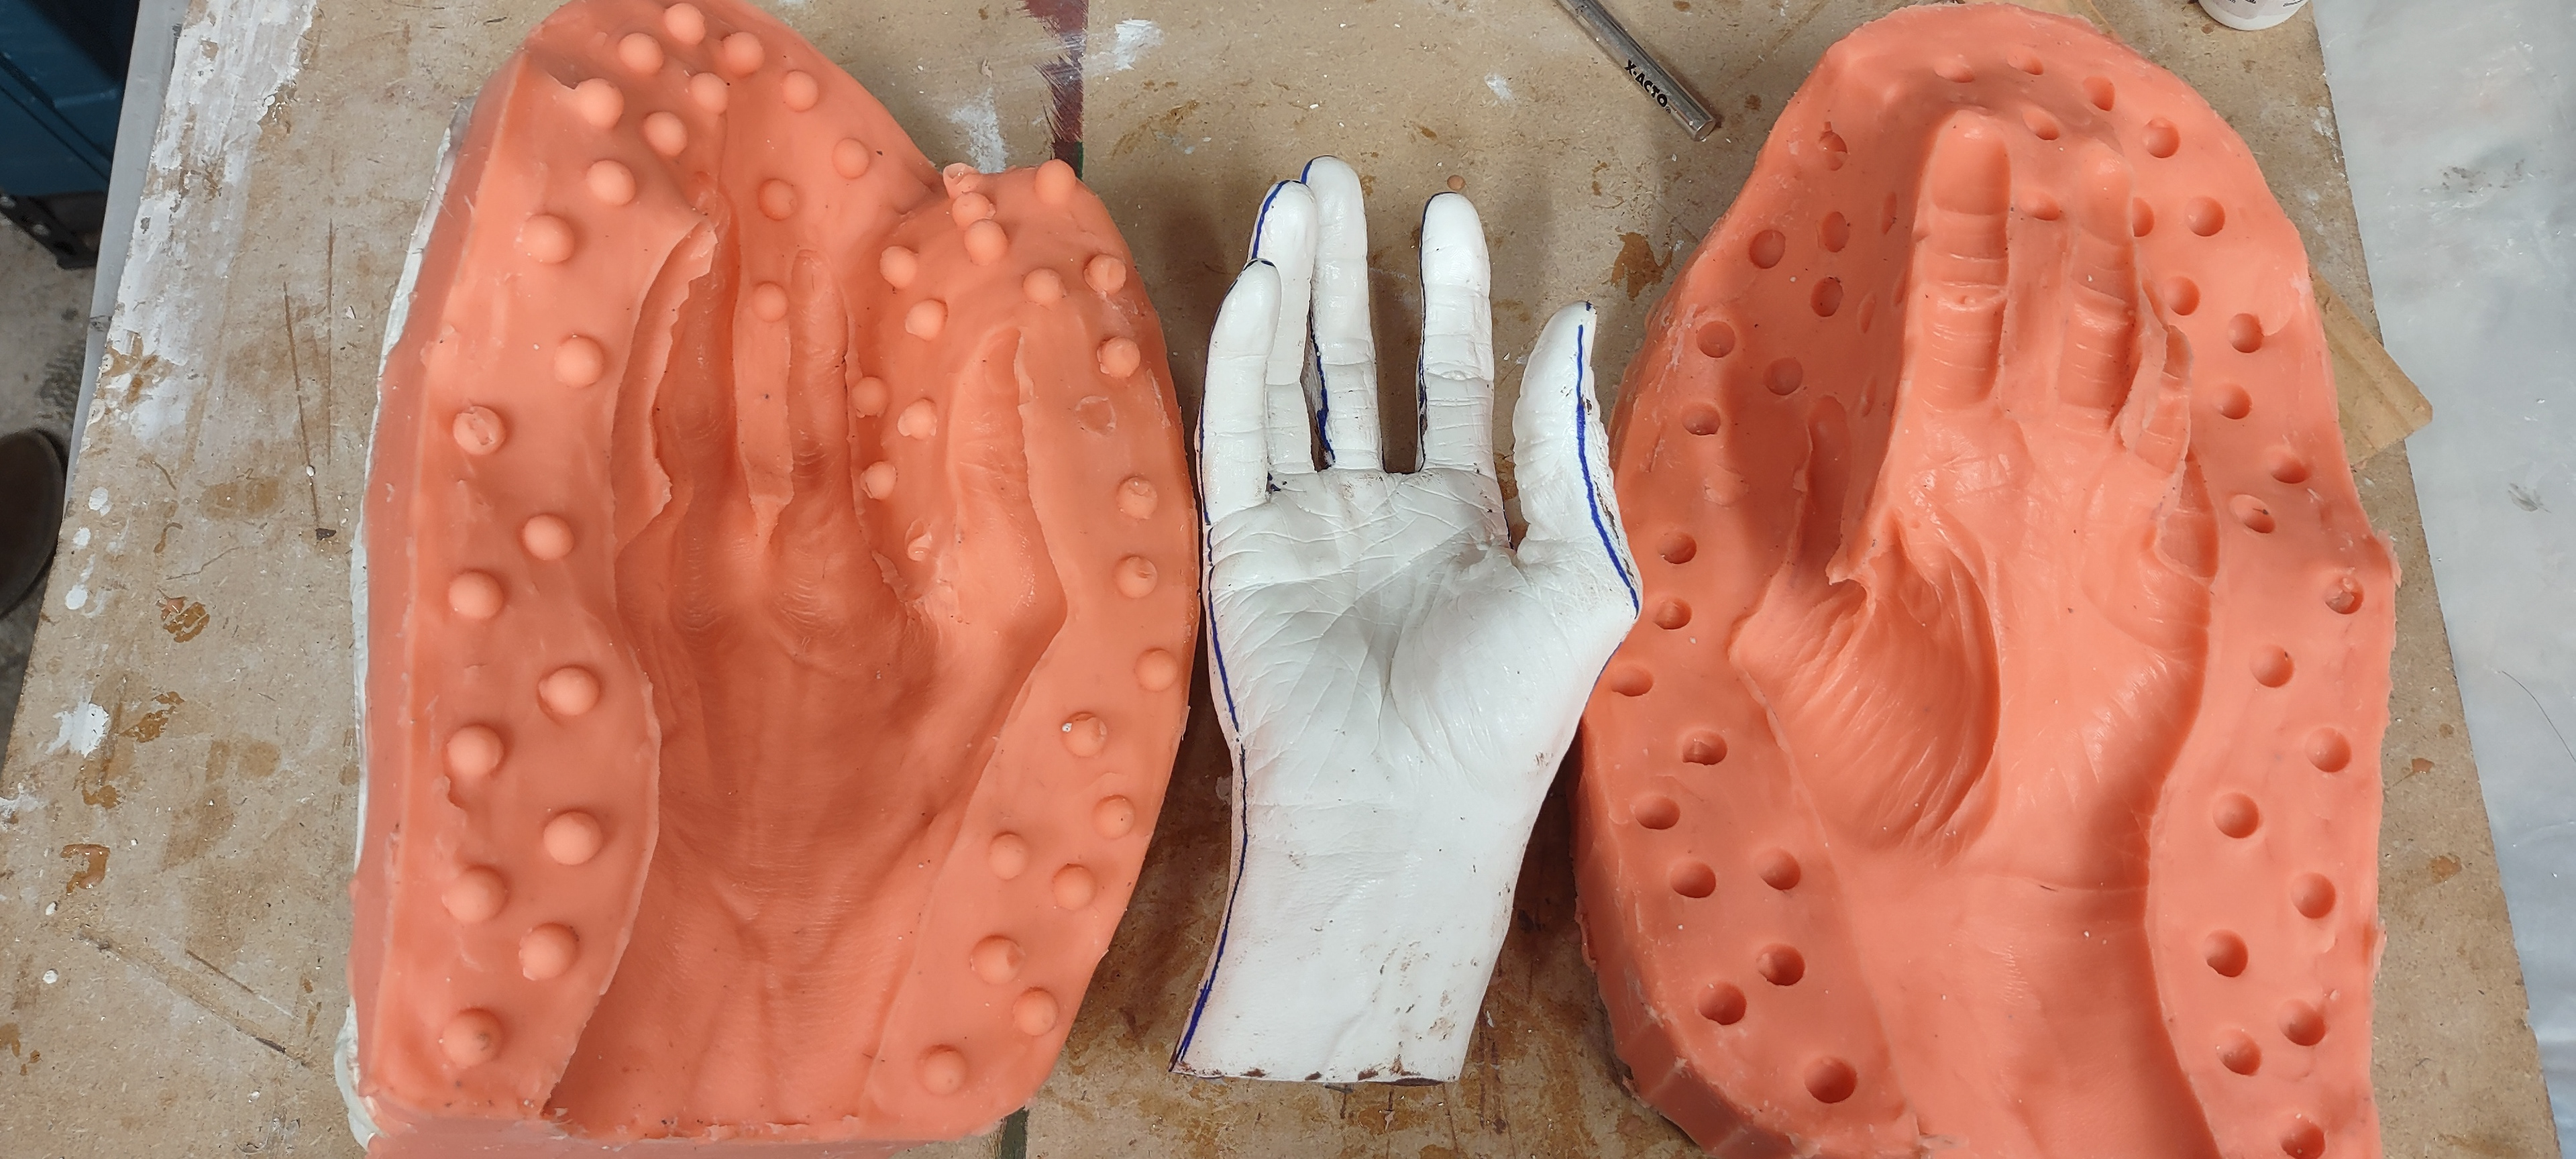
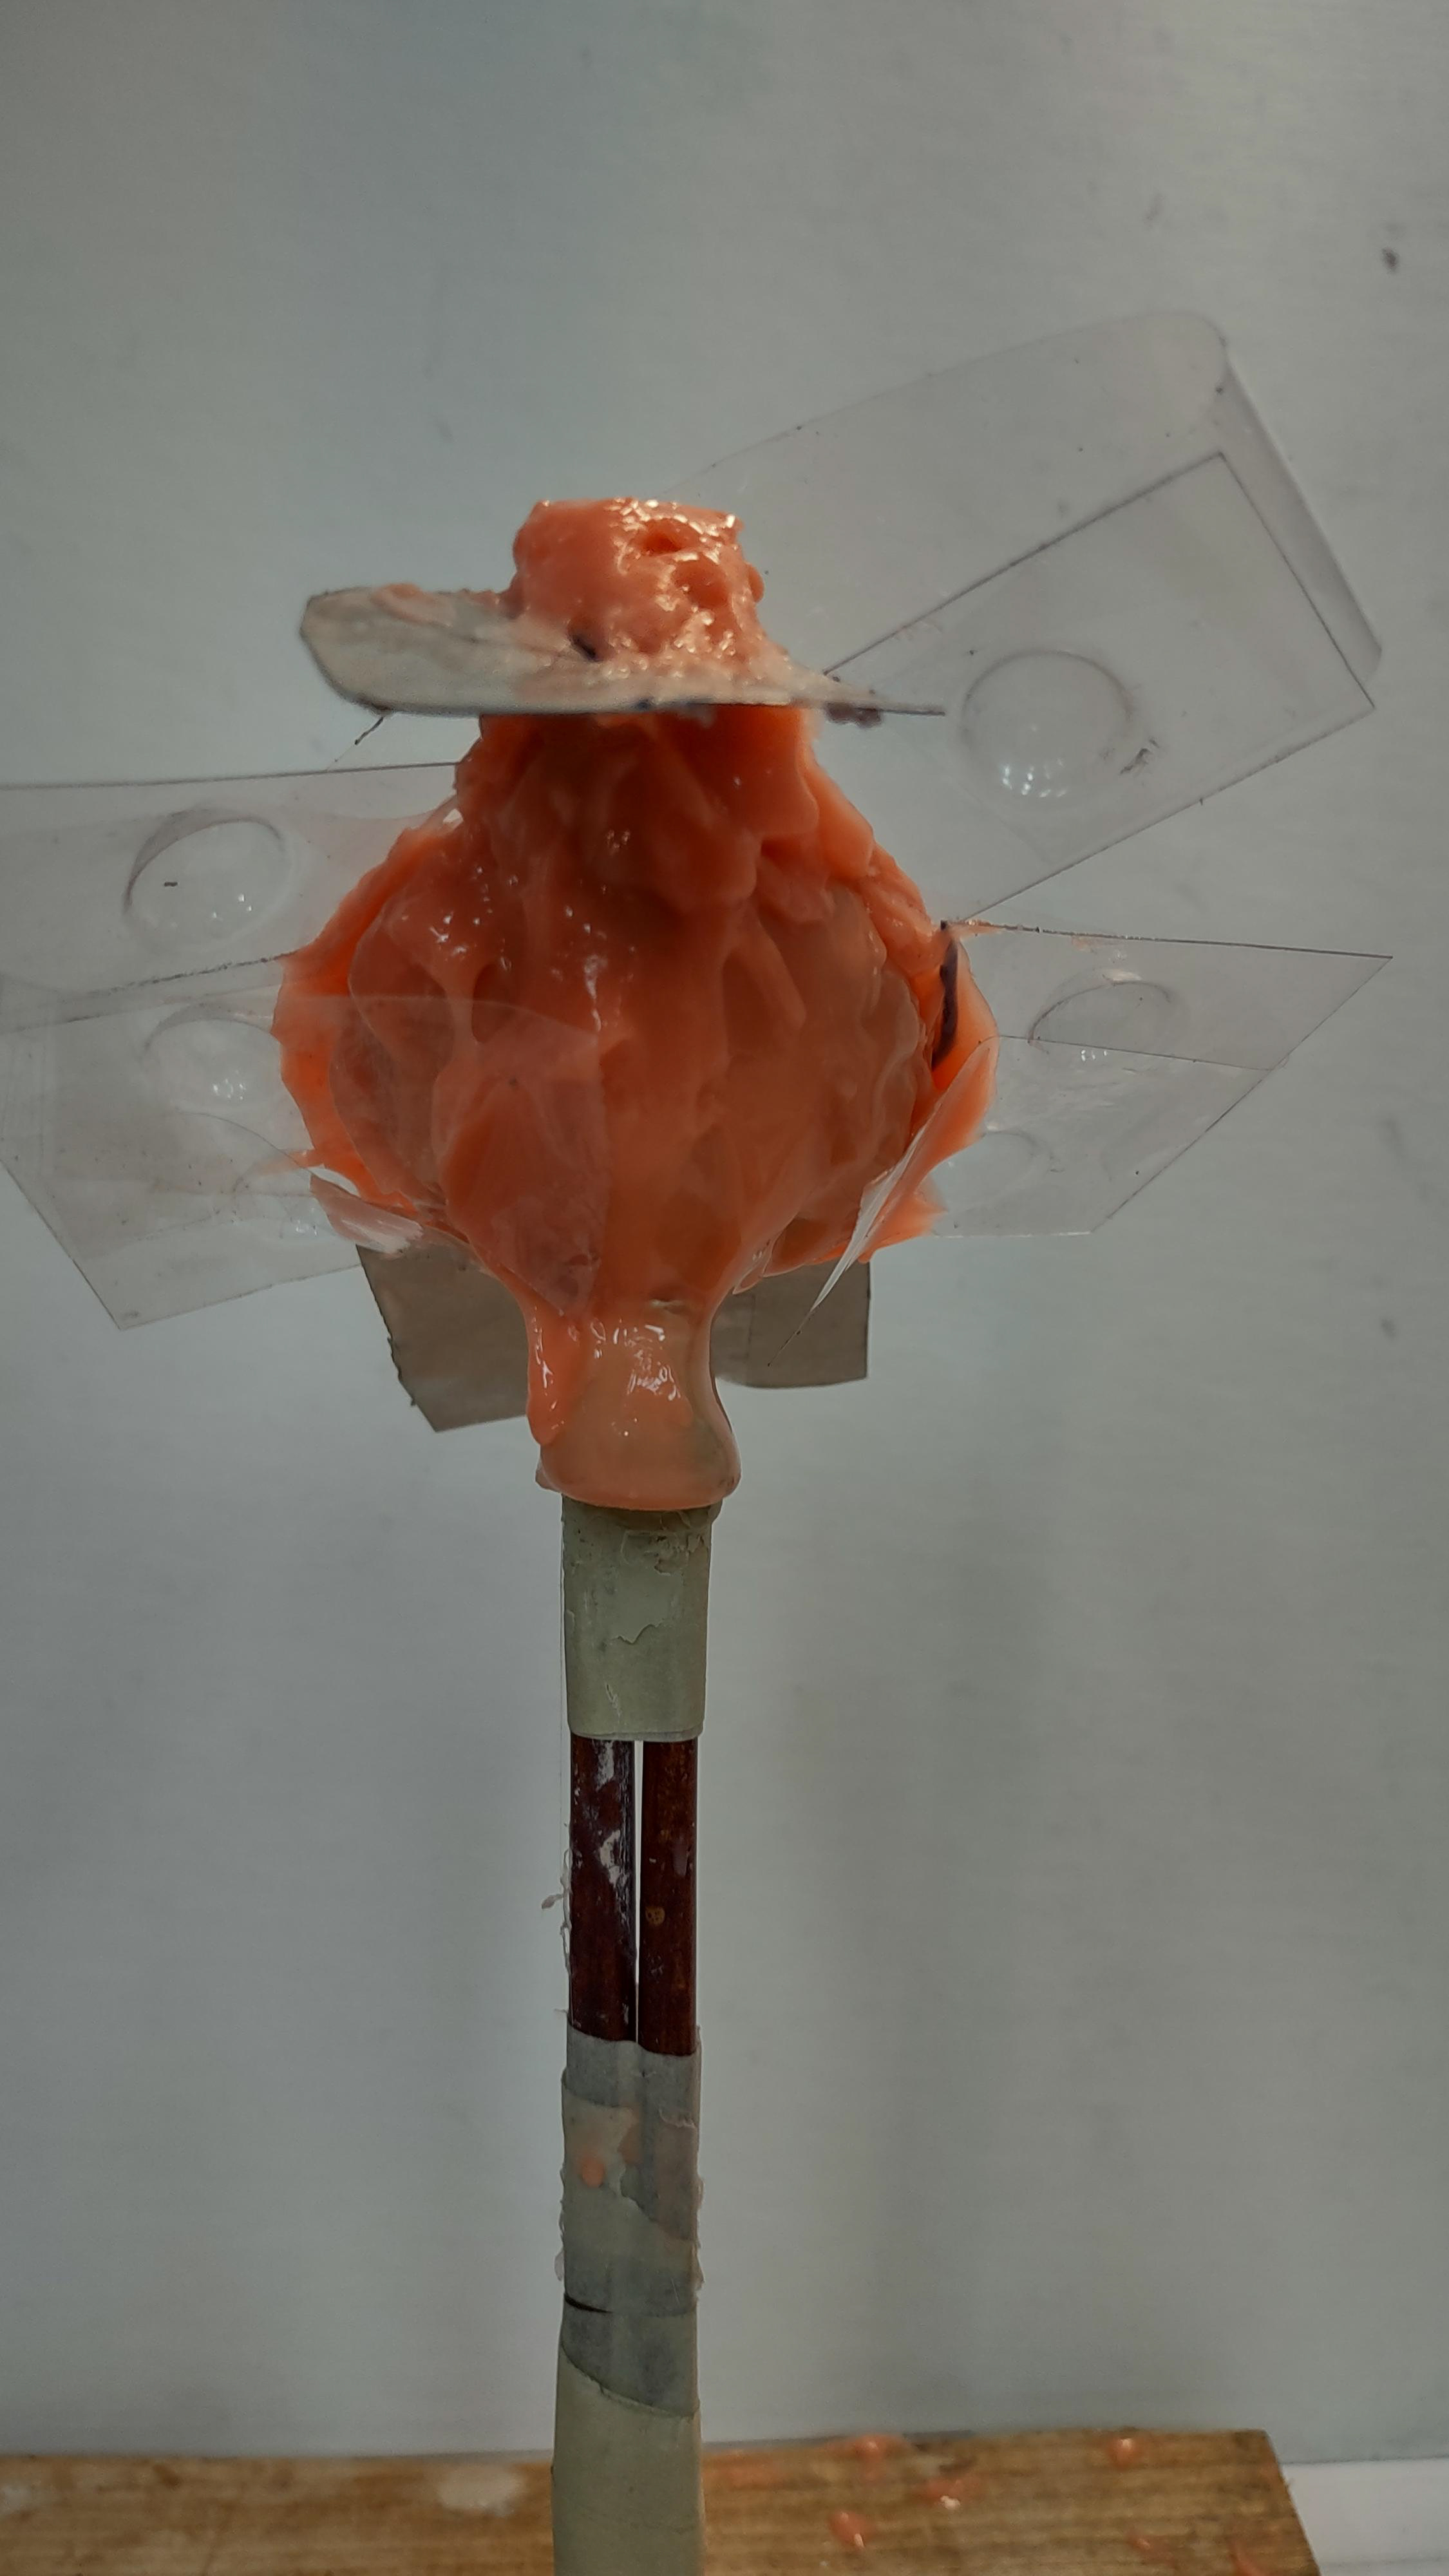
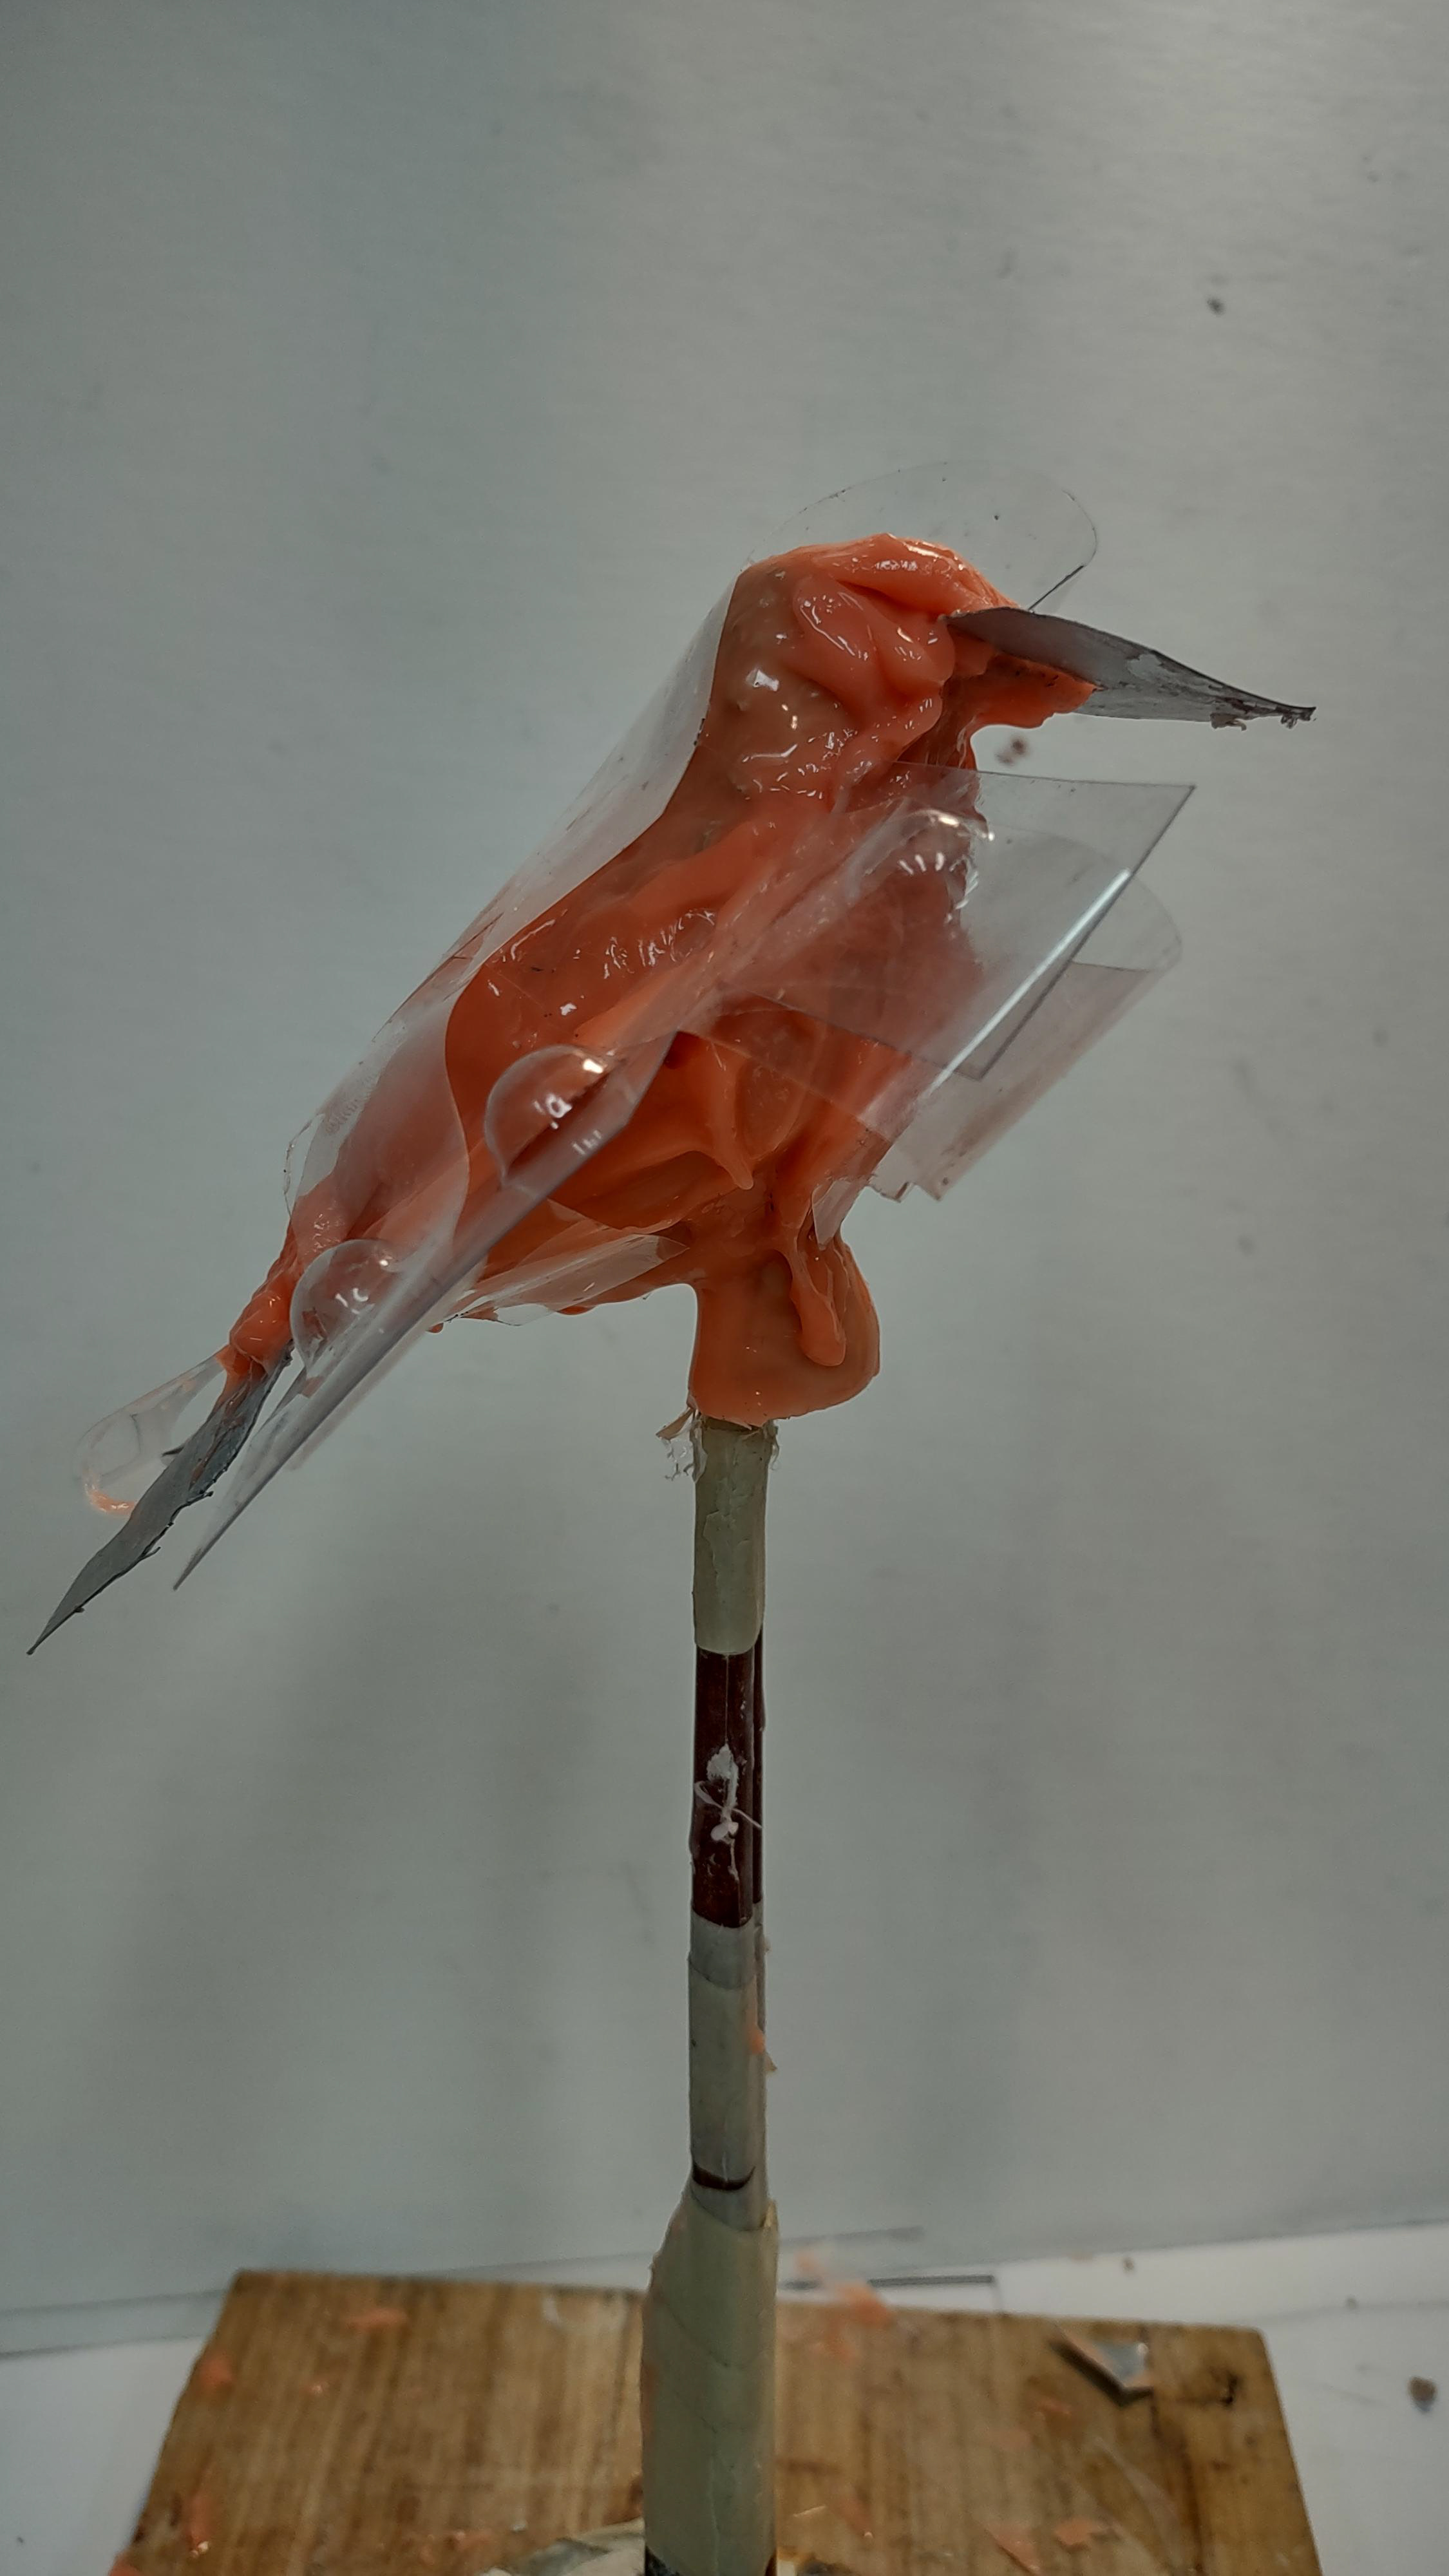
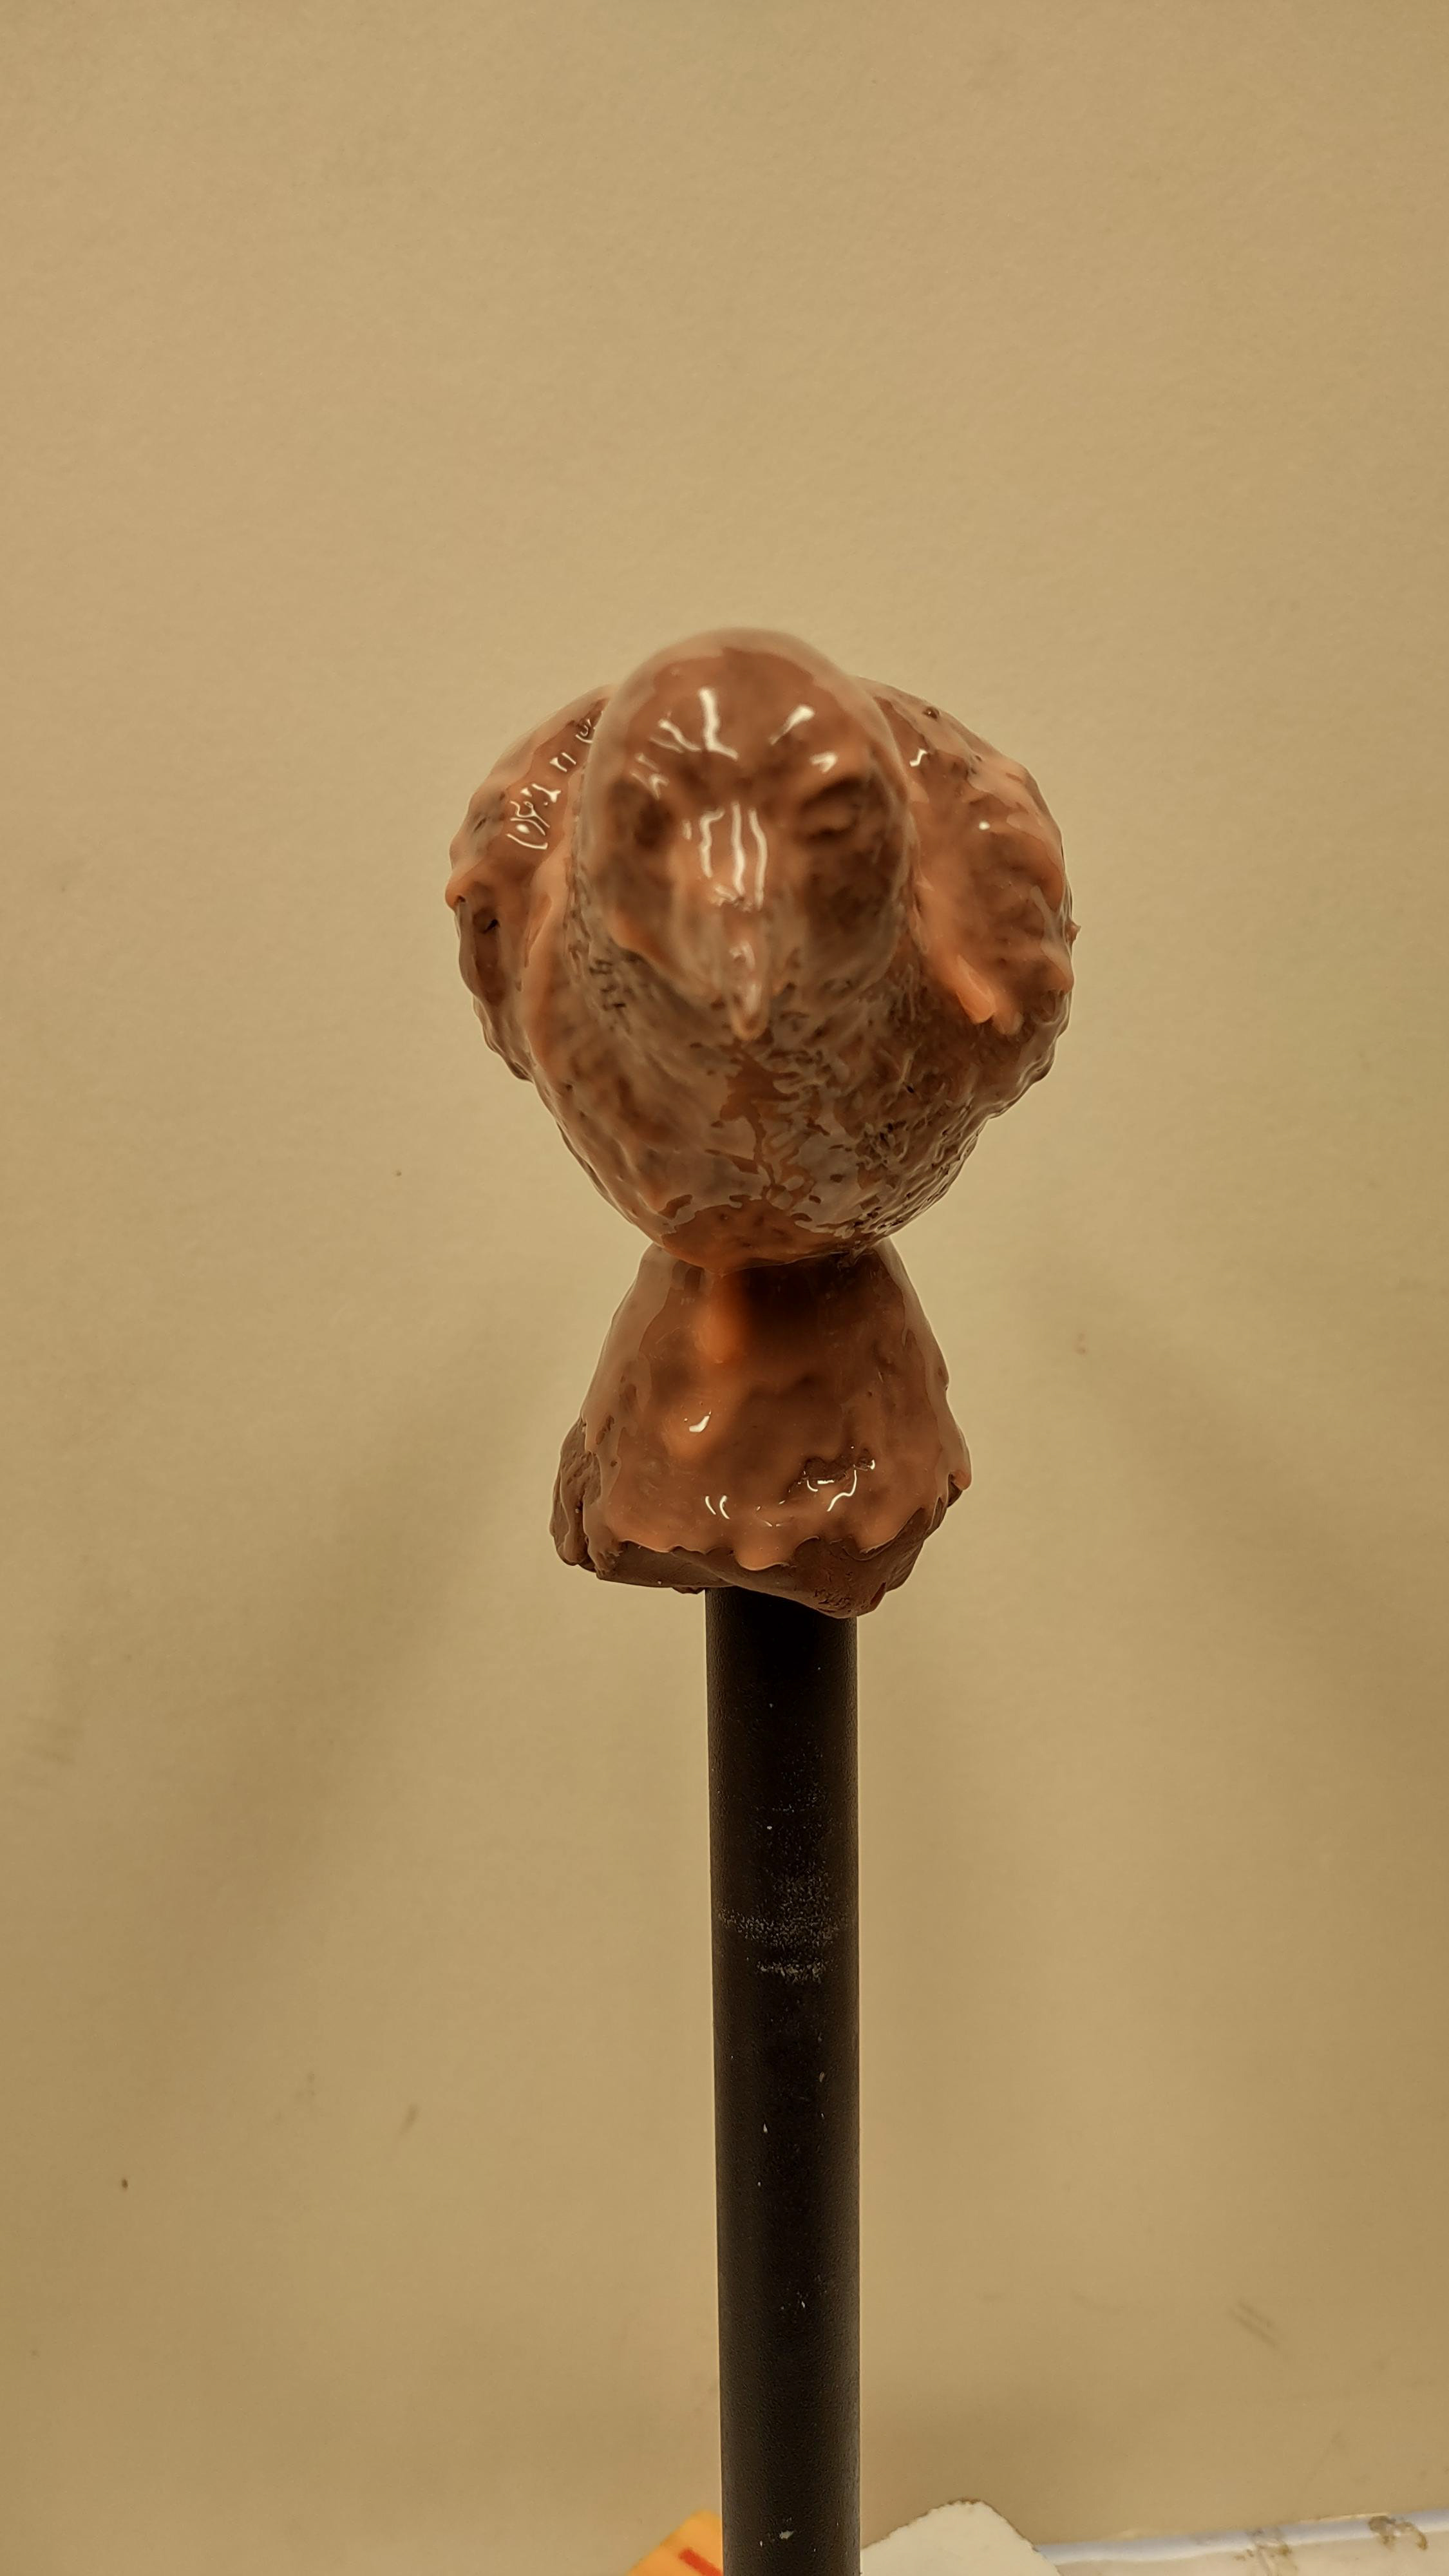
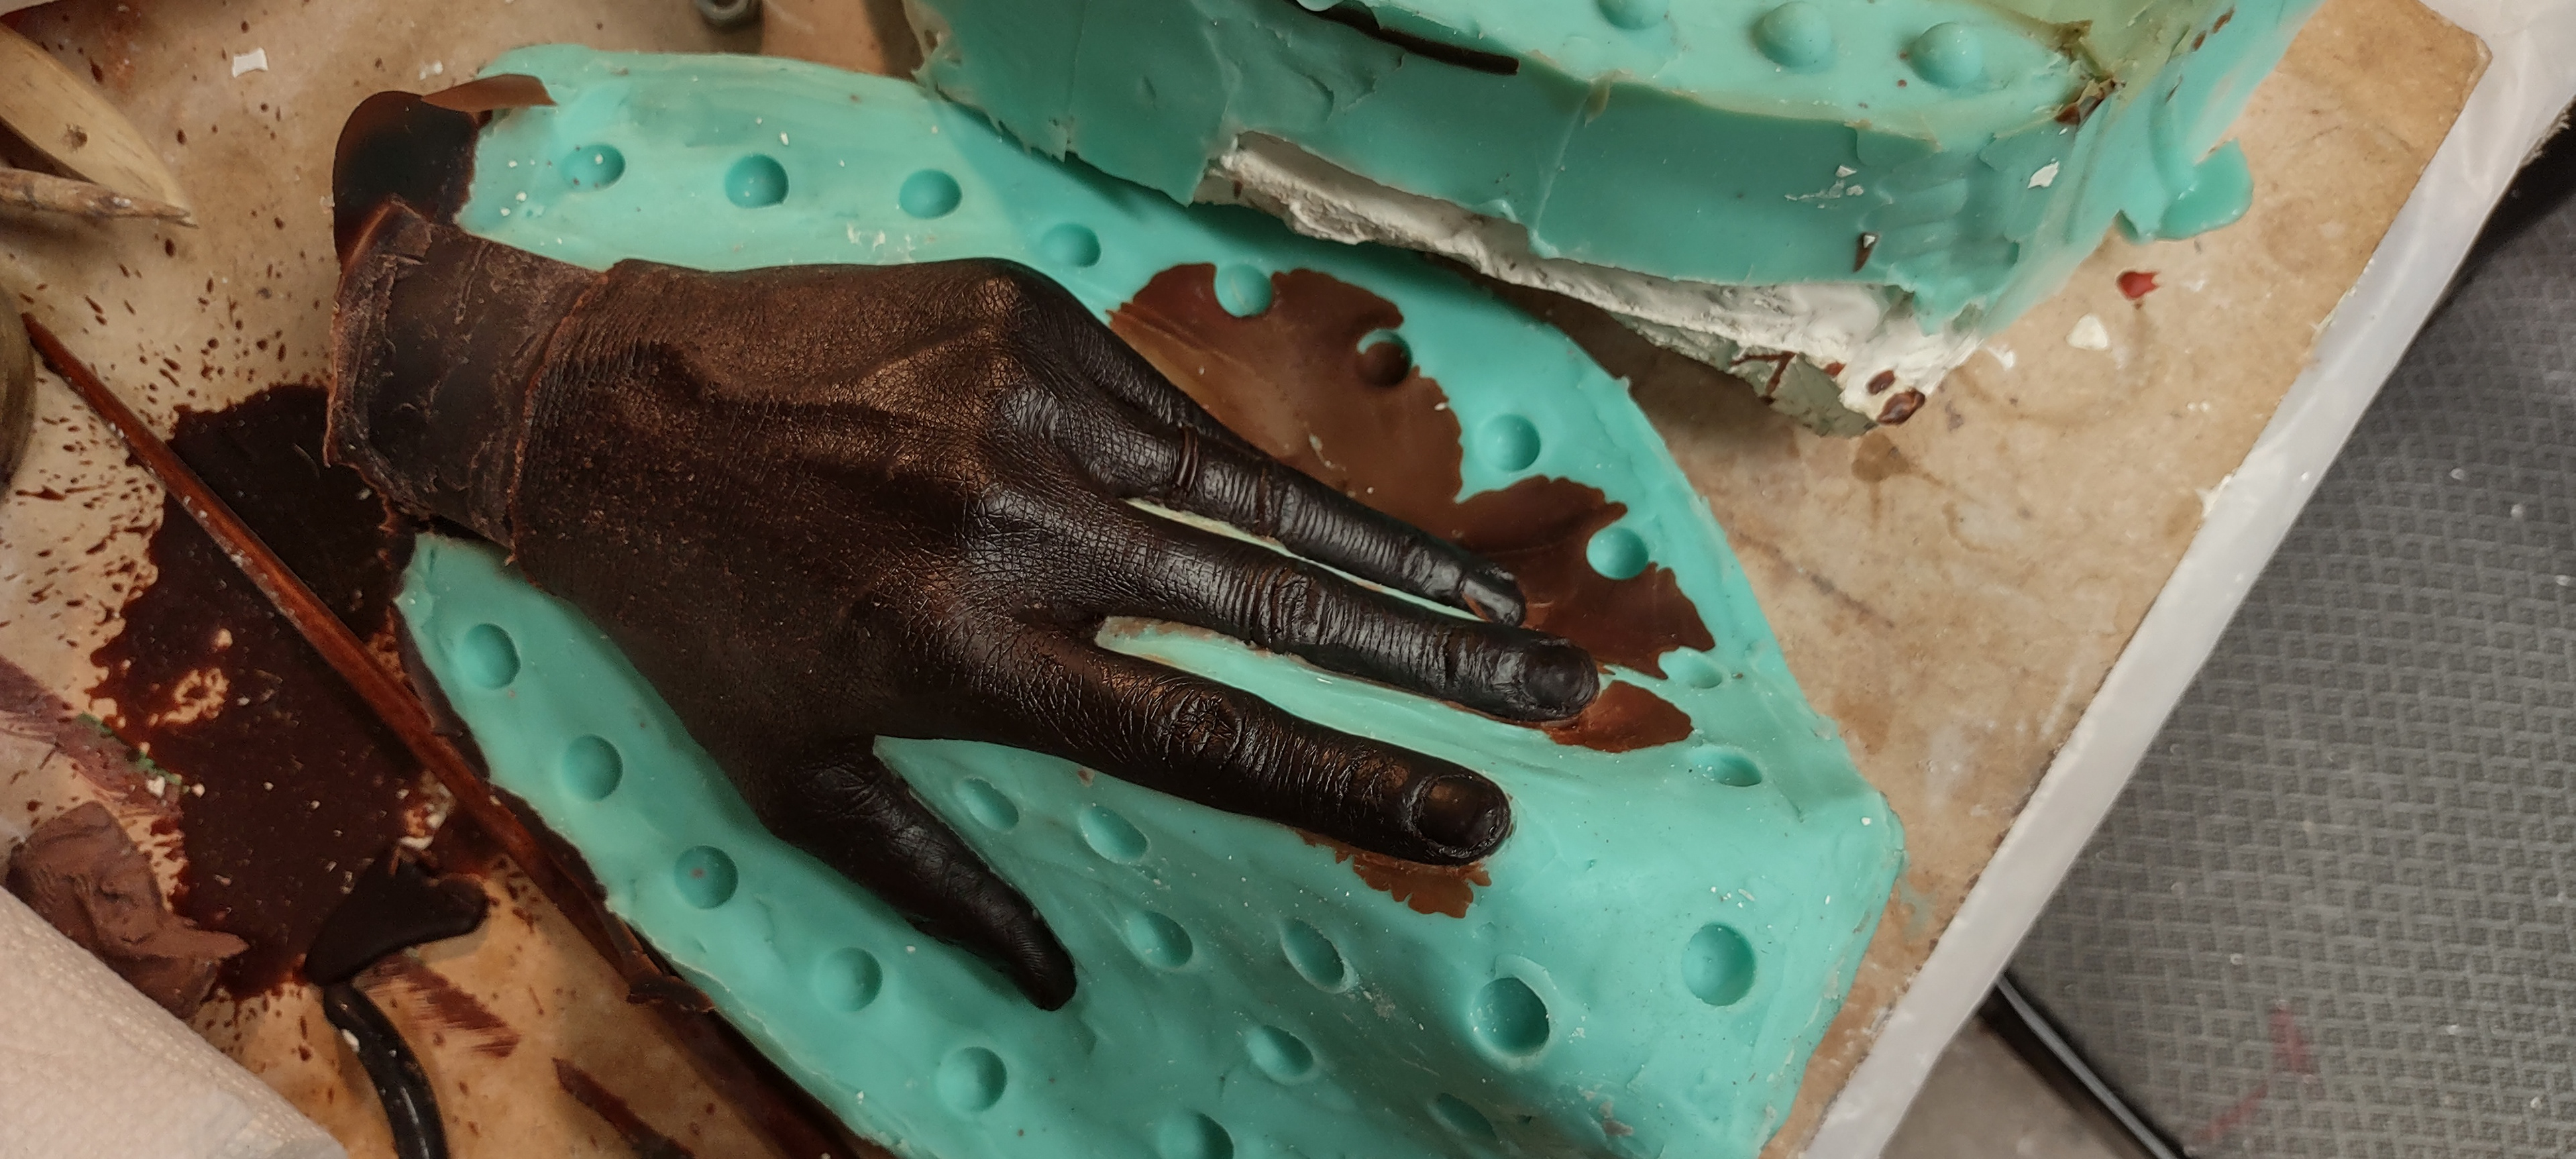
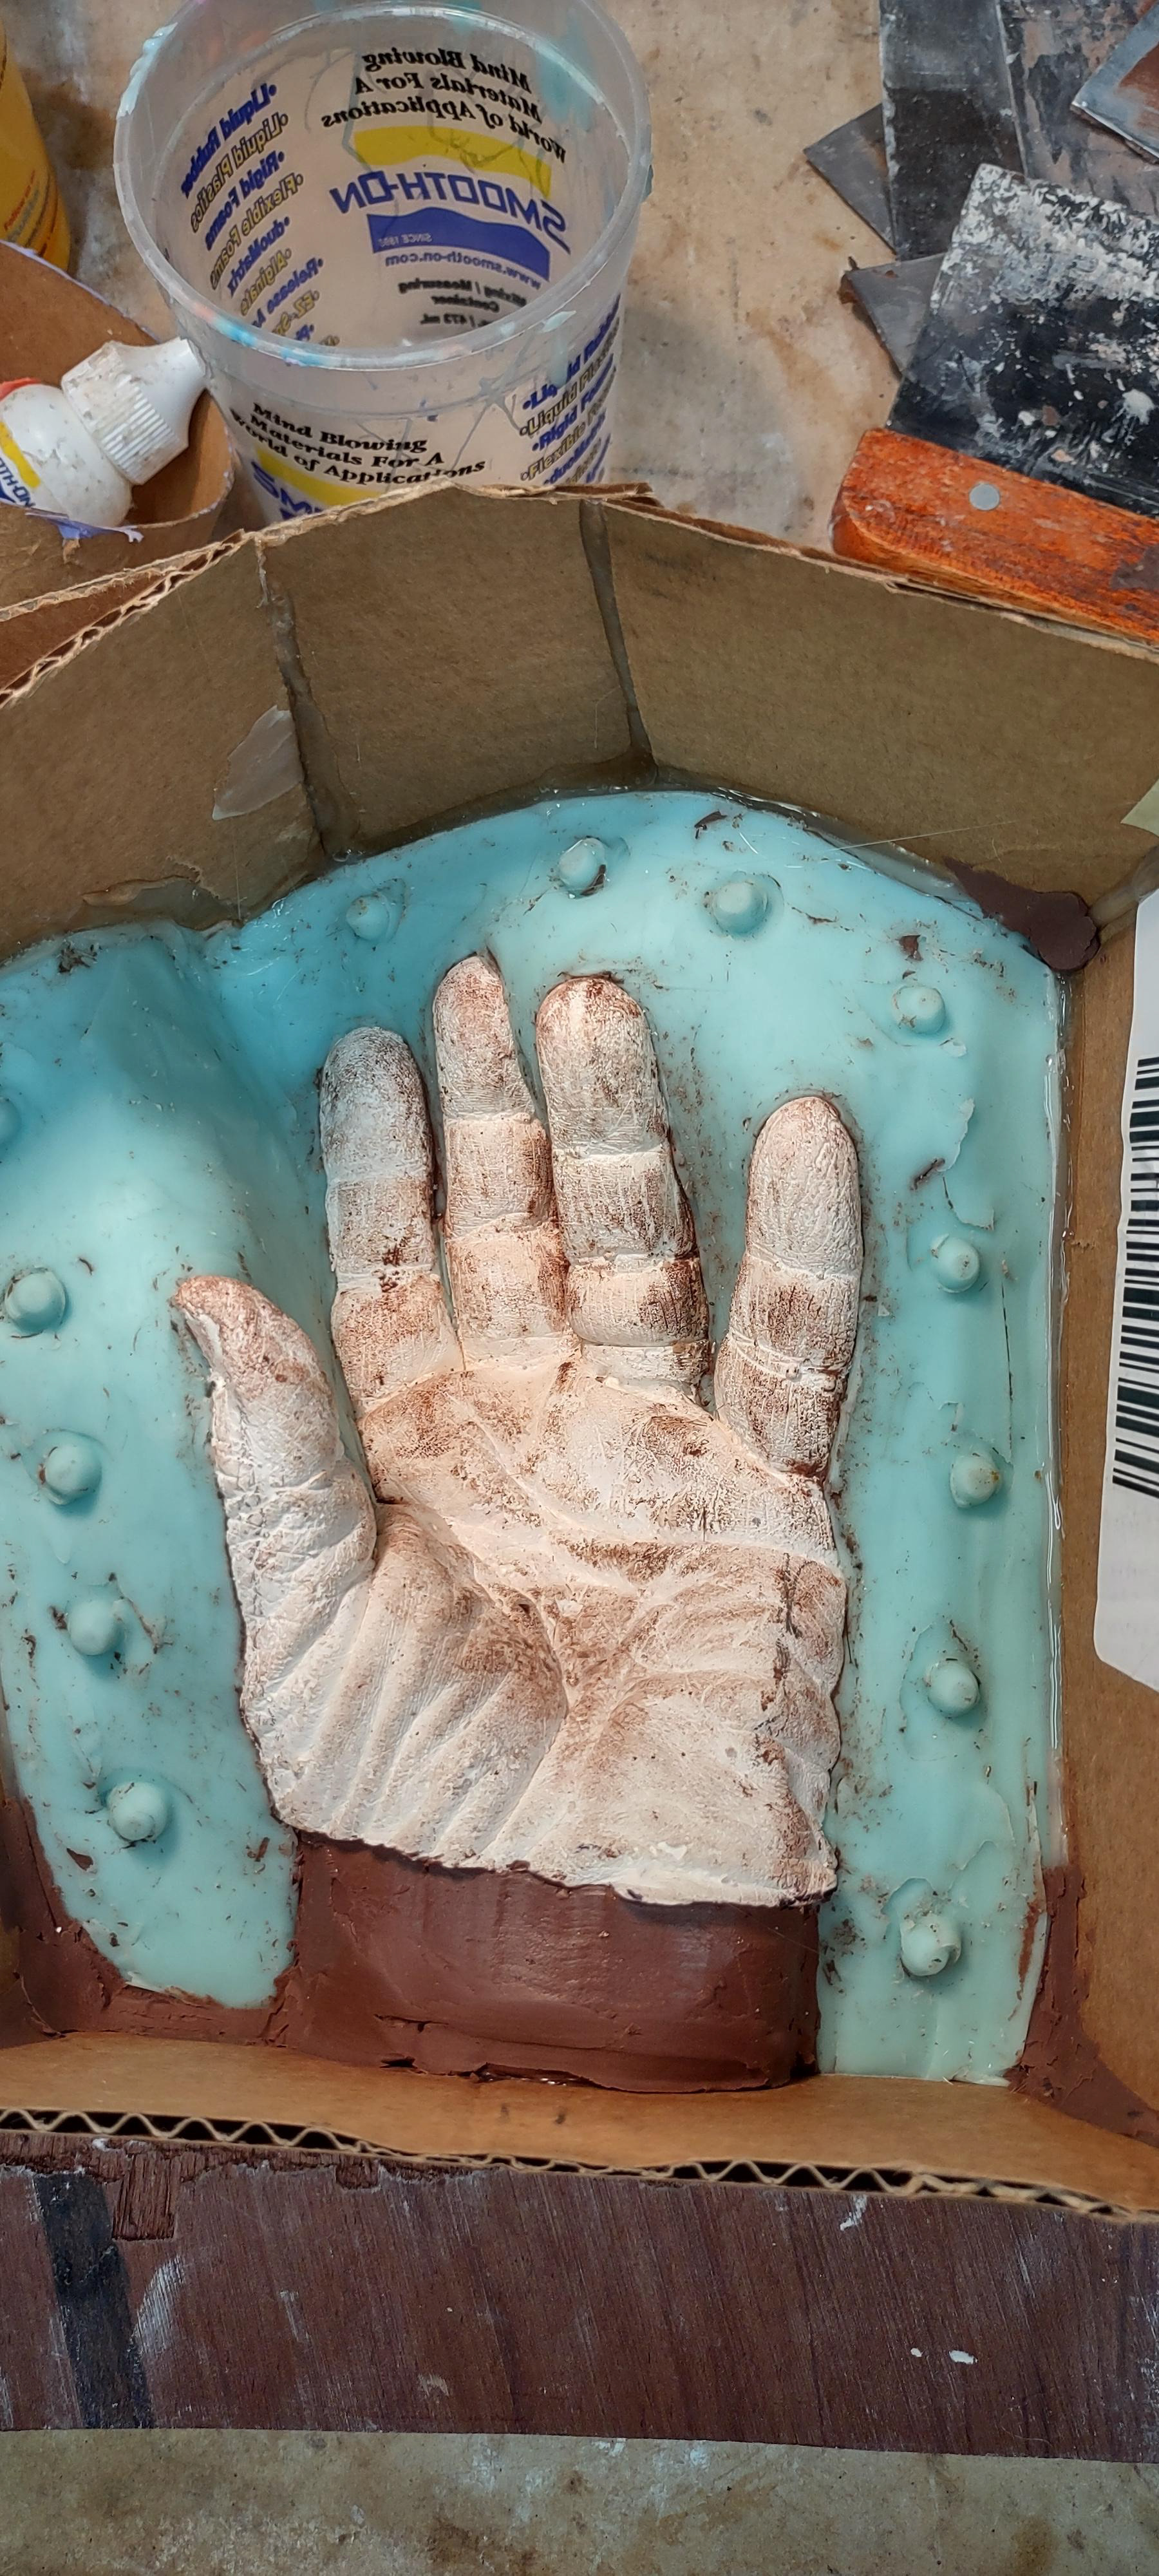
Life casting.
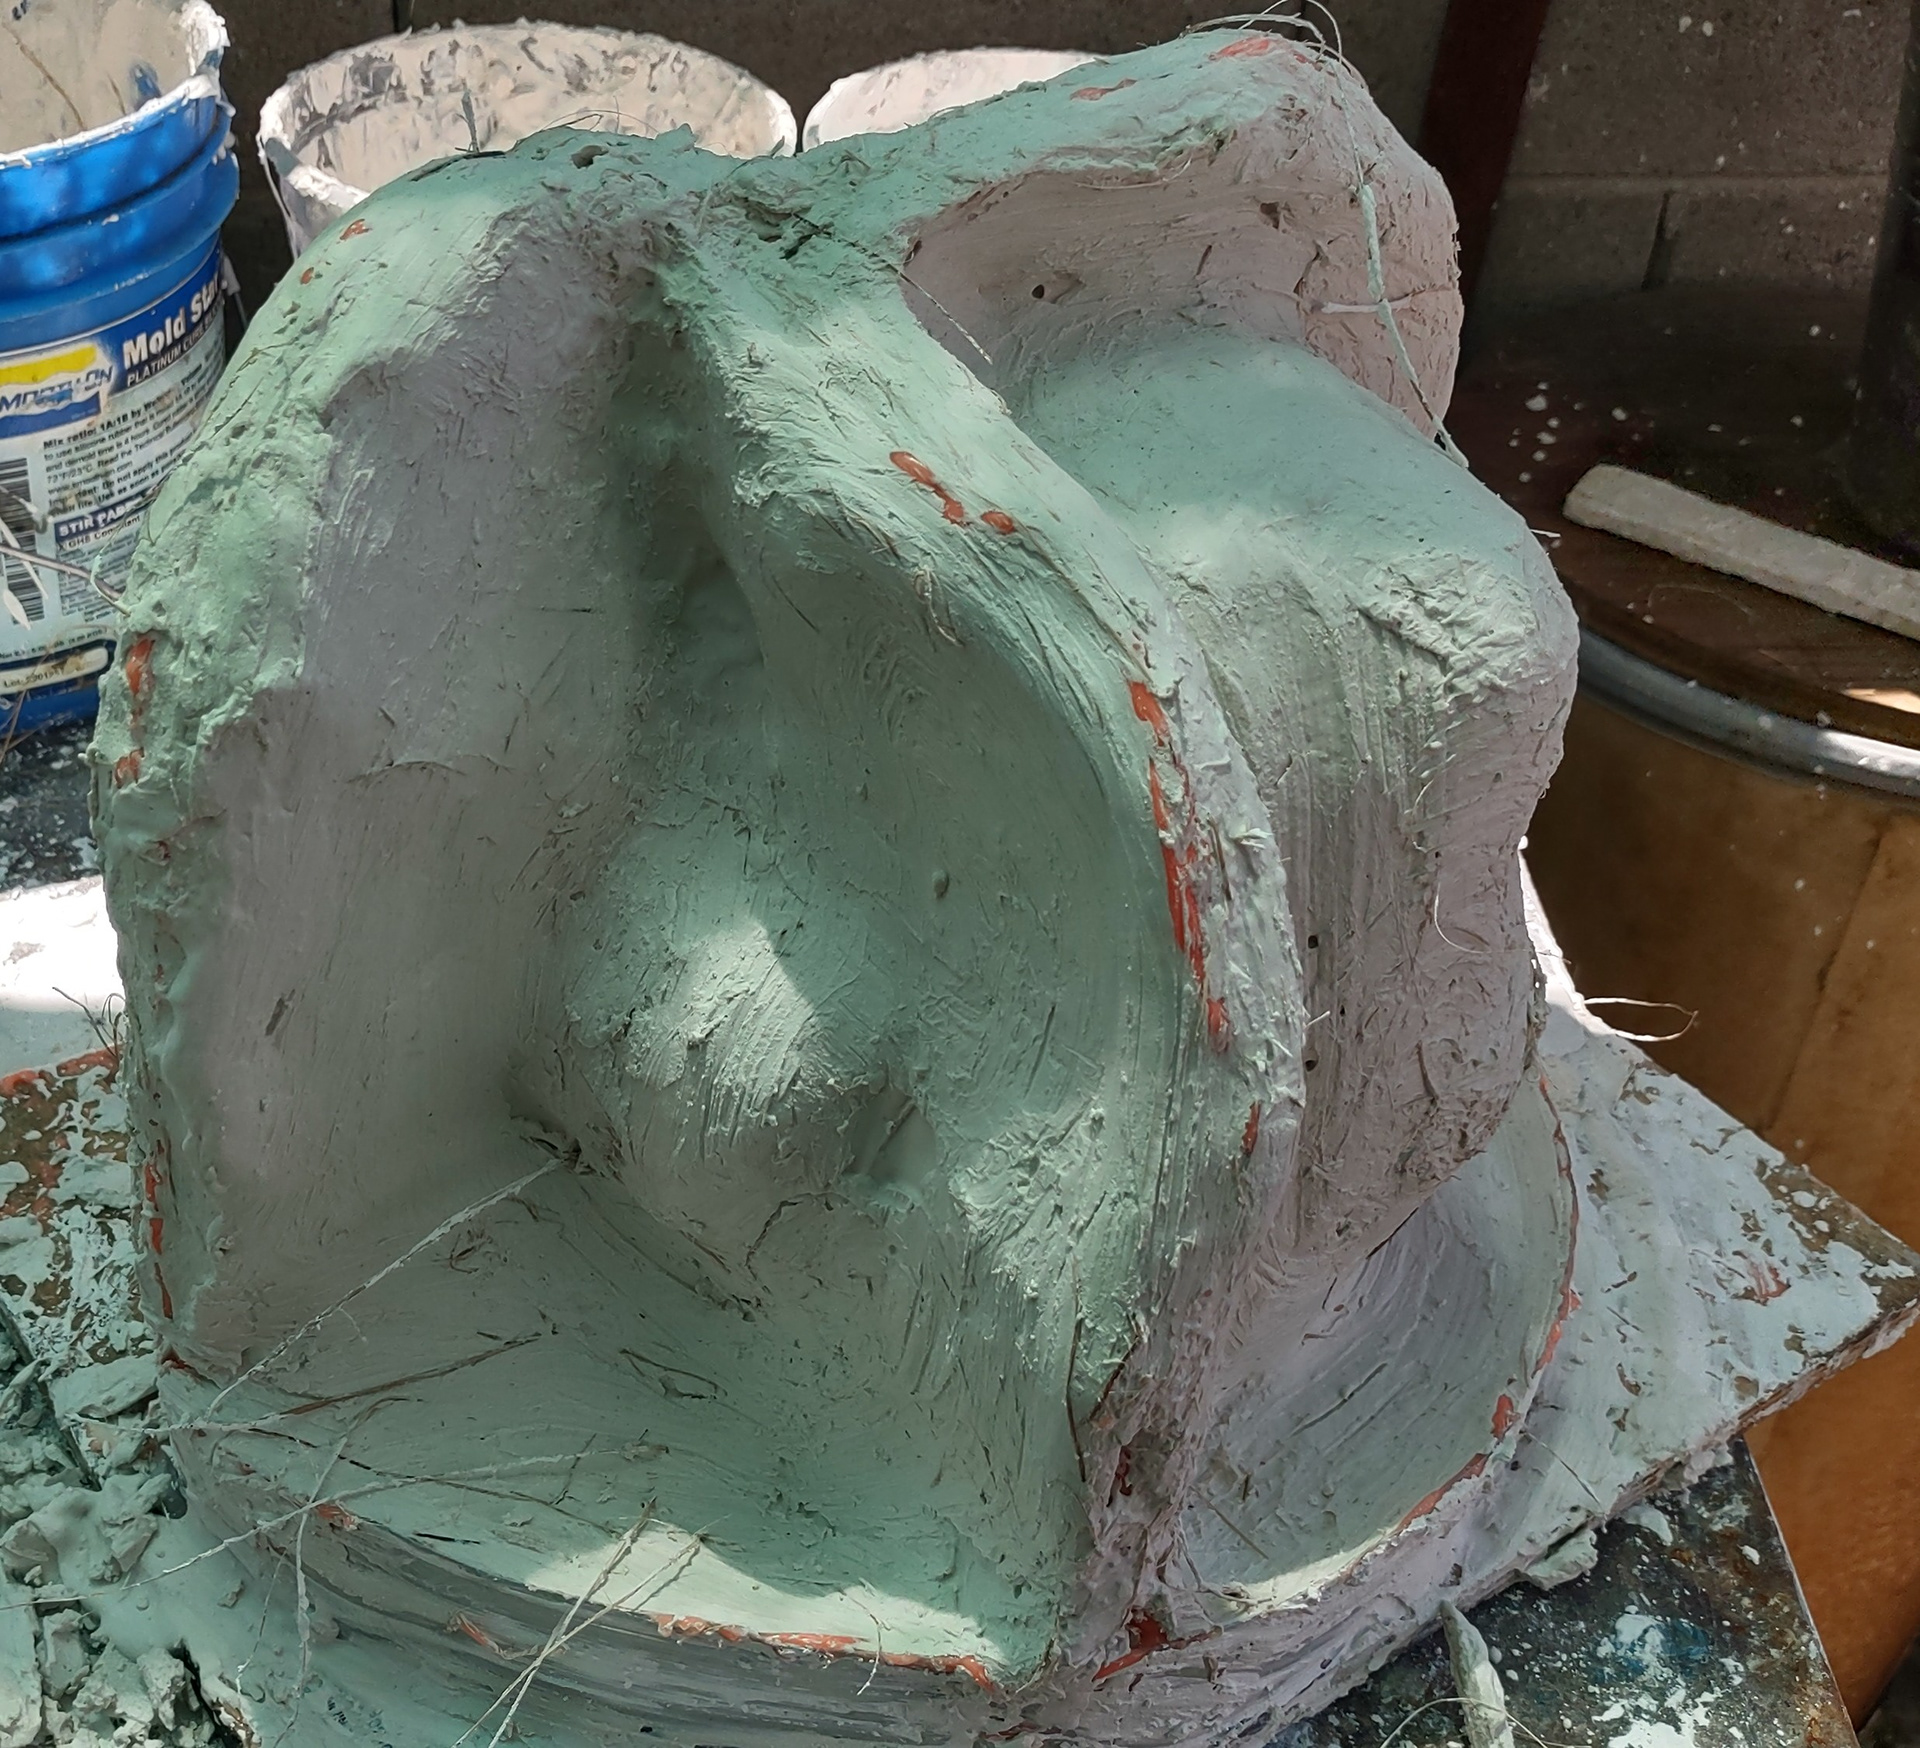
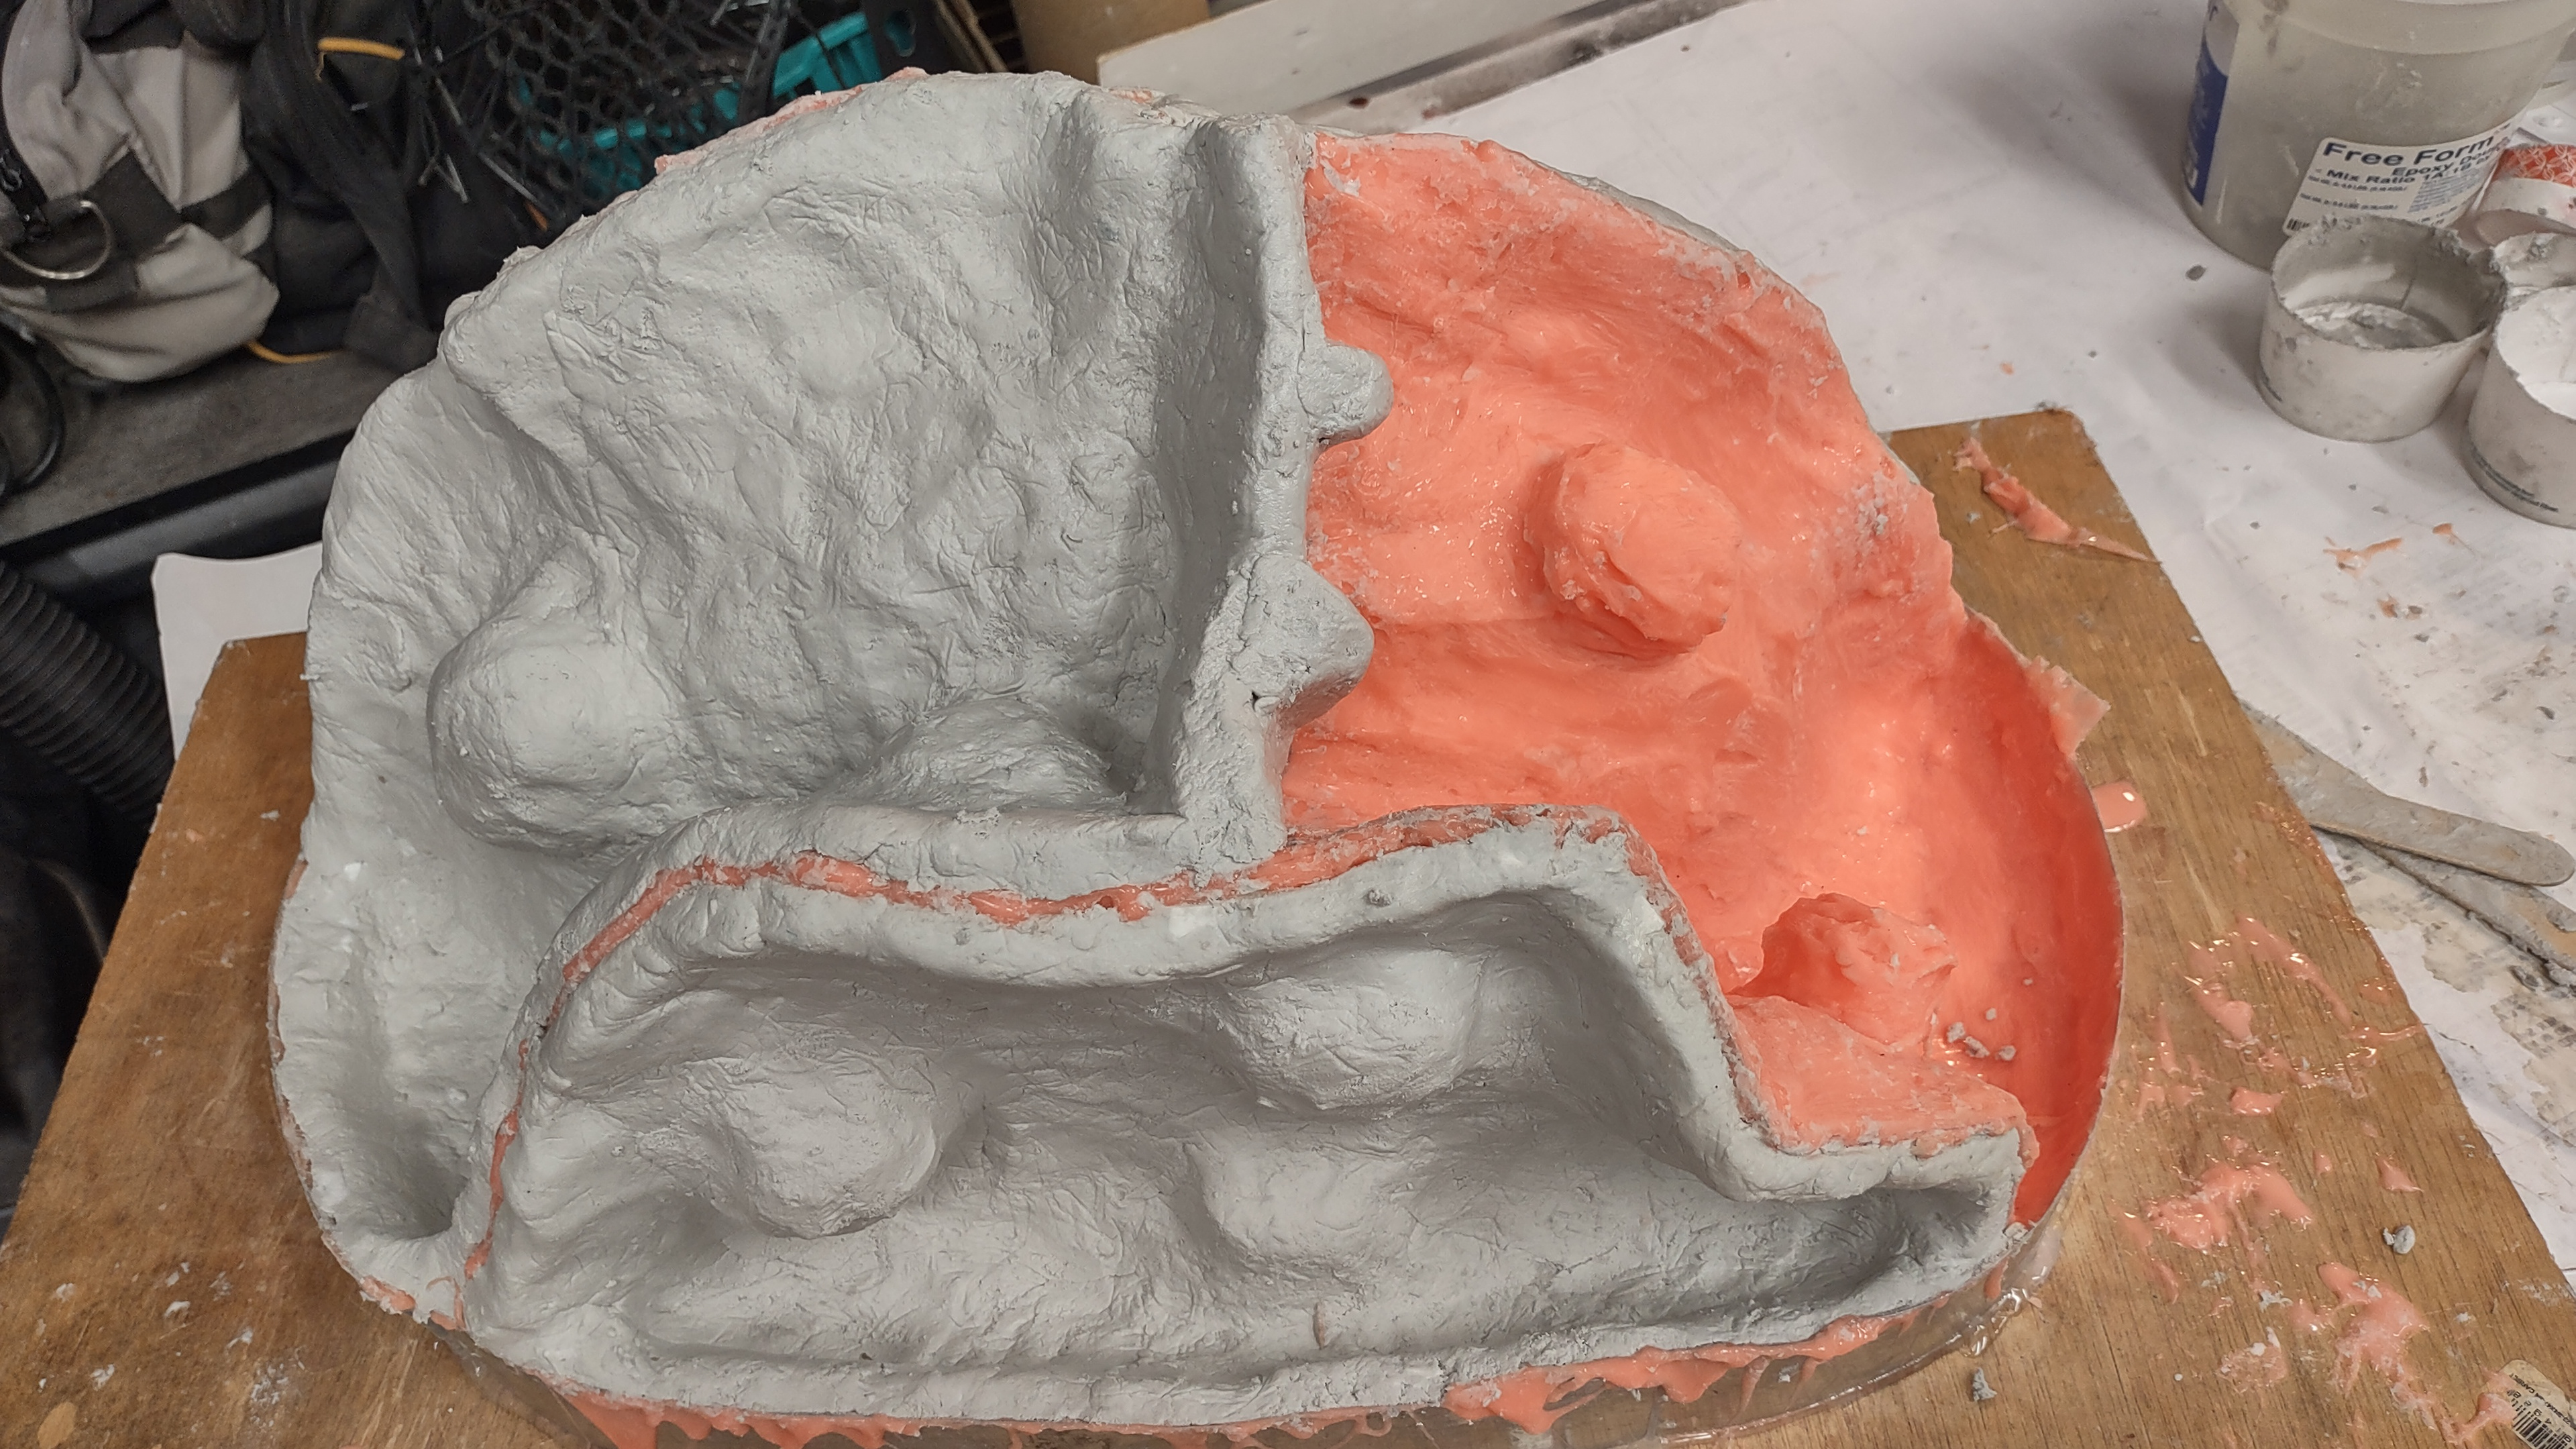
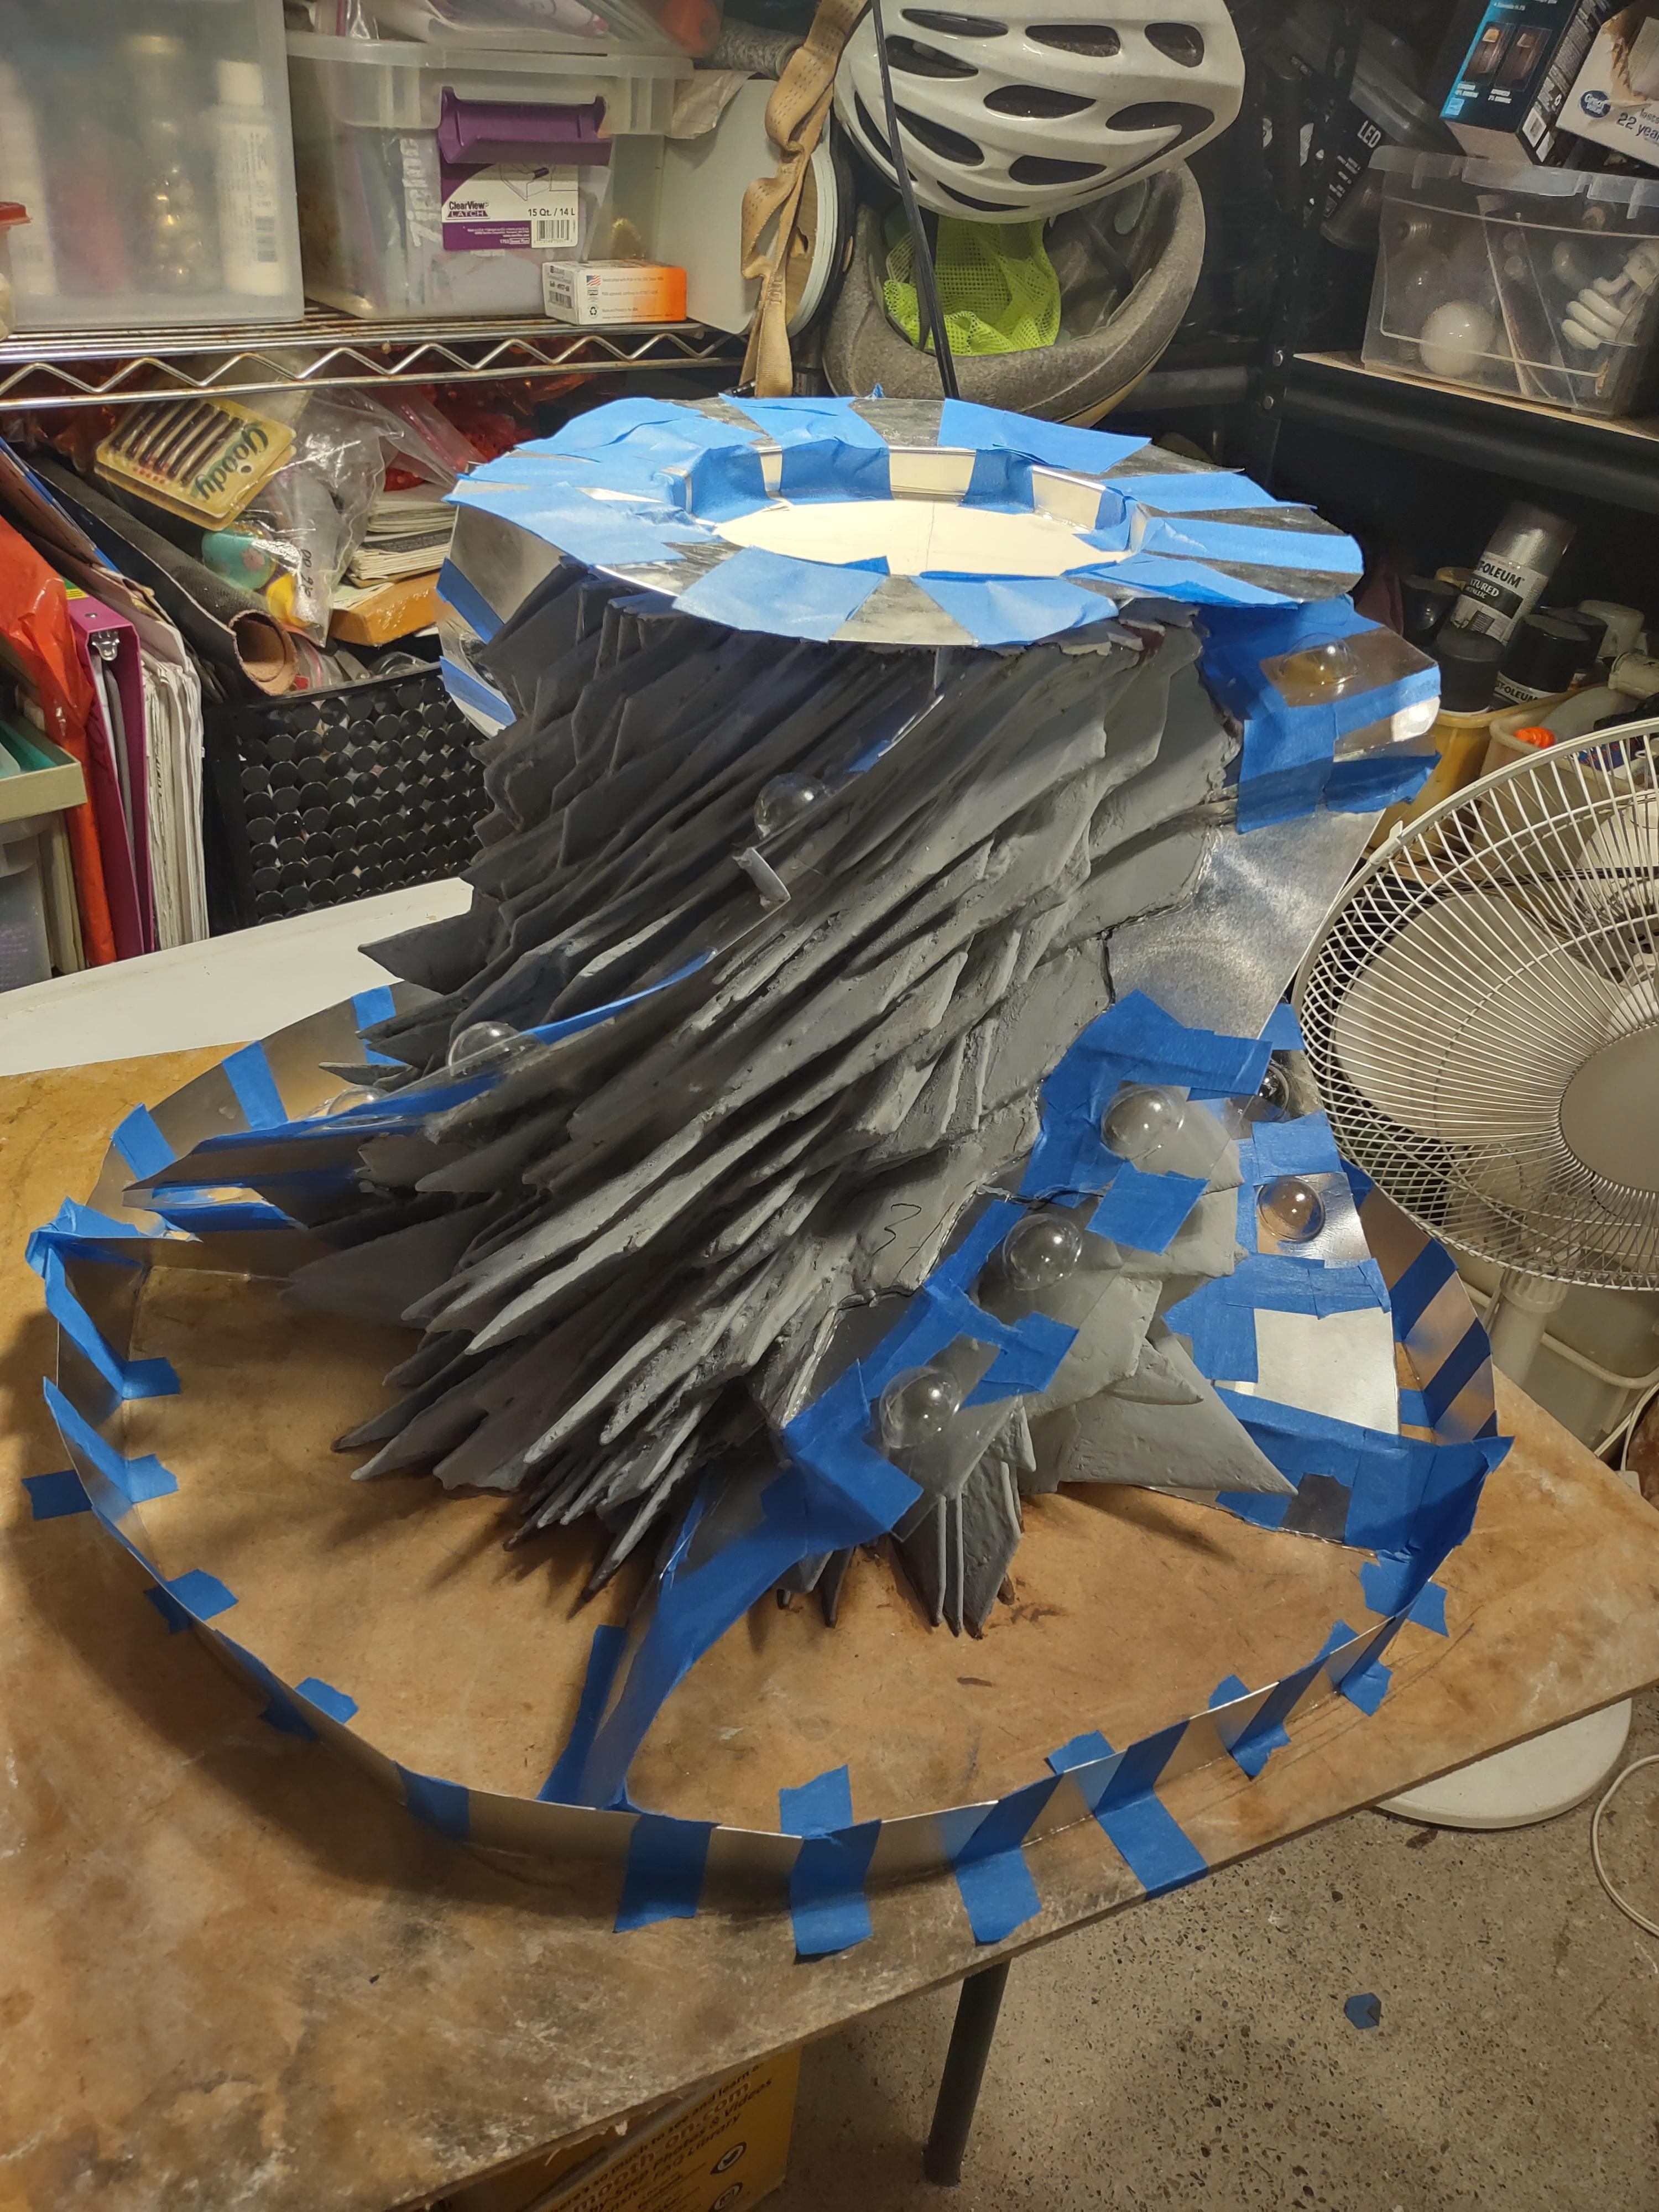
preparing the one section of the mold.
Getting ready for second section of the mold.
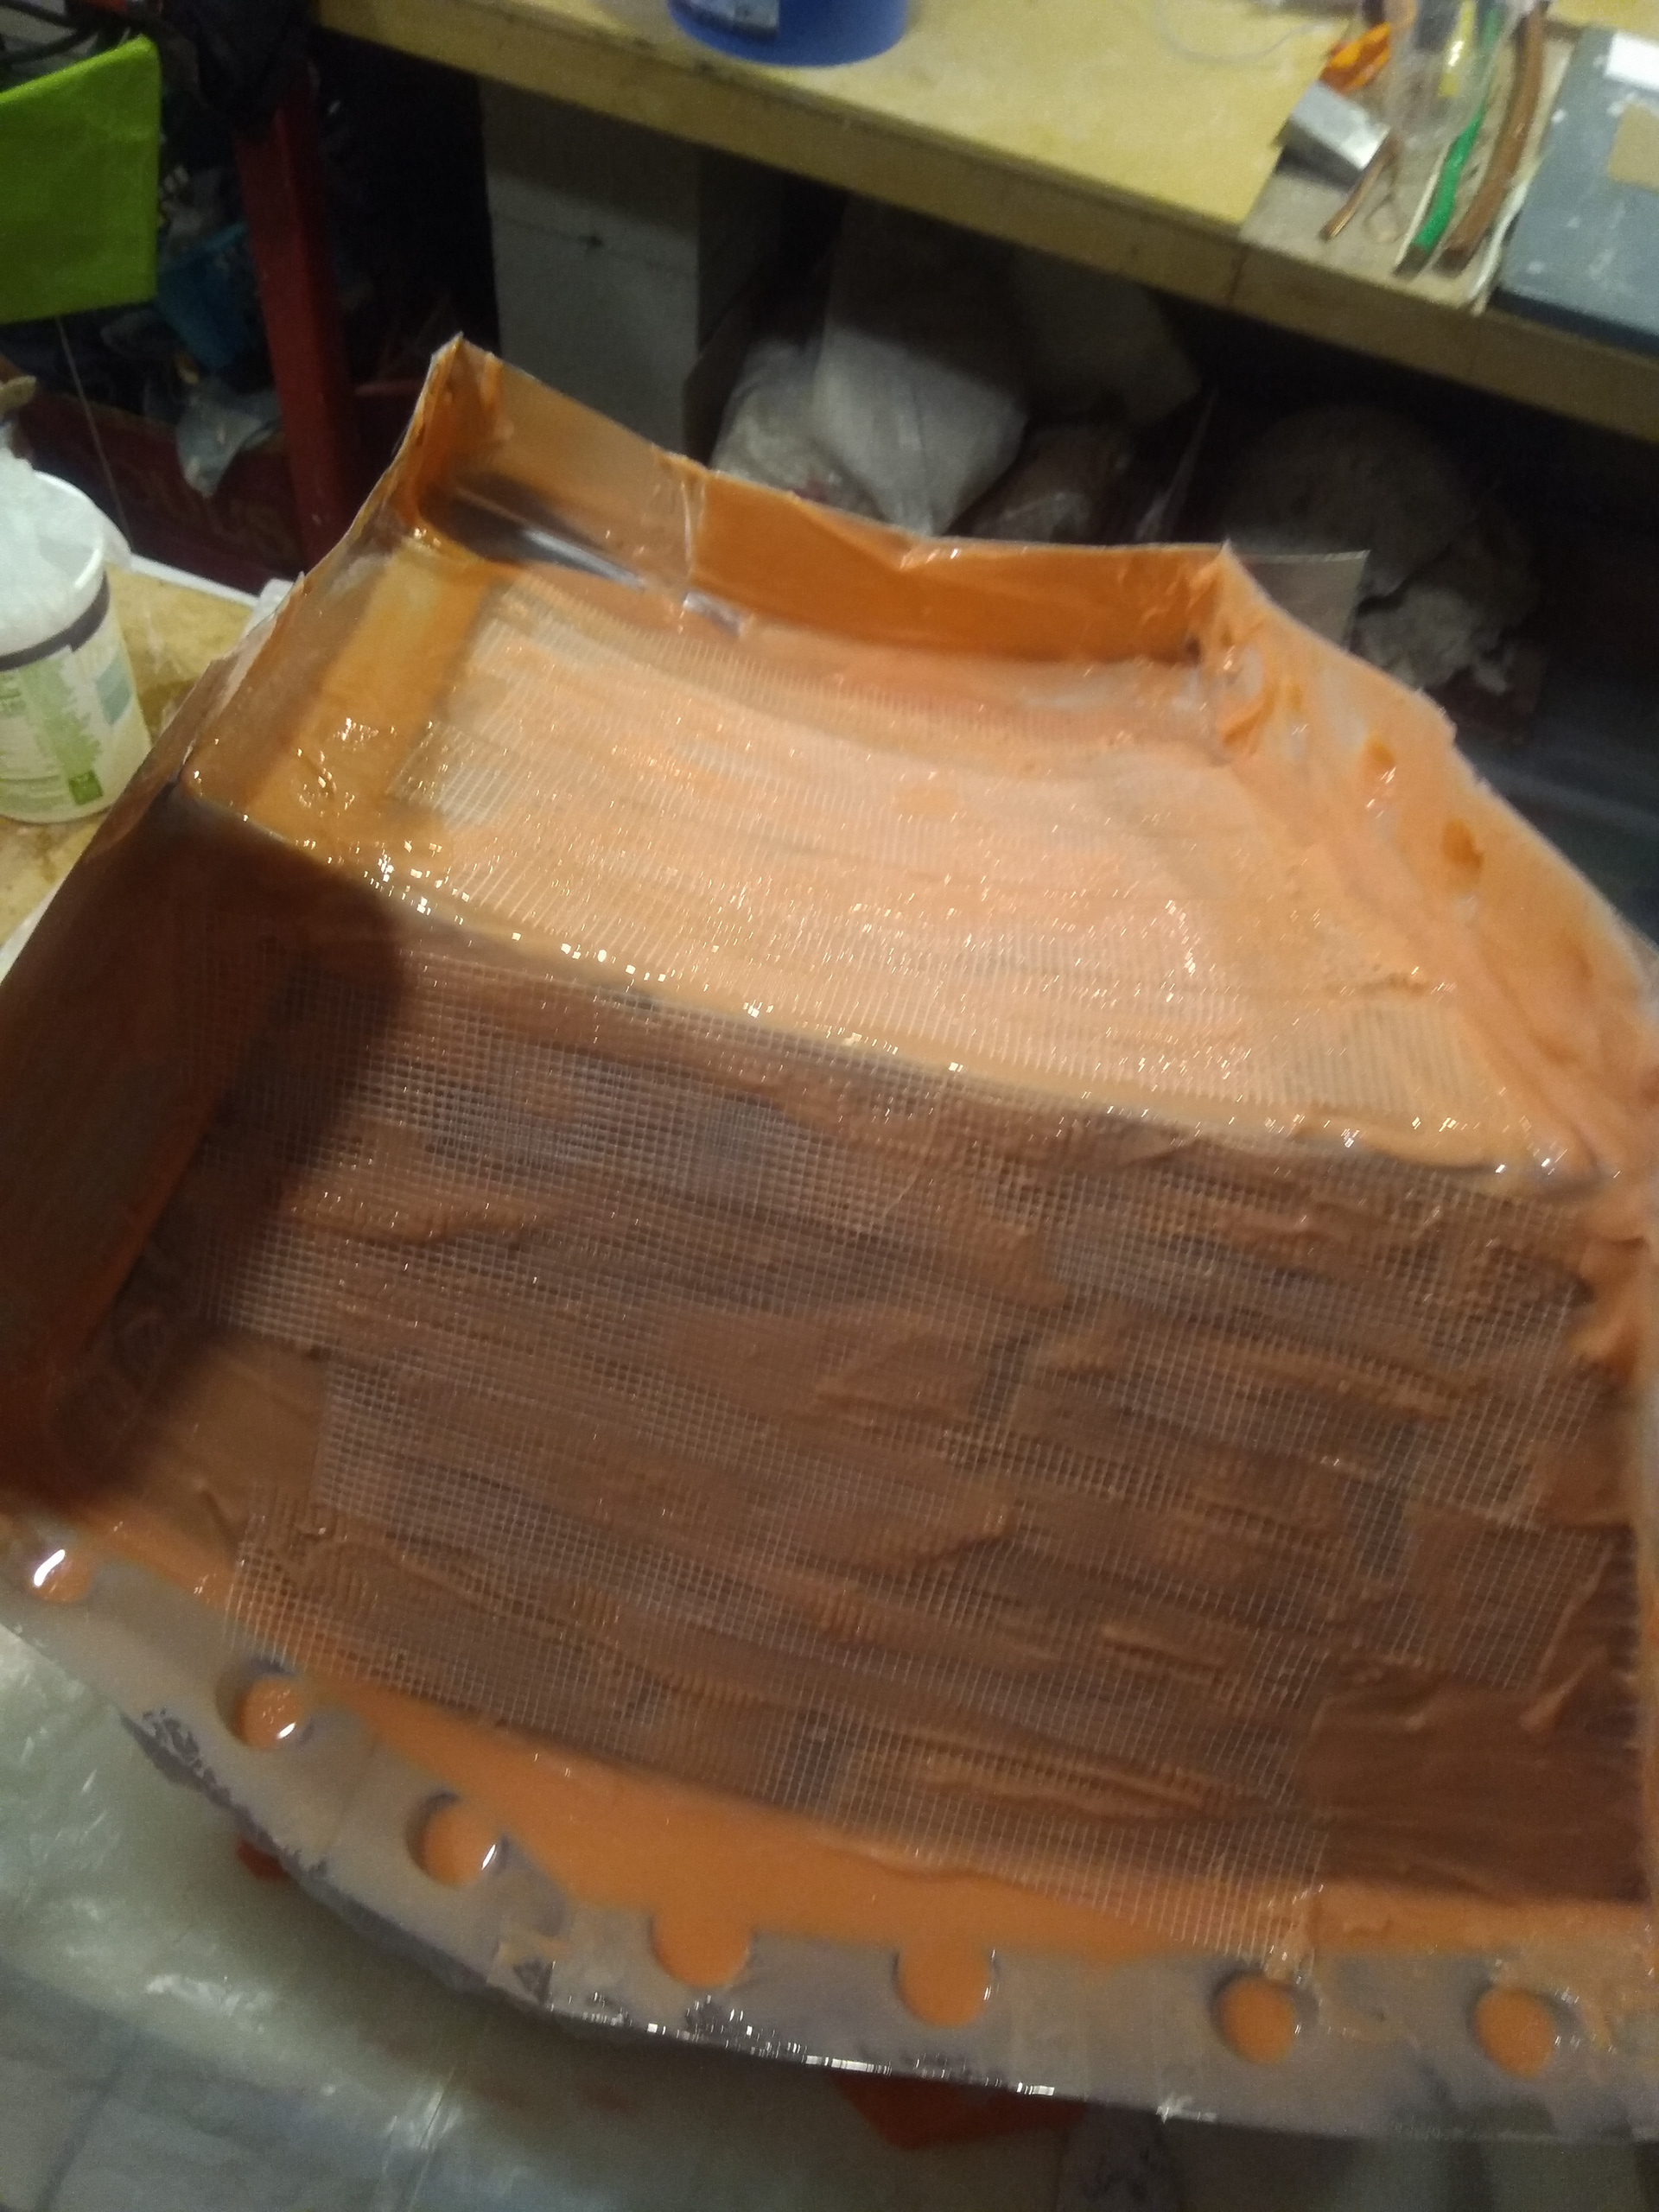
This stage is 2/3 of the mold making process. Sometimes forgot to taking a photos. adding the mesh for strengthen the mold.

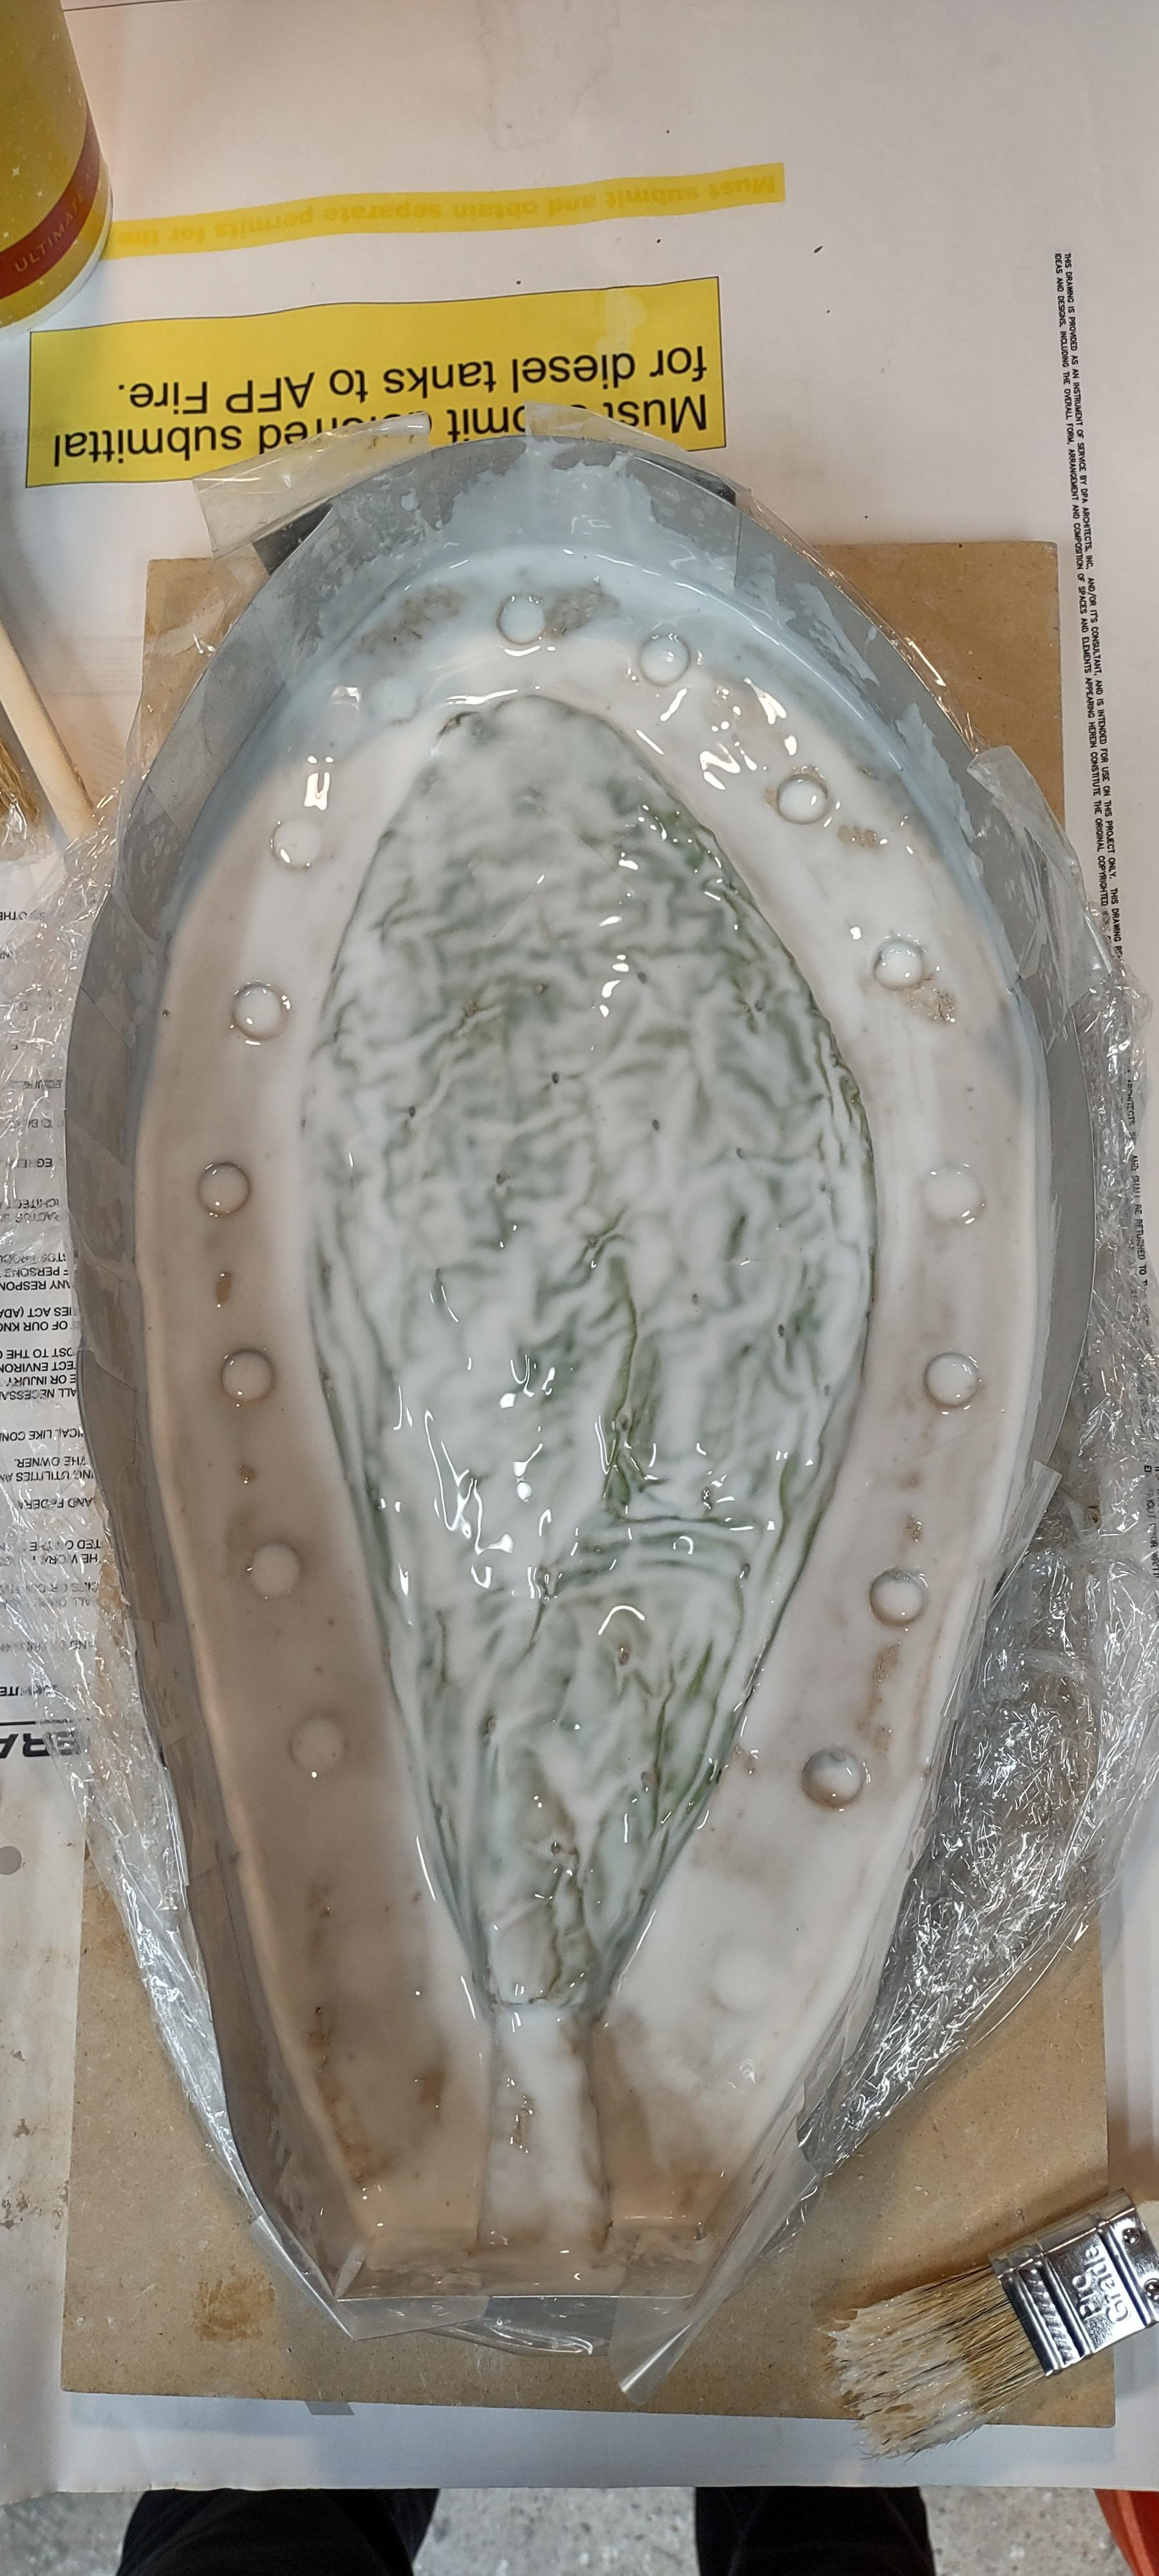
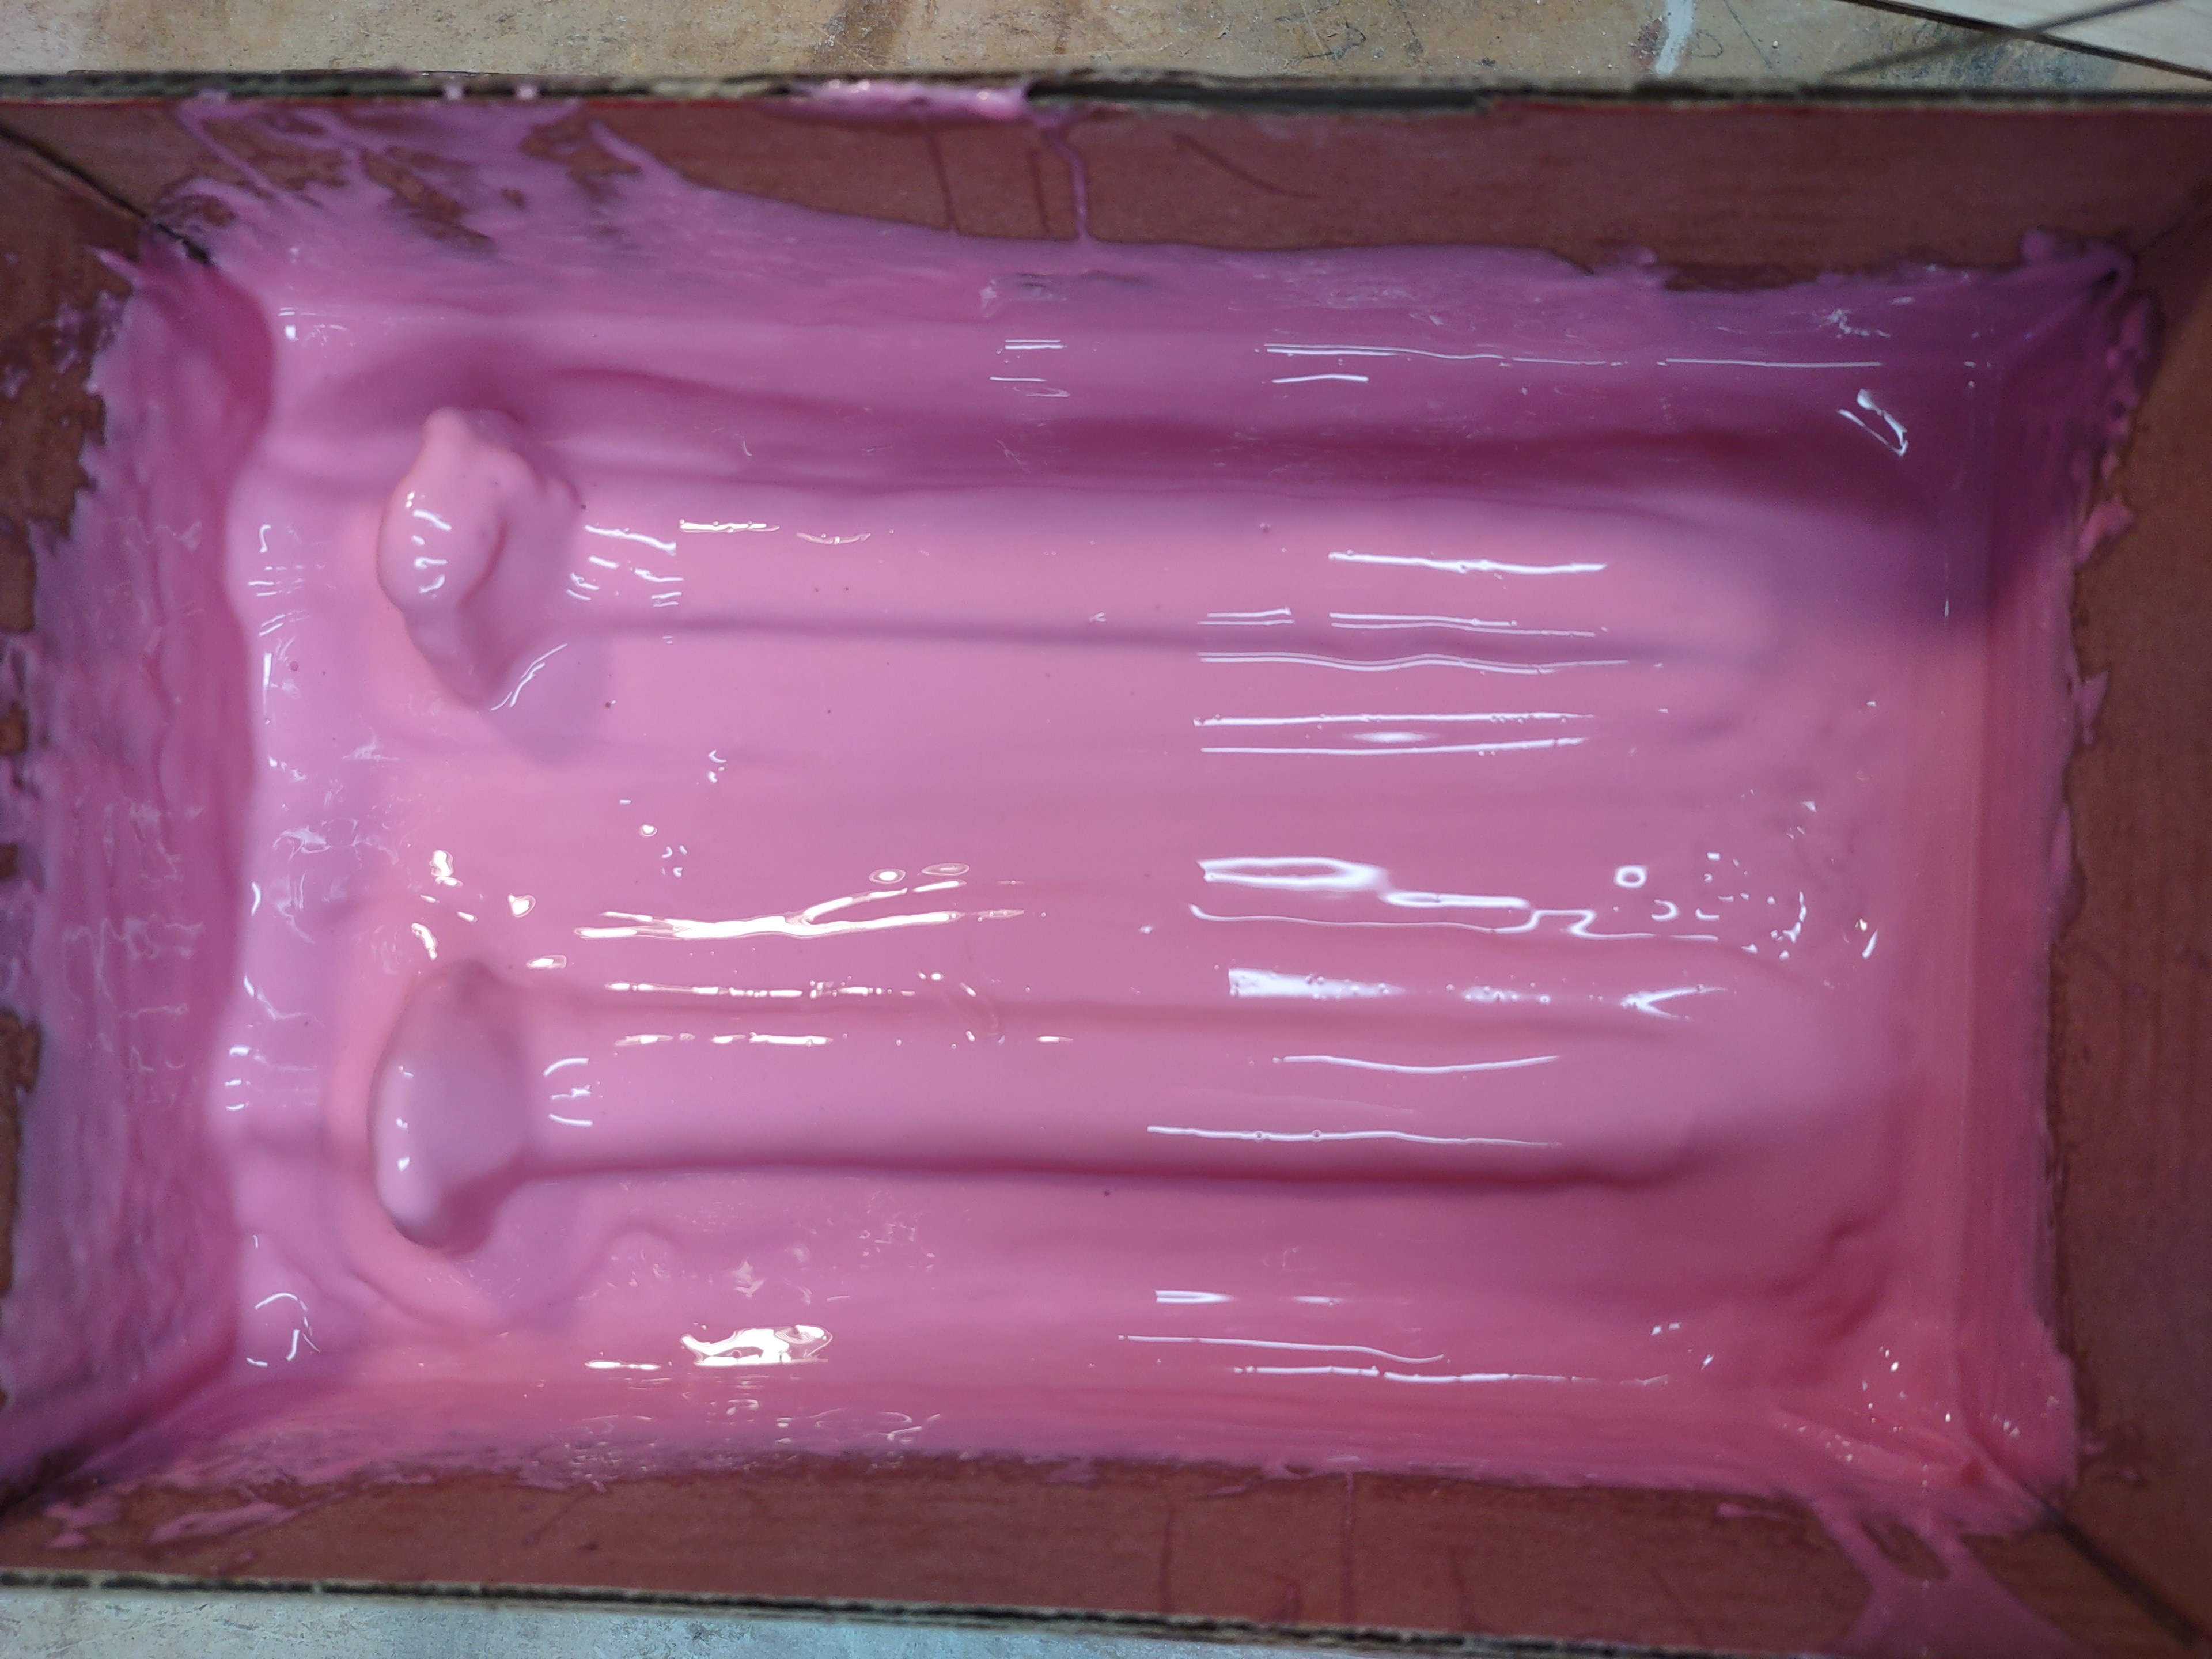
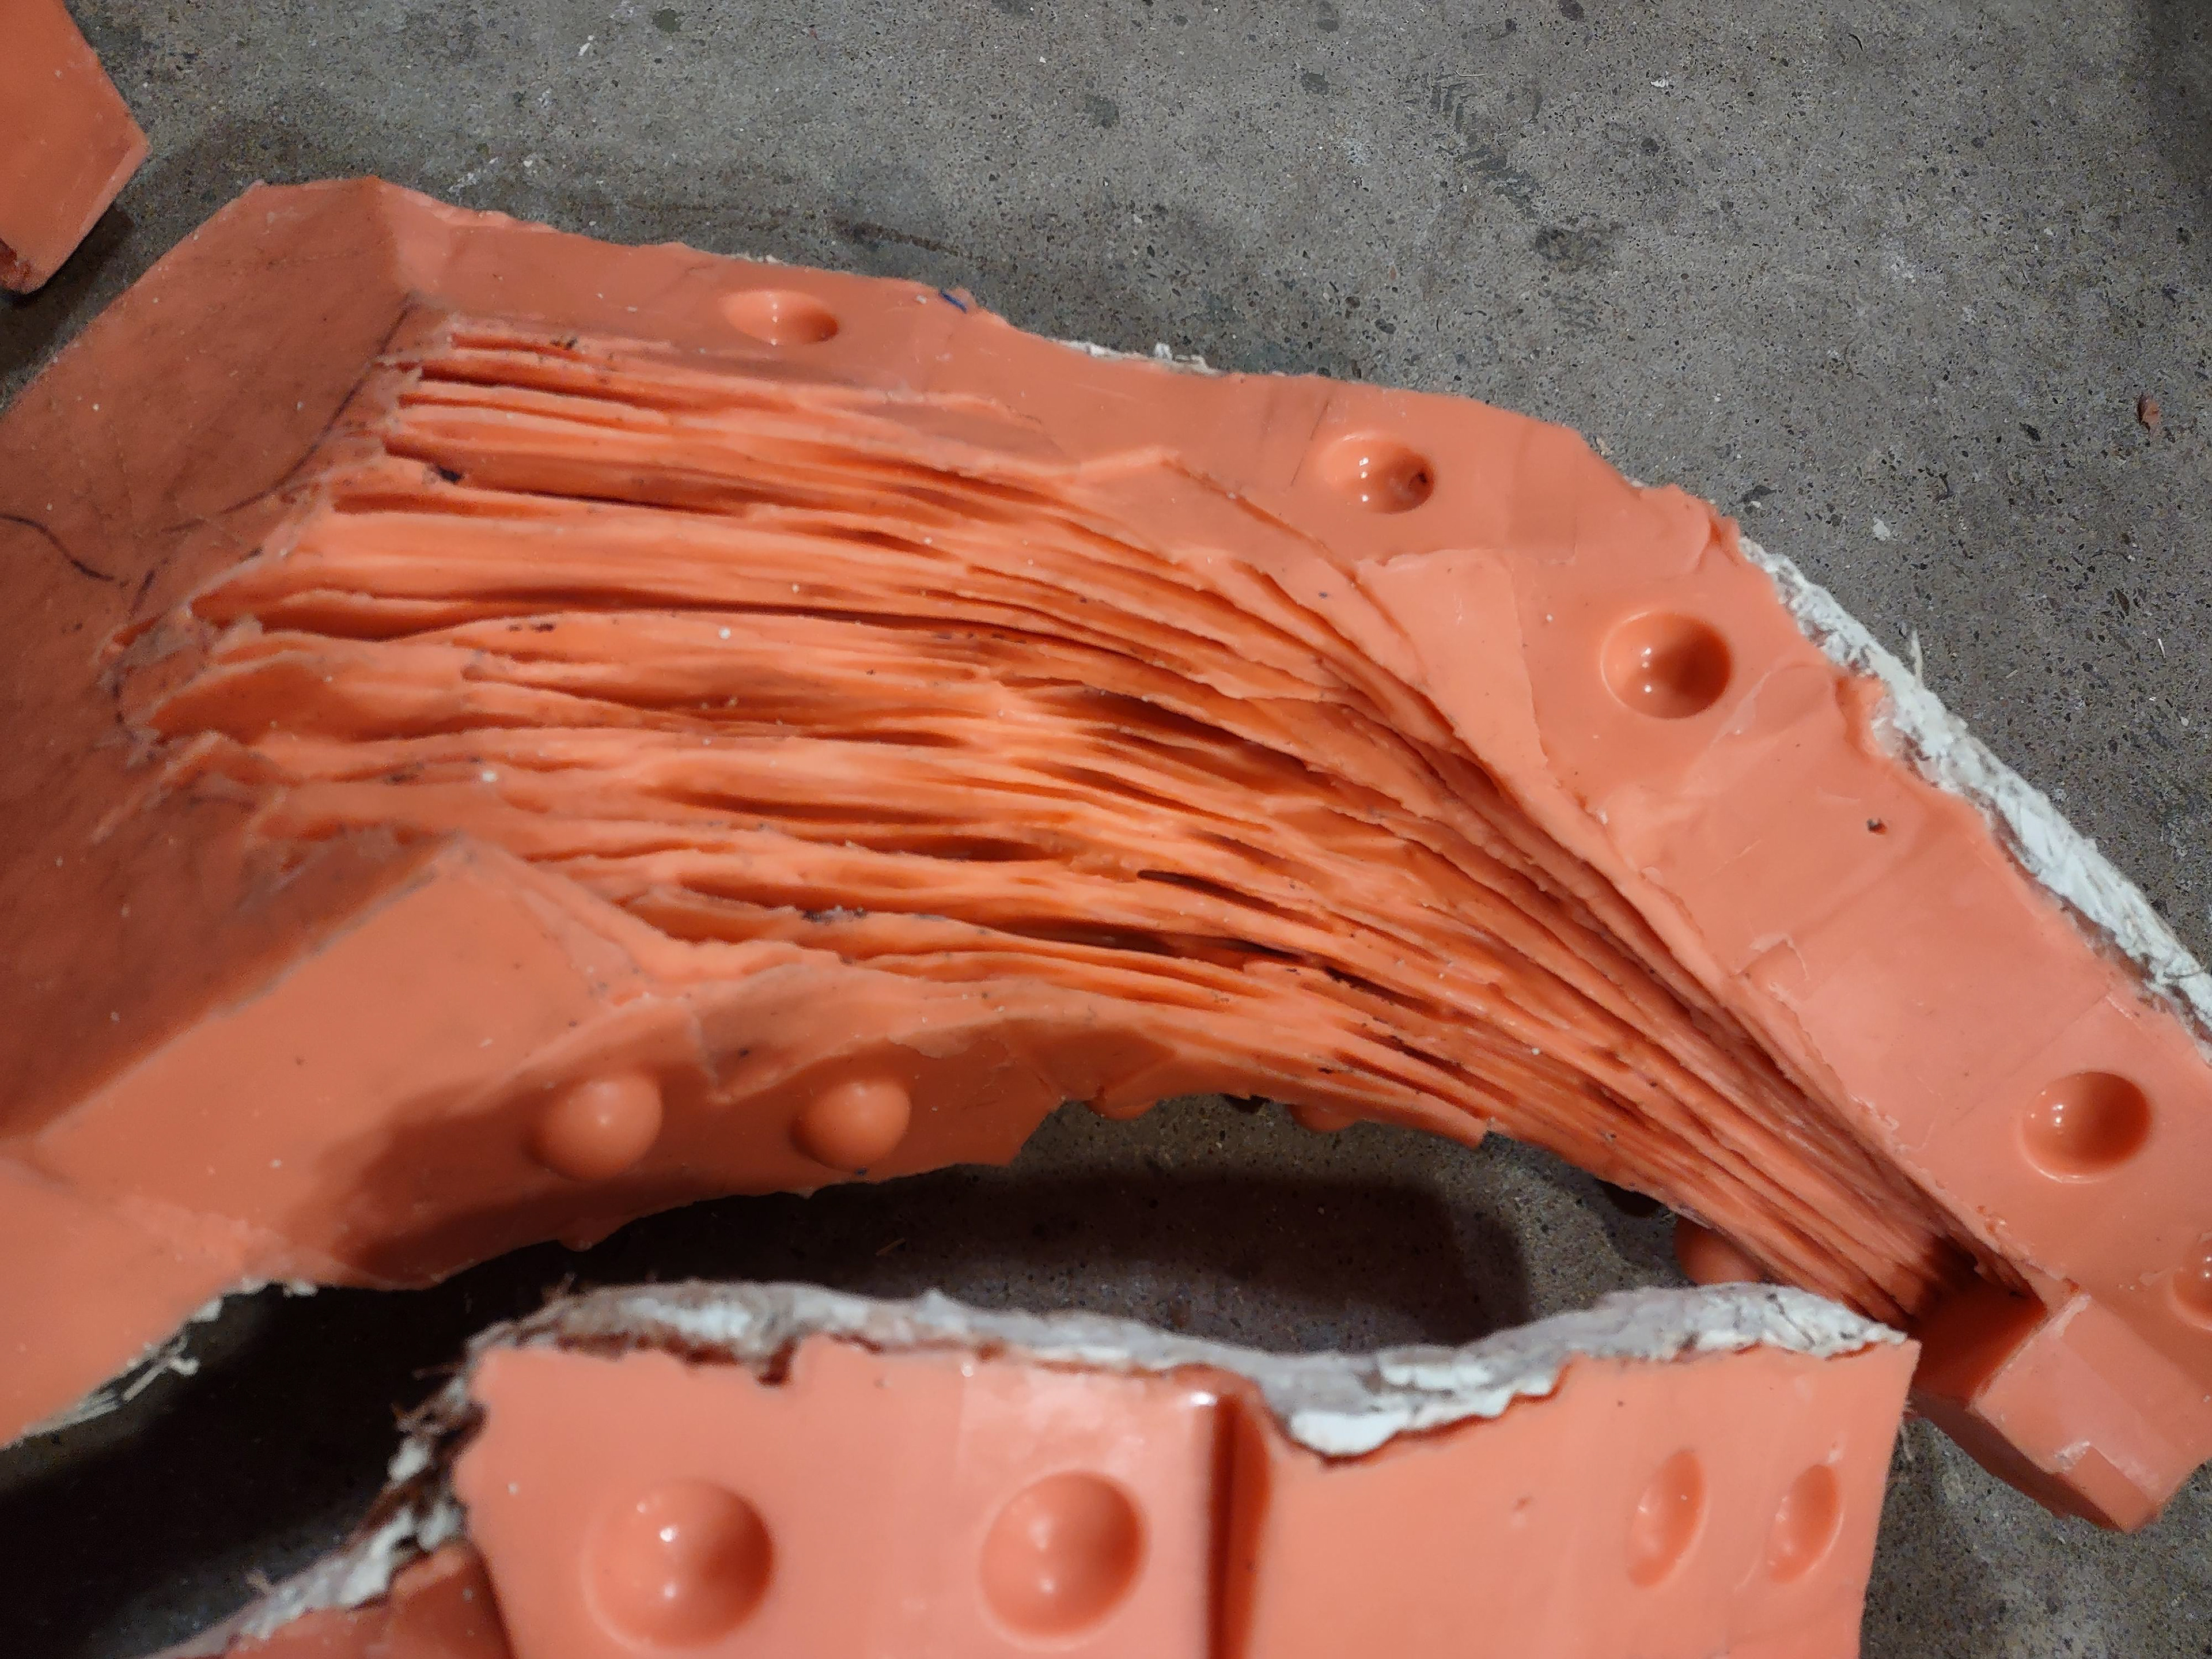
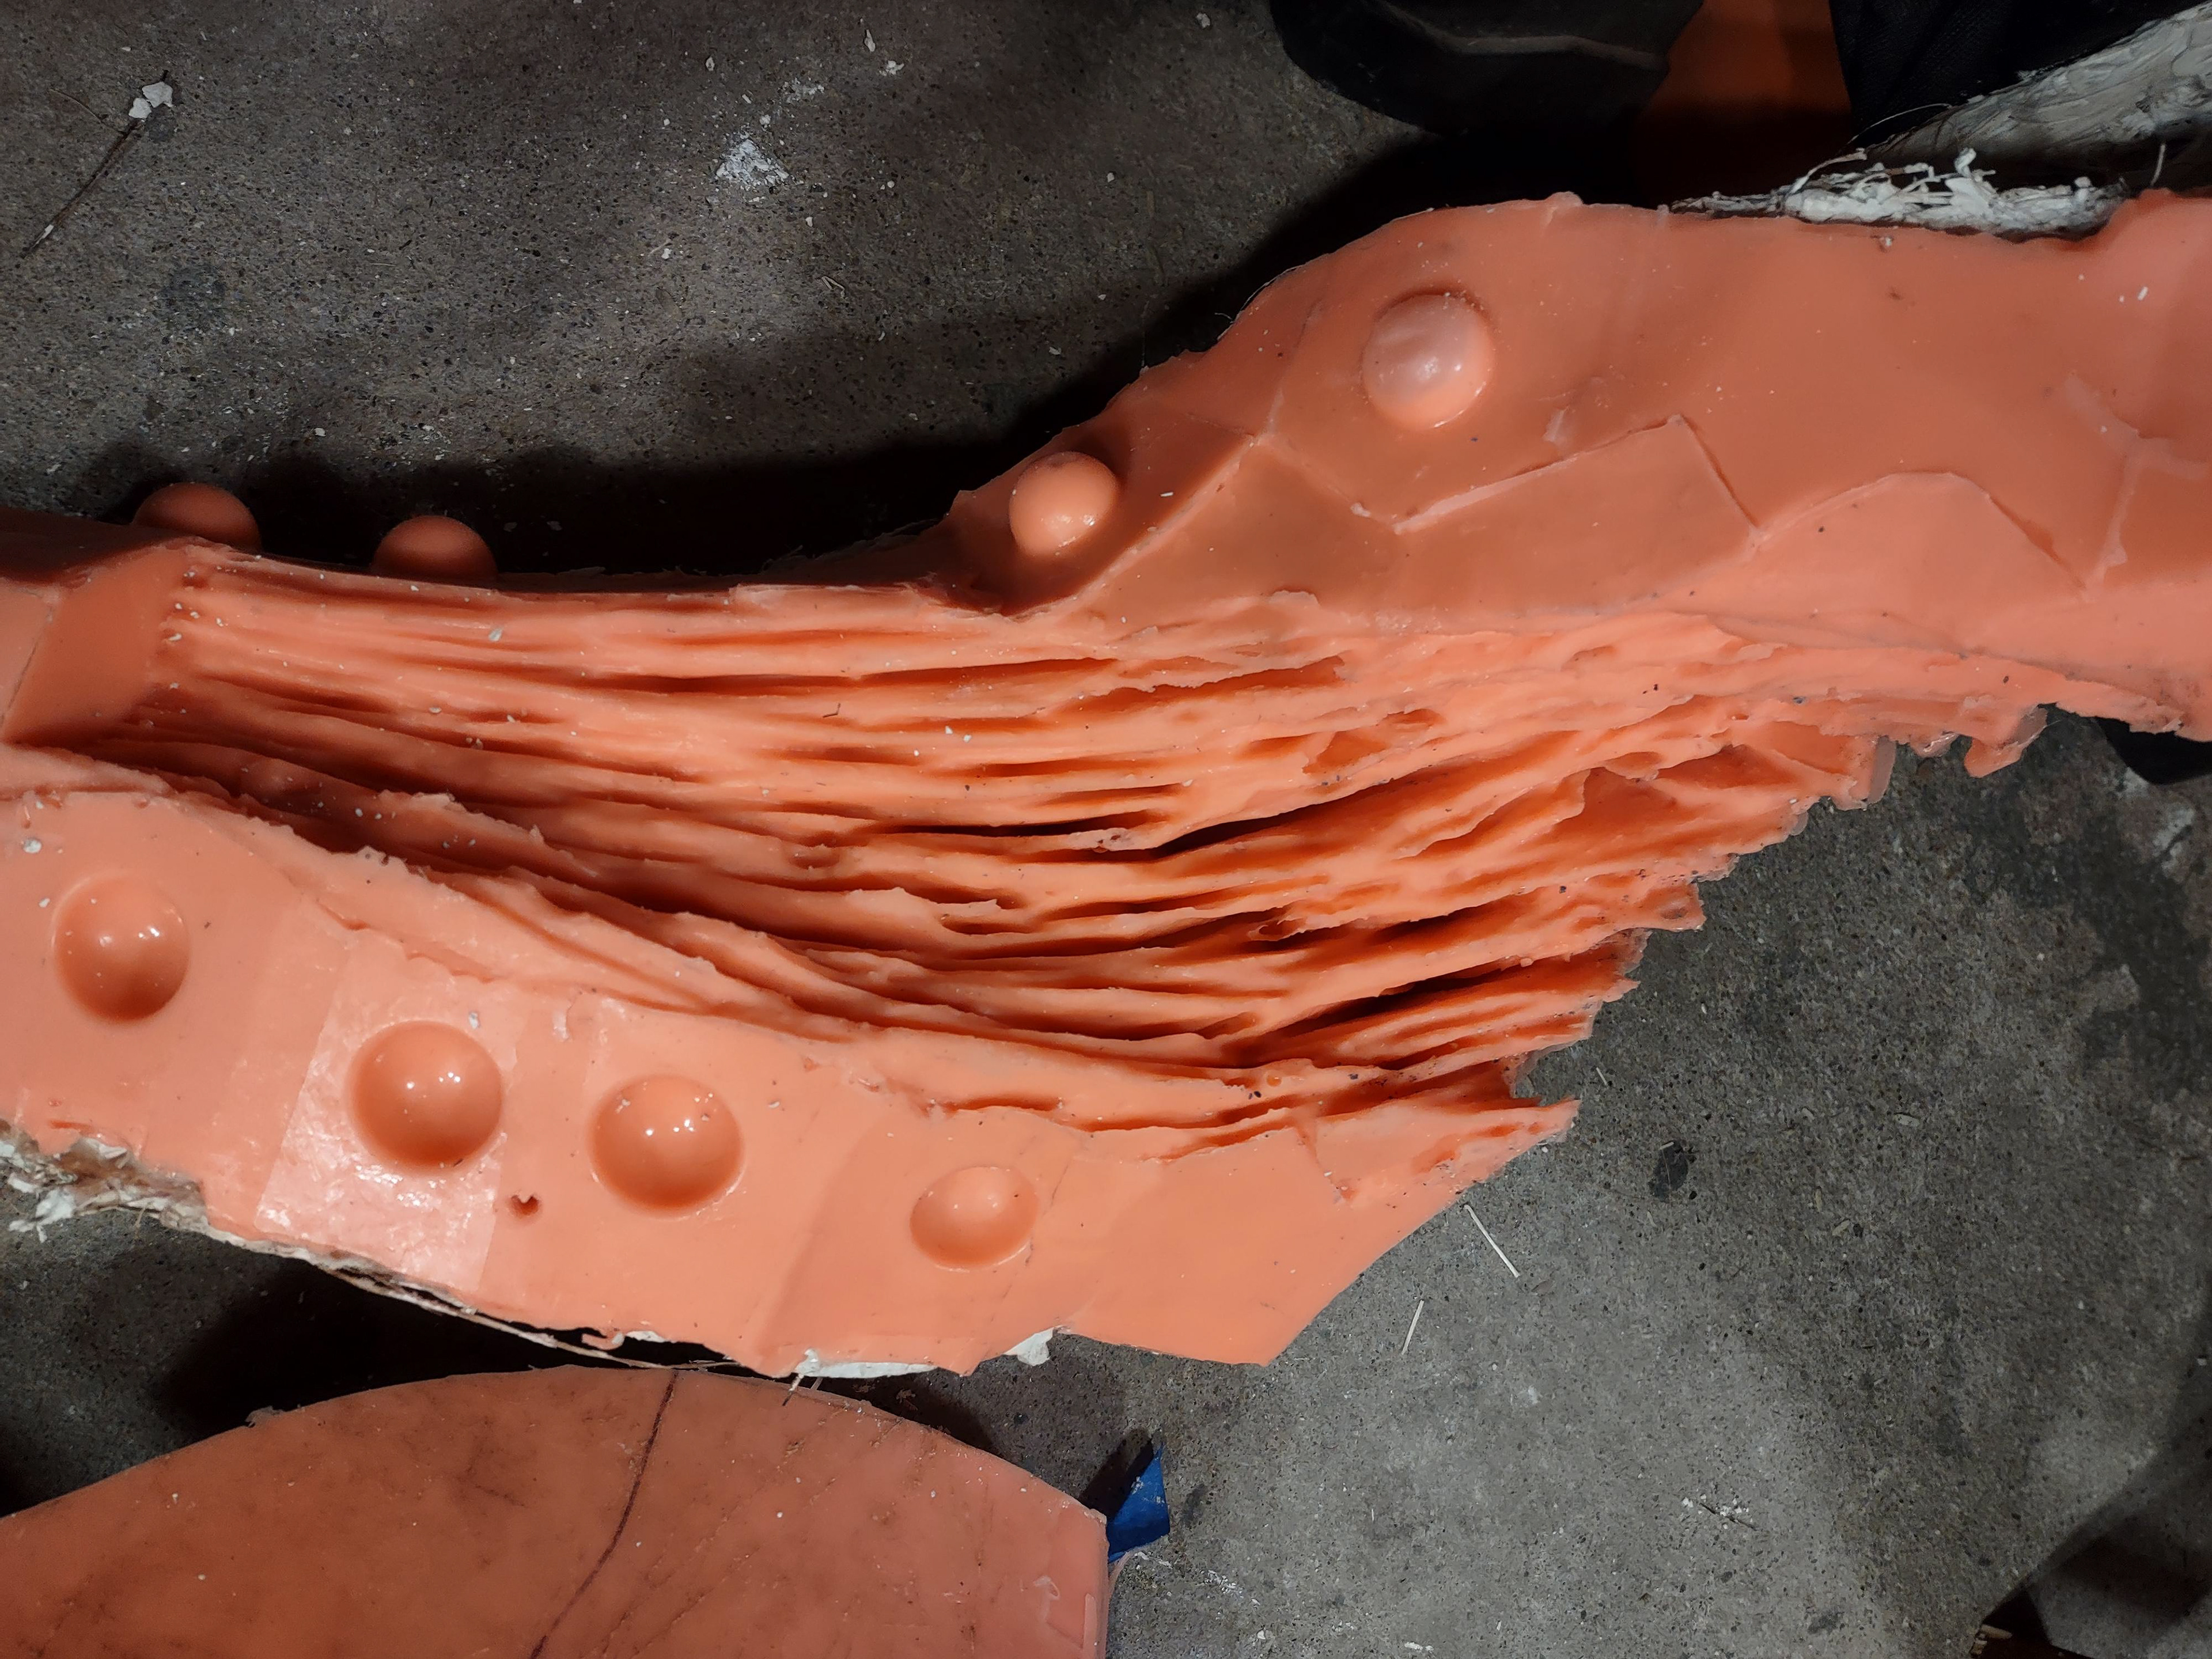
This image is toward to end of the silicon part of the mold. i am adding the keys for holding the support the shells.
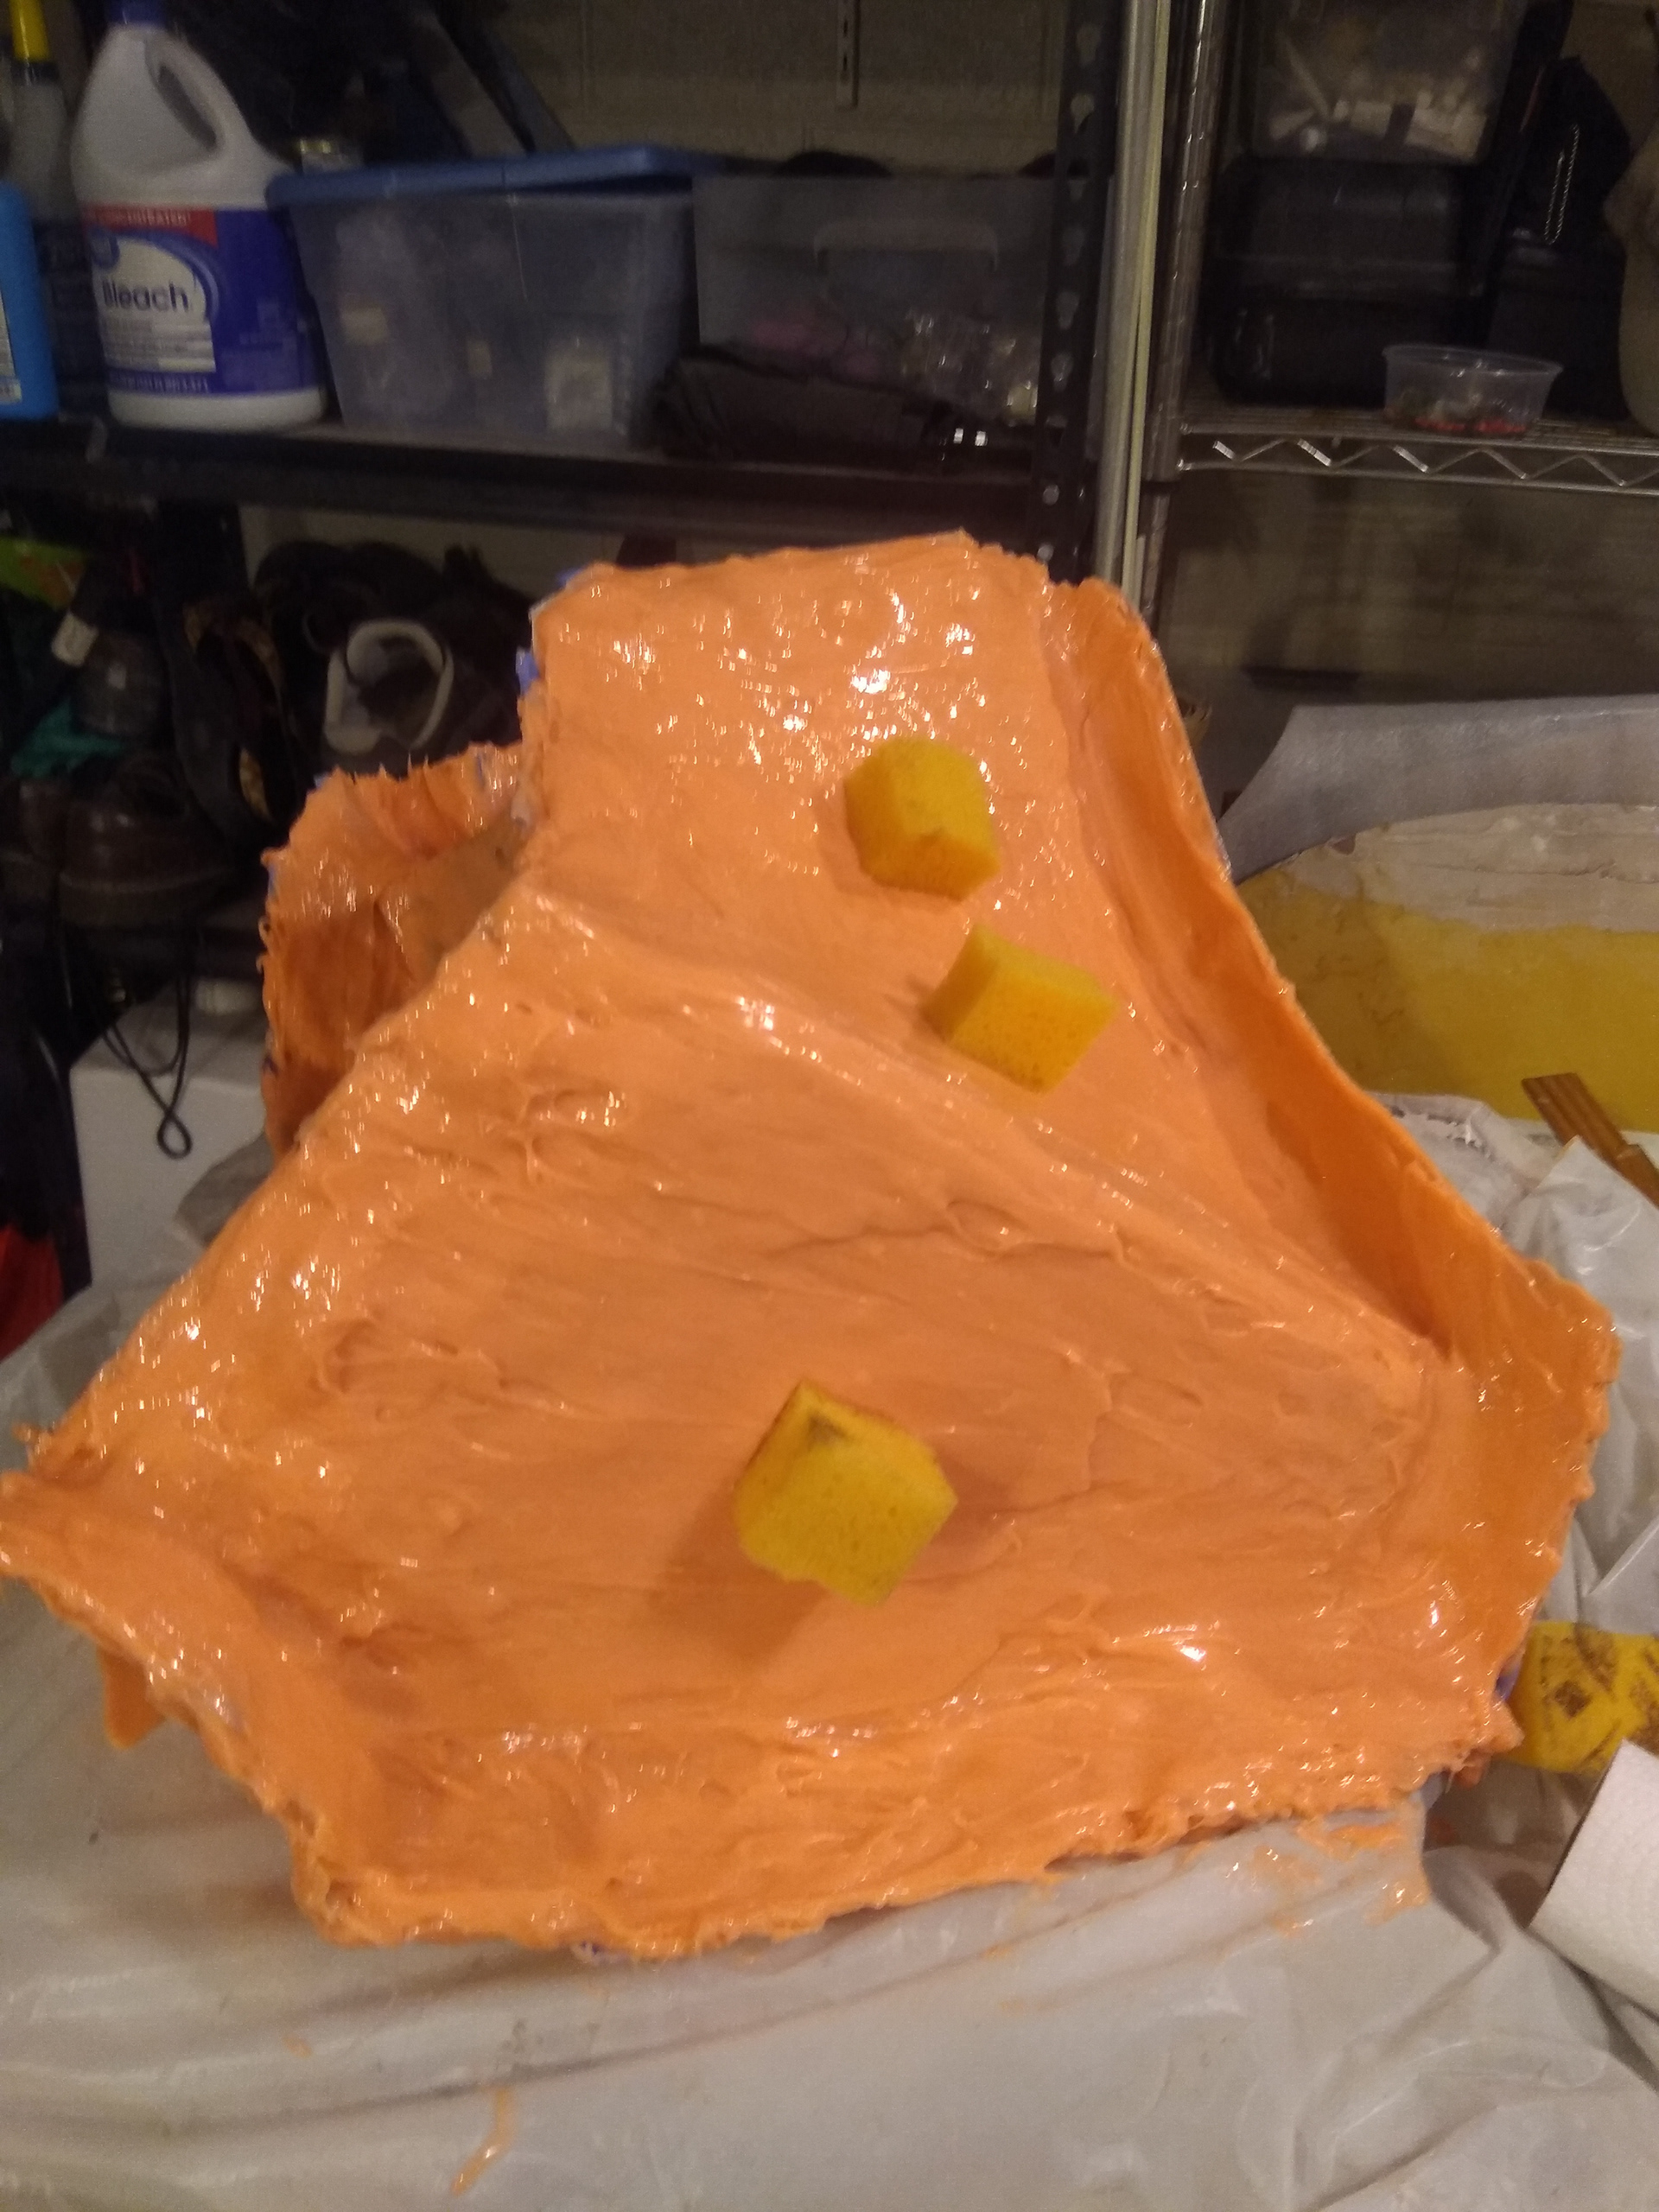
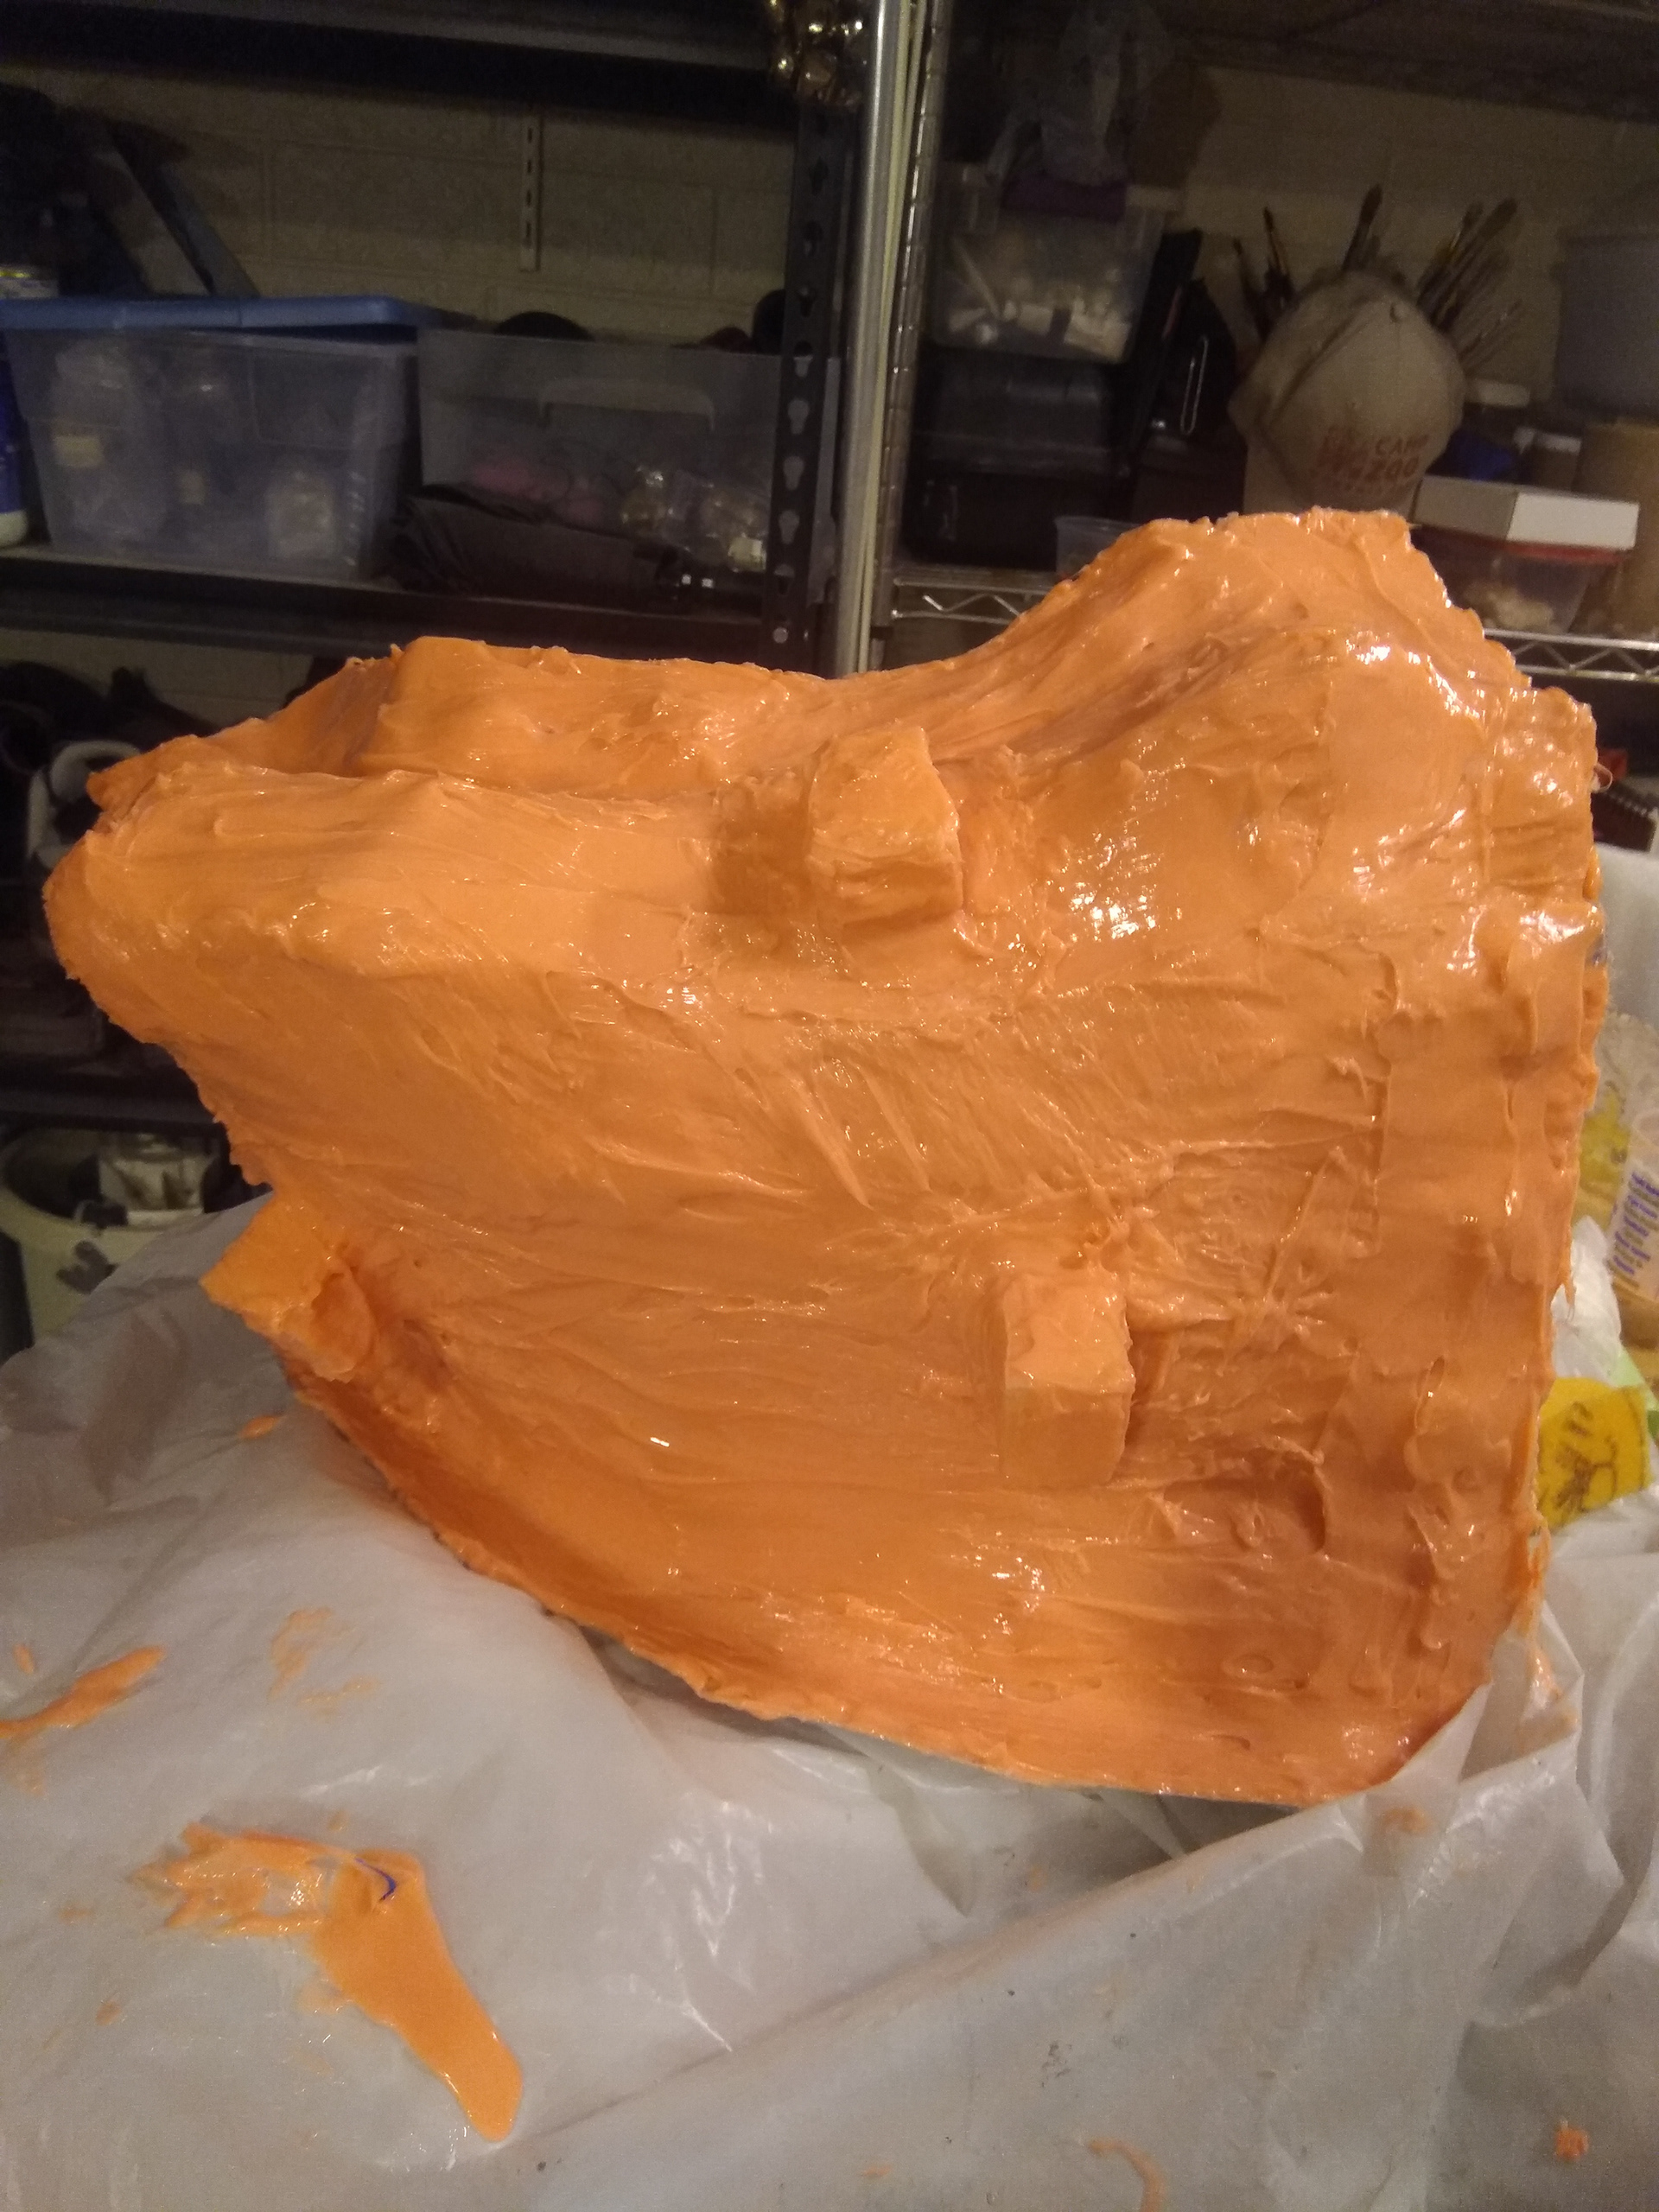
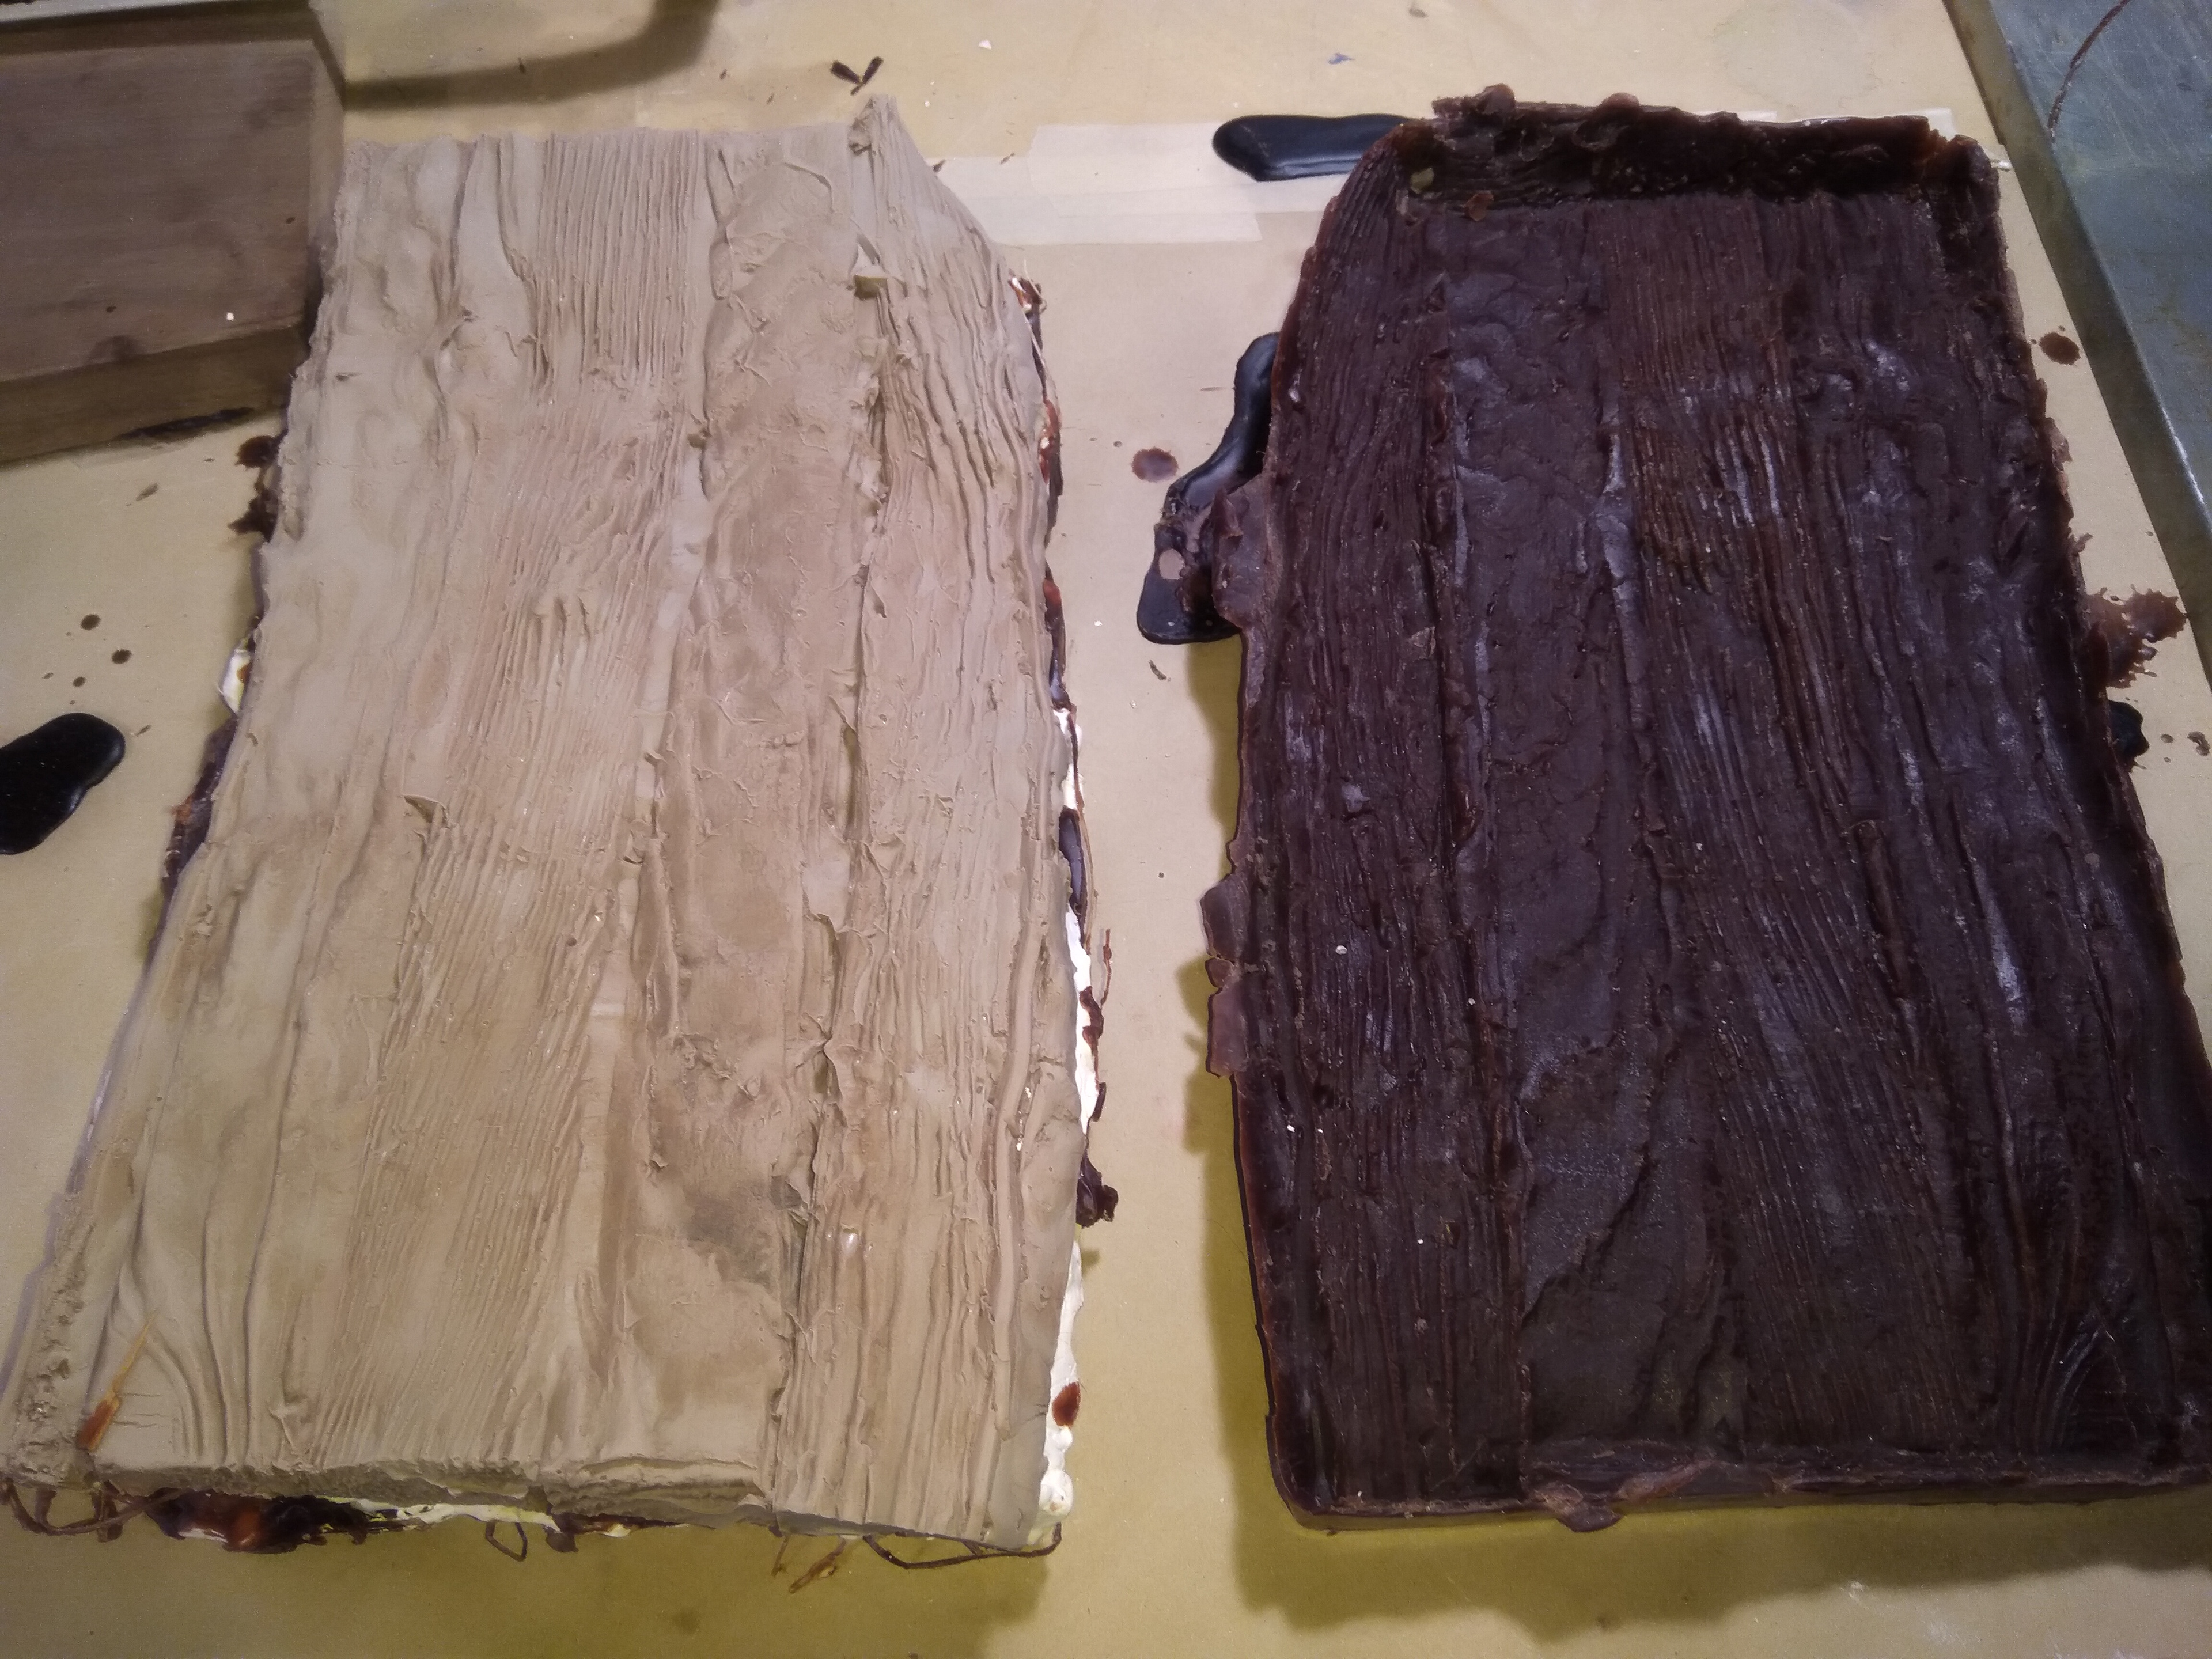
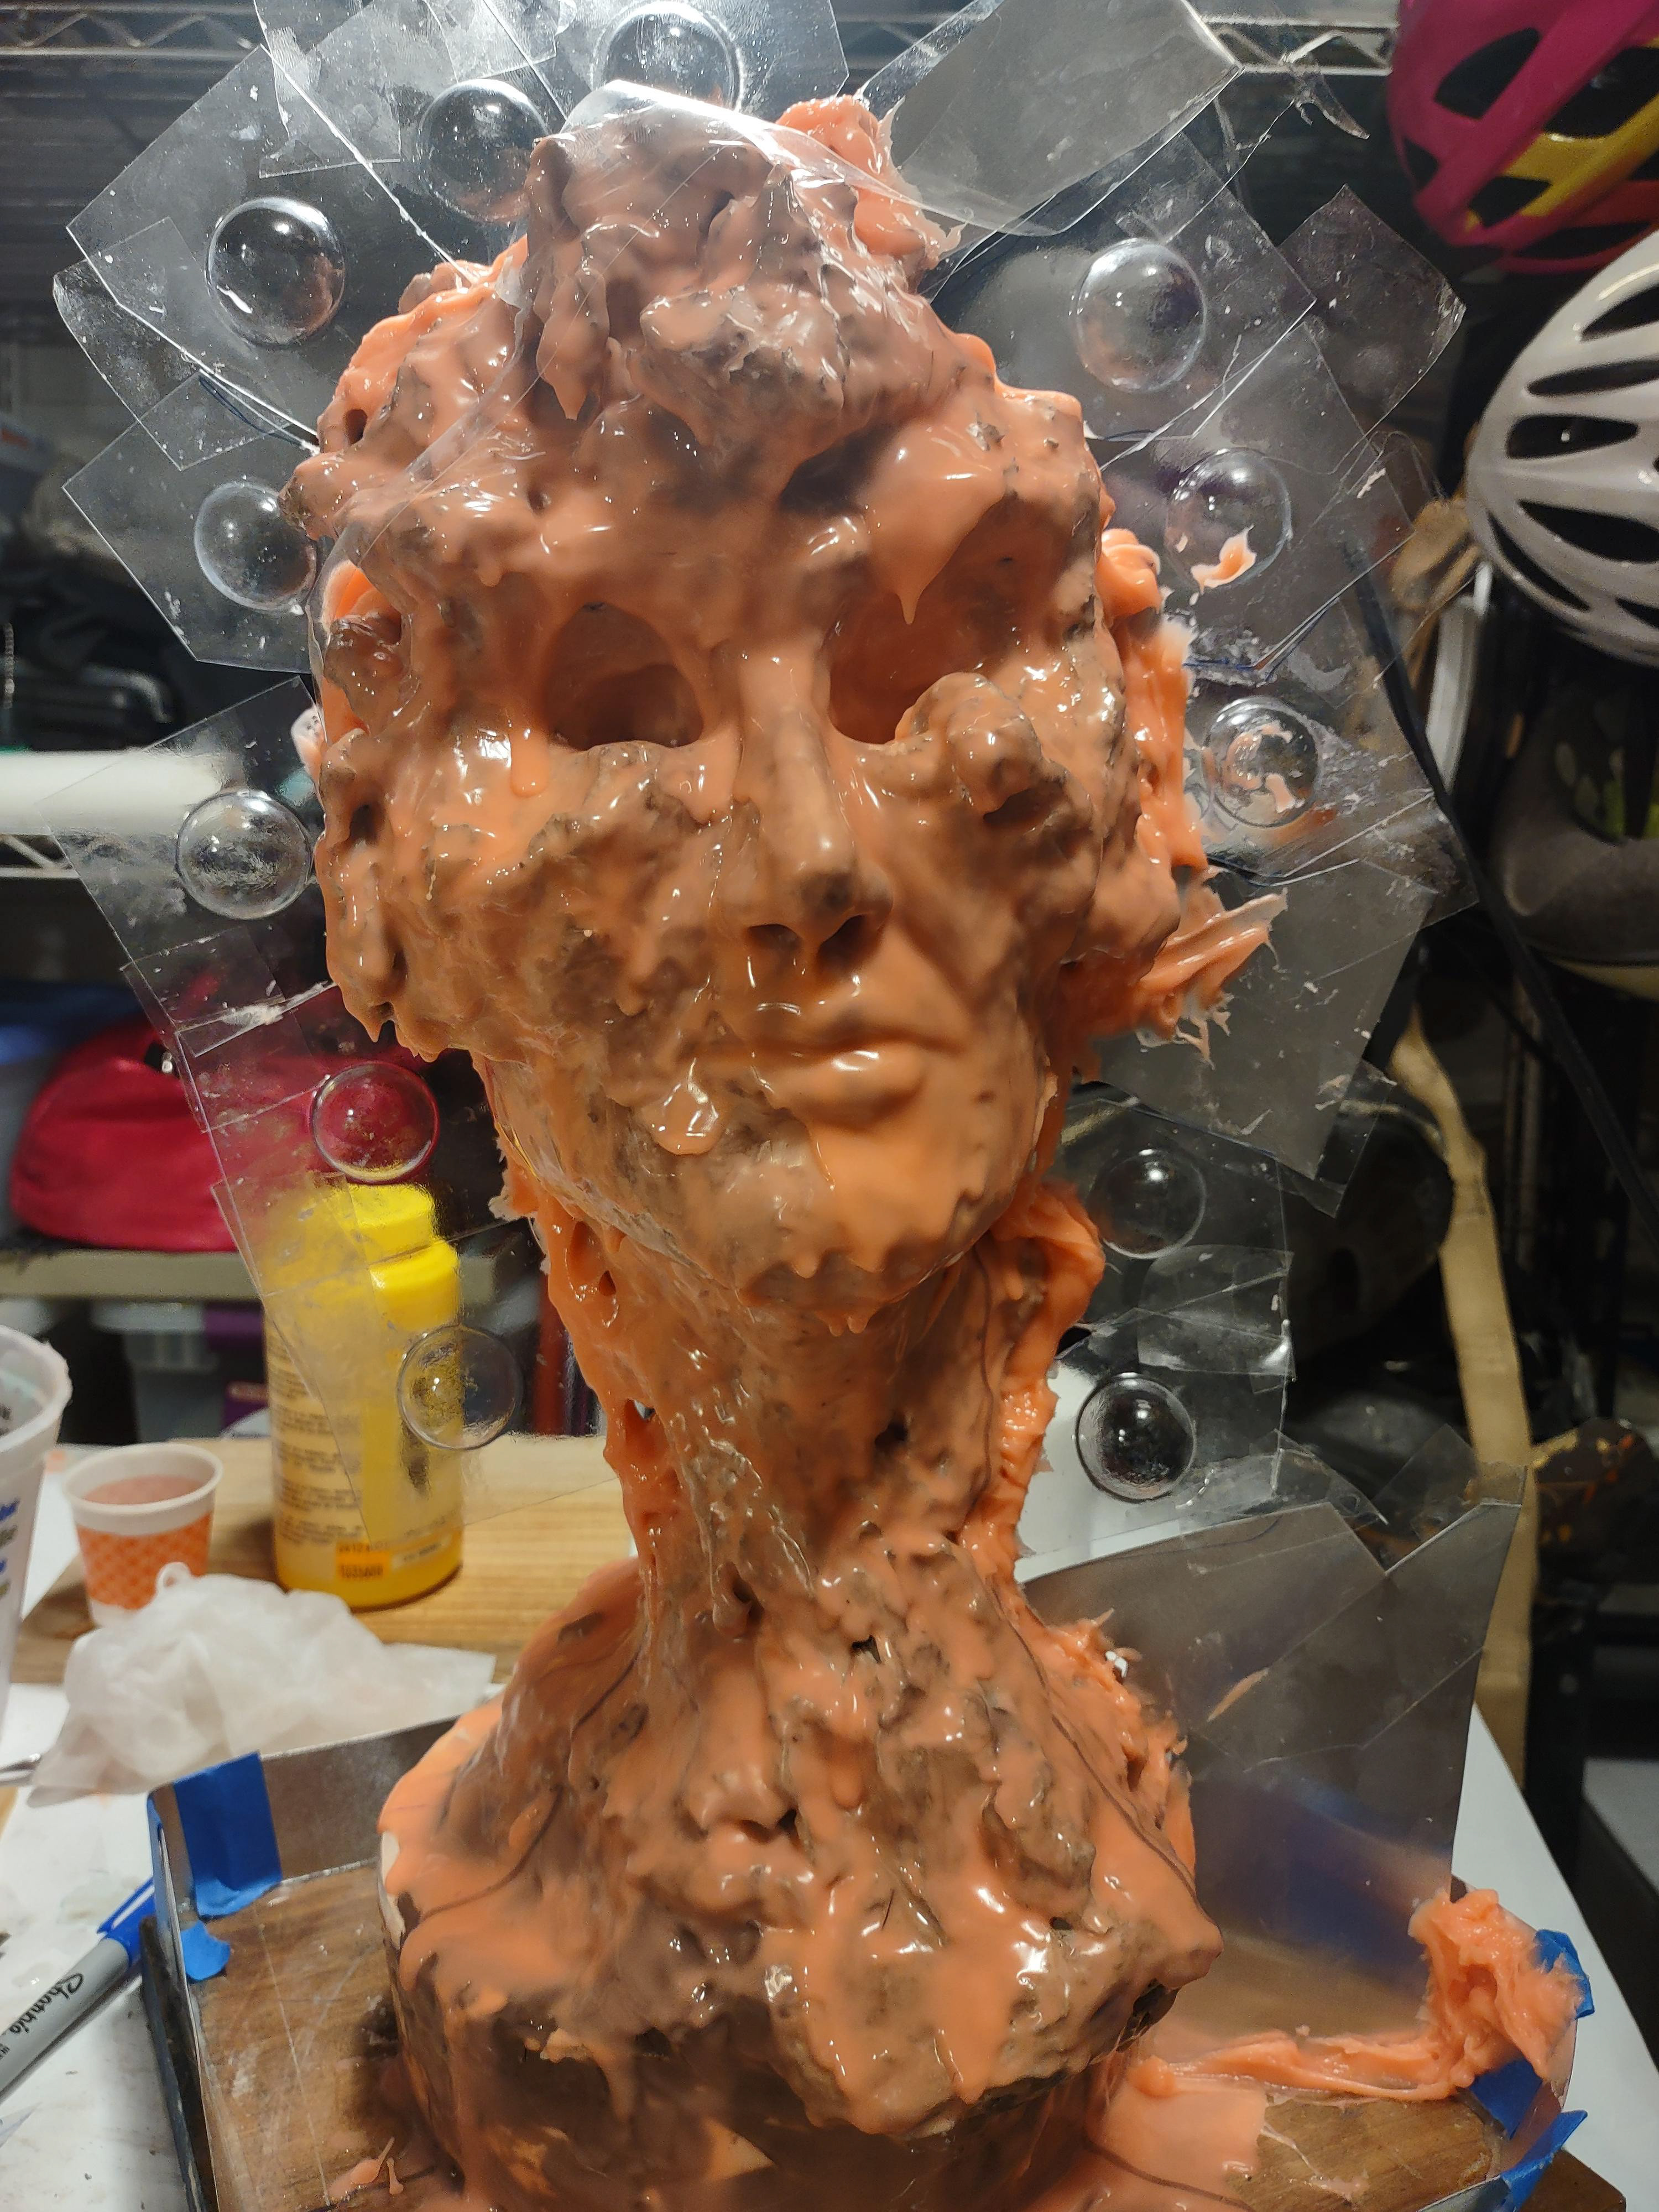
End of the silicon part of the mold.
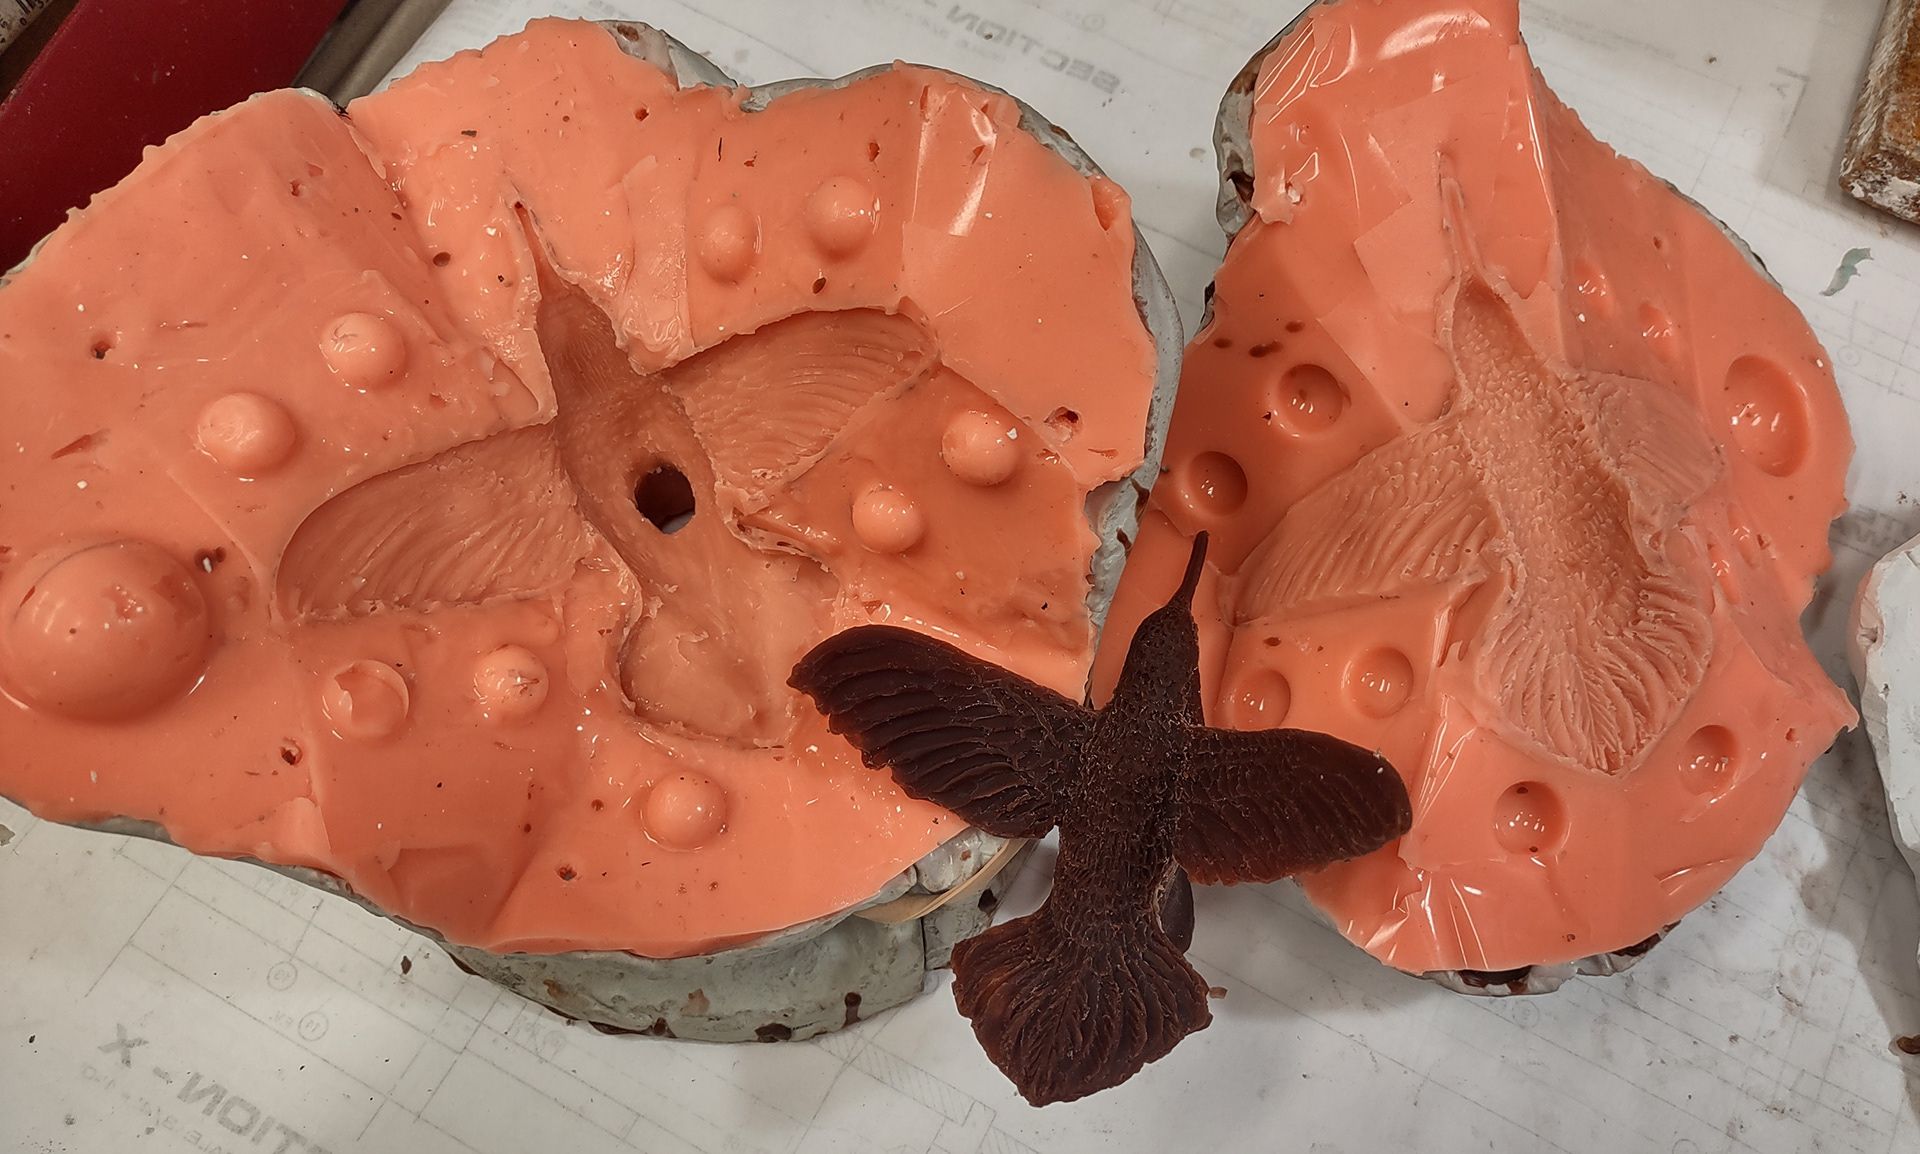
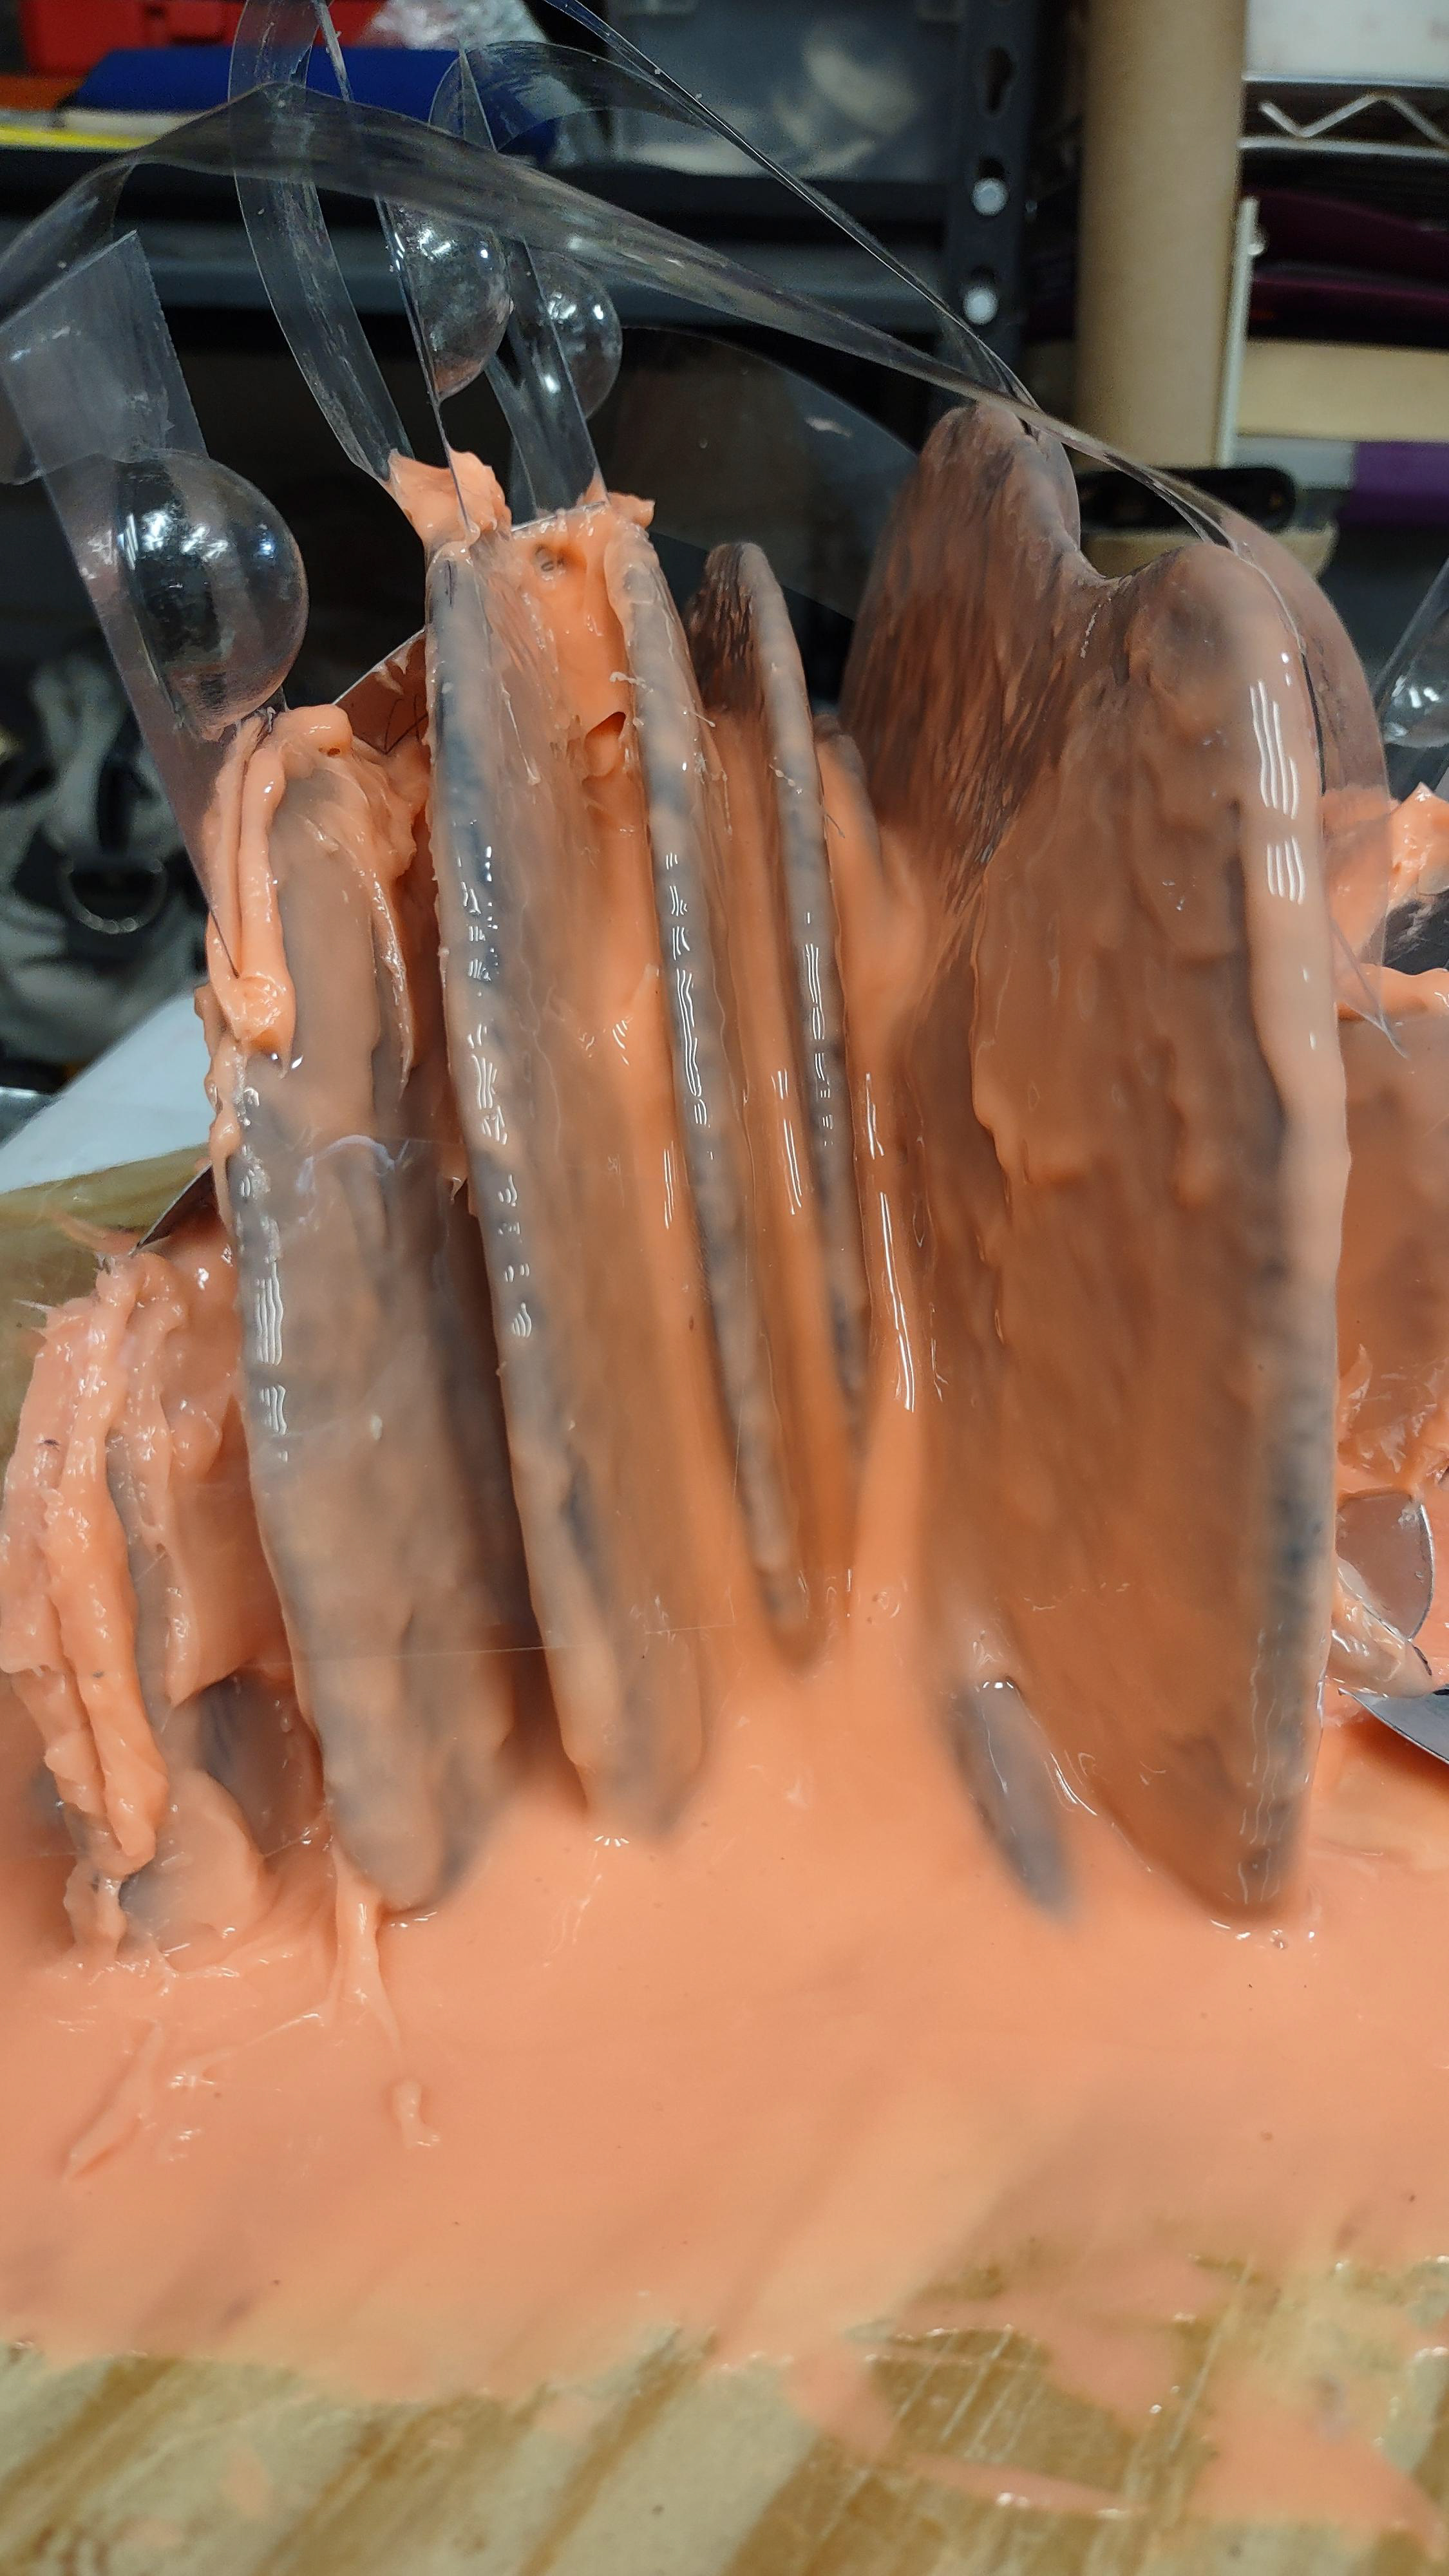
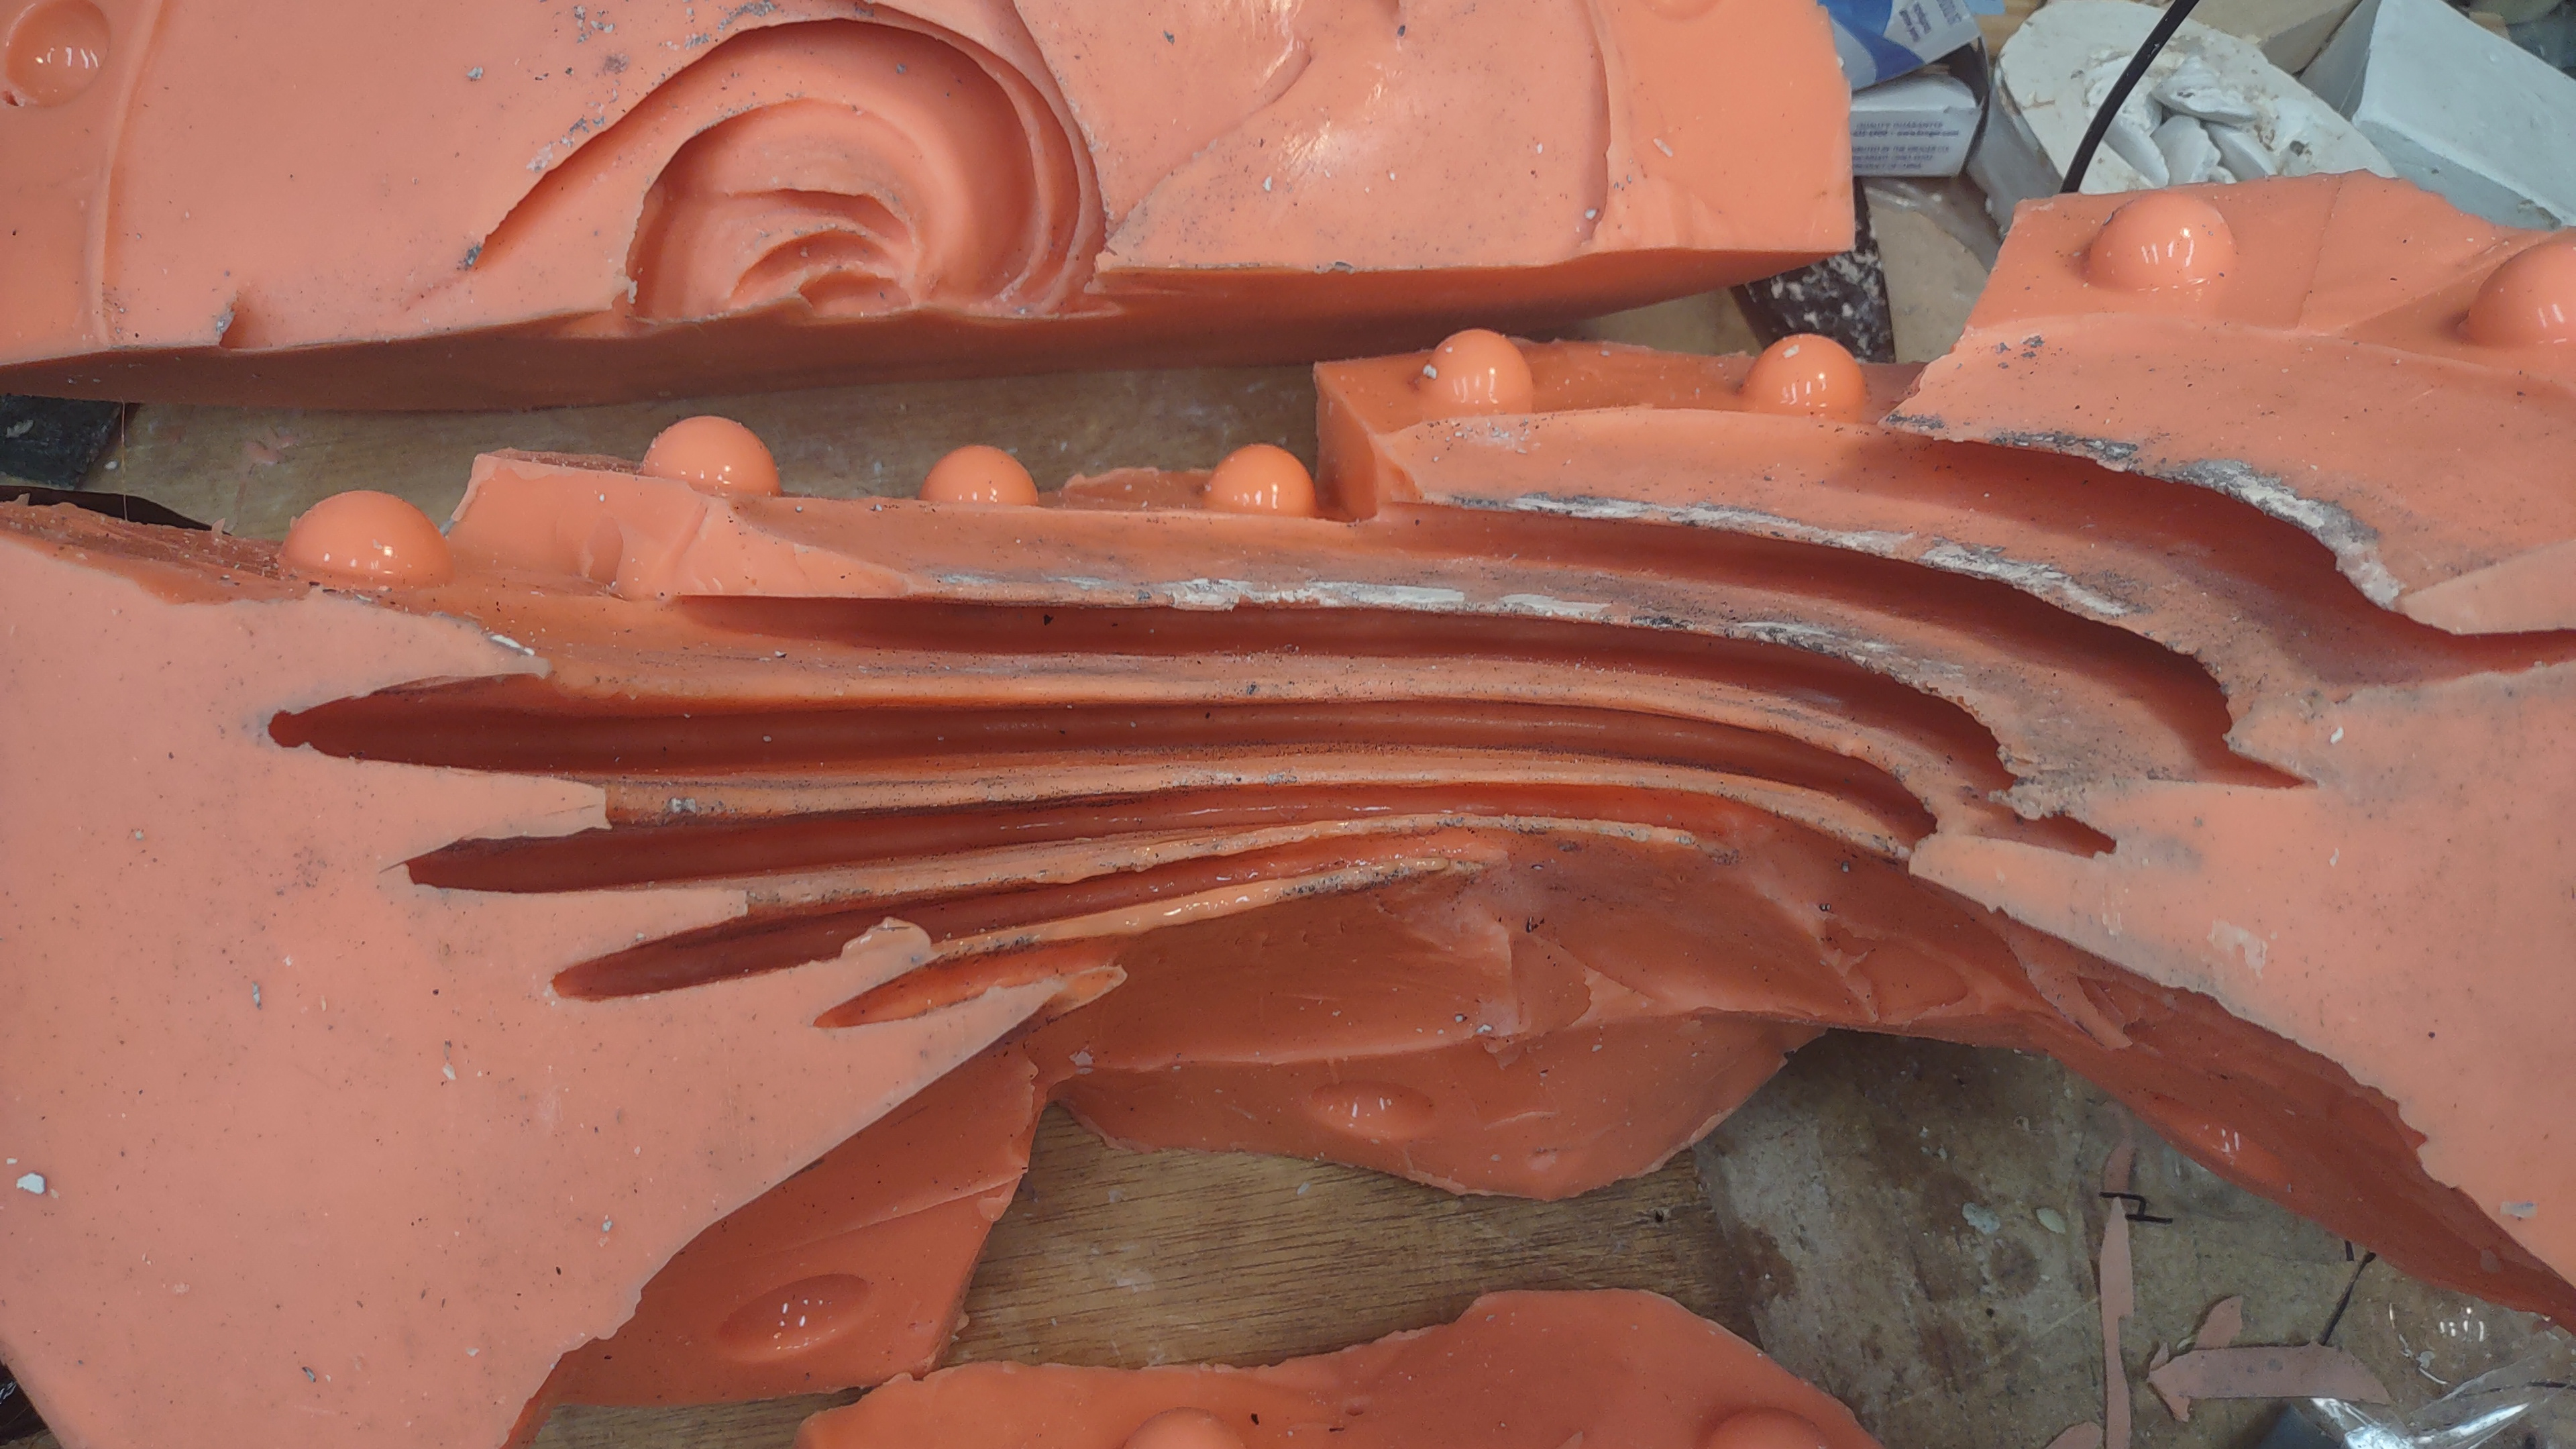
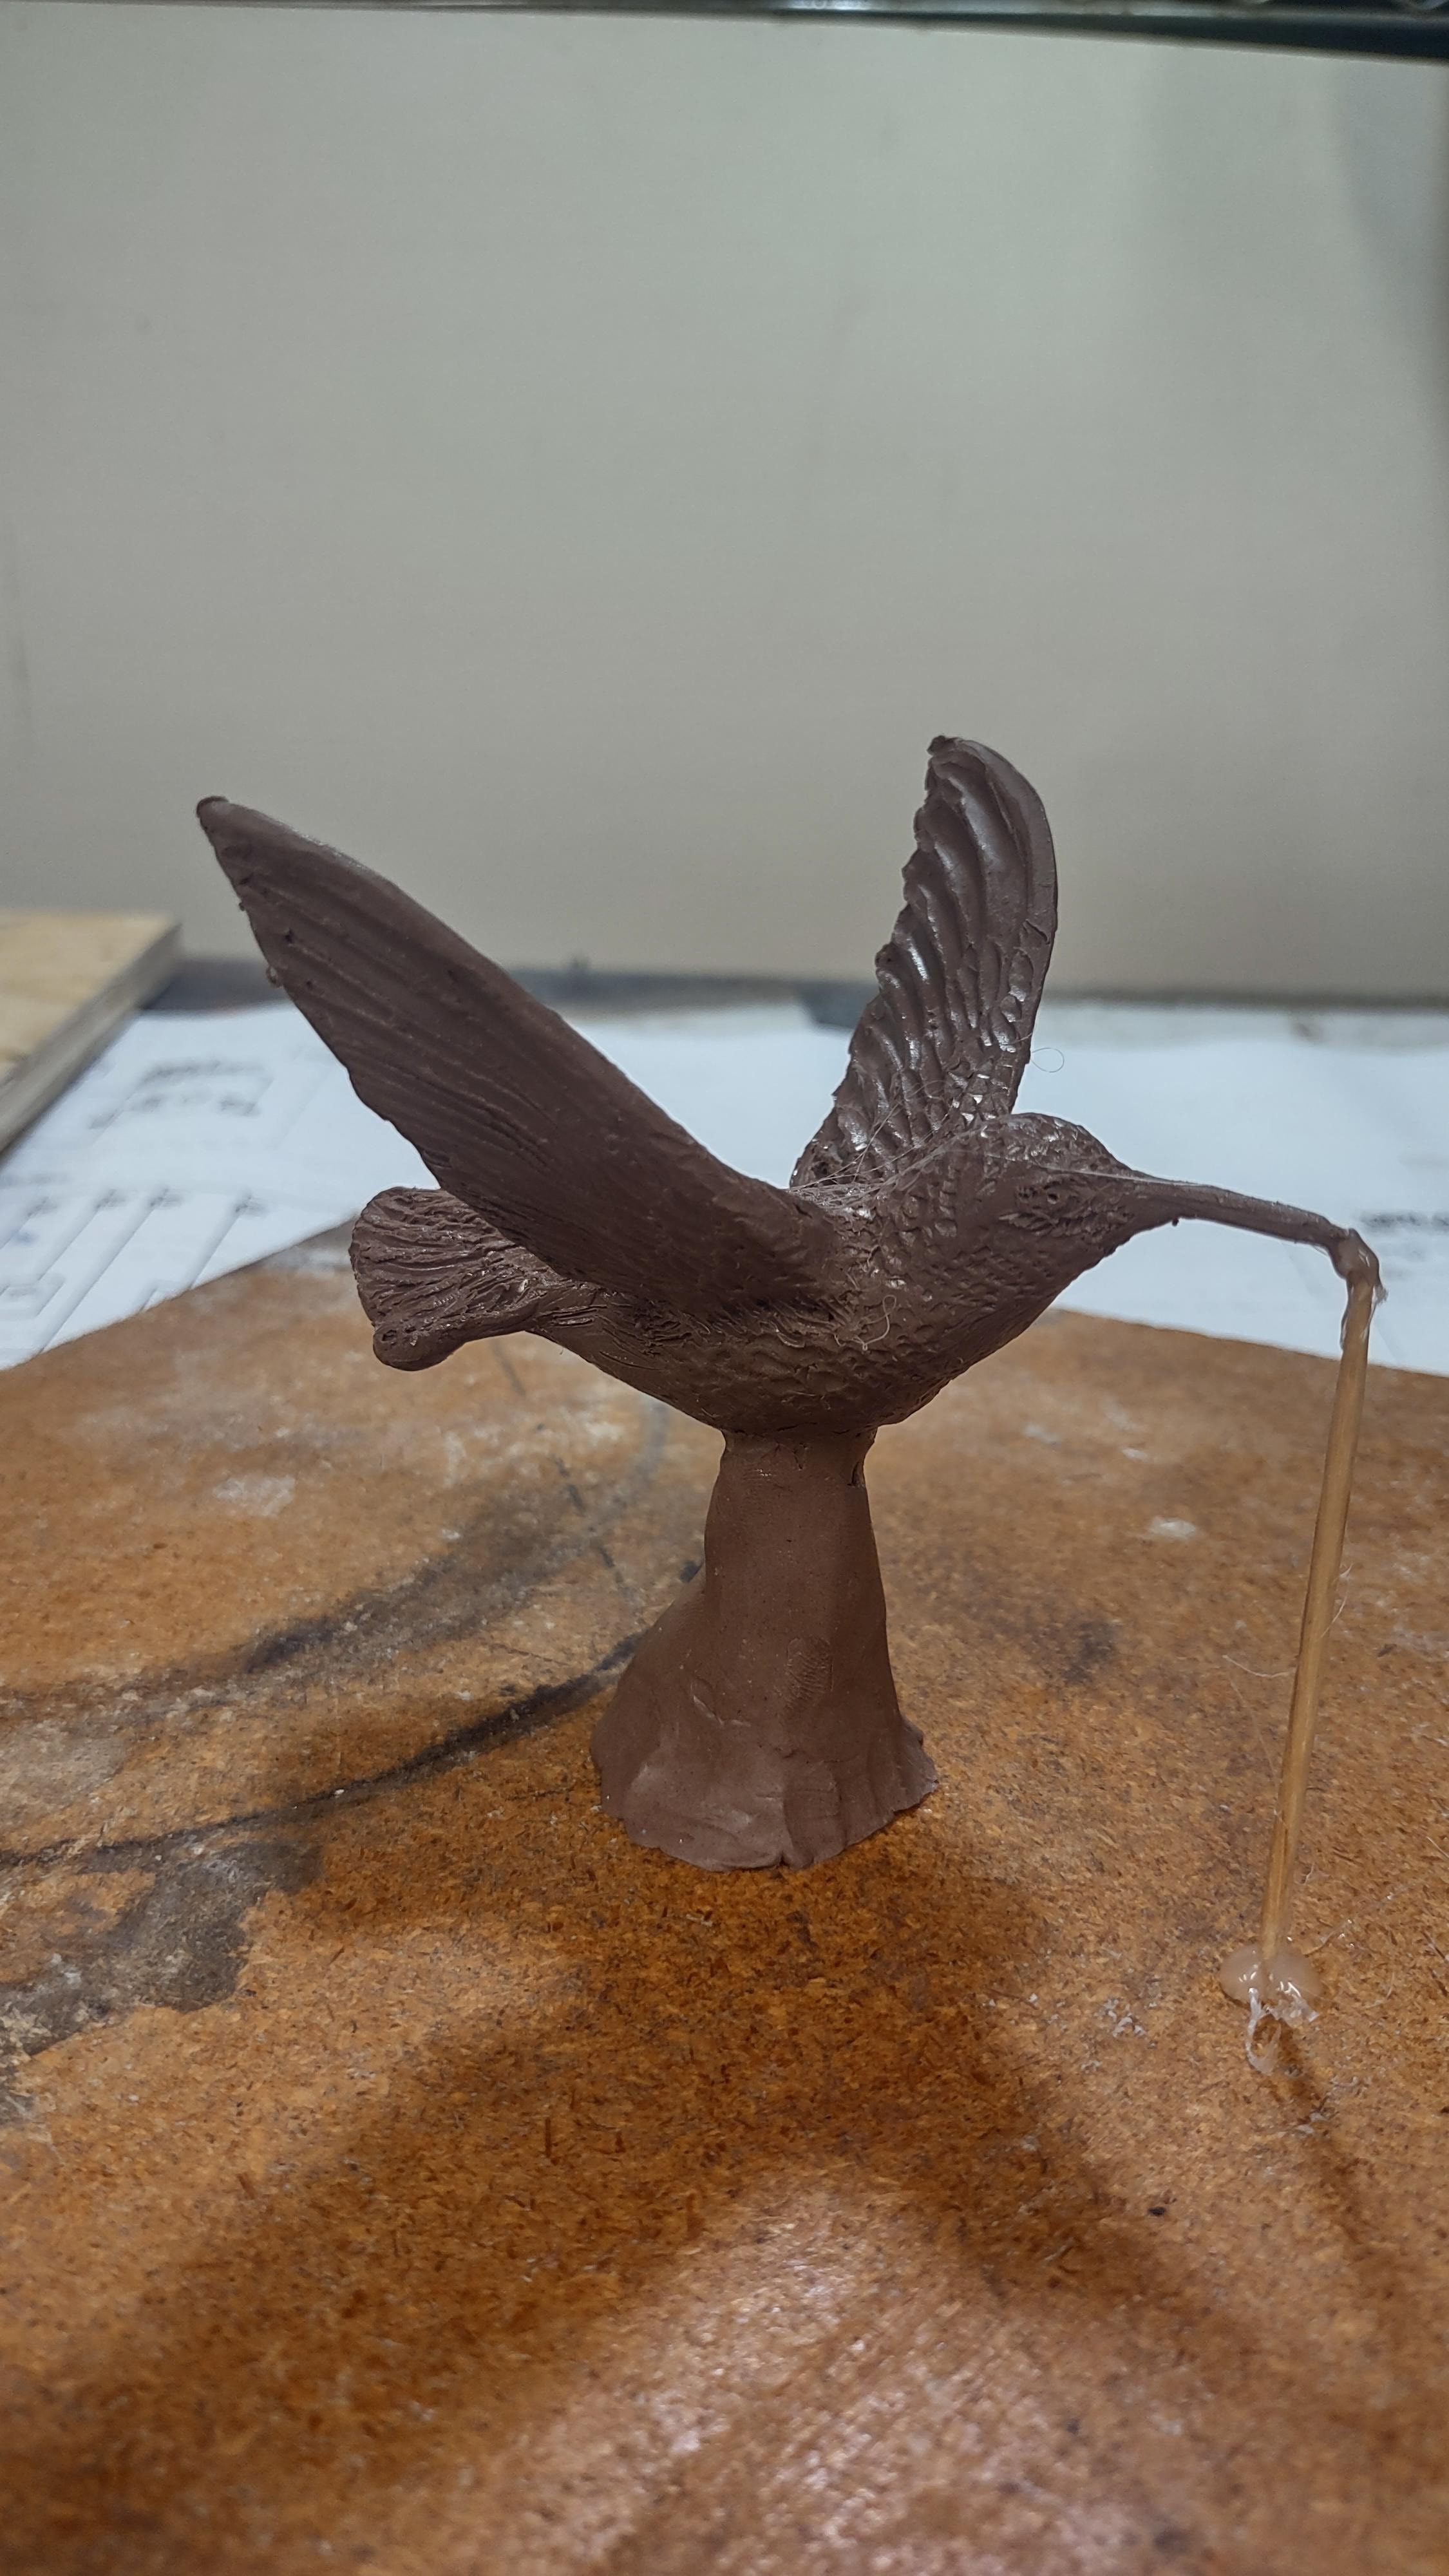
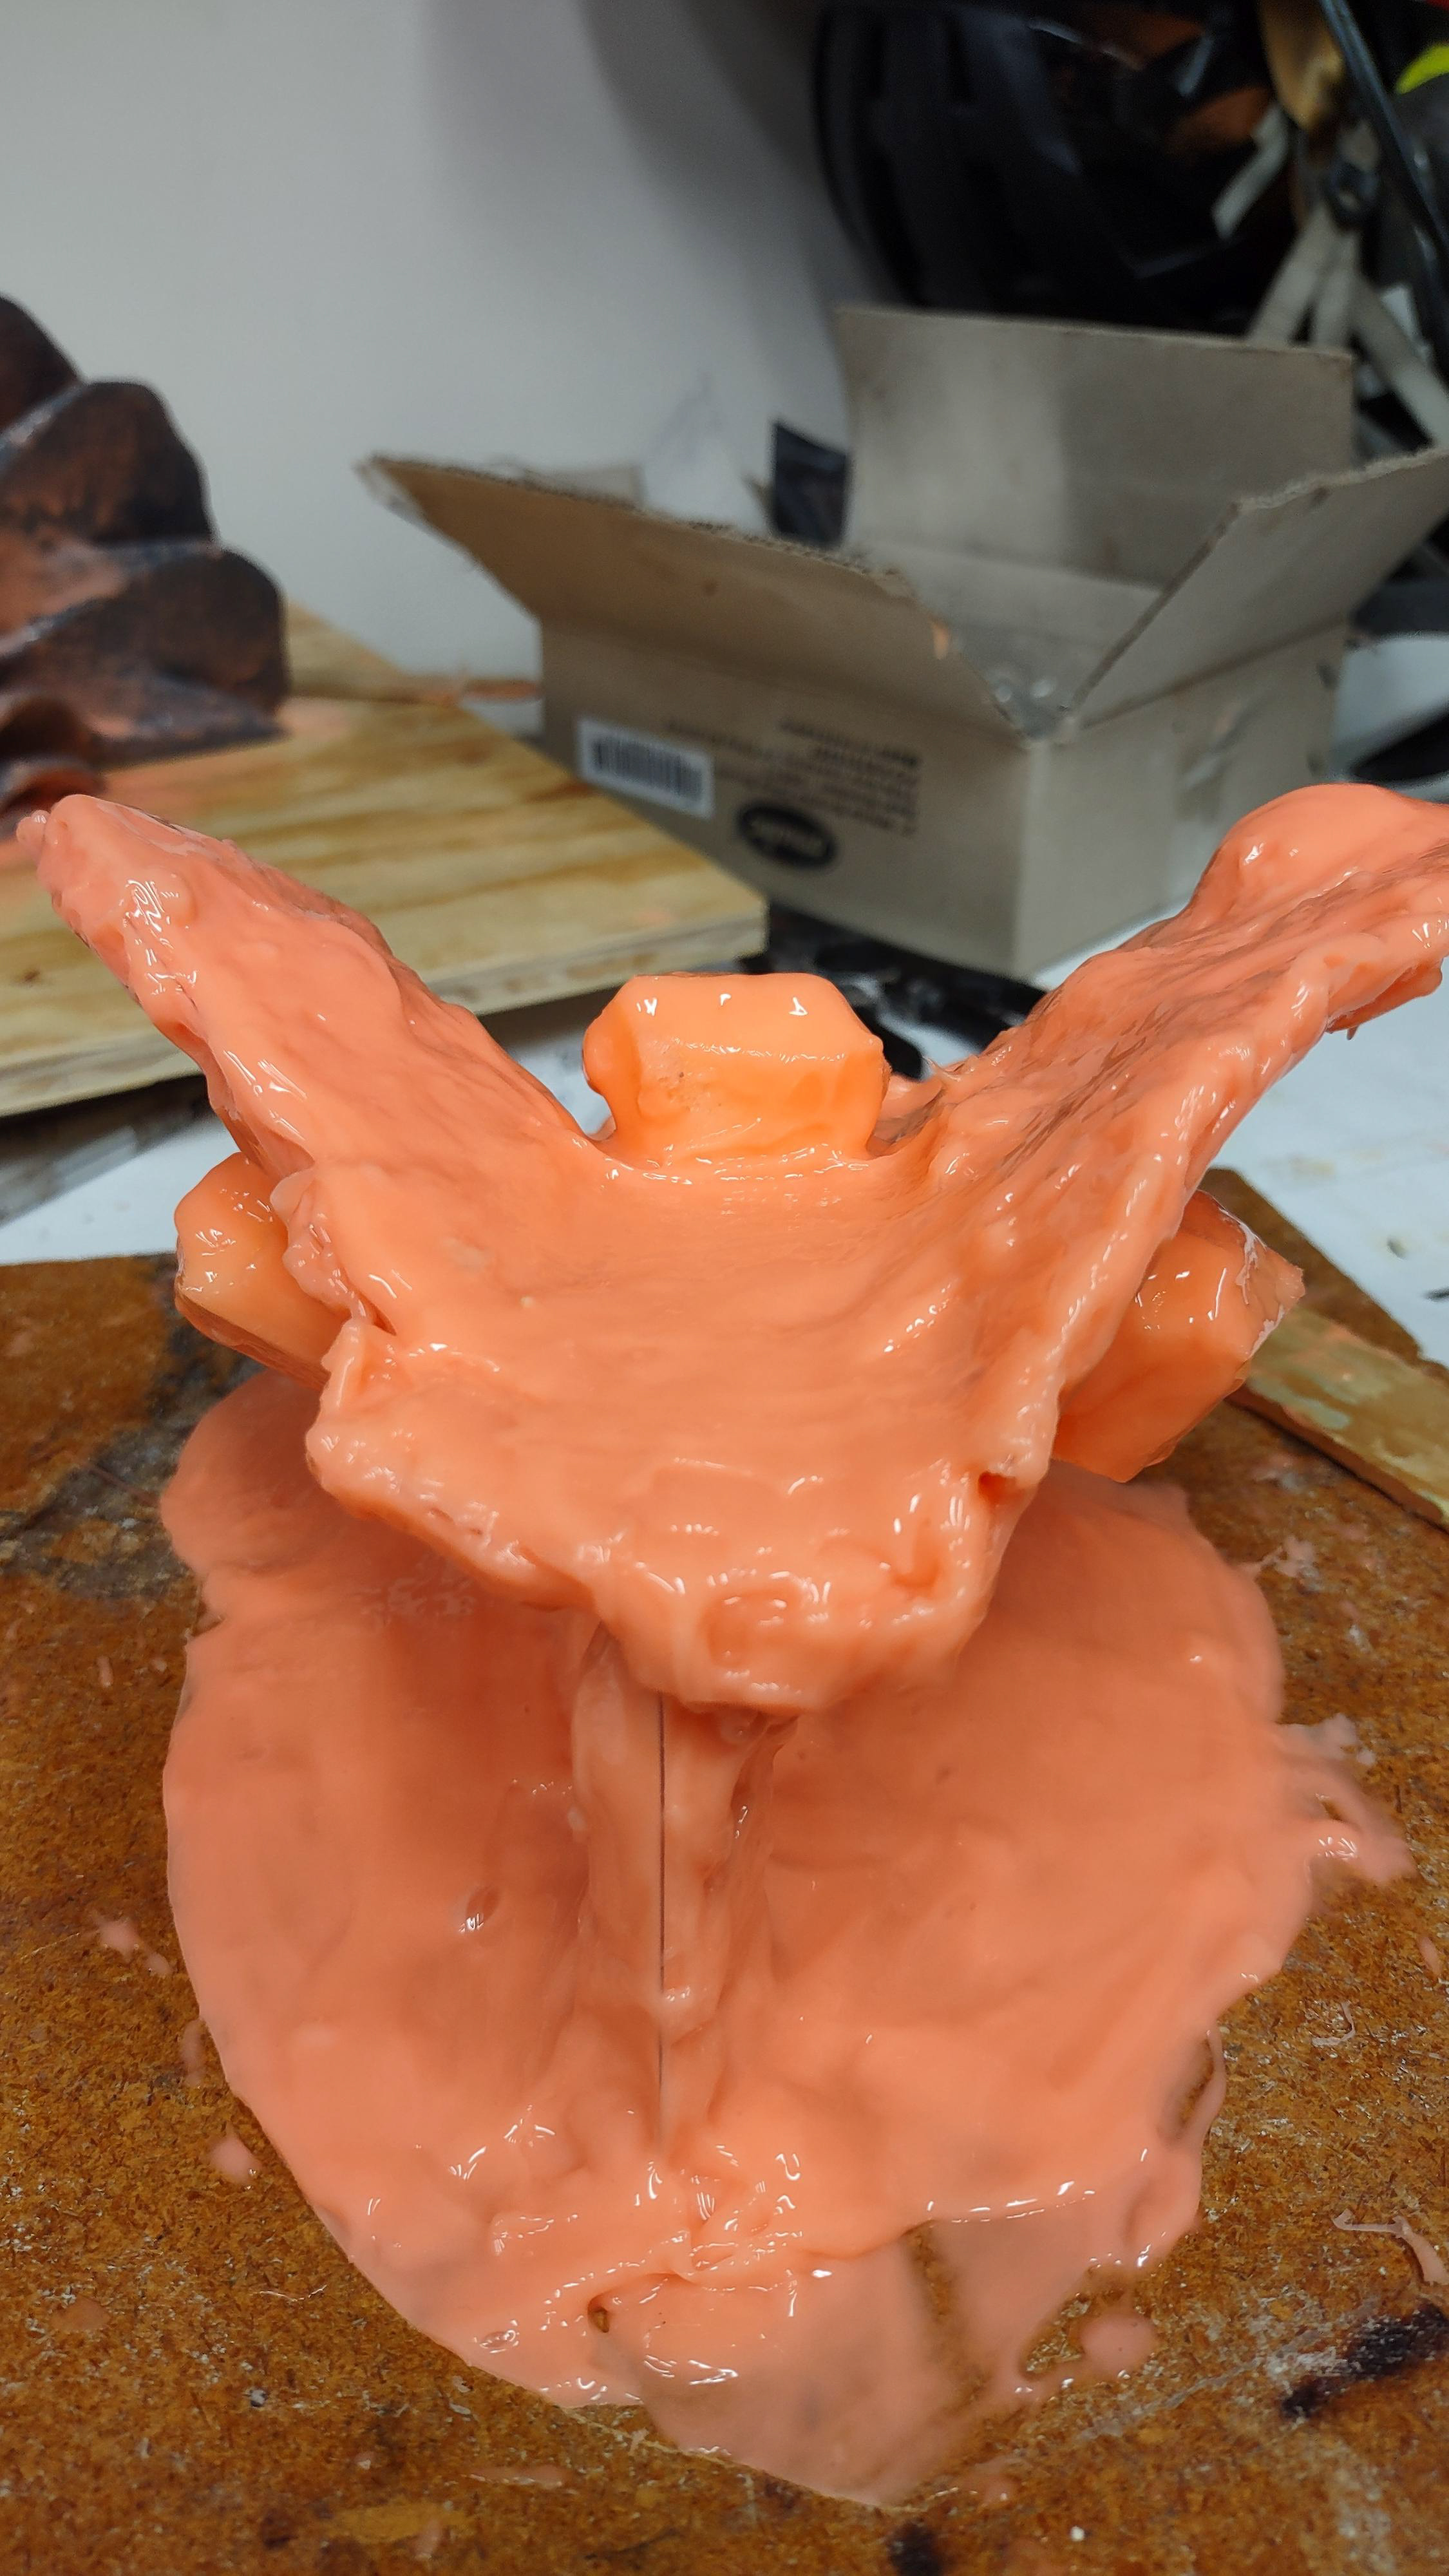
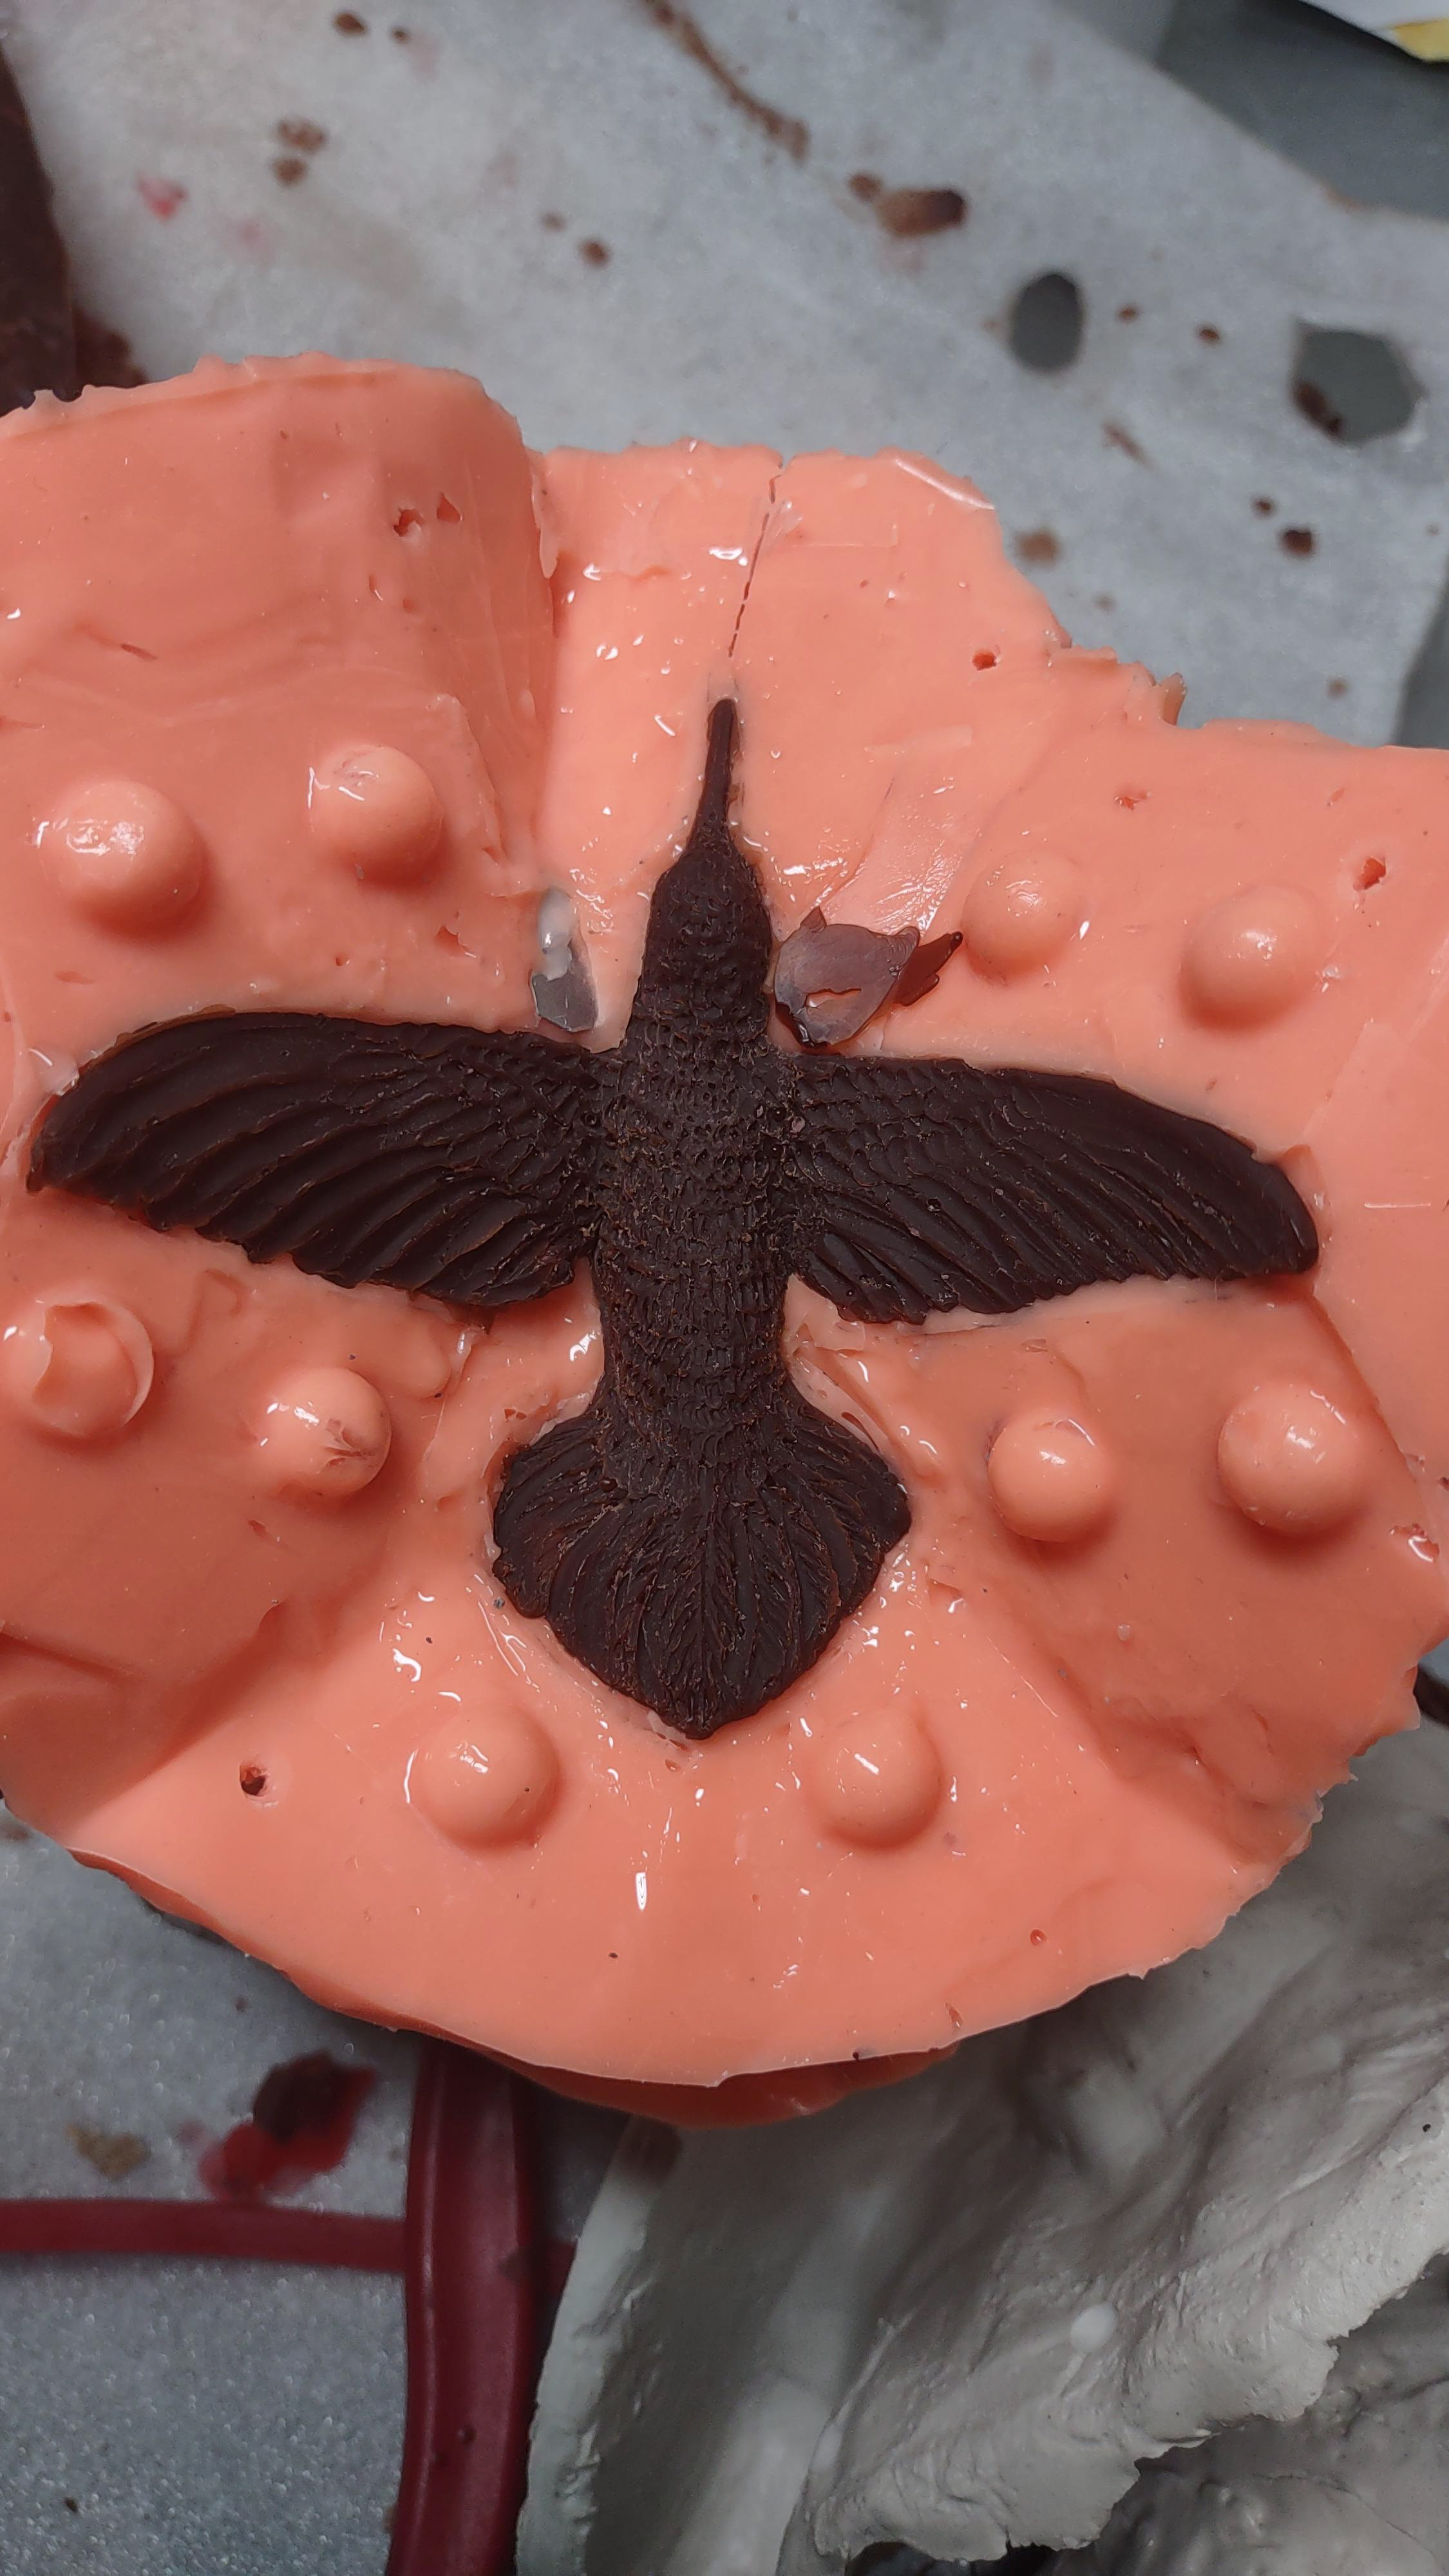
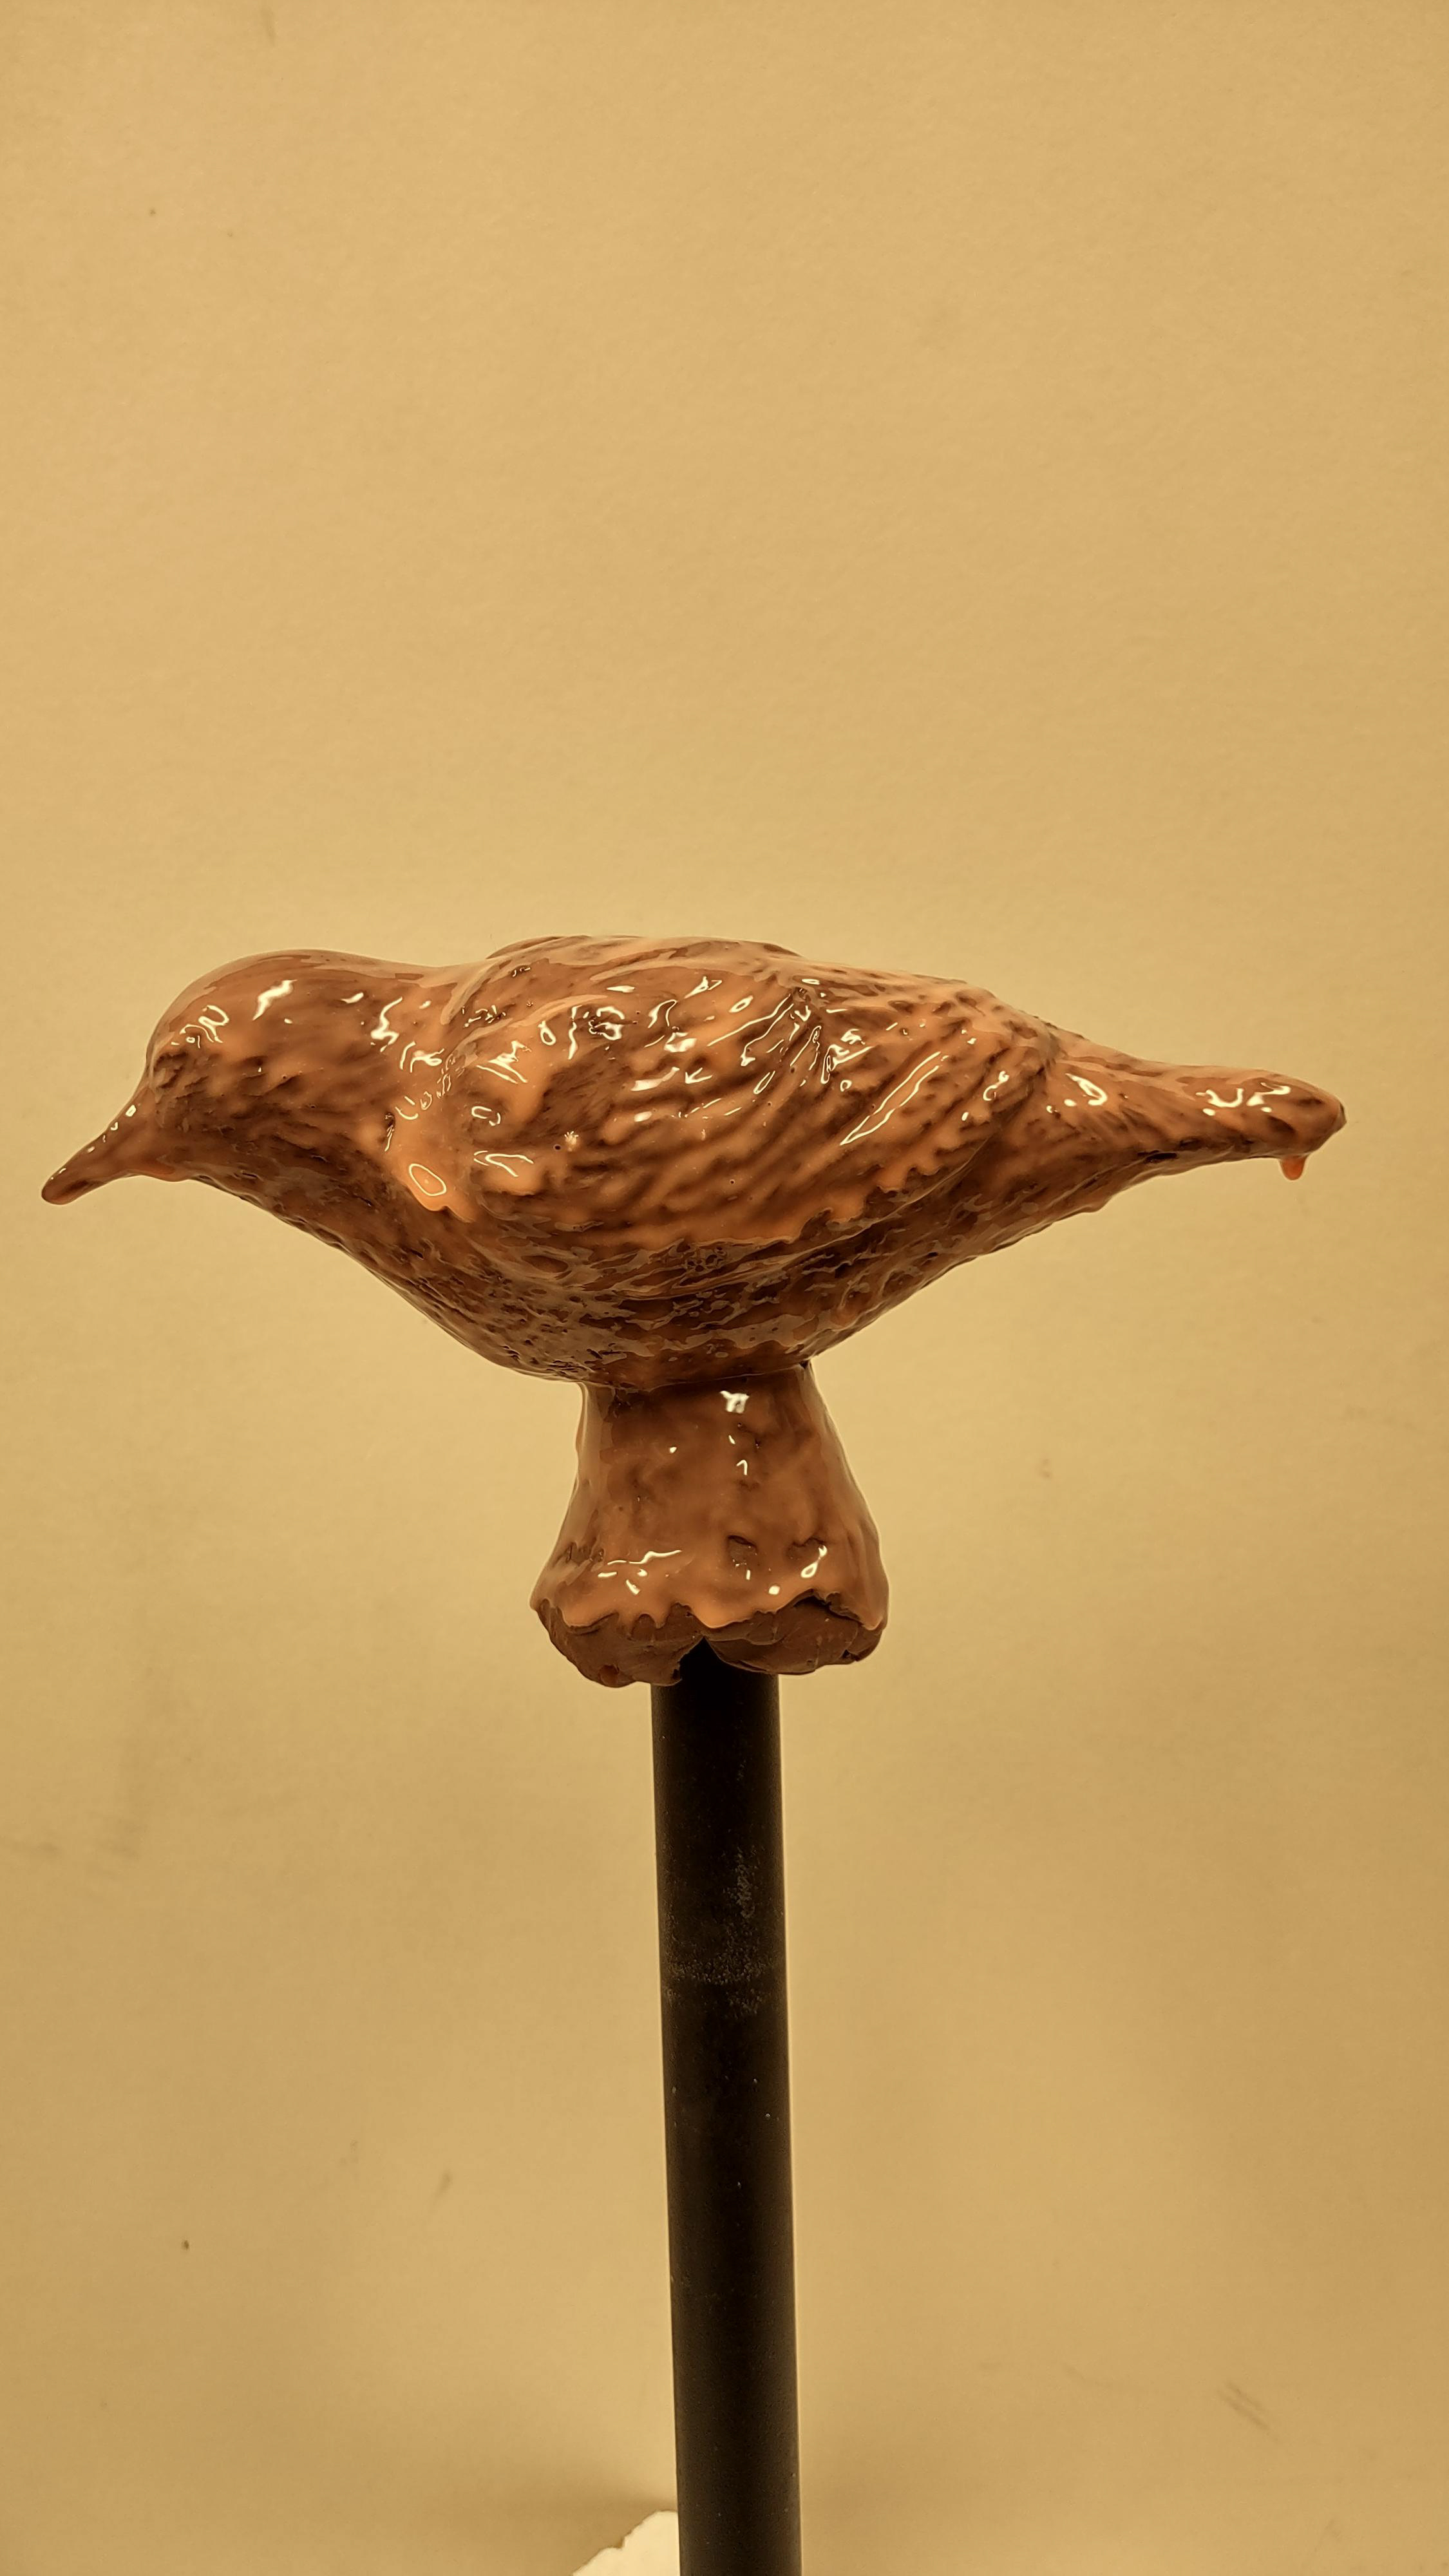
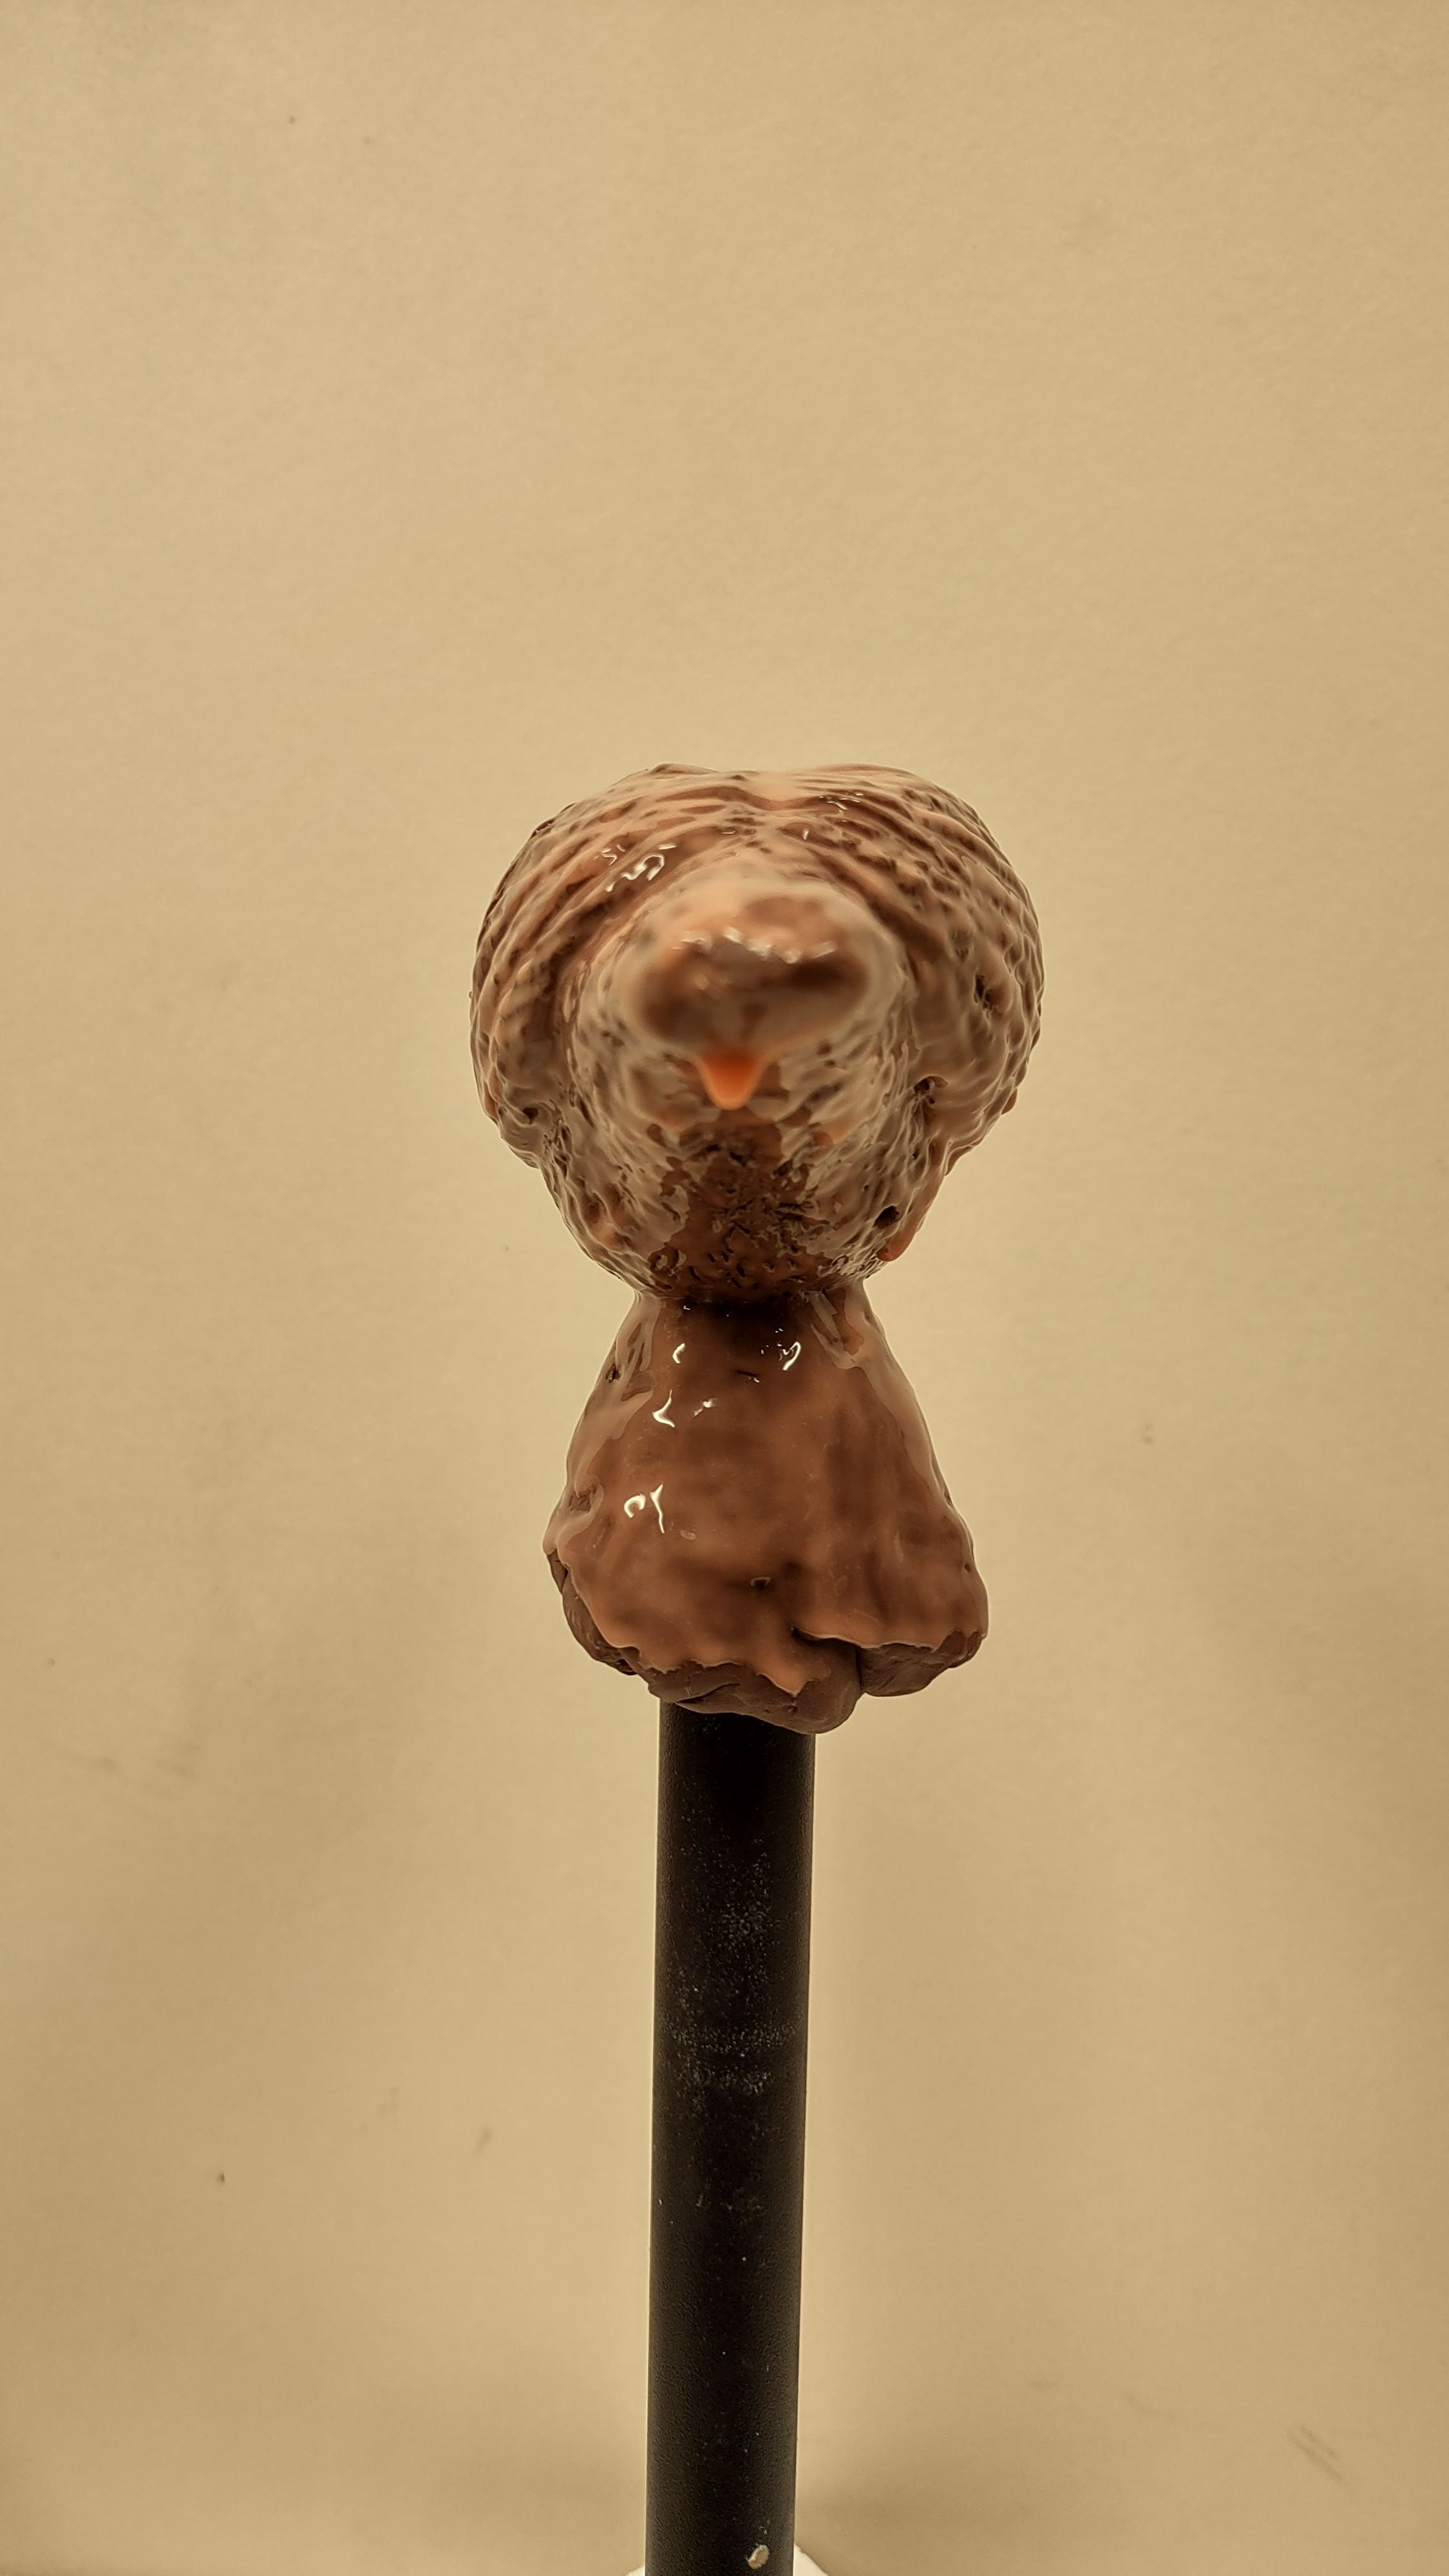
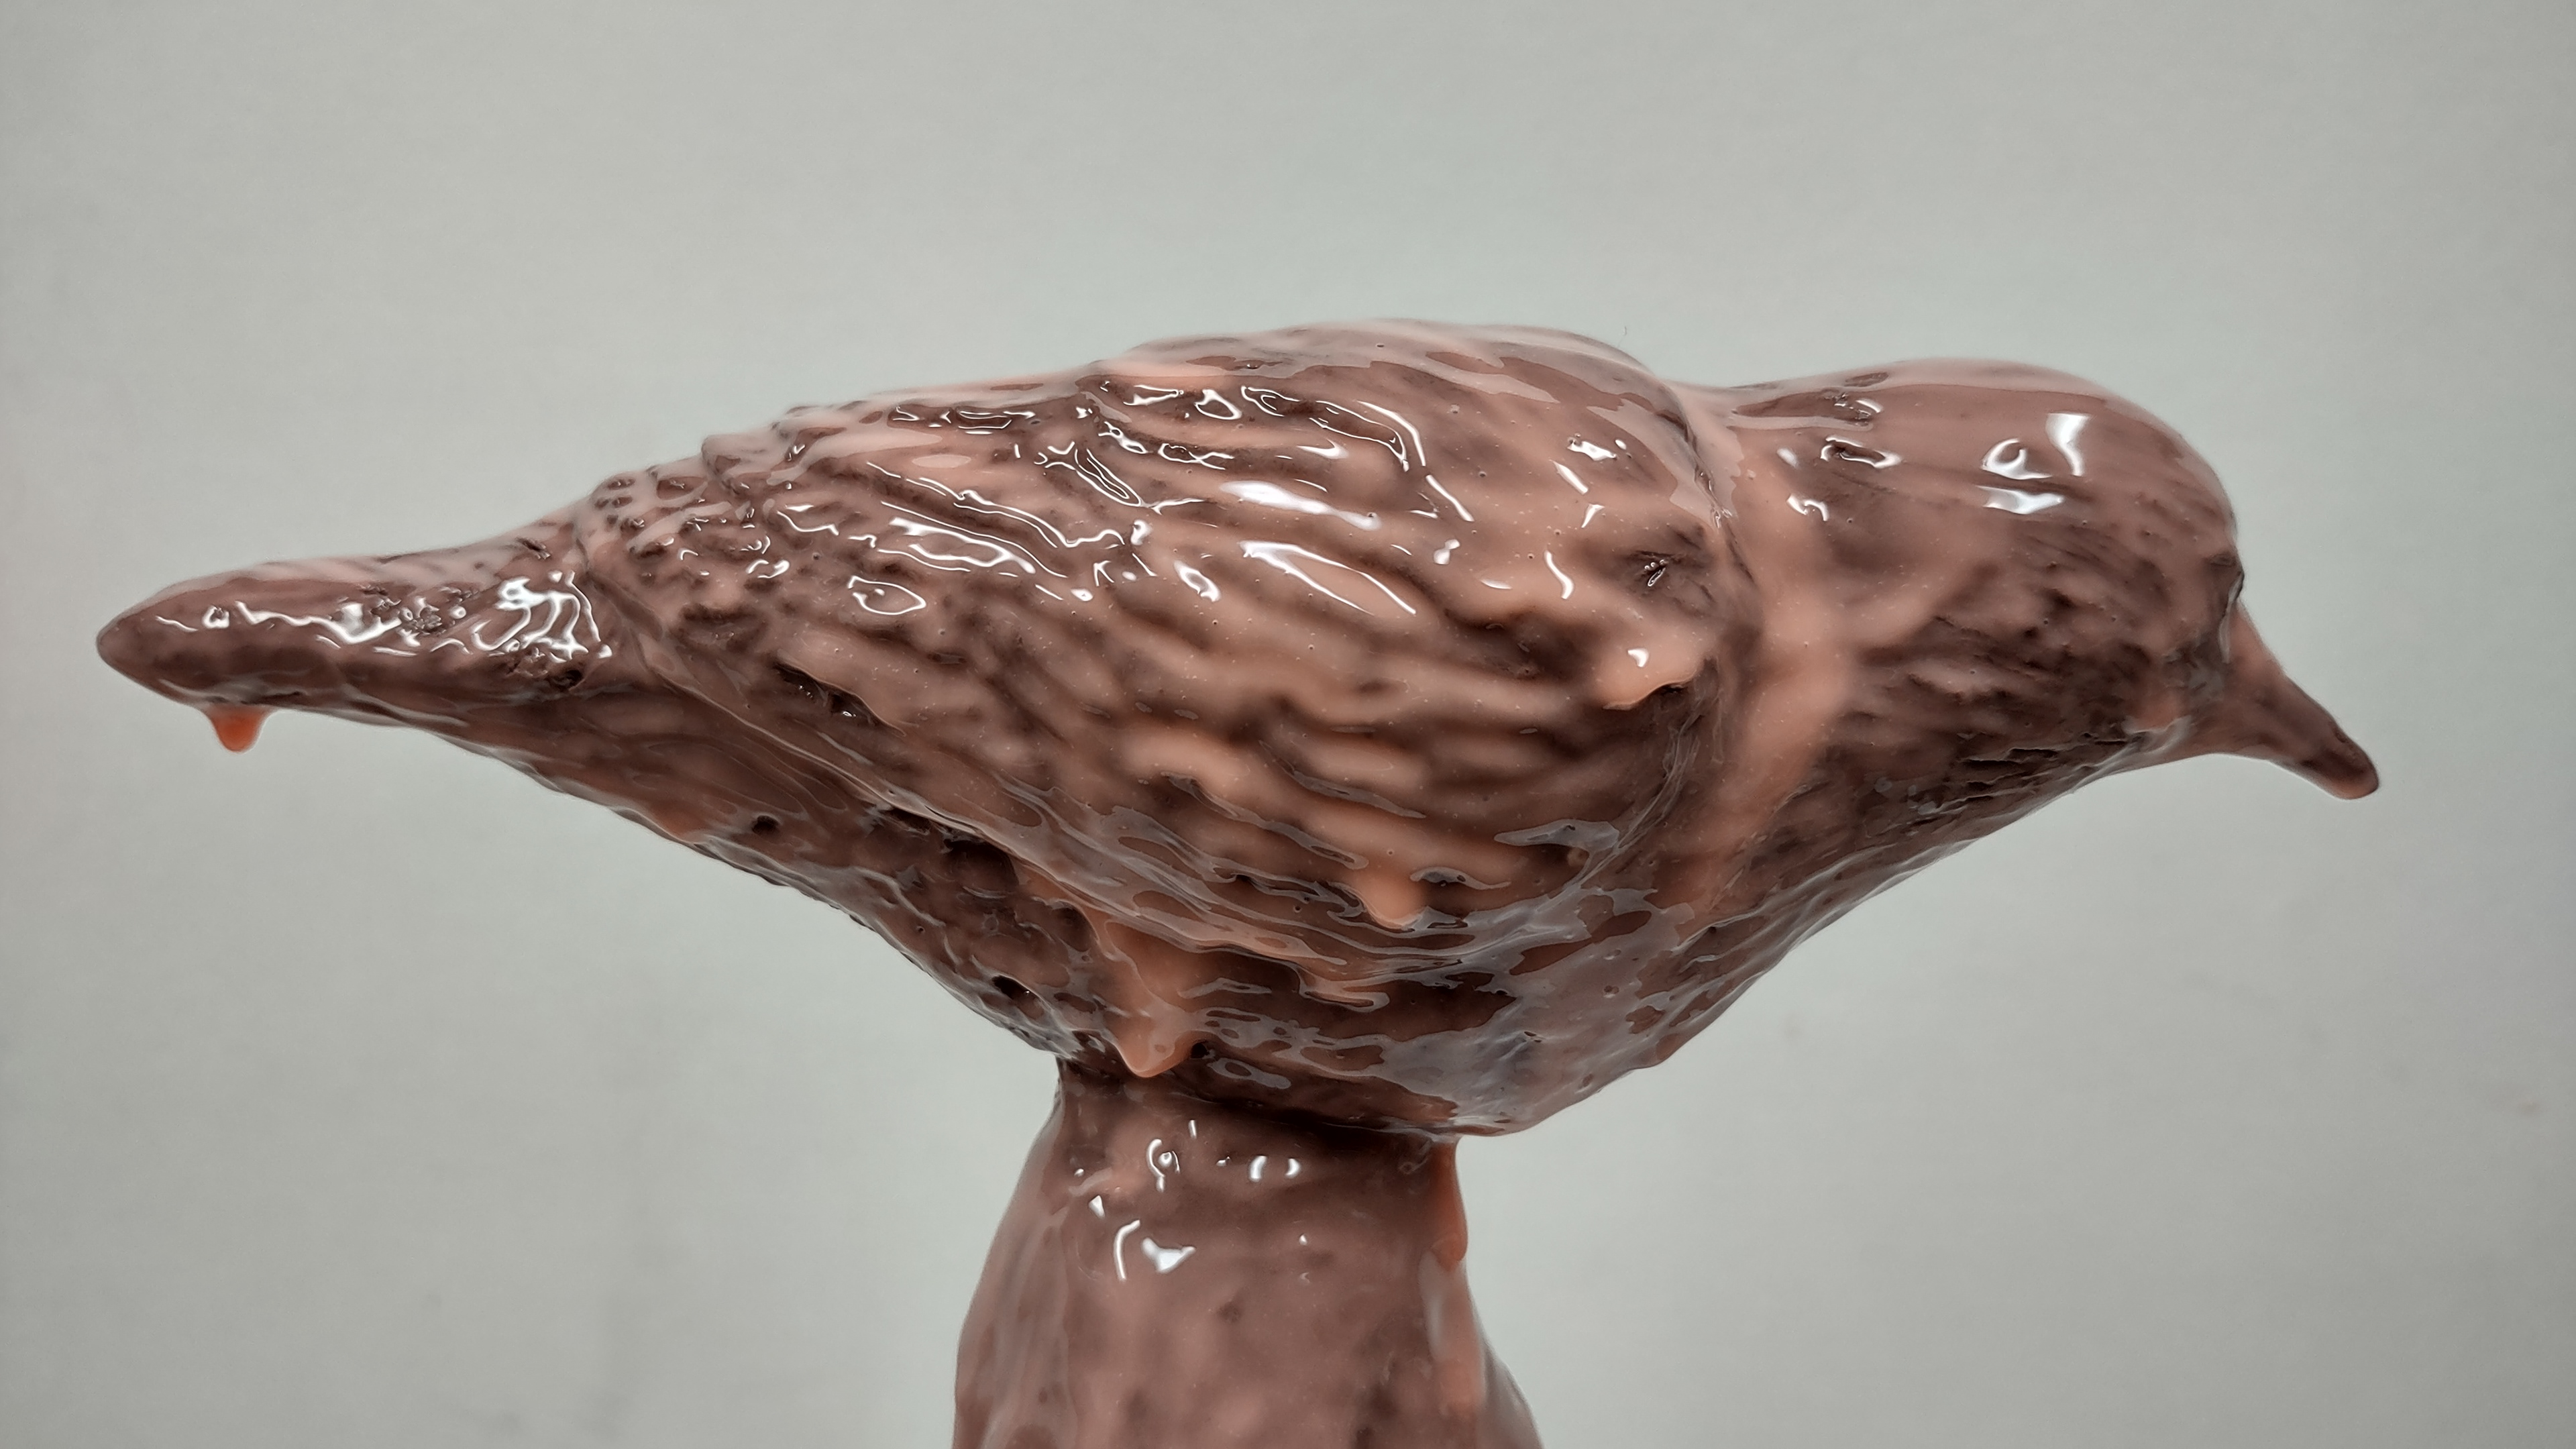
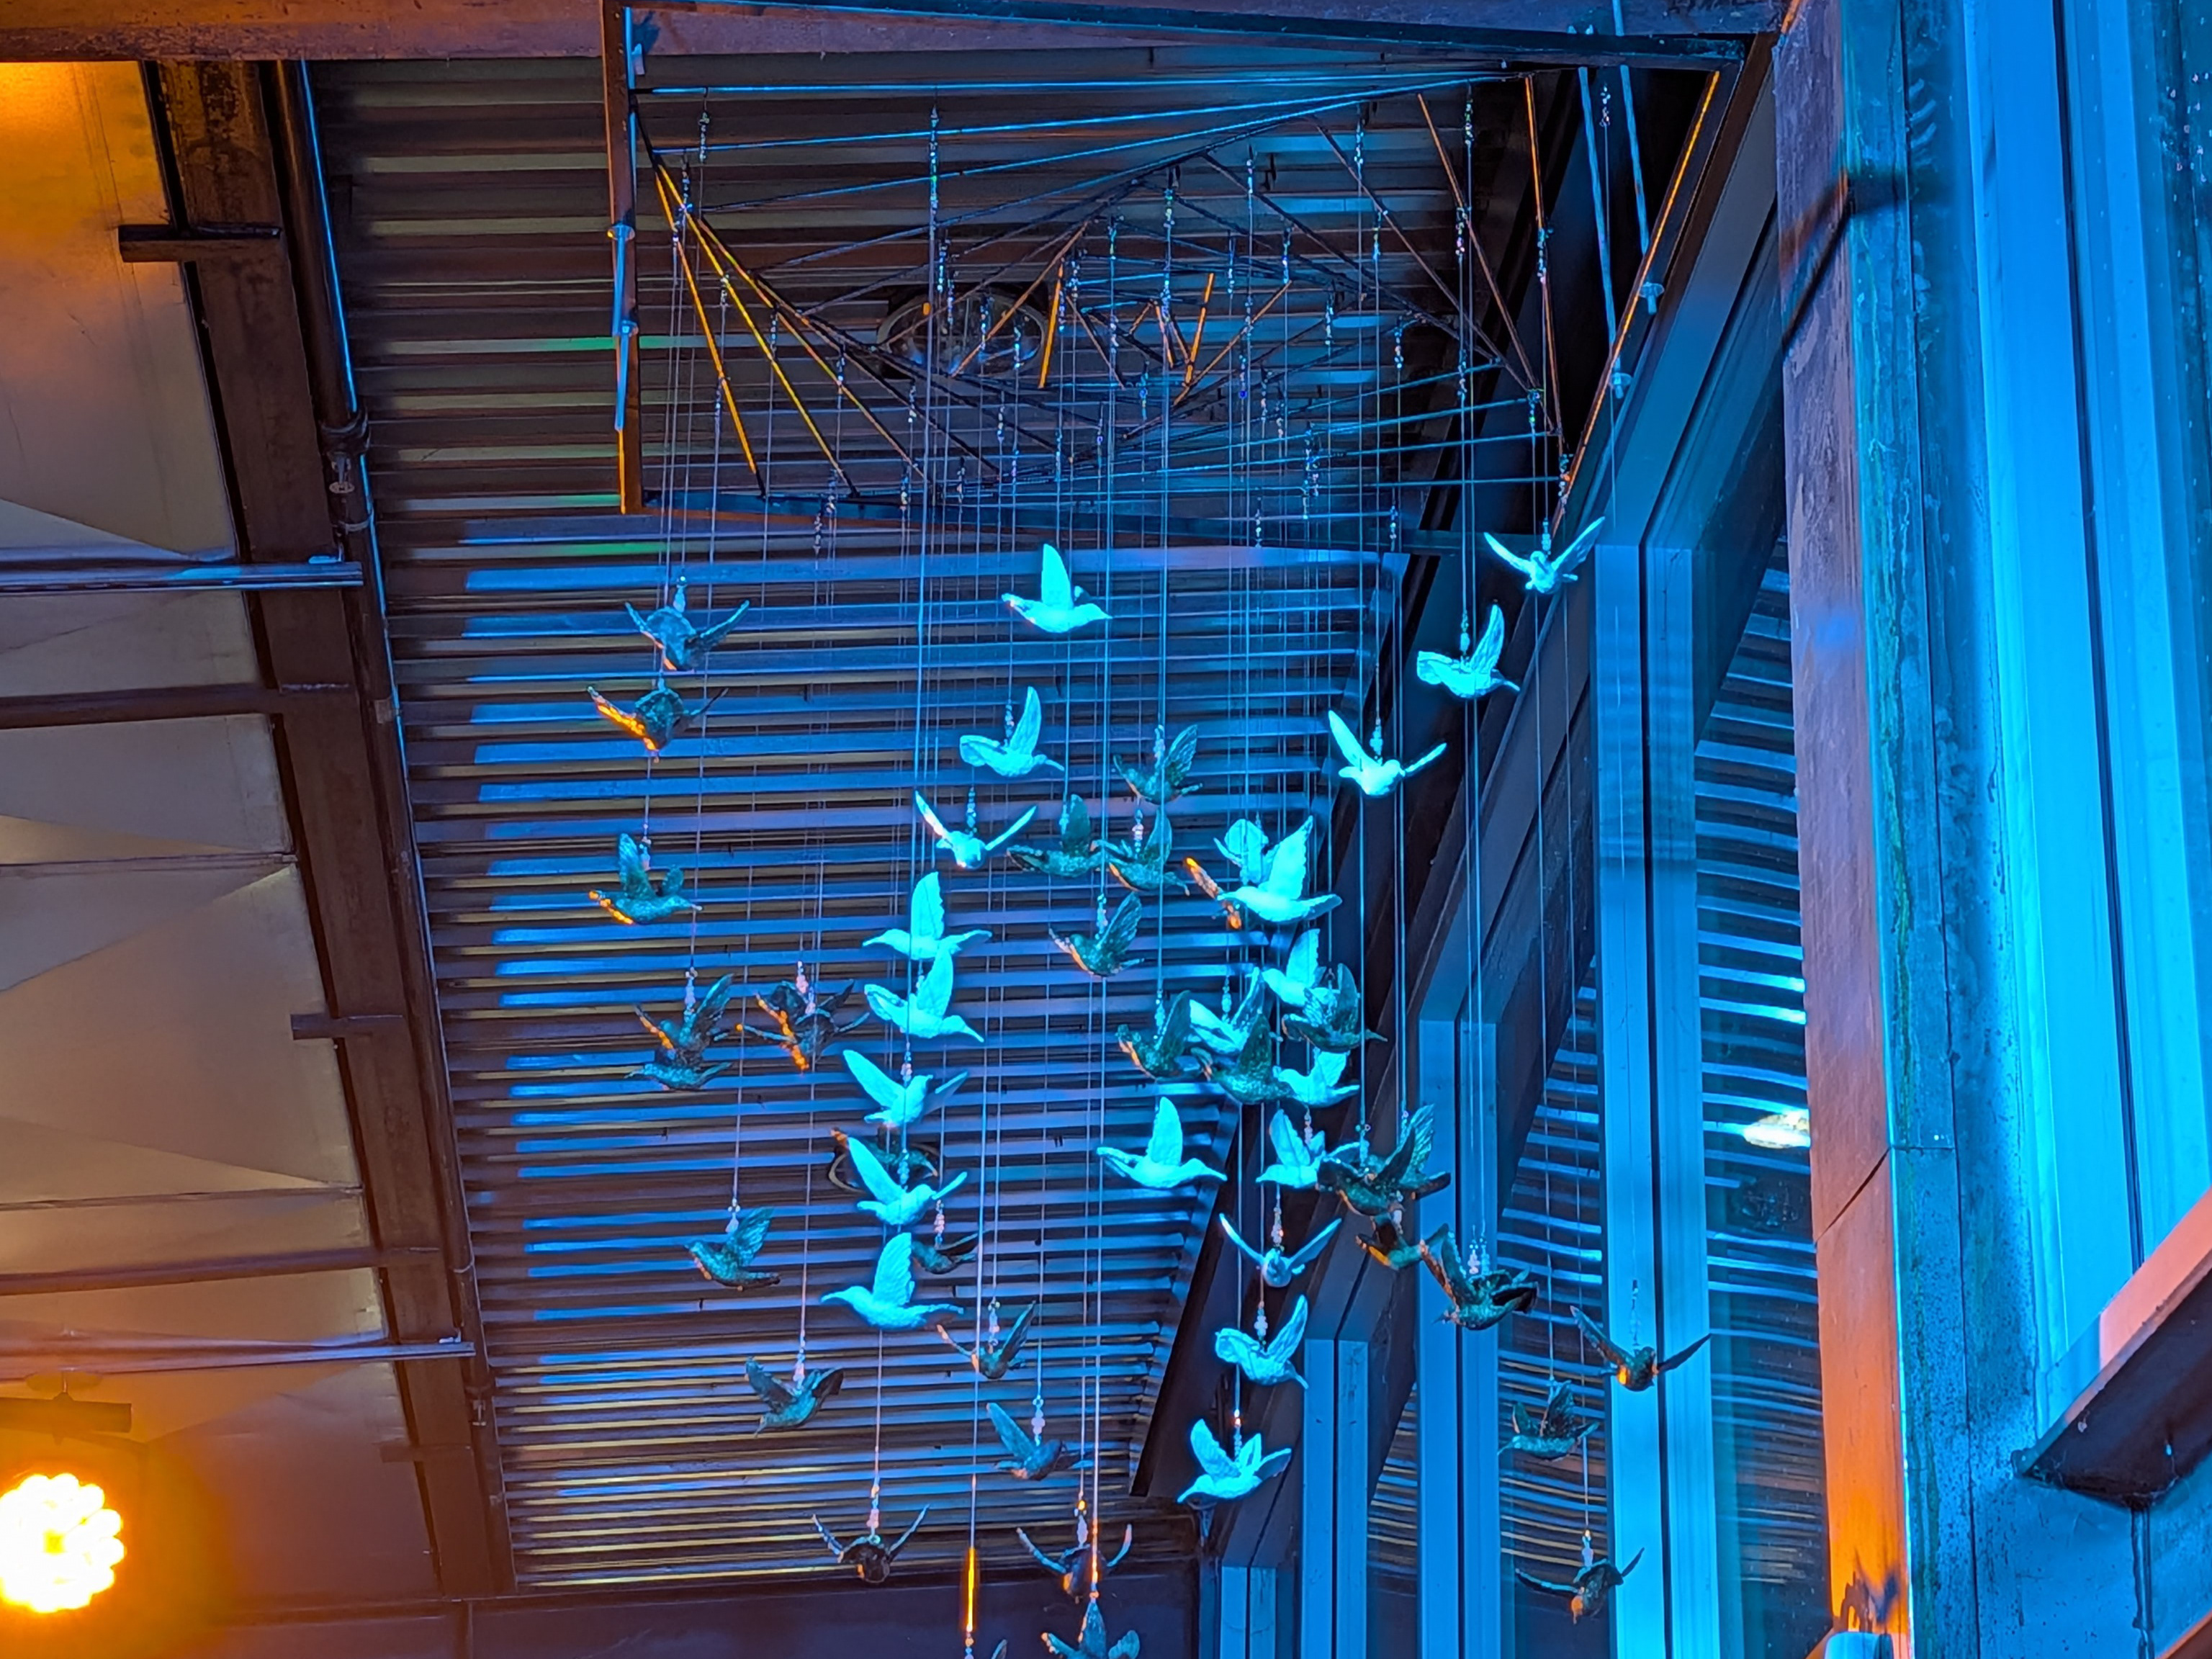
This two part of the of the hummingbird is a lot of texture and really thin object. I caste the wax in the mold getting ready for the bronze casting.